


Laundry Room Makeover
Looking for a laundry room make over?
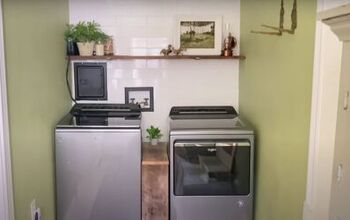
Here’s my latest project, I added a sink, broom closet, shelving, and lots of storage but did NOT sacrifice on style! Here’s the old laundry room:
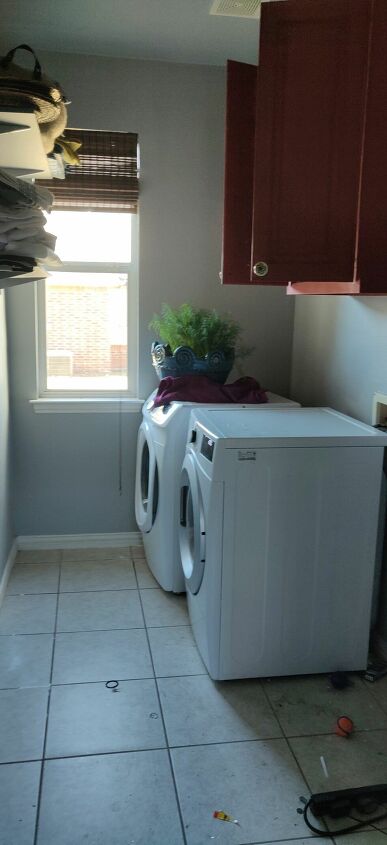
This room had become a diasaster, located off my kitchen and right next to the back door, it was a catch all for everything. You can see from this photo that the room wasn’t small but long and narrow with only one cabinet. I had added those utility shelves a few years ago, but they were in a bad spot and often we bumped our heads.
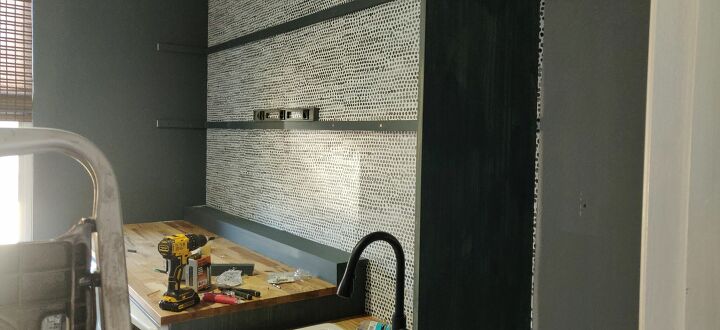
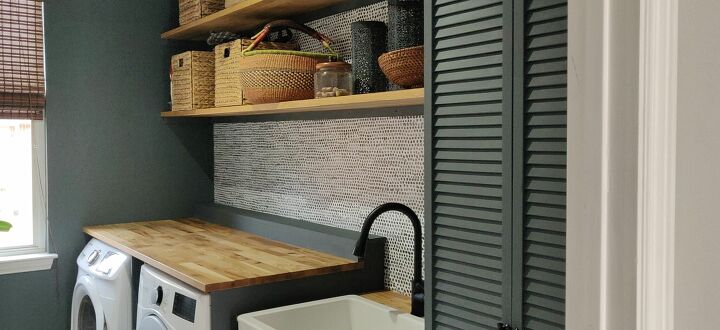
After a lot of consideration on color and materials, I decided on a dark grey accent wall, which would also become my cabinet color to pull everything together. I really like the butcher block counters for over the washer and dryer, and for the shelves above the counter.
Step 1 – Room Prep
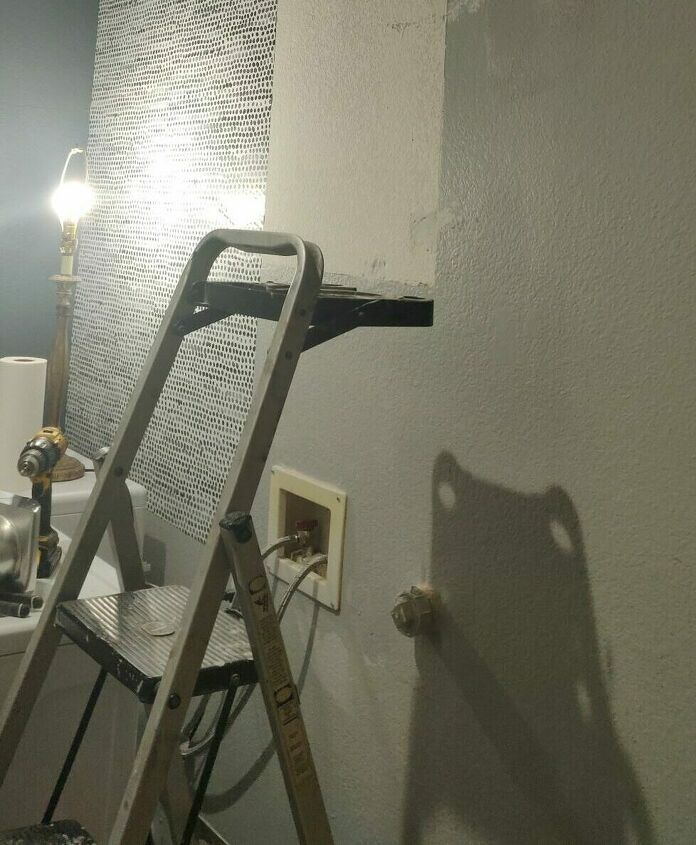
Remove all shelving, cabinets and “stuff”. My husband and I struggled to remove the cabinet over the washer and dryer because it was nailed on to the wall/studs. In the end, we damaged the wall and had to repair it prior to hanging the peel and stick wallpaper. Not a big deal but be prepared if you are ripping down builder grade cabinets.
Step 2 – Design
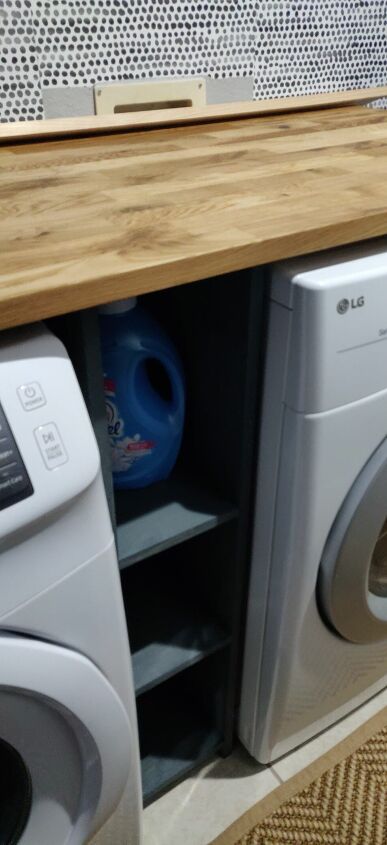
Our design for the base cabinet around the washer and dryer included supports in the middle of the counter, between the washer and dryer that would become shelves for my laundry supplies. My goal with the custom built shelves and cabinetry, was to create a space for everything else I needed to store in this room. You will seen in the pictures below, this included cleaning supplies, vaacum, mop, broom, iron, ironing board, laundry supplies, pet supplies, and patio supplies like sunscreen and bug spray.
Step 3 – Base Cabinets, Countertop and Sink base
Nearly every laundry room make over I’ve seen on any DIY site has to figur out how to cover the laundry hook ups, so the counter is at an appropriate height and they are concealed. You can see in the picture below, the hook ups for the washer and dryer that needed to be covered. The goal was to make the water and drain easily accessible in case of a leak or the need to turn the water off quickly.
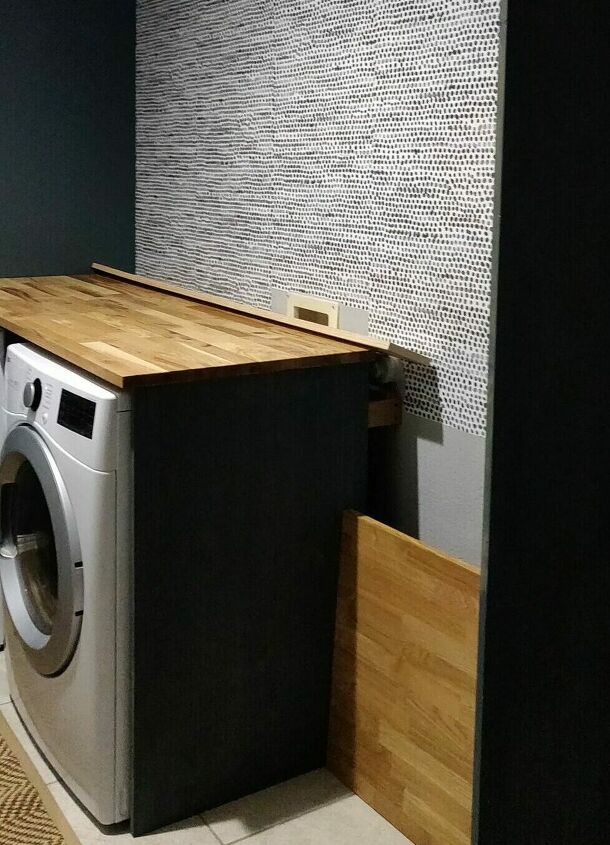
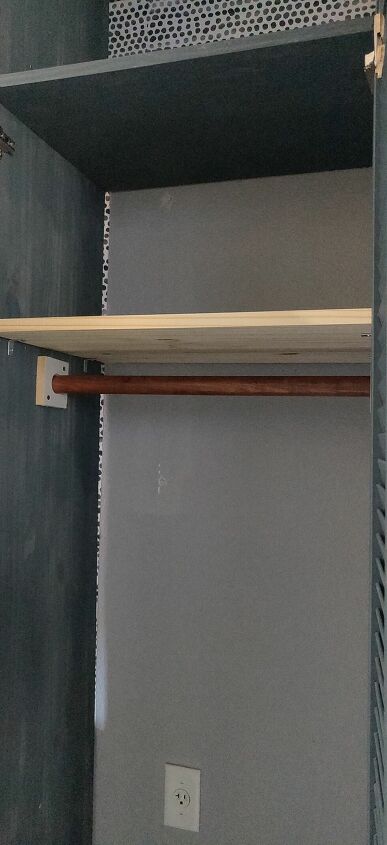
In the picture below, you can see how we added supports for our overall counter and cabinets. We used 2×4’s and attached them to studs in the wall, obviously not very pretty but by the end they are covered.
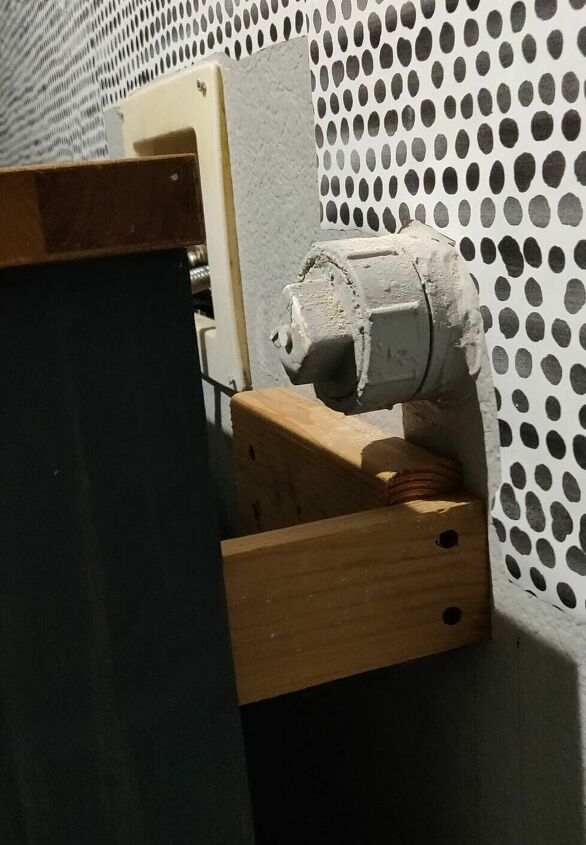
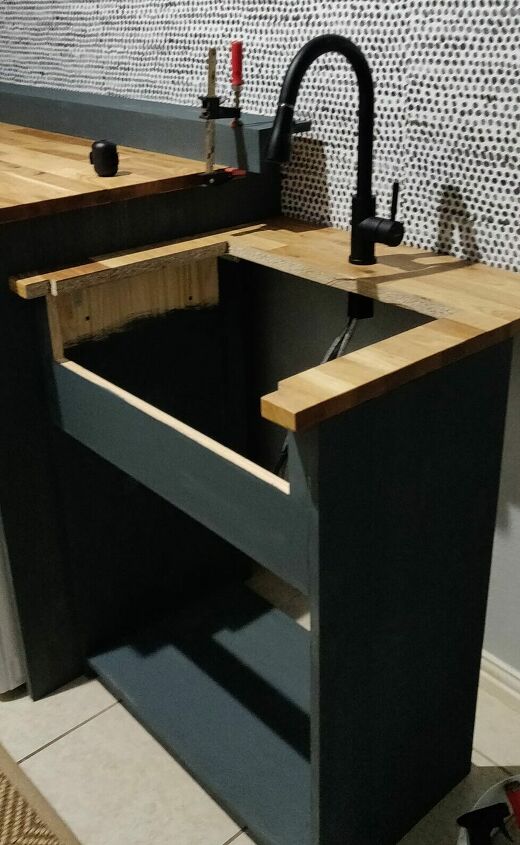
The small shelf covering is held in place by joiner biscuits that attach by cutting a slot in each piece of wood to be joined and securing the pieces together. This worked well for us because it keeps the wood in place with the ability to pop off the L shaped hook up covering when we need to access the area. The counter prep for the sink area was fairly straight forward by using a circular drill saw to make the opening for the facet. Then a straight table saw blade to cut the opening for the actual sink. The sink drops right in and is held in place by adhesive glue.
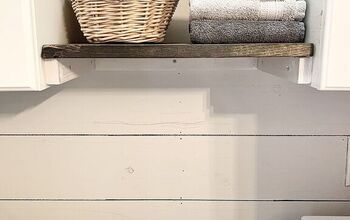
Step 4 – Shelving above the counters
We used 1 x 2 wood boards as supports for the butcher block shelving. I considered using regular wood for the shelving but in the end felt that it was worth the expense to spend the extra money on the butcher block. In the end, it made it easier and in my opinion, way more attractive than regular wood shelving.
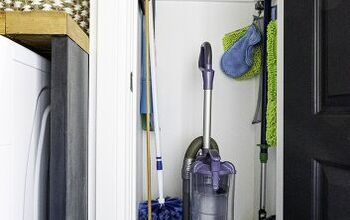
Step 5 – Install Closet Storage
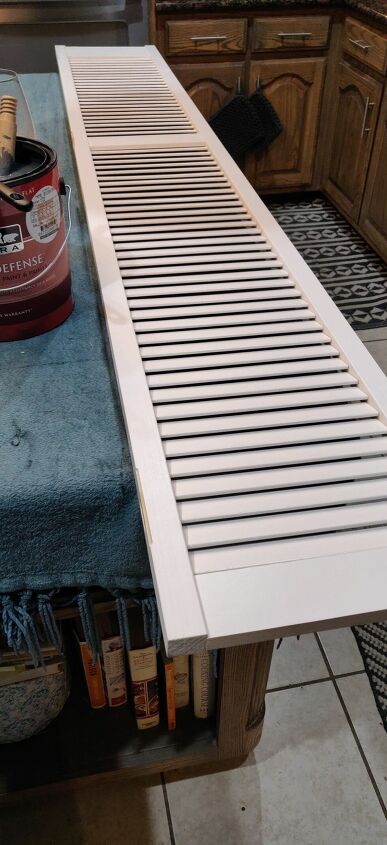
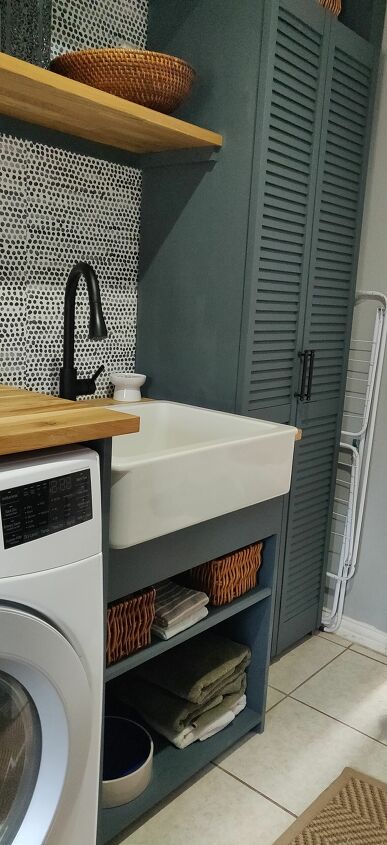
I store my vaccuum and cleaning supplies in my laundry room, so I wanted a closet that would conseal anything tall like a vacuum or mop. We used the same type of wood that we built the rest of the base structure with and painted the dark grey, as well. For the doors we purchase two slatted doors and used hinges to install. There is no latch but I don’t find I need the doors to be latched because of the hinges, they keep the doors shut nicely. Then we added a shelf at the top of the closet to accomodate cleanign supplies and then hooks for the iron and ironing board.
Final Pics! Doing laundry is actually kind of fun now!


Comments
Join the conversation
-
This is a big WOW. Love it. Love the choice of colors. Nice job!
-
This is better than any of the laundry rooms I have seen on HGTV. You did a fabulous job and I am so jealous but in a good way. Great work!


Frequently asked questions
Have a question about this project?
Is there any problem with heat coming from the top of the dryer?
I absolutely love it!! I need to do something with mine, wonder if it would work.???
What color paint did you use on the doors?