


Ice Dyed Curtains

This post was transcribed by a member of the Hometalk editorial team from the original HometalkTV episode.
You need nothing more than a bag of ice and some powdered dye for this cool curtain project.
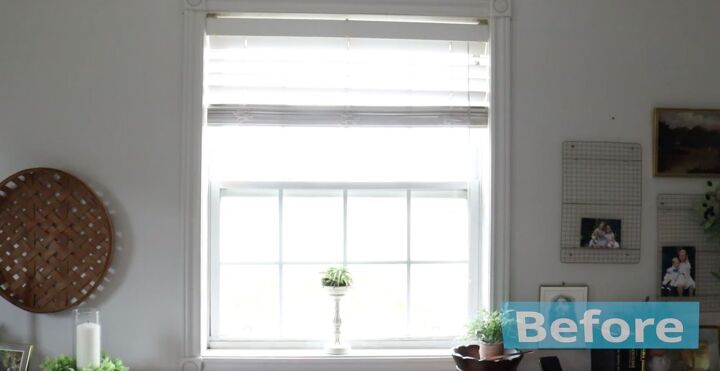
I have this window in my studio office, and I decided it needed some fresh curtains.
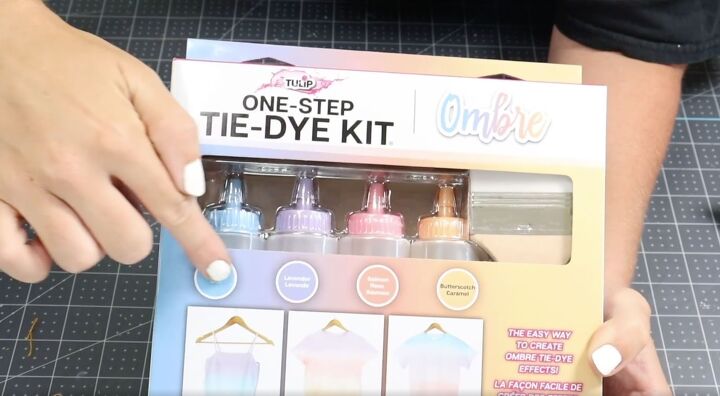
I picked up this one-step tie dye kit for my local Walmart. It had some really cool ombre pastel colors that I wanted to try.
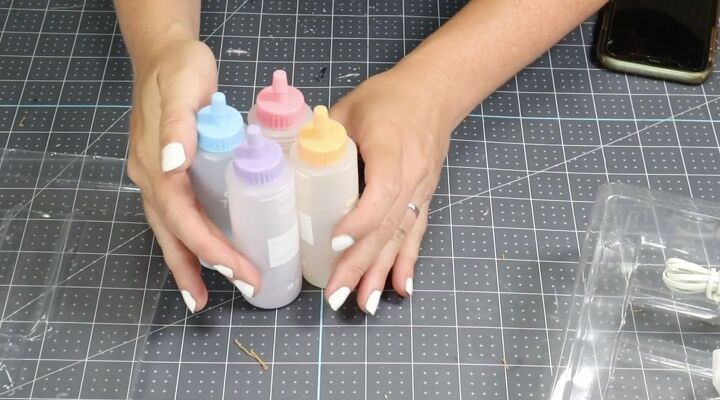
Since I only need the powder dye for this DIY, I saved the rest of the kit for something else.
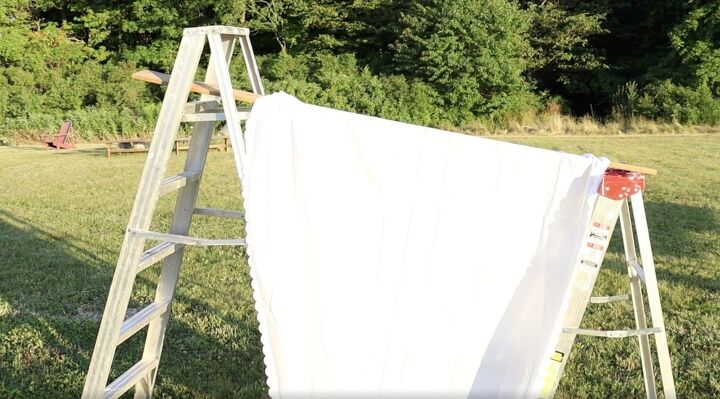
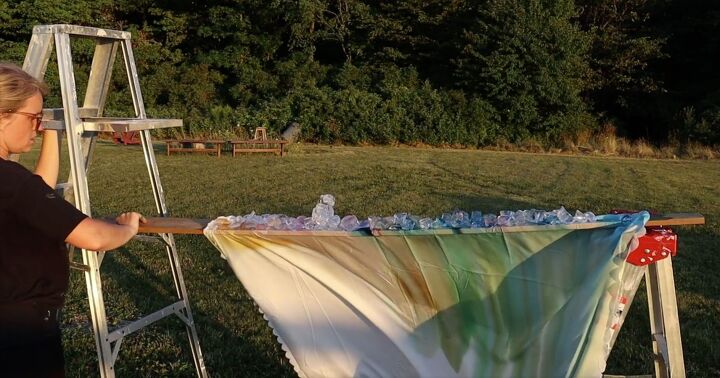
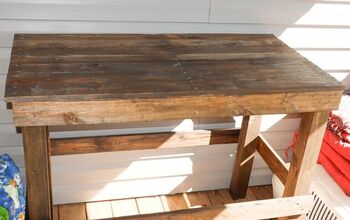
I rigged up this set up with just two ladders and a piece of wood, and then I laid my polyester curtain over top.
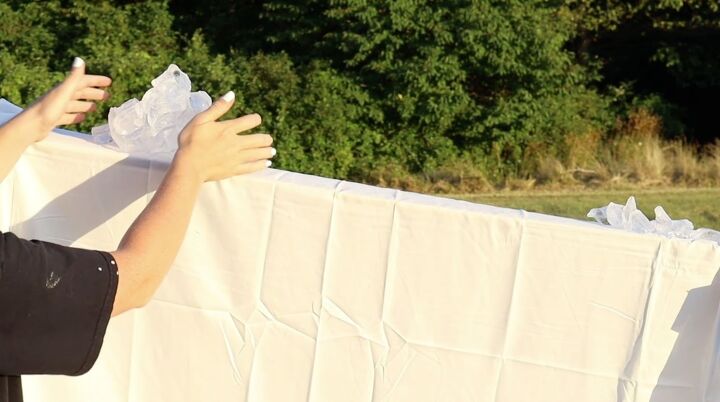
Then I began to place some ice blocks on top of the wood and the curtain just along the wood. I bought a bag of ice so some of the chunks are bigger than others, but itreally doesn't matter. I wanted to make sure there were no gaps and there was ice fully covering the whole piece of wood on top of the curtain.
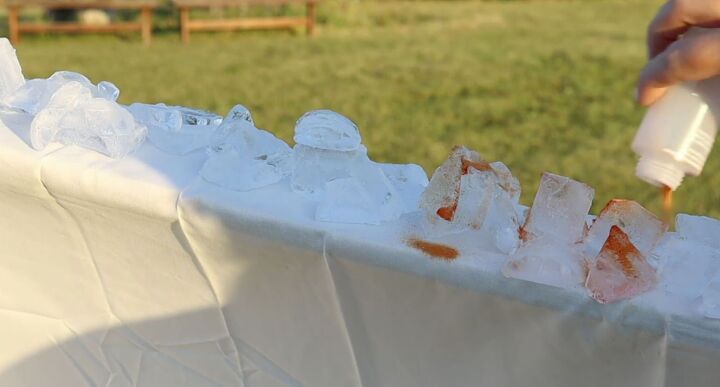
Then I began to dump out the powdered dye over top of the ice. I tried to do this as evenly as possible, making sure that all the ice was covered with powdered dye.

I used all the colors in the kit and spread them out across the entire plank of wood.
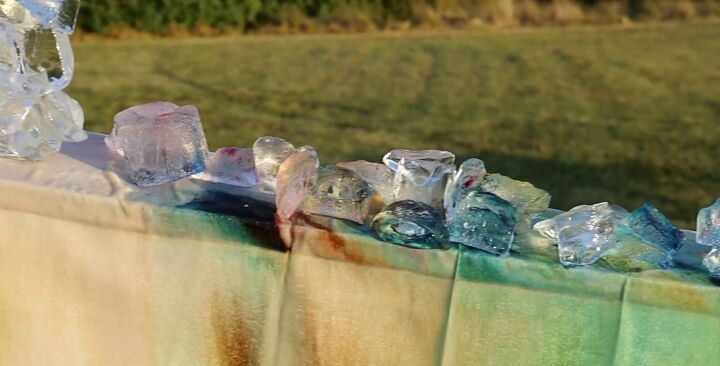
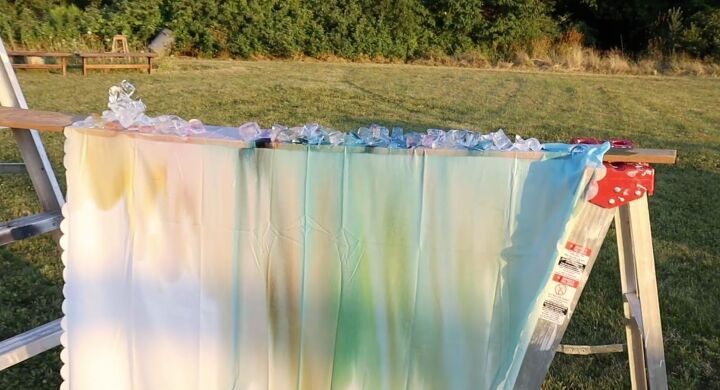
Now the easy part is just to sit back and let the sun melt the ice and see what kind ofcolored patterns come out. Where I am in Canada it was a really hot day so the ice melted quickly.
I did have some large spots of dye just kind of clumping and sitting in one area so I did add a bit more ice around, and also poured some water over the ice. The water allowed those clumpy parts to drip down so that I wouldn't get big blocks of color.
When I started watching it, I had my piece of wood tilted. I thought it would create a cool design, but I decided that I really actually didn't like the way the colors were kind of floating down towards one end of the curtain. I decided to level it out halfway through just by lowering the wood down on a different rung on my ladder. That made it even and allowed the color to evenly run down my curtain.
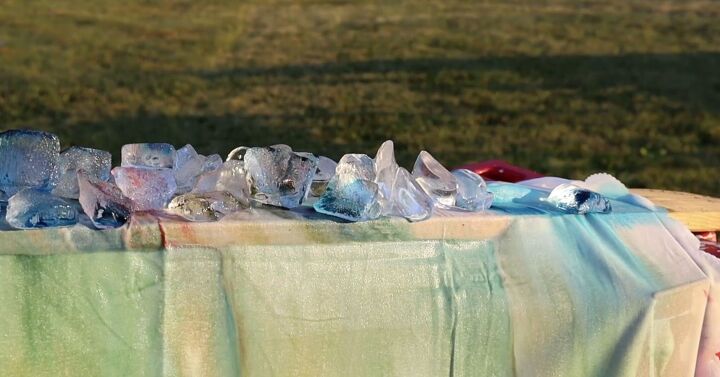
Once the ice is completely melted, you just take your curtain off your piece of wood and then just place it in the dryer till it's dry. I used a polyester curtain but if I had to do it again, I would probably use a 100% cotton curtain. I believe that the colors would absorb a lot better because as the sun melted the ice, it also kind of changed the color of the dye.
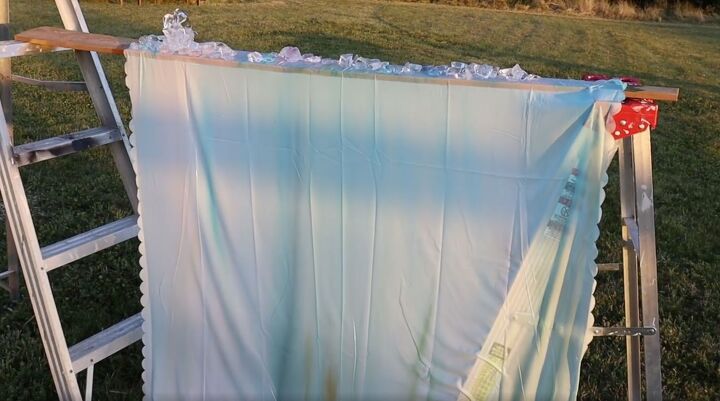
The salmon color and the butterscotch that were in the kit actually kind of faded out with the sun and I was just left with the blue.
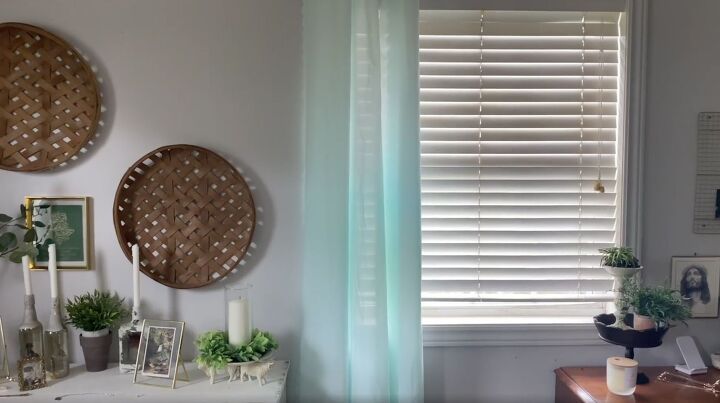
Honestly, I think it's actually really light and delicate, and I think it's a perfect fit for this window. I now have these super nice blue ombre-dyed curtains, and I think they turned out really well.
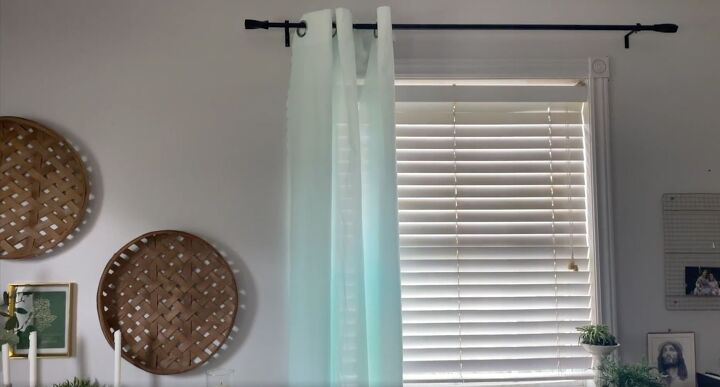
This was a very cheap, inexpensive DIY to do. The dye kit only cost me $8, and the curtain was $4 from my local dollar store. Then just add a bag of ice and that's all you need for this project. I hope that this encourages you to get creative with ice dyes and see what kind of colors and patterns you can come up with.


Comments
Join the conversation
-
Dyeing works better with 100% cotton. You can use sheets for this. Bad idea for shower curtain as it won't rake the dye.
-
Holly, just a silly note, as I’m sure it wasn’t intentional. The use of actual frozen water vs using Ice (the drink) shown in your supply list would be best. I had to snicker. Love the idea of this though.


Frequently asked questions
Have a question about this project?