


Trash to Treasure – Bookshelves
Here is yet ANOTHER trash to treasure project for ya.
What did I find this time???
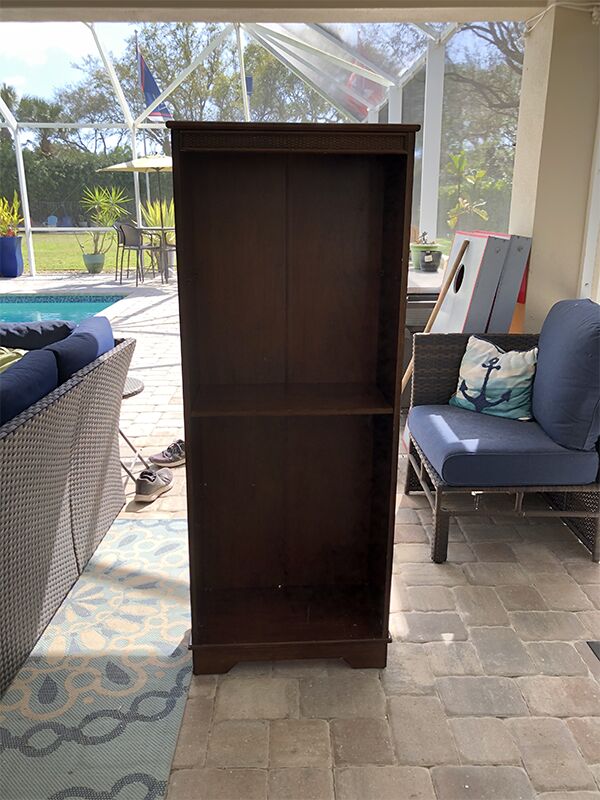
One of my neighbors moved and left a few things at the curb for the garbage trucks (or for someone like me to take). I grabbed these 2 bookshelves.
These shelves were in decent condition. They needed some sprucing up though and I intended to do just that. Here is what I did.
Just FYI….I only took a picture of ONE of these bookshelves, but I had two.
Materials…
Materials Used for this Project…
Furniture Paint
Paint Rollers
Paint Brushes
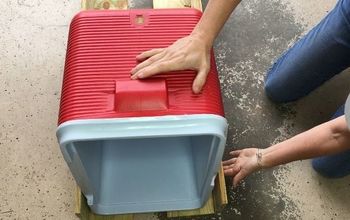
Step 1, Clean…
I always start my projects by giving them a good cleaning and dusting. These shelves didn’t have any significant scratches on them and were in decent shape, but definitely needed a good cleaning.
Step 2, Paint…
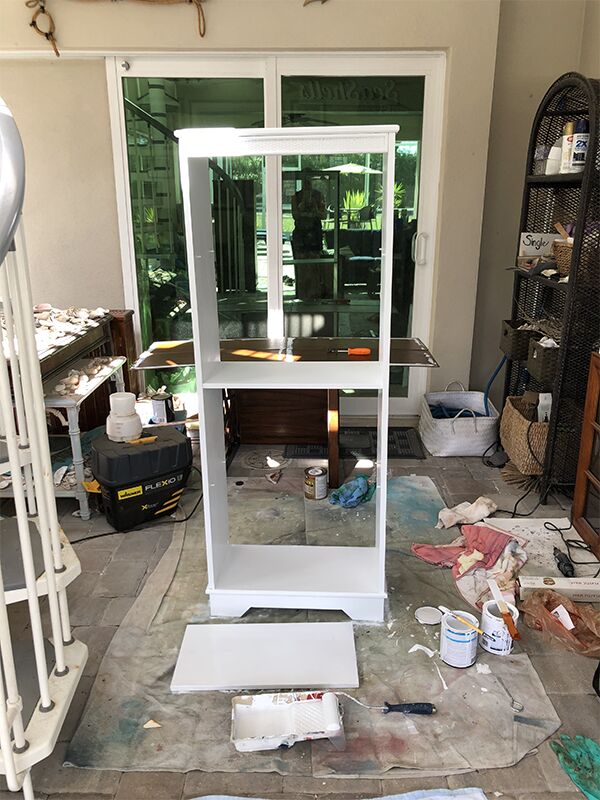
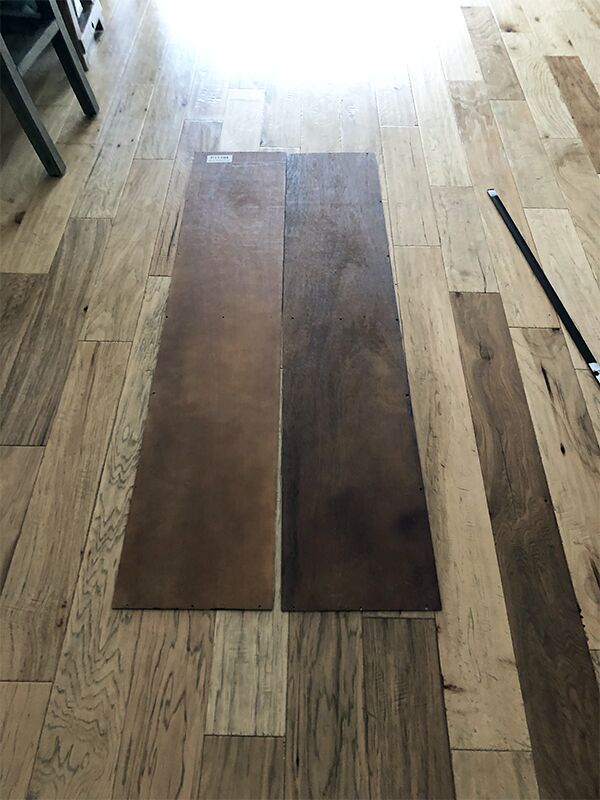
I planned to paint them white so headed to Lowes to get a quart of my favorite furniture/cabinet paint. Unfortunately they were out of stock. Luckily, Home Depot is nearby so I headed there instead. The nice paint guy told me about this Cabinet Rescue paint, so I gave it a try. I am really happy with it. Bonus, it was cheaper than the stuff I usually buy at Lowes.
Half way thru painting I unscrewed the back piece. It was easier to paint without it, and I decided to apply wallpaper, or do something fun with them anyway.
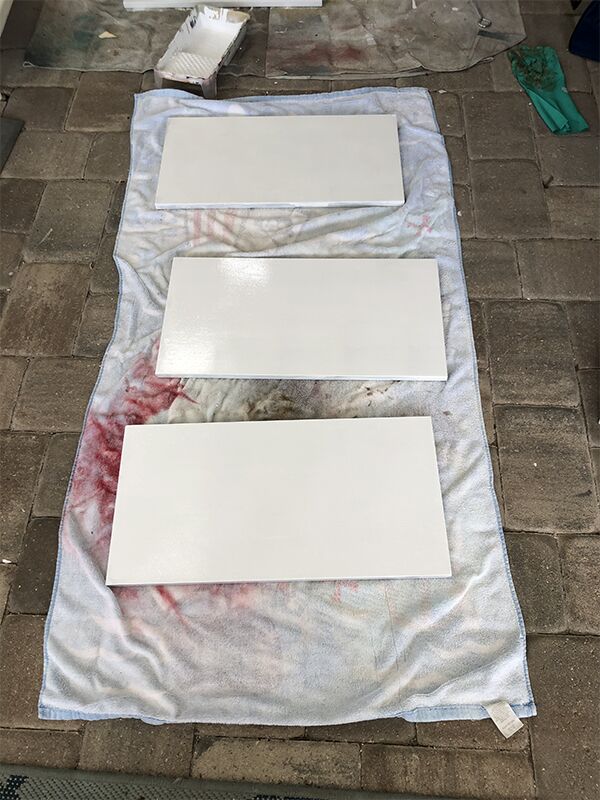
These shelves took A LOT of paint. I think I put on about 4 coats before they were fully covered.
Step 3, Apply Peel and Stick Wallpaper…
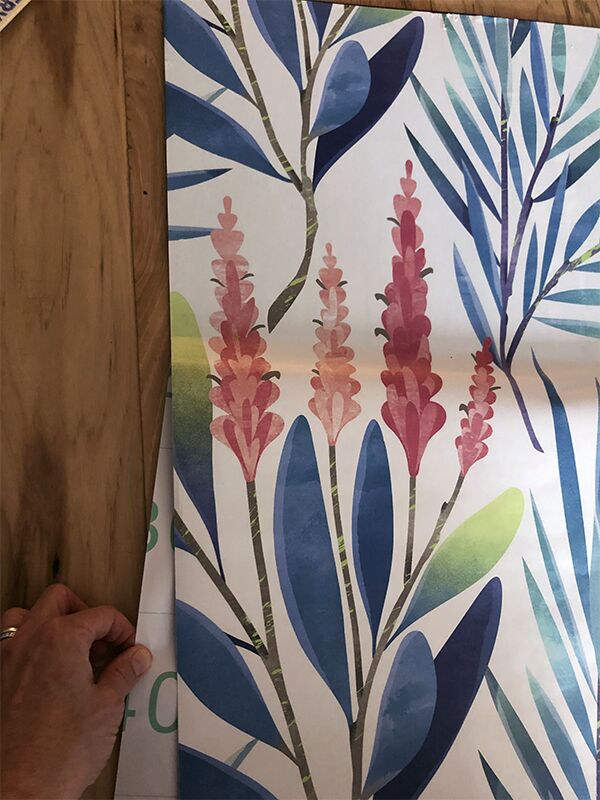
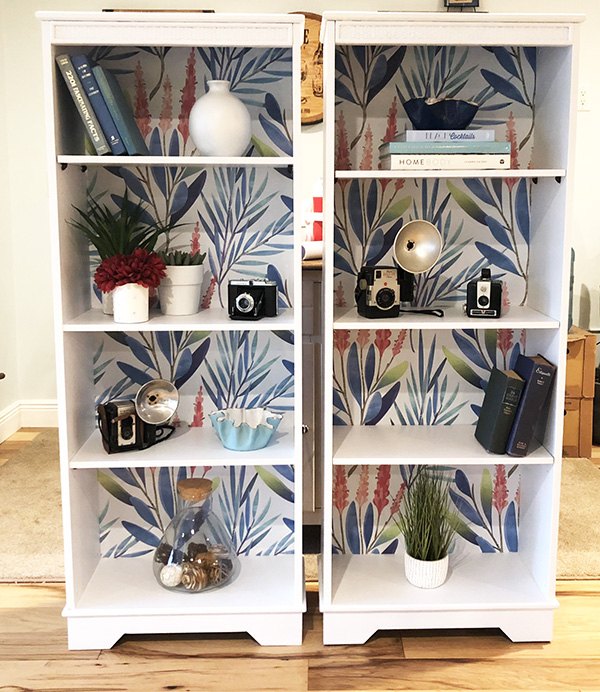
While the paint was drying I went ahead and applied this fun wallpaper to the back piece. I found this amazing wallpaper on Amazon, and LOVE it. Isn’t it puurty?
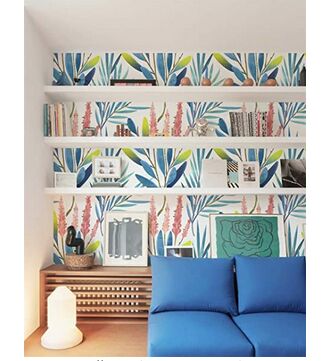
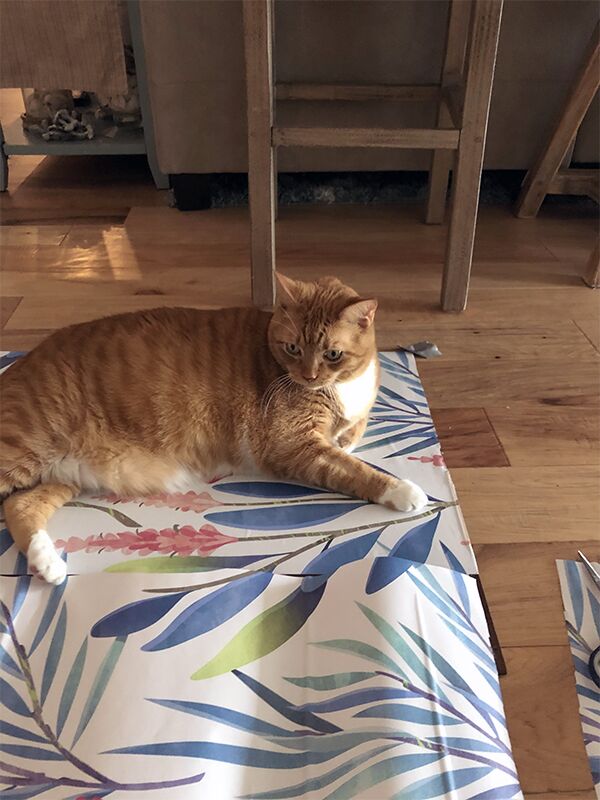
I ended up taping the 2 pieces of the backing together. They were previously held together by a plastic bracket, which left a bump in between the pieces. I took that off and tapped it instead. Then, I proceeded to use the peel and stick wallpaper. I needed 2 rolls to complete the project, and had some left over. Of course my cat had to get in on the action, laying directly on my project as I was trying to work. Silly cat.
I find the easiest way to apply the peel and stick wallpaper is to peel off a small amount of the backing, smooth it down on your wood, use a tool to get rid of any bubbles, and repeat. Going slowly down the piece until you get to the bottom.

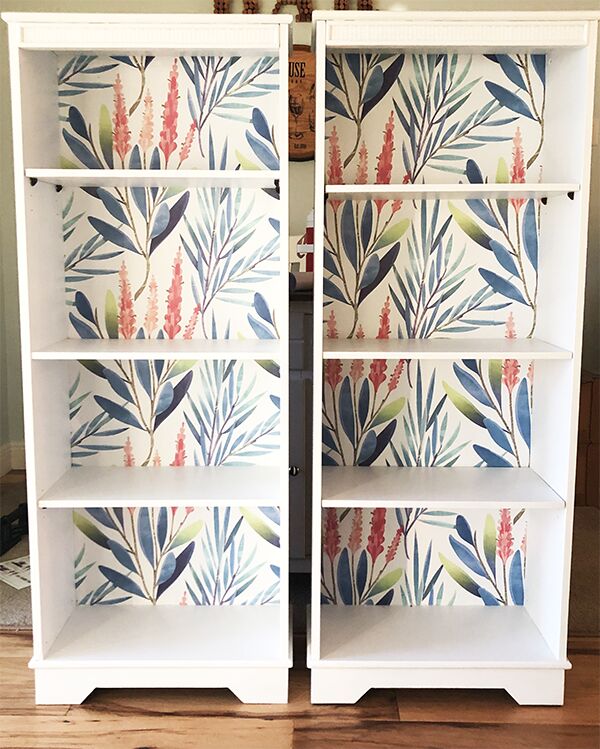
Once the paint was dry, I screwed the wallpapered pieces back on to the shelves, and that was that.
This project wasn’t to hard at all. It just took a little elbow grease, time, paint and wallpaper and viola….don’t they look so much better? Hopefully these sell ASAP on Facebook Marketplace.
These sold pretty quickly on Facebook Marketplace.
Resources for this project:
See all materials


Comments
Join the conversation
-
You clearly don’t know me! LOL! I can barely put together wreaths for my front door, and those are pretty simple! I will, however, tackle this project with crossed fingers and toes! (When my husband was alive, he could do things like this and do them beautifully. Miss him and miss his skills.)
-
These bookshelves turned out fantastic!!!


Frequently asked questions
Have a question about this project?
How much money did you make, after accounting for the cost of supplies and your time?