


TV Stand Door Makeover

We are moving!!! And it feels great to say it. Clay and I haven't officially announced our first home purchase but heck, you are invited to celebrate with us. This has been years in the making and I'm ready to dive into home projects.
One Ive been worling on before we move it adding a personal touch to my second hand tv stand. I originally purchased our tv stand a month ago and it had a very Tommy Bahama vibe. Not so much thang if you couldn't tell from my other projects. I really do love midcentury modern and decided to makeover my tv stand doors.
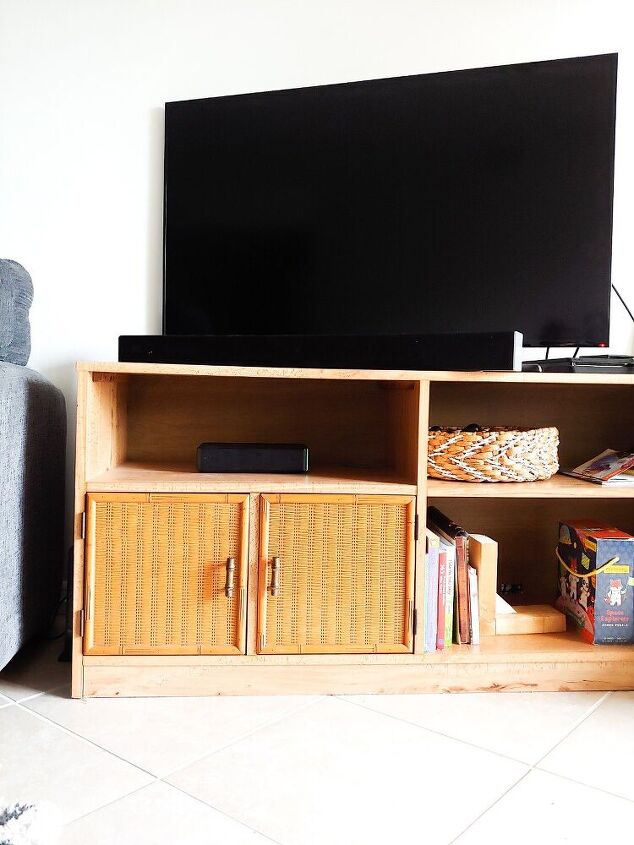
Here is a peak of what this gem looked like when I purchased it from Habitat for Humanity for $60. Score!
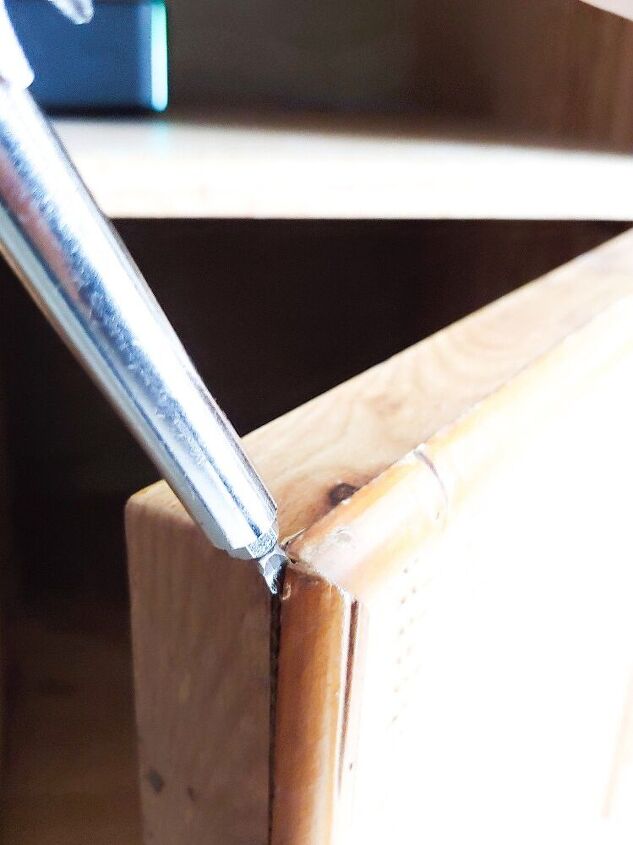
But the fake bamboo and wicker? Heck no, that's got to go. Thankfully it was easy to pry off the "bamboo" with a flathead screwdriver. Unfortunately, the wicker was there to stay. But I had a solution.
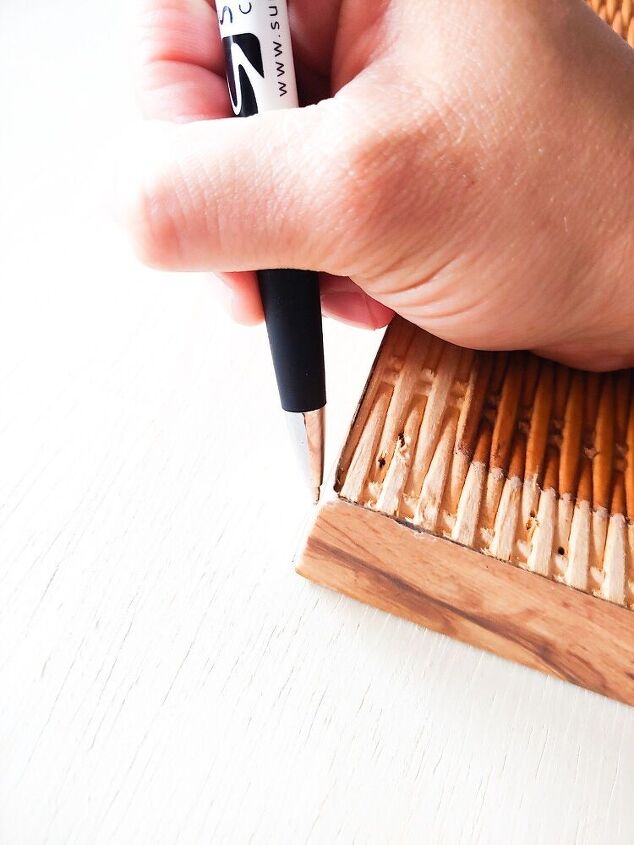
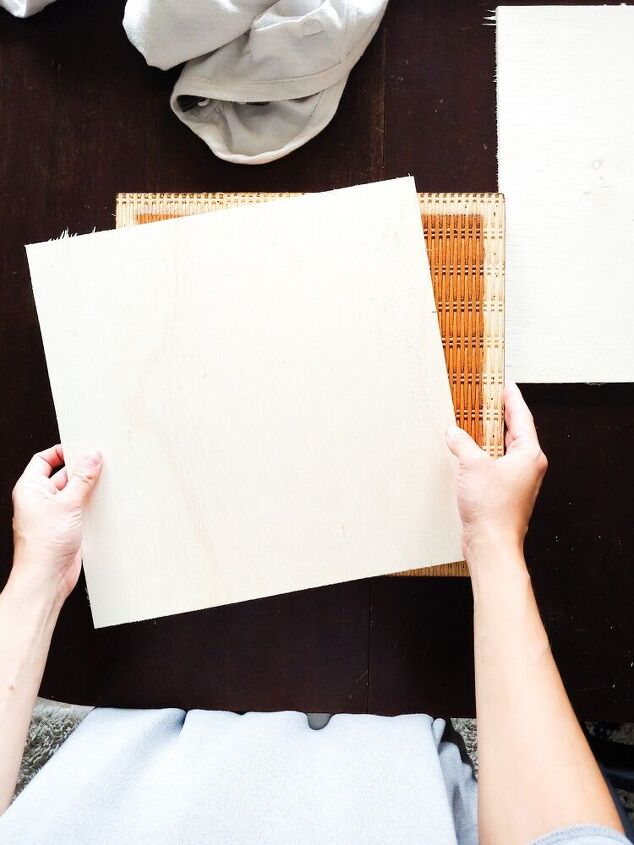
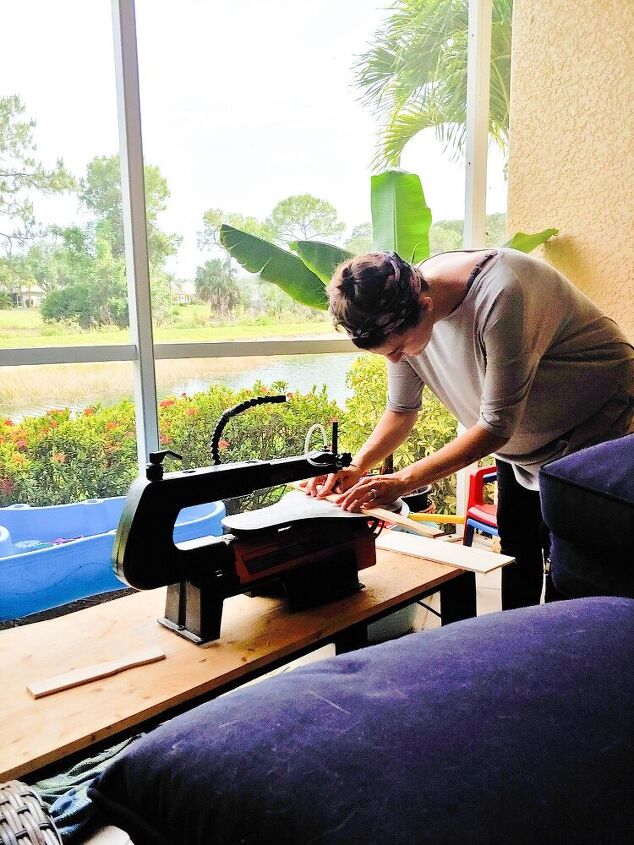
On scrap 1/4" plywood I traced the doors of the tv stand so that I could simply cover them with a smooth wood to hide the wicker.
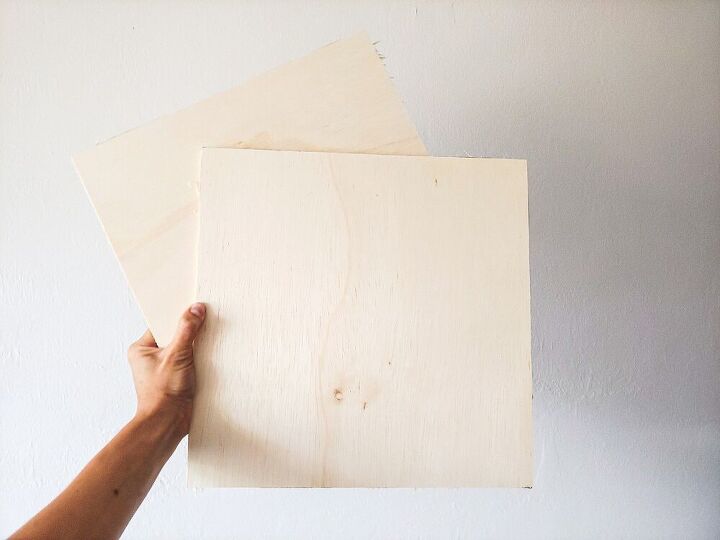
I traced 1 for each door and cut them on my scroll saw. Then scrubba dub with a smoothing sand paper (and also stabbed myself under the fingernails several times. Dang plywood).
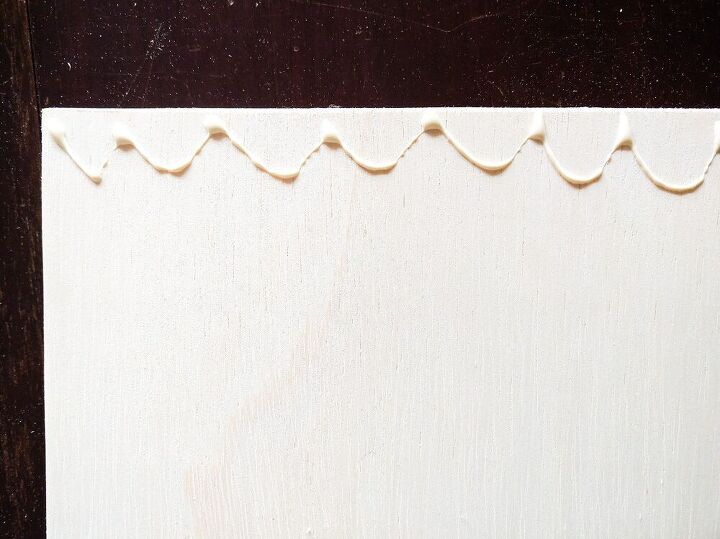
Using wood glue I fastened these pieces of plywood to the front of each door and allowed to dry while clamped.
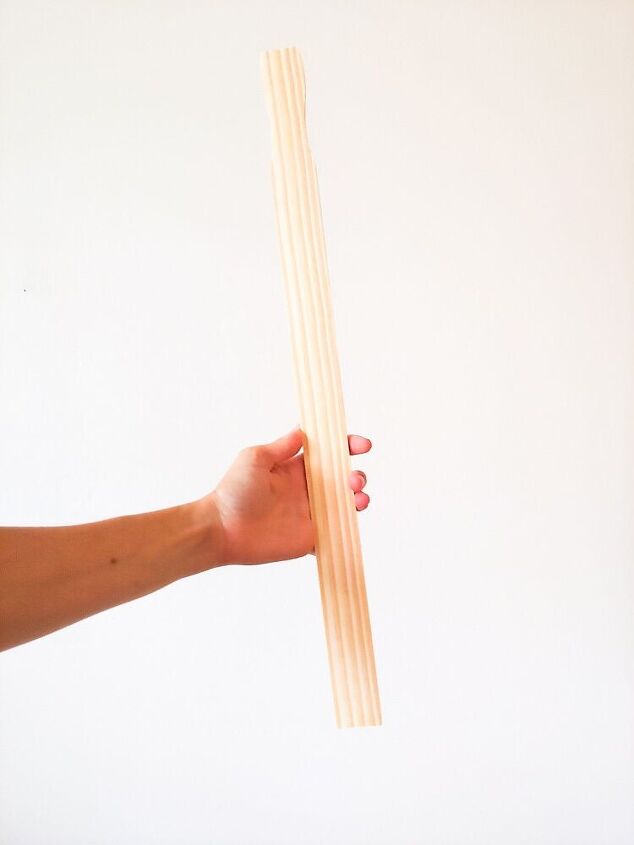
This DIY was one of my cheapest. A sweet lady at Home Depot suggested a while ago I use gallon stir sticks to make my projects. GENIUS! For a pack of 3 5g stir sticks they're only $1 (I had mine on hand from another project). I used these as the frames for my doors.
I measured out the length needed to frame my doors for a shaker cabinet look. For each door I cut 2-12.5" sticks and 2-9.5" sticks.
I placed wood glue to where my sticks would go, clamped them down and let them dry. Then I hammered in nails to keep them in place.
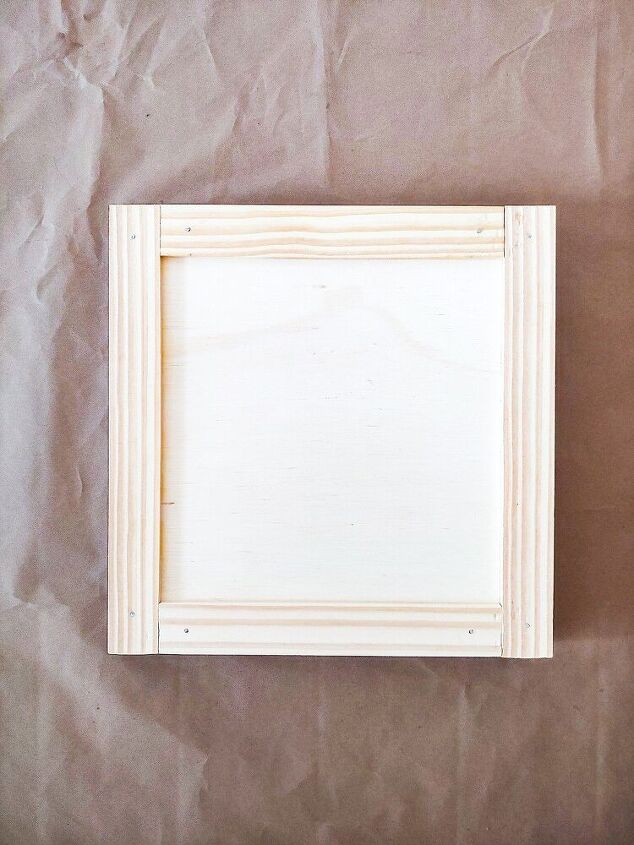
Here's a progress shot! Now for the most important step....
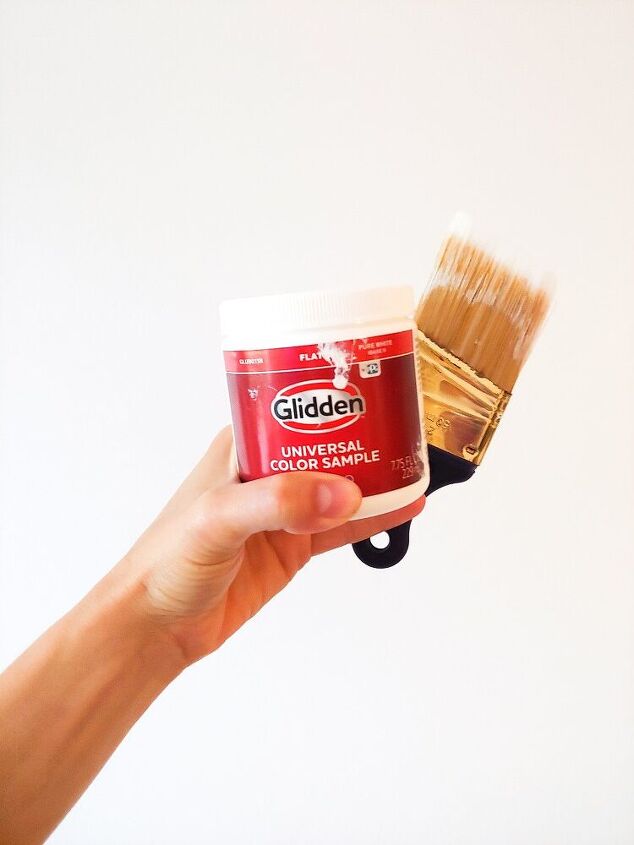
PAINTING! Yas my friend, the color is ever-y-thing. And knowing we would be painting our future family room white, I decided to mimic that with the tv stand doors. For this I used a sample size Glidden white (leftover from yet another project), which you can find at Home Depot for $3.50. 2-3 coats did the trick.
And now for the second my important part...
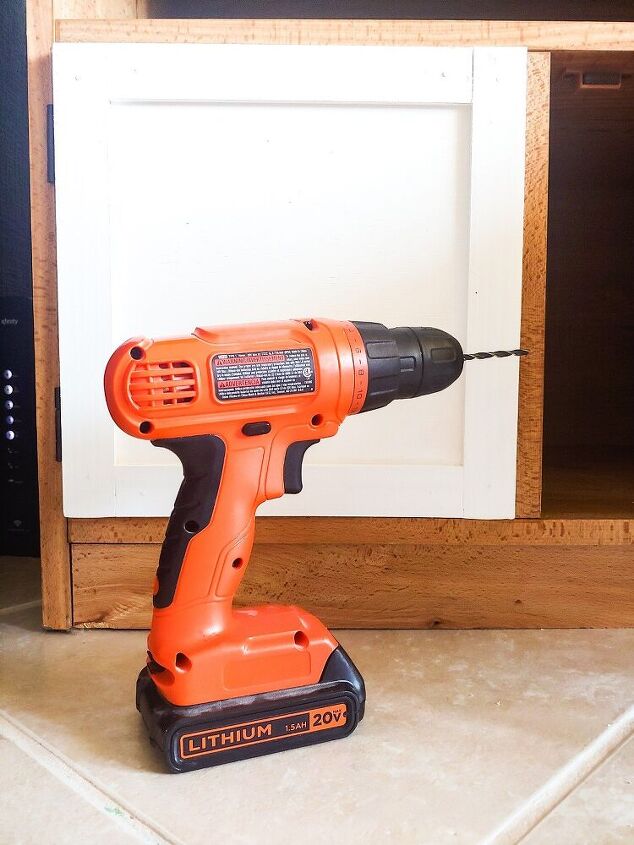
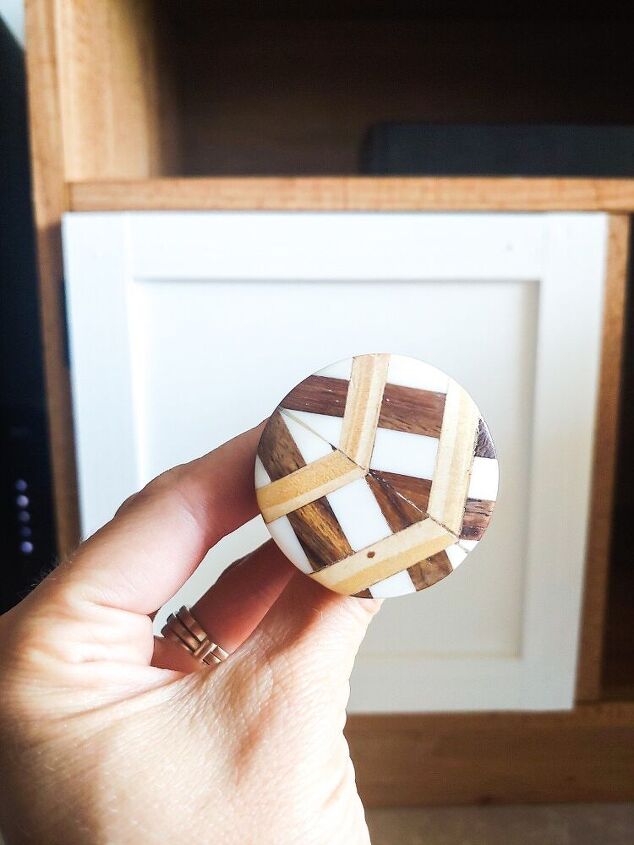
After the paint dried completely I put the doors back on the tv stand. But now needed to add the knobs. I used a drill bit a hair smaller than the screws on my knobs and drilled a hole on the side it opened by, halfway down.
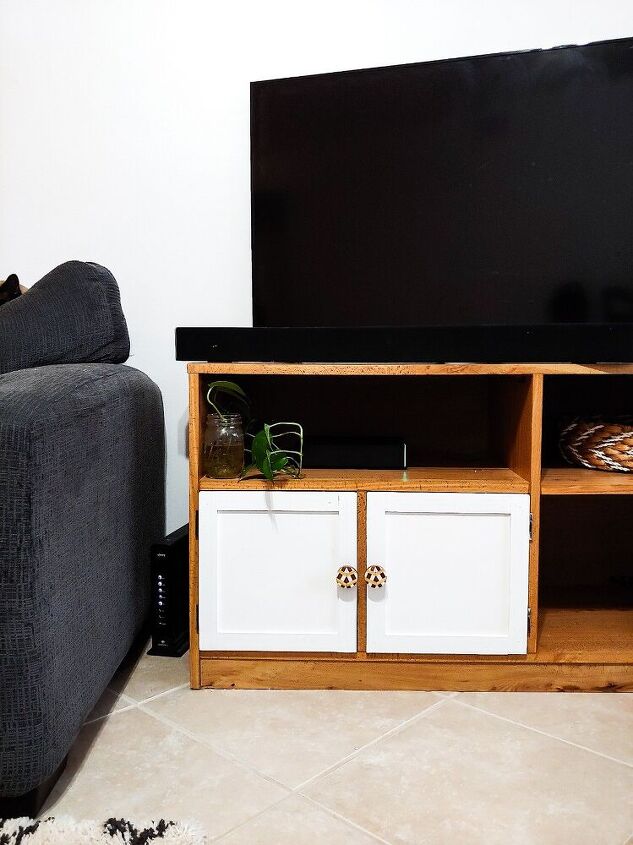
I am THRILLED with how this makeover turned out. These doors are exactly what this needed. Goodbye Tommy, Hello me!
Resources for this project:
See all materials


Comments
Join the conversation
-
I appreciate that it appears you did this with a minimal amount of tools.Good for you,lots of projects on here are done using tools/machines that most people will probably never own.Just remember to wear gloves when sanding plywood,ha.
-
I love the transformation from one style to another with minimal changes. Great job


Frequently asked questions
Have a question about this project?