


Design and Hang a Clipboard Wall to Display Art and Get Organized
Many of us are working and schooling from home and the paper clutter is very real.
Between the worksheets, meeting notes, meals plans, and to-do lists, the amount of paper we’re dealing with has grown exponentially.
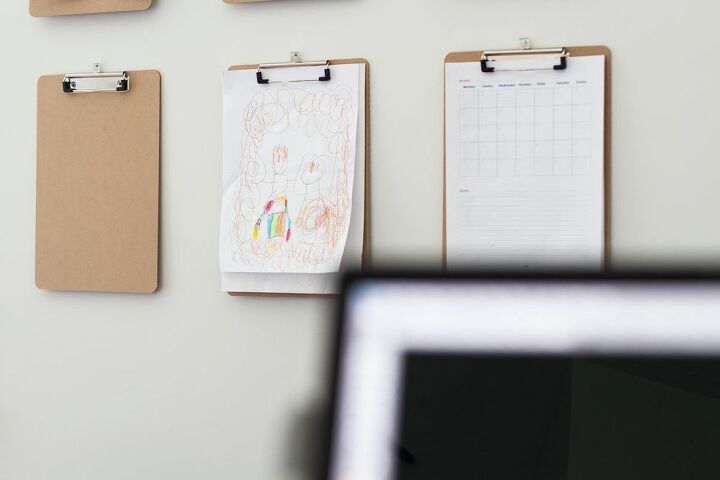
Here's how we got organized. The clipboard wall. I developed a system for organizing our paper and this wall is the key to it all. I also like to break all the paper up with casually hung artwork to make it inspiring to look at.
Could you use something like this, especially now?
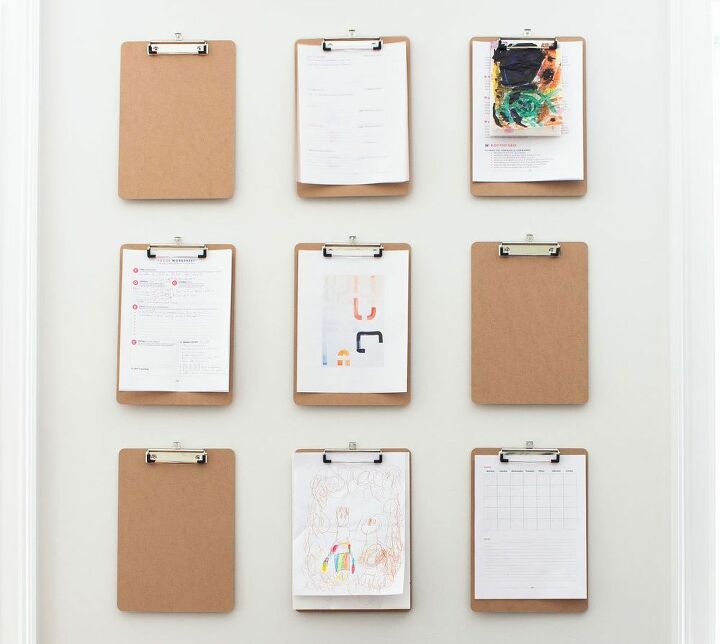
Essentially, we're making wall of clipboards hung in an attractive grid. Keep reading to see how you can easily plan and hang this cool display and how to use it to keep clutter at bay.
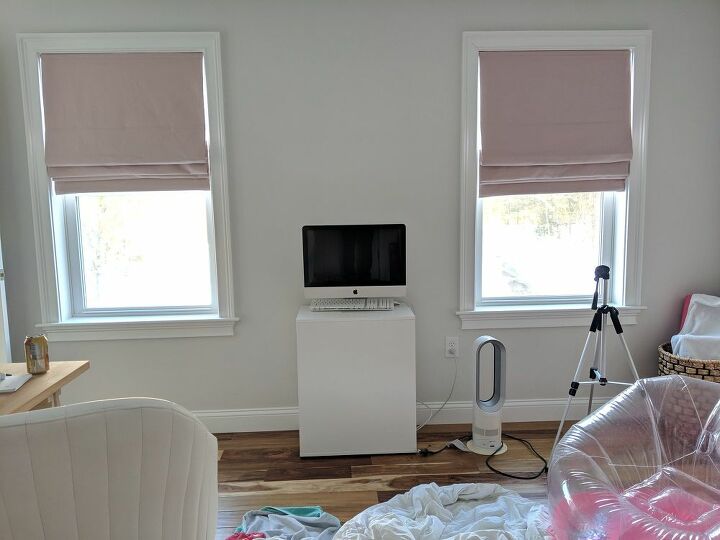
I decided to use this random wall space when I redesigned my office to create my paper organization system. It's easy to see from my desk and I wanted to make it both pretty and functional.
You'll need:
- Attractive clipboards
- Simple, flat headed nails
- Pencil
- Hammer
- Level (optional if you prefer to eyeball)
- Ruler (optional if you prefer to eyeball)
Step 1: Plan the Layout of Your Clipboards
The first step to getting rid of paper clutter is figuring out how much you will likely be working with. Do you need three clipboards or 20? Figure that out then find a wall space that will fit all your clipboards.
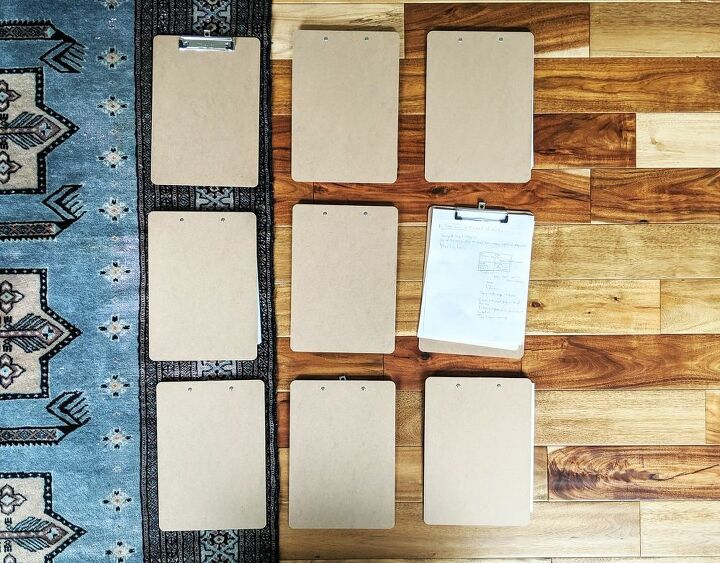
I like to lay everything out on the floor to get a sense of the actual size before committing everything to the wall.
Tip: Make sure you can easily reach all of your clipboards.
I was working with a tallish, narrow space so I used a simple 3 x 3 grid. A 3 x 4 would work for this type of space as well (seen above).
Step 2: Mark the Center of Your Layout
This is where your ruler could come in handy or you can just eyeball it. Either way, find where you want the center of your arrangement to be and mark it with a pencil or a nail hole.
Tip: The center height should be slightly above shoulder level.

Step 3: Start Nailing!
Hammer a nail into the center mark you just made and hang your first clipboard.
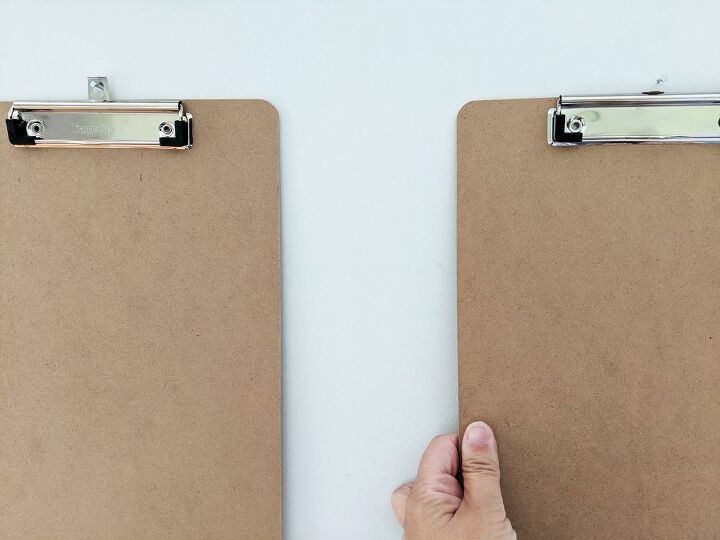
Next, take a second clipboard and hold it up to where you want it in relation to the center clipboard. Make sure the tops of the clipboards are at the same height. Pull up the hanger and pencil a mark onto the wall through the center of the hanger hole.
Continue this process, working out from the center and spacing the clipboard edges evenly.
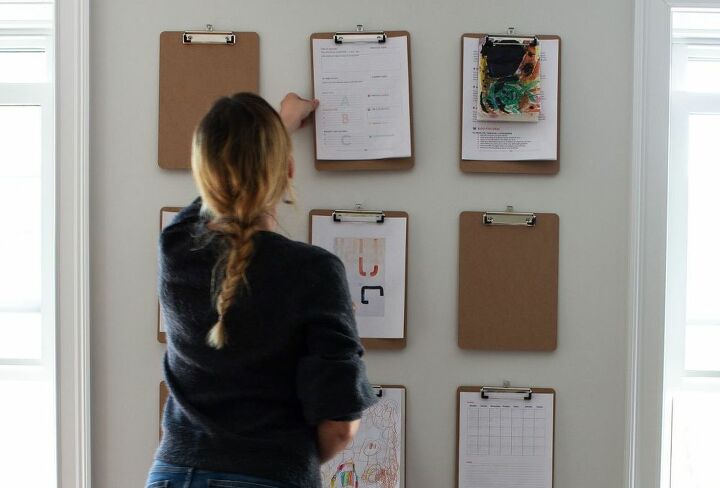
Step 4: Use It!
Arguably the most important step. You have to use it for it to work! Sure, it’s cute, but who cares if it doesn’t ease the paper problem?
Get the details on the paper system I use and for four more layout ideas based on the size of the wall you're working with, over on the blog.
Resources for this project:


Frequently asked questions
Have a question about this project?