


HOW TO SETUP A FAMILY COMMAND CENTER

As I am writing this post in the middle of a pandemic and start of school looming on us, setting up a family command center slowly rose to the top of my priorities. With all four members of our little family either working or schooling from home, it’ll be a challenge to keep track of everyone’s schedules, appointments, important dates, paperwork etc. Not that it’s not challenging without the pandemic, but more so with it.
Therefore, I set out to create a family command center wall in our home. If you are looking to set one up too, follow along as I share the exact steps I followed. I am sure you’ll find some family command center ideas that you can implement easily.
STEP 1: “THE WHY” – DEFINE THE INTENT
It’s easy to get carried away with all the impressive images of family command center boards on Pinterest and decide that you want one. But, not all families have the same needs.
So, the first step should always be to decide what your family wants out of it. What do you WANT in it and more importantly, what you DON’T WANT in it.
For example
- Do you want it to be a storage station with baskets and shelves or do you feel that’ll add to the clutter?
- Do you want it to be meal planning station or just for taking notes?
- Do you want a calendar or do you have a separate system for that?
In my case, I wanted our family command center to have:
- A place for hanging keys
- A file holder to house paperwork such as school notices, bills, and prescriptions
- Storage for basic stationery items such as pens, scissors, and dry erase markers
- An editable calendar to note down important dates and appointments
- A space to take notes such as grocery items that we’ve run out of or other things we needed to remember
- A tiny bit of personal touch such as simple decor items for that “feel good” factor
Once you are clear on the purpose of your family command center and its desired outcome, the rest of the steps become easier.
STEP 2: “THE WHERE” – DETERMINE THE LOCATION
Command center 101: Location, Location, Location!
As with real estate, the where, plays a very important role in the efficiency of your family command center idea. You definitely want it to align with your “WHY” from Step 1. If you intend to use it daily, then it needs to be in a location that’s visible daily.
If you want your entire family to use it, then it needs to be in a location accessible to everyone in your family (Not in the dark corner of guest bedroom closet that no one visits, not even your guests)
If you want your family command center to be a drop zone, then it needs to be near to where you enter your house from.
You get the point right? Location is Key!
In my case, I wanted it to be:
- Close to my kids rooms as I intend to note important dates with respect to school
- Close to the laundry room and kitchen so that we can see it often and make updates often
- Easily visible to and accessible by everyone in the family
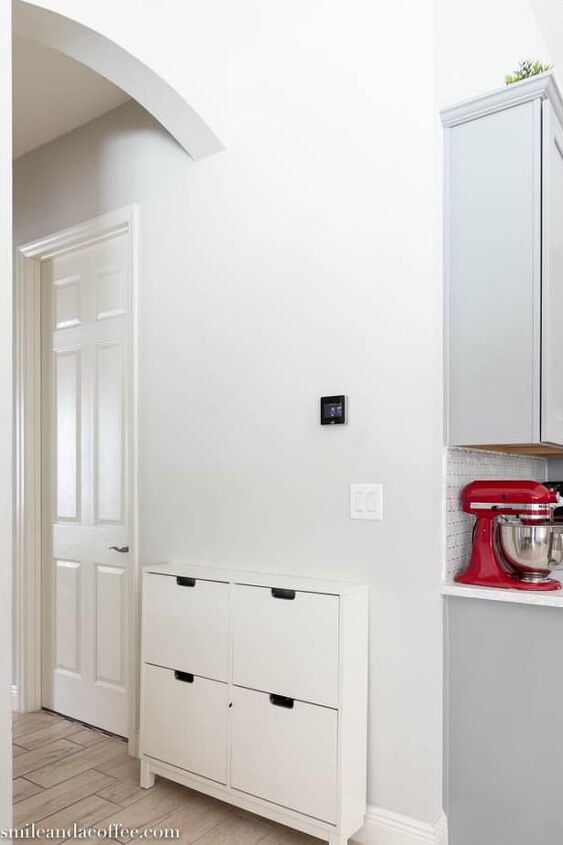
The best location that fit all my needs was a small wall between the kitchen and the entrance to our laundry. It’s steps away from the kids room. since our laundry room has an entrance to the garage, we mostly enter the house through the laundry room as opposed to the front entrance.
So, this wall for me was the perfect spot to setup a family command center!
The next step in the process is to decide the elements of a family command center. If you have your “Why” and “Where” done, this step should be a breeze. You can start shopping! (You’re smiling now, aren’t you :)). If you are not excited by that prospect, you can totally make it a DIY family command center. The choice is yours.
Look at each of the points you noted in your why and look for an item that would fit in the location you decided.
If you have chosen a large expansive wall, then you may have some flexibility in the size of the products you choose. On the other hand, if your chosen space is small, then gigantic items may not fit. So, be conscious of that before you start shopping or DIYing your family command center essentials.
One more thing to keep in mind at this stage is also the design aspect. What do you want the overall look to be? A few ideas that you can use are:
- Do you want it to be minimal?
- Do you want it all white?
- Do you want it to be colorful? If yes what color schema would be good for the chosen location
- Does it blend well with the theme of your house?
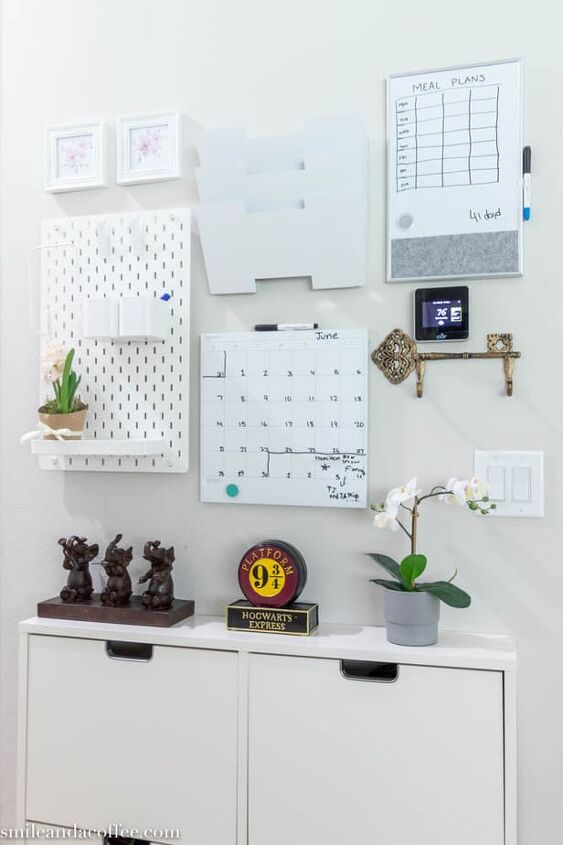
As for me, since I chose a small wall, I needed to look for compact calendars, file holders, and the like. I also wanted to be mostly white as my entire home is light colors with a lot of white and gray. This combination of size and color is what I needed to choose my products. Here is what I finally decided upon:
Last, but not least, I found this lovely brass key holder in Big Lots! There an Ikea shoe cabinet at the bottom of the command center area which we use as a lunch station to store, foil, wrap, lunch bags and water bottles. On the top of the cabinet is a cute little Harry Potter themed 9 and 3/4 platform piggy bank. Why am I telling you all this? Because the key holder goes really well with that piggy bank. At least, that’s how I convinced myself that the keyholder is a great buy. Well, it is, isn’t it?
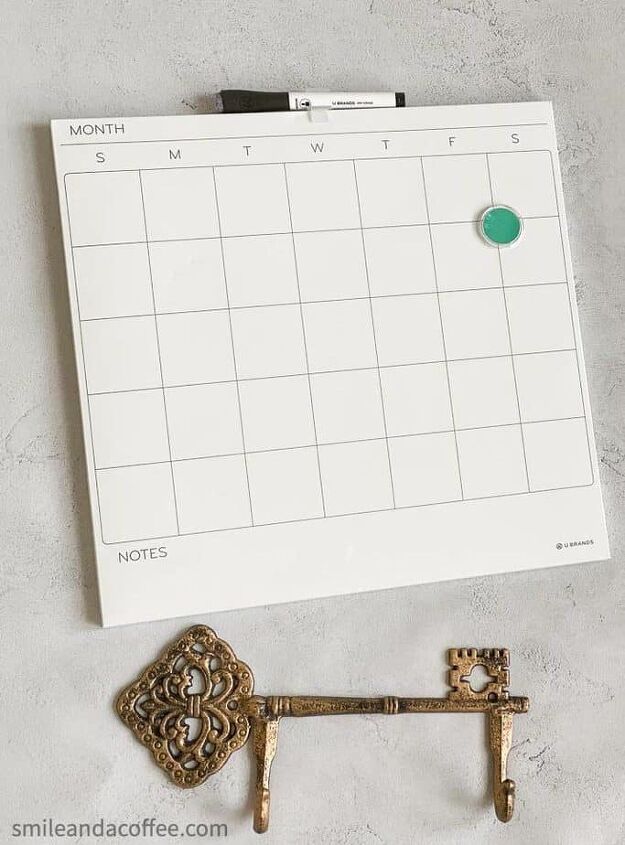
This calendar from Walmart is white, compact, undated, and magnetic. It also a little section for notes at the bottom, which I love 🙂 (I have to admit though, that my daughter is the one who diligently crosses it off, makes notes and updates every day)
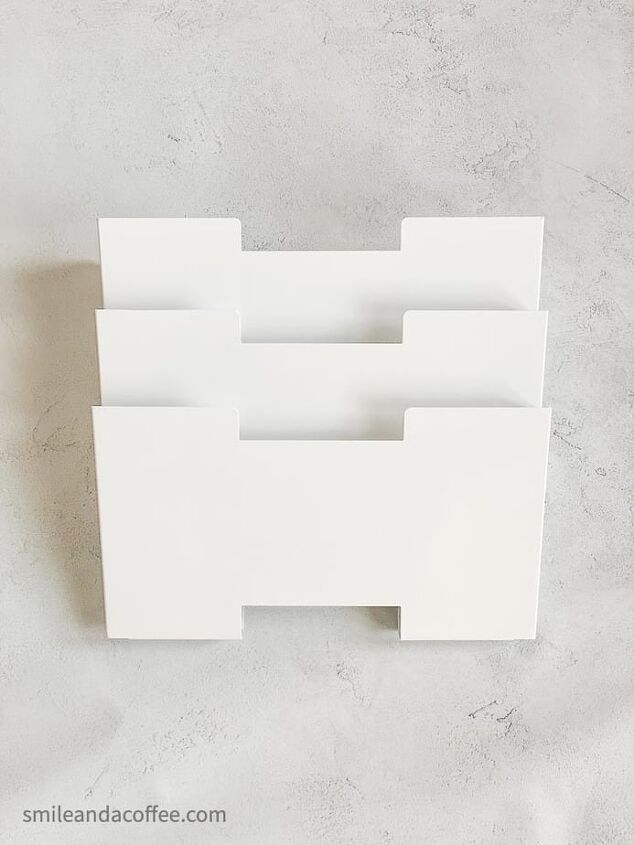
This wall file holder from Amazon and was white and compact. Since this holder is mostly going to be used to store bills, school notes, and other important papers and not as a complete paper management system, I felt it would be perfect for us and I am glad to say, I was right 🙂
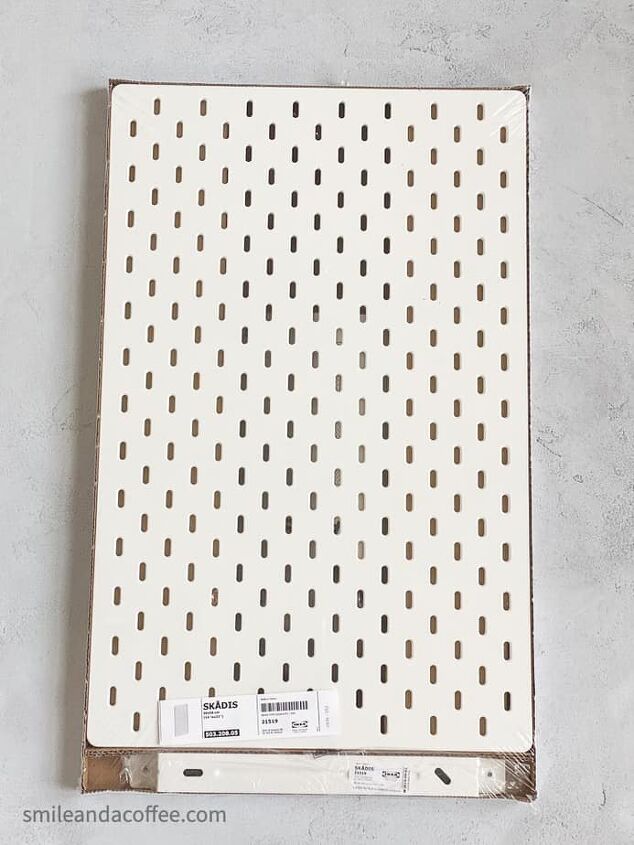
Pegboard
Isn’t Ikea an organizer’s heaven? We won’t get along if you are a non-believer. Just kidding!
But, I do love Ikea for a whole lot of things. Things that can be bought in Ikea can warrant several posts, I’m sure! Anyway, the Ikea pegboard was on my radar for a long time and It couldn’t have been more perfect for my family command center. It’s quite versatile with the number of accessories that you can choose. I chose 2 cups for stationery, 2 clips, and a tray for housing a small decor piece (from Ikea too!)
Next up was another dry erase board that I found at Walmart. It’s slim, has a cute dot grid pattern. which I adore and a felt strip at the bottom for pins. Cute and perfect!

In the end, I also added a couple tiny frameworks with printed art and a DIY wall decor plaque to complete the set.
Now we are getting somewhere! It’s time to do the lengthy process of trial and error to decide what goes where. At this point, you will need to decide the layout for your family command center so that you can start setting it up the way you want it.
Here are a few tips to make this process easier:
- Draw it on dot grid or graph paper, if you have it handy as it makes it easier to mimic the measurements on a smaller scale
- Lay all the essentials on the floor, right below the wall where you are planning to set it up
- Stick pieces of similar sized paper or foam board on the wall with masking tape to decide where everything goes
For my family command center layout, I tried drawing it on paper, which worked to some extent. It helped get a basic sense of the intended setup. But, because the thermostat and a switch plate were also in the space that I had chosen. I ended up laying them on the floor below the family command center wall to double-check.
I forgot to take pictures of this stage in my excitement to get it all setup and be done. I am sure you get the idea though.
So, do what works for you to come with your own layout.
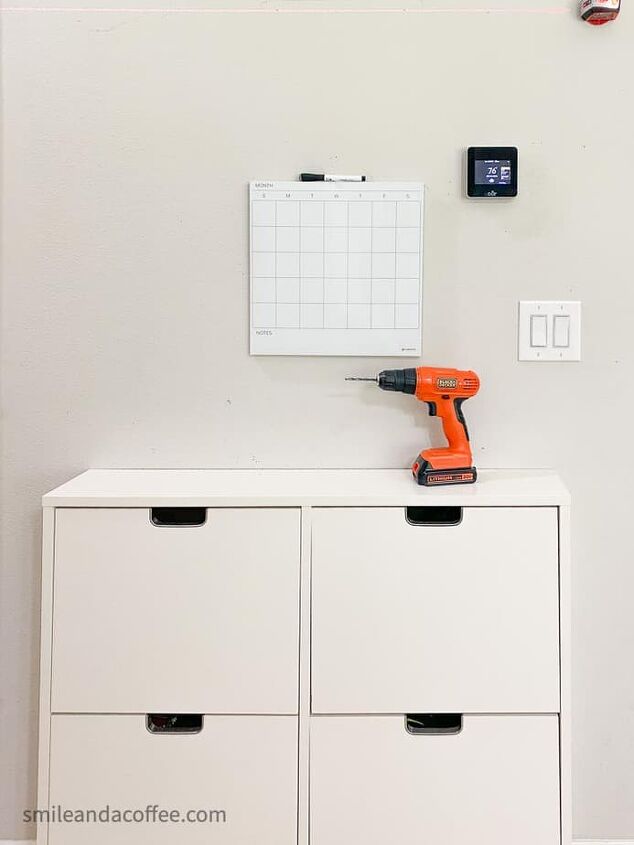
Now comes that doing part. With all the steps you’ve completed so far, the only things left to do the final setup on the wall. Hang, stick or do whatever it is you need to do with all the command centers essentials you have on hand.
Most of the pieces that I had needed a bit of drilling and putting screws for hanging. So, I need to take some additional measurements on where the holes needed to be. Then I just drilled in the marked spots, put the screws on and hung all the pieces to complete my setup.
Here is a post from Lifehacker with a neat little tip on how you can use masking tape to drill holes easily and perfectly, even for large wall hangings. I have used this trick for almost everything that I have hanging in my home.
Be sure to let me know what method you used for your family command center setup.
You can call it a day once you are done with step 5 as the setup is all done. But if you are anything like me, you’ll want to personalize it a bit to add more you in to the project 🙂
At this stage, just go with your design gut and add any items to personalize your family command center. It can be photos, wall hangings, decor, or anything of your choice that makes the space, feel more you.
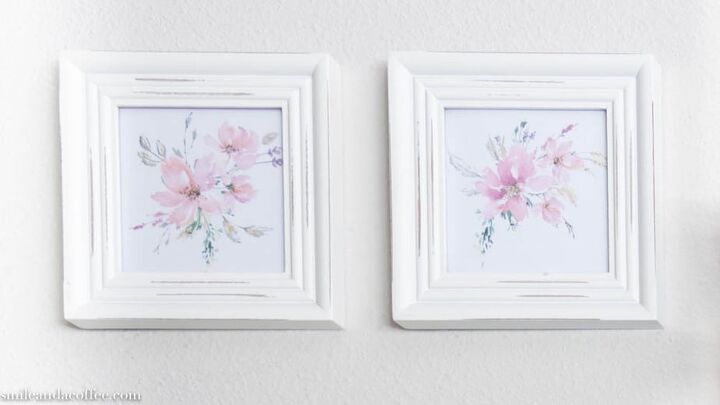
On my wall, I did notice a little bit of empty space above the pegboard which I wanted to fill. I started scouring the house for anything that would fit the space. I found tiny whites frames that I had bought from T J Maxx a long time ago. They fit perfectly into the space, but the only problem was, that they were empty!
I remembered that I had purchased a few floral design elements from Etsy for this blog’s logo design. After hunting them down on my computer, I put them on a Word document and printed them out. Then, I added them to the empty frames and voila! I had instant home decor frames 🙂 I feel they look adorable. What do you think?
Here we are, at last! With all the hardwork you’ve put in to design and setup your own family command center, now it’s time to use it and enjoy the benefits 🙂
If you want more ideas for your designing and set up of your family command center, be sure to check out my post on a list of command center ideas that you can draw inspiration from.
Let me know if your thoughts on this post in the comments below and what other how-to guides you like to see.


Frequently asked questions
Have a question about this project?