


How to Organize Your Spice Jars With Labels!
Easy & Inexpensive!
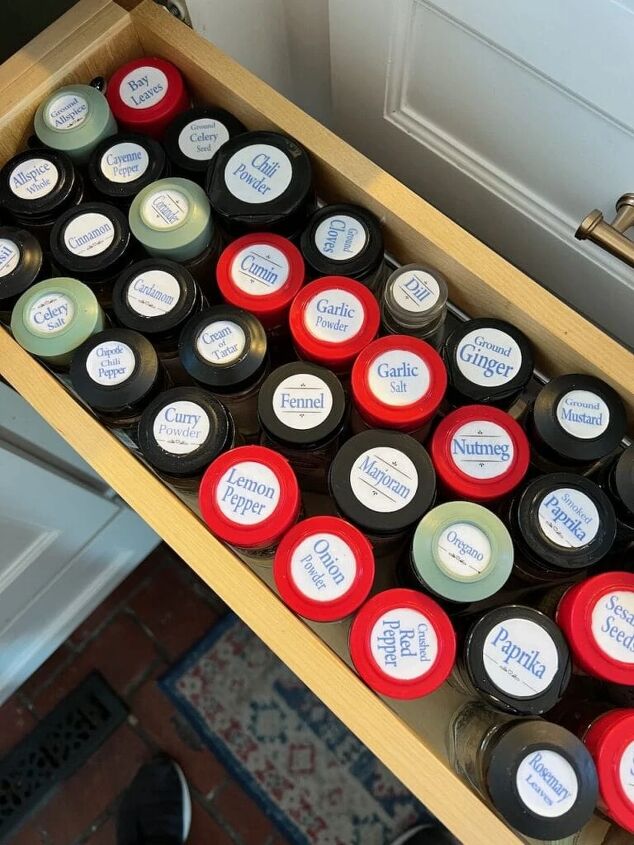
No need to replace all your spice jars, just add coordinating labels to the lids for pullout storage or to the edge of the lids for cabinet storage.
Why is it Important to Organize Your Spices
In a nutshell, simply to save time, energy, frustration — and even some money when yo find yourself buying a spice just because you couldn’t find it and now you have two!
The old, very wise adage: a place for everything and everything in its place!
Plus it empowers more people to be able to help in your kitchen effectively AND return it to your order.
Type of Label is Determined By Where Your Spices are Stored
In a wall cabinet- you probably would want to add an adhesive label around the edge of the caps so you can easily see what is in the back bottles. But you don’t have to re-label the majority of your spice bottles and jars.
When assessing storage options, keep in mind labels need to be where they can be seen without having to turn or lift each bottle.
In an under counter pullout-
My absolute favorite!!! This is the setup I’m focusing on today, because it is the optimal setup provided you have the right labels on your spice jars.
Your pullout is probably 3 or 4 shelves tall. The top shelf has the easiest access, so this should hold all the herbs and spices you use the most.
I needed two shelves to hold all our dry seasonings. So this was the defining line. For us, the second tier holds all the seasoning blends, i.e. Italian seasoning, cajun seasoning, poultry seasoning, old bay spice, pork rub, etc. and any duplicate spices.
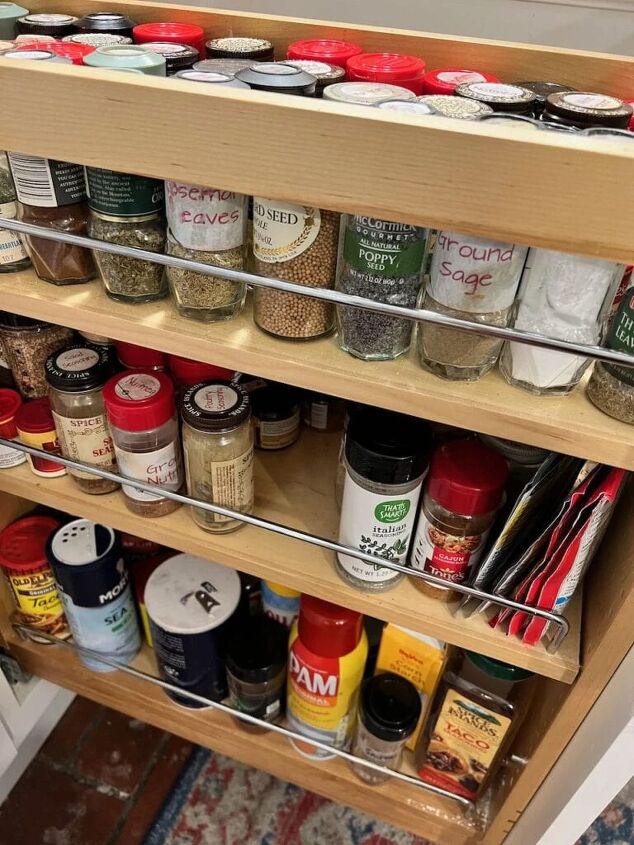
Our pull out came with four shelves. But I found we only needed three shelves with one tall enough to hold cooking sprays, etc. So we removed one shelf and are using the bottom for the baking soda, salts, pepper, cooking sprays, etc.
That said, it's the labels on the spice jar lids that make it work!
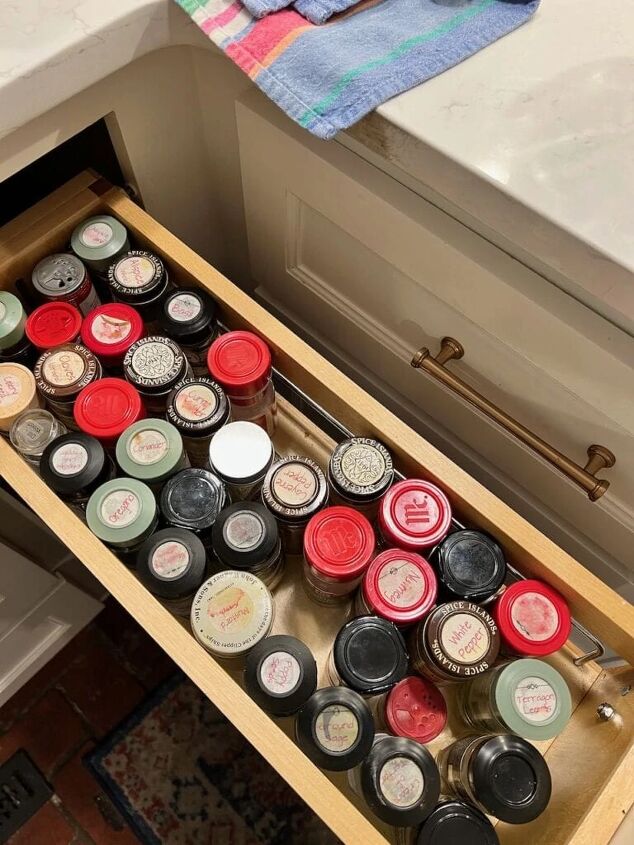
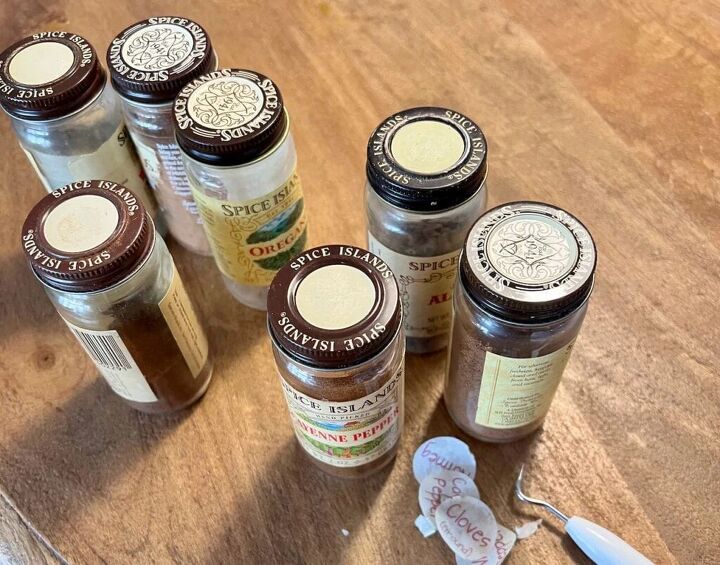
But oh, what a mess those lids are! And such a hodge podge of bottles!
I made those labels you see here back in 2015. The biggest issue is that I didn’t get them sealed.
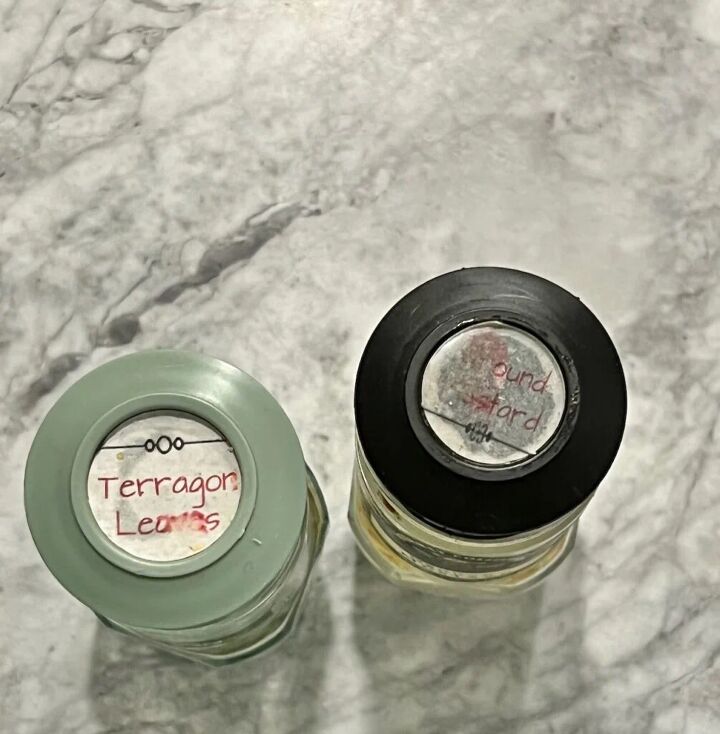
And no, the spices themselves are not that old! I just keep using the same labeled bottles and dumping out the old spice and replenishing new spices into the old labeled bottles.
Sometimes I get lucky and happen to buy the same brand of spice again. In that case, I just switch the labeled lid onto the new bottle.
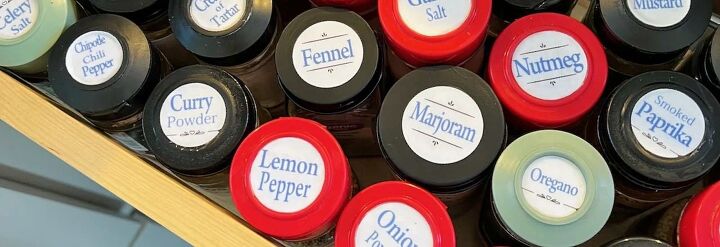
It’s the LIDS of the top shelf spice jars that need labels!
What Spice Bottles Did I Use?
If you been hanging out with me for any length of time, your know that I am a “thrifty” soul!
But I also value aesthetics. It’s a balancing act. And this time I gave in to both.
My spices stay in their original packaging,
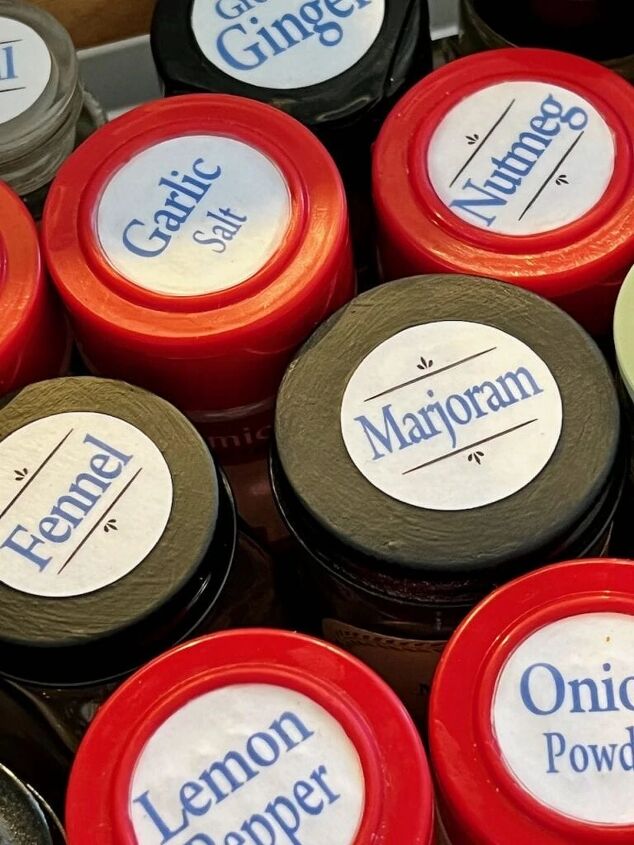
Yet I made the spice jars more functional with cohesive labels on all the lids, with large text in a blue that matches my kitchen.
And, I also spray painted the lids of theSpice Island brand bottles black. The brown and beige color scheme with the writing was just too much for me.
It’s visually more happy and cohesive, yet still respects the environment and my wallet.
How Did I Make my Spice Jar Labels?
With my Cricut, of course!
And you can too. You do NOT have to own a cricut machine, but you do need to have access to one. If an obliging neighbor, good friend or a family member has one, and will help you out, then you are set.
You need to install Cricut Design Space on your computer or tablet. You do not need a Cricut machine to download the application. And you do not need an All-Access Cricut subscription. I made mine with all free items.
Once you have it installed, you’ll design a your spice jar labels as a new project
You’ll also need:
- Access to a printer
- Paper of choice
- Decoupage medium
- Artist paint brush
- sandpaper
- black spray paint (optional, but why not?)
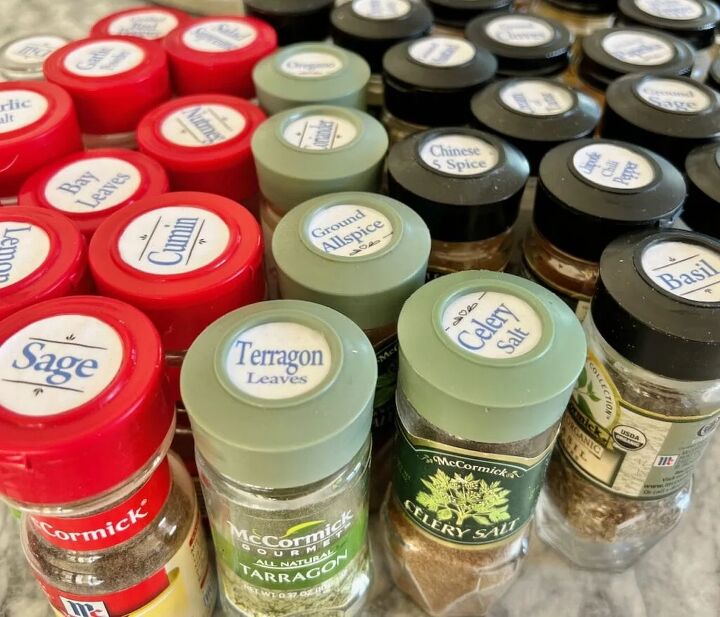
Step 1) Organize Your Spices by Bottle Type
Easy step. Or so it looks. All the Spice Islands together. All the glass McCormick’s. All the plastic McCormick’s, etc.
You want the new labels to fit just inside the round lip of the lids if they have one.
Beware of the McCormick glass jars. They look like they are all the same, but they aren’t. Slightly, slightly different. A circle cut at .87-inches will fit all of them. If you’re persnickety like me, some are .90-inches.
The Spice Island metal lids have a lip that measures 1.0-inches inside.
McCormick Red Lids inside circle is 1.10-inches.
Black plastic store brands are 1.18-inches.
Step 2) Prepare the Lids-
Remove any labels that might be on your lids. Clean the lids thoroughly.
With coarse sandpaper, scuff up the center of your lids — the metal lids and the shiny plastic lids in particular. This is to give the decoupage medium and any paint some rough surface to hang onto.
You do not need to sand the center of the McCormick glass bottle lids, those have labels set deep and the plastic is not particularly slick.
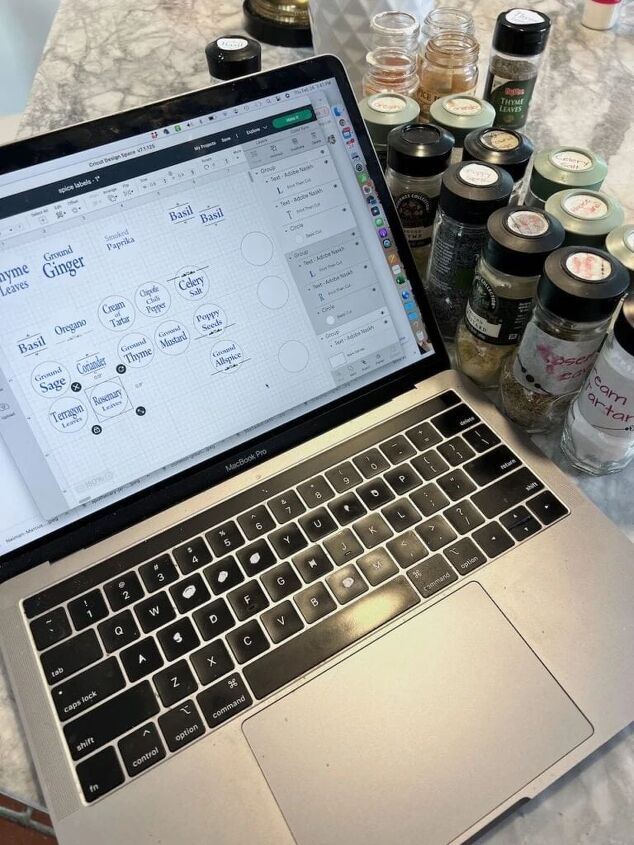
Step 3) Design Your Spice Bottle Labels in Design Space
Batching makes this quick work!
Input all the labels of one size on your computer and then do the next size.
If you’d like a step by step tutorial for the Cricut Design Space layout of this, just shoot me a request and I’ll get that done while it’s still fresh in my head.
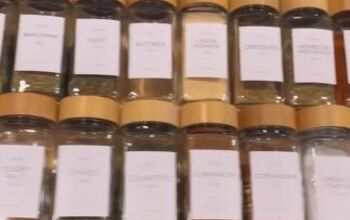
Step 4) Print Labels on Your Printer
If you’ve never used the print and cut function of a cricut, this is the time!
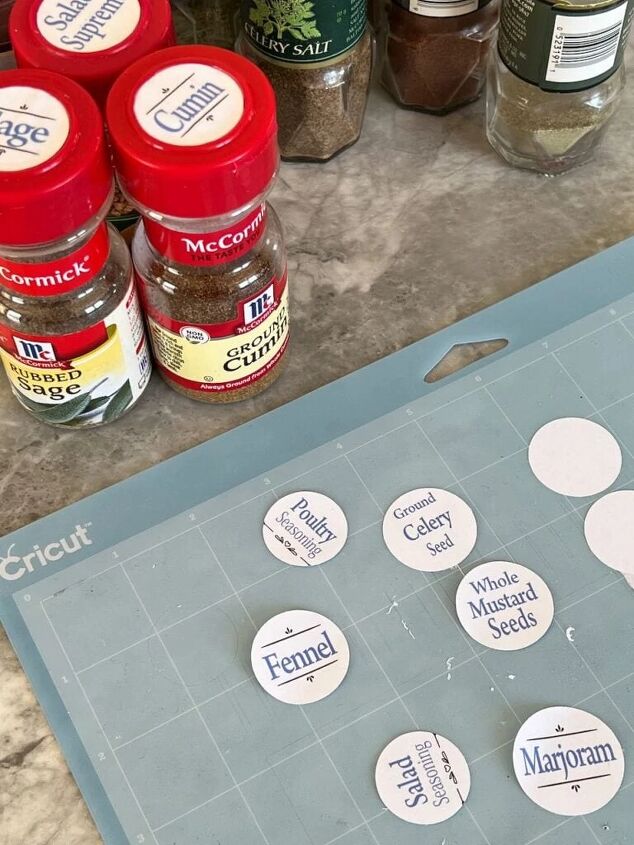
That sheet of labels below, that came off my home printer.
Step 5) Cut Out Labels on a Cricut
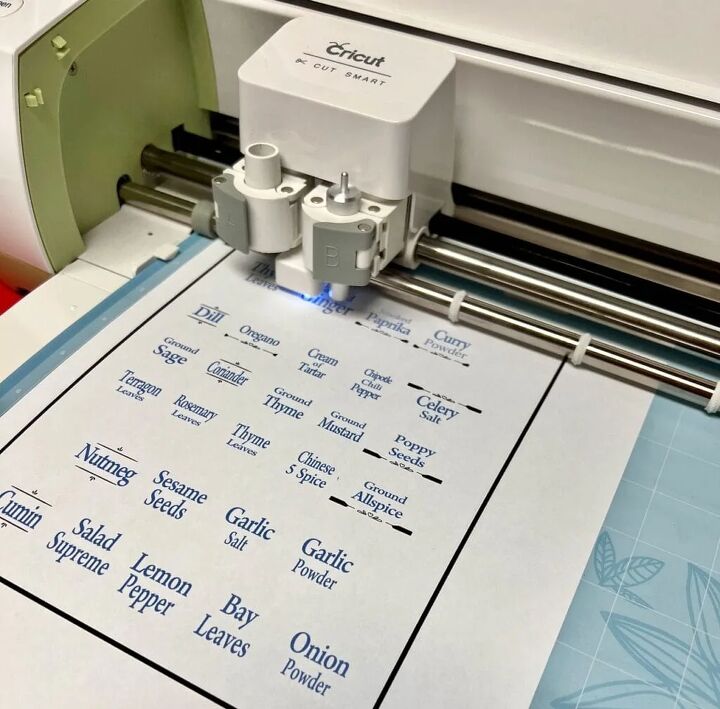
Then I place that sheet of thick printer paper onto a blue (light adhesive) cutting mat.
See that magic black line all around the labels. Cricut added that when it sent my design to my printer. Those are the registration marks that the cutter reads. Now it knows exactly where to cut so the names and sometimes a decorative line appears in the center of the label.
I know! It’s crazy magical!
Step 6) Paint the Spice Jar Lids-
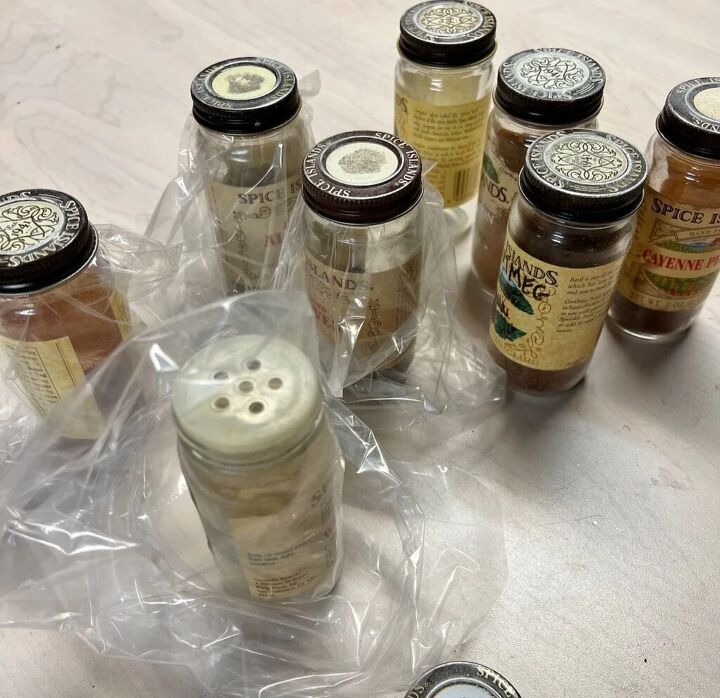
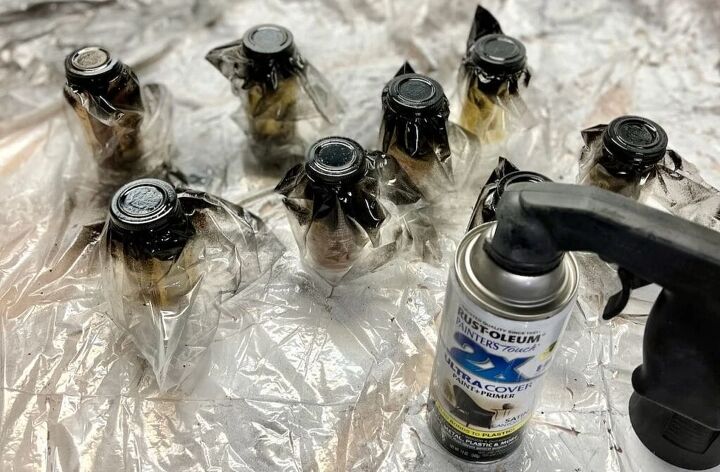
Spray paint any lids you want.
I painted all the Spice Island lids (the brown and beige with wording just wasn’t doing it for me).
Super easy. I put each bottle in a plastic sandwich bag and the screwed the lid on top. That way I could lift it with a gloved hand and spray all sides real easy.
Step 7) Adhere Labels to the Spice Jar Lids
I wanted to use a resin coating on top. I have some powdered resin that you can sprinkle on top and then put in a toaster oven at 250. In 5 – 8 minutes it will melt and have a beautiful clear resin coating.
Beautiful in theory, but NOT in reality! Oh, it melted all right! but it also bled into the paper labels — ugly. And it didn’t really stick very well. And that’s on the ones with a deep lip.
Soooo plan B
I used decoupage medium that I had in my craft stash.
Paint the first coat on the back of the labels, position and smooth out.
Step 8) Topcoat on Lids
In ten minutes, it’s dry and you can start with the top coats.
I gave each bottle 4 or 5 top coats. Super fast and easy to do.
Spice Bottles are Labeled, Now What?
Now is the time to arrange them. I’ve heard of some foodies arranging by whether its an herb or a spice. And I reply : What? Between you and me, I think they’re show-off’s.
This is definitely a KISS dilemma. Keep It Simple and Stupid!!
Nothing beats alphabetical order.
Everyone knows where to find the garlic powder and everyone knows where to put it back!
You can even take it a step further to empower others to help with the organization. When you are designing a label that has two or three words, pick the one you want it alphabetized by and make that one the largest. Is the White Pepper, going to be in the W’s or the P’s?
These seem so frivolous, but it has made such a difference for me, can’t help but share it.
I’ve been needing to get this done for quite some time now. Getting the walk-in pantry reorganized spurred me on! If you missed it, definitely check it out! And we all need overhead storage, right? Here's my version inspired by a conveyor belt.
As always, don’t hesitate with any questions or suggestions!
Remember a less stressful, organized life is a more joy-filled life. And that’s what I’m all about!


Frequently asked questions
Have a question about this project?