


DIY Hanging Rail

I bought some hooks a while ago with the intention of making some DIY hook rails for a few places in the house. I had planned this with both function and decor in mind and finally set aside some time to get it done. I’m so pleased with how they turned out!
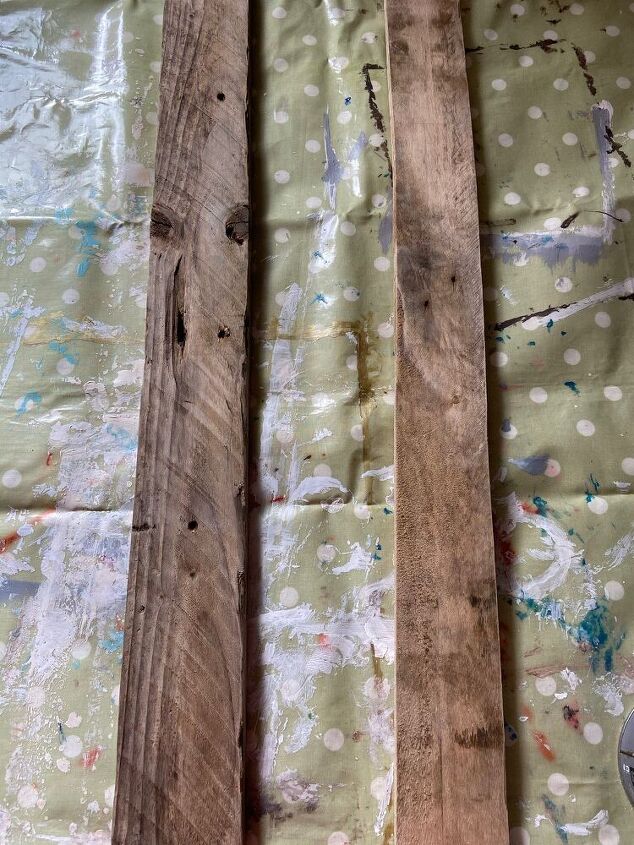
First I took two pieces of pallet wood, these were cleaned and lightly sanded.
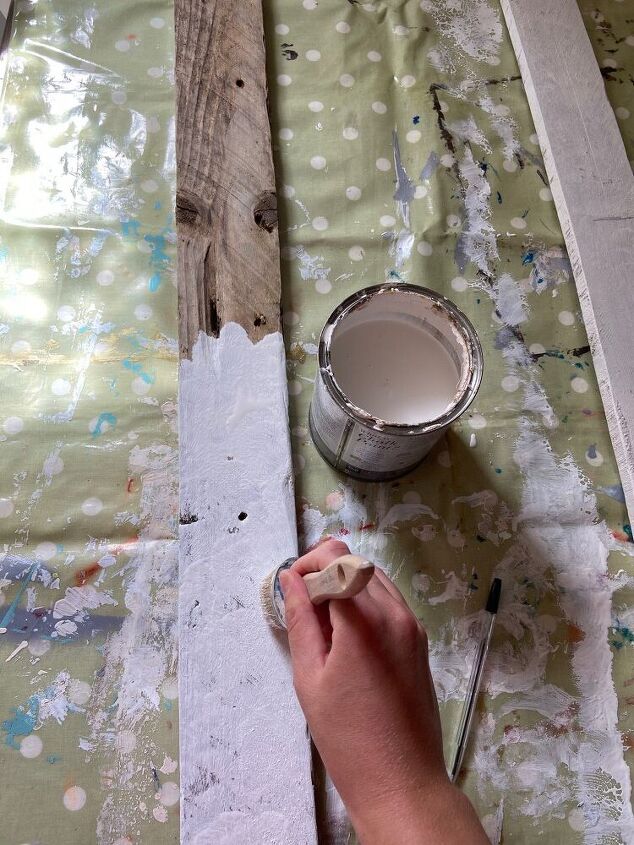
I then applied white chalk paint using a dabbing technique instead of brushstrokes for more of an antique look. I did also leave some wood showing through for more of a distressed effect.
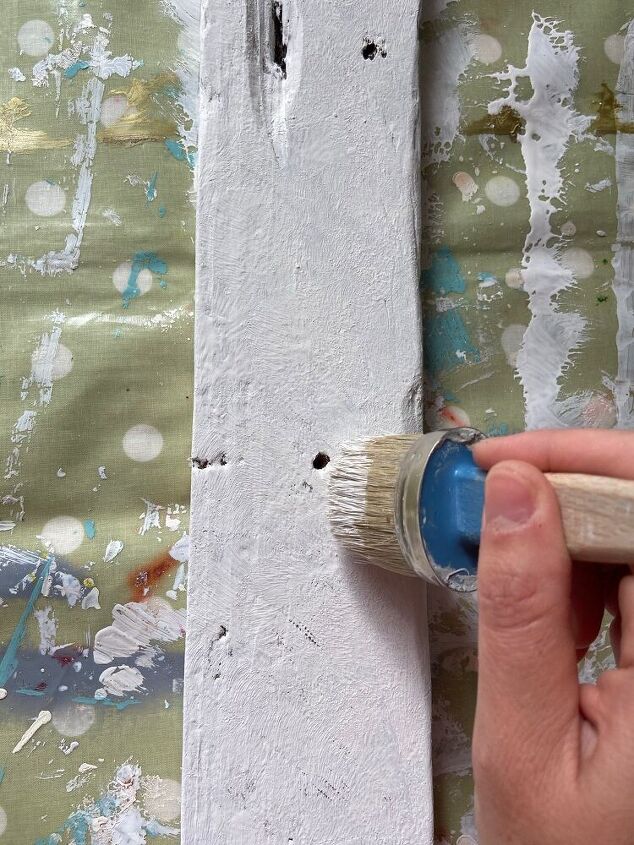
I applied a very light second coat in most of the areas but not over the whole piece of wood.
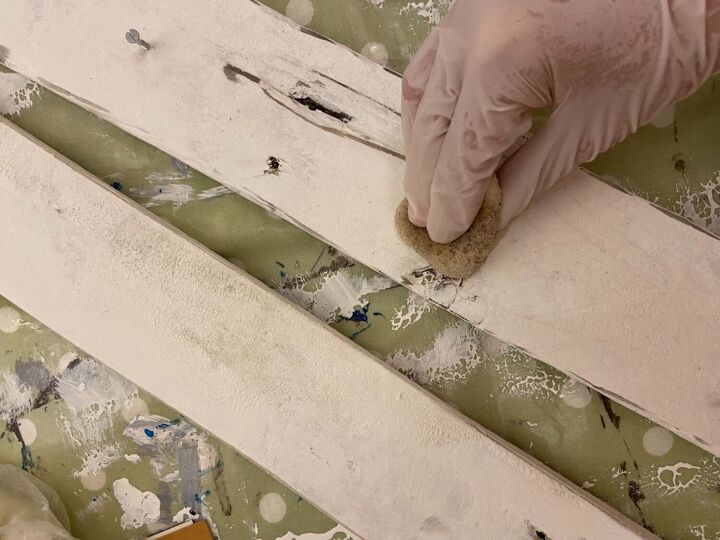
I then sanded to distress and sealed with a clear wax using a sponge. I buffed well with a lint free cloth once dry.
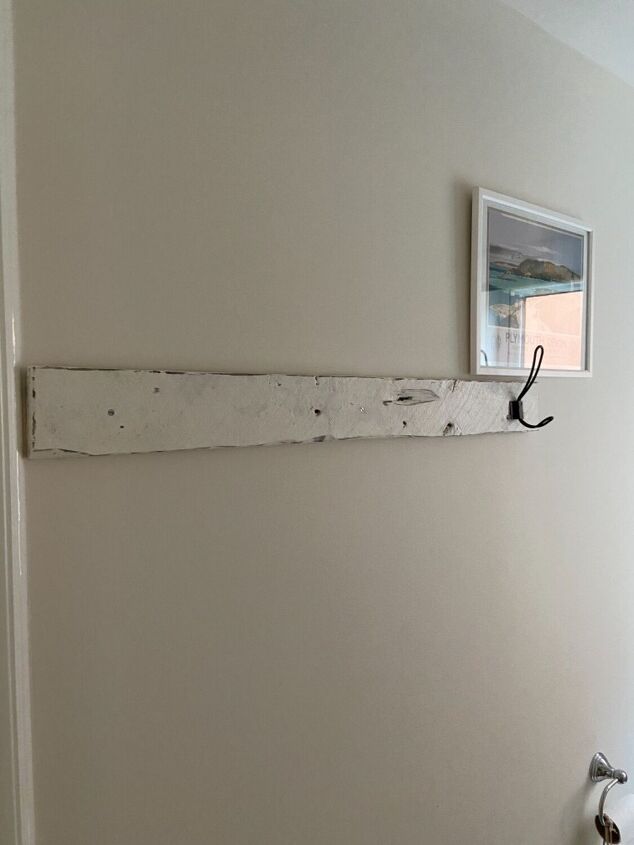
We hung the plank on the wall using three screws. We placed these on the part of the wood where the hooks would be screwed in so that the nails would be covered.
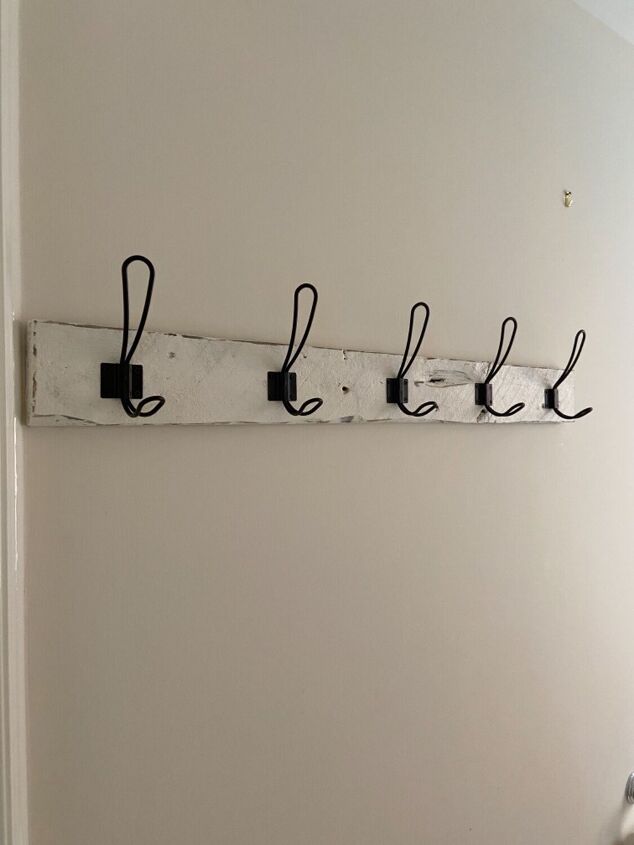
Then we screwed in the hooks at equal distances along the wood.
Now it was time to decorate!

I hung a print from the city we used to live in along with a Latin quote from the coat of arms there. I thought it would be fun to have a little space to hang these as the city will always hold a special place in our hearts.
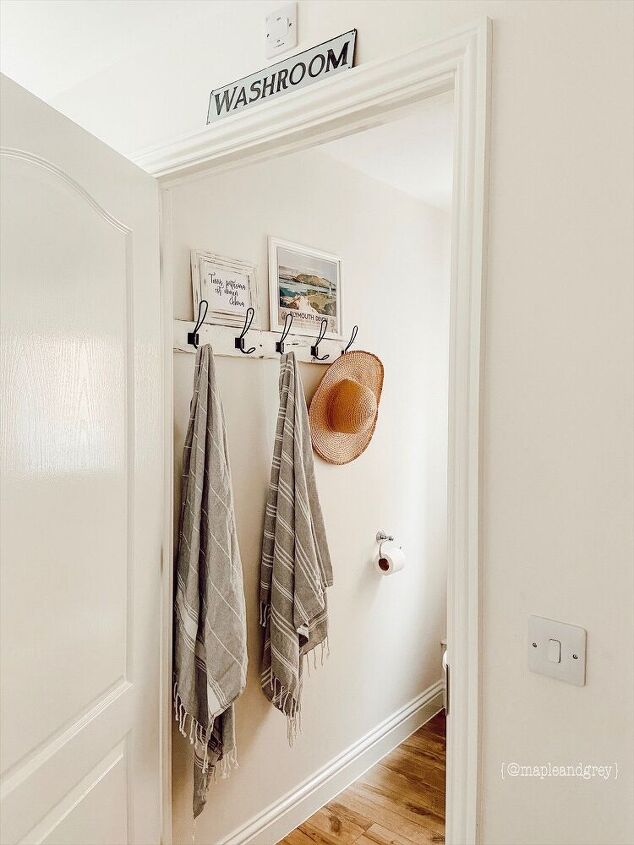
For the summer this rail will hold our towels for the pool so that we can grab them from downstairs. For the rest of the year I will use it decoratively and for hanging guest coats occasionally. I don’t plan to clutter up this space much so it is definitely going to be more of a decorative piece for the other seasons!
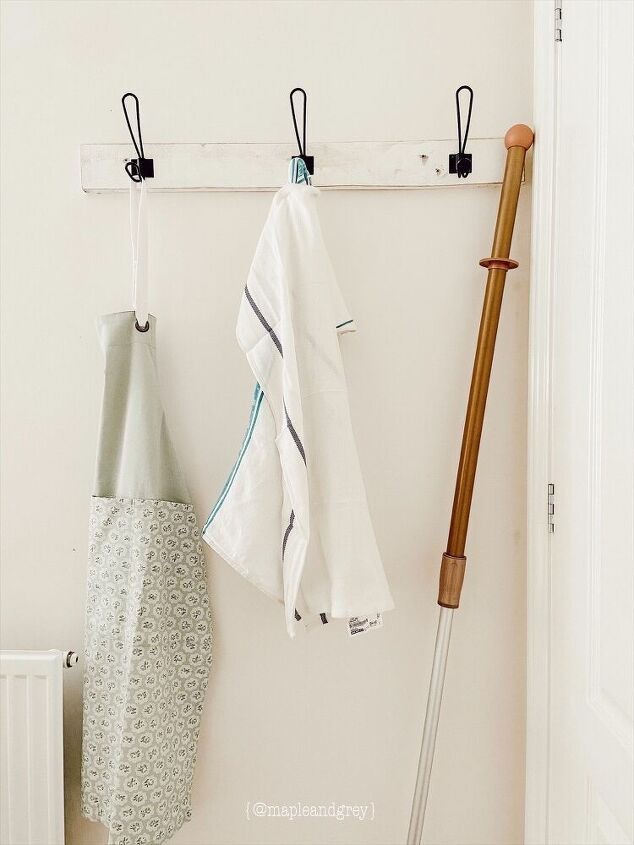
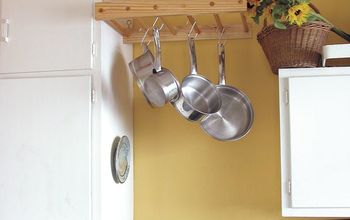
This is the other set of hooks that we hung in the kitchen. They aren’t finished as I will add something above the rail when we move things around. But they are functional for now and I’ll use them for hanging aprons and extra tea towels.
I love how simple and easy these were to make but also how much they transform the space while being useful at the same time.
To see more of this and other projects follow along on Instagram!
~ Rachel ♡
Resources for this project:
See all materials


Comments
Join the conversation
-
Love it! Very smart of you to plan where you screwed the wood in so the screws would be covered by the hooks. And you can usually find pallet wood for free!


Frequently asked questions
Have a question about this project?