


DIY Library Tote Bag {FREE Printables for Iron-On Transfer}
4 Materials
$10
15 Minutes
Easy
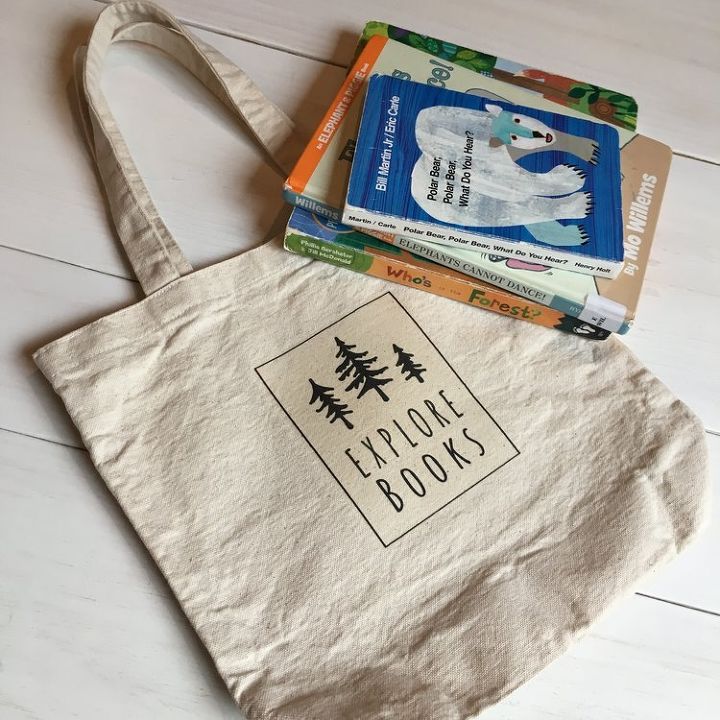
If you have kids you know how tricky it can be to keep track of library books in your home… you bring them home, read them on the couch, and then before you know it they’re mixed in with your own books and quickly forgotten… until you get that late notice from the library (ooops). The best way to keep track of them is to have a designated place to keep them - for us we made a special library tote that has served us well. We use it to bring home books from the library, and as we read them we make sure to return them to the tote so they’re never misplaced. I’ll show you exactly how I made ours, along with two free printables so you can make your own! | This post contains affiliate links |

Materials:
- Canvas Tote
- Iron-On Transfers (make sure you purchase the right kind for the printer you have - ink jet, laser, etc)
- Printer
- Scissors
- Iron
How-To:
1. First, run your canvas tote bag through the washer and dryer - you need to make sure it’s clean and there’s no more sizing on it from manufacturing which might keep the iron-on transfer from adhering well.
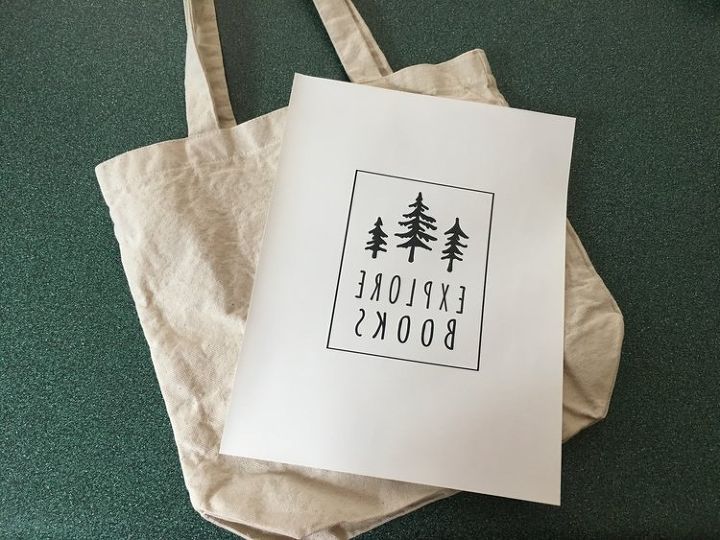
2. Print out your design on the transfer paper. (Please note that the designs I have available for download are ready-to-print PDFs for printing on iron-on transfers, therefore they are already in mirror image - aka backwards.)
3. Cut out the iron-on transfer design, leaving a border around the edge of the design to help ensure the design will adhere well to the fabric and not lift at the edges.
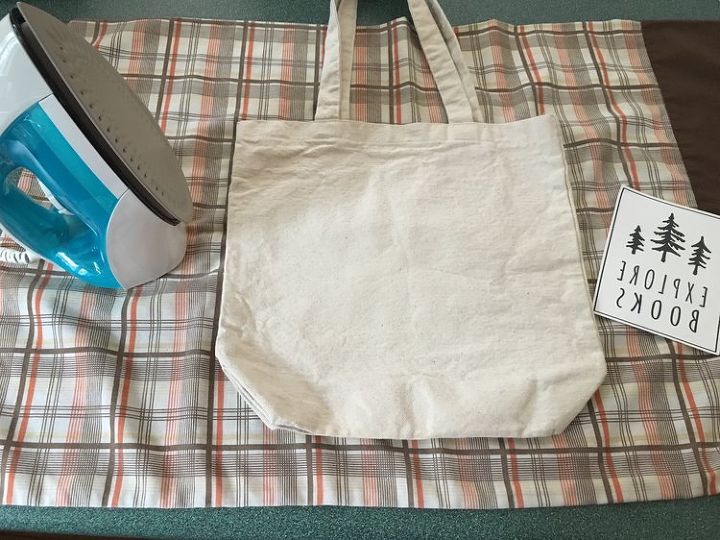
4. Make sure to read the instructions for your particular brand of iron-on transfers as these next steps may vary slightly from brand to brand. For the transfers we used, the next step is to heat up the iron then pre-iron the bag to get rid of wrinkles and preheat the fabric for the transfer. Our directions recommend working on a hard surface with a piece of scrap fabric underneath.
5. Carefully place your design face down on the bag and iron it on using a LOT of pressure. I actually stand on a chair to put my full body weight down on it too. You want to iron over the whole design, paying particular attention to the edges to make sure it really adheres well.
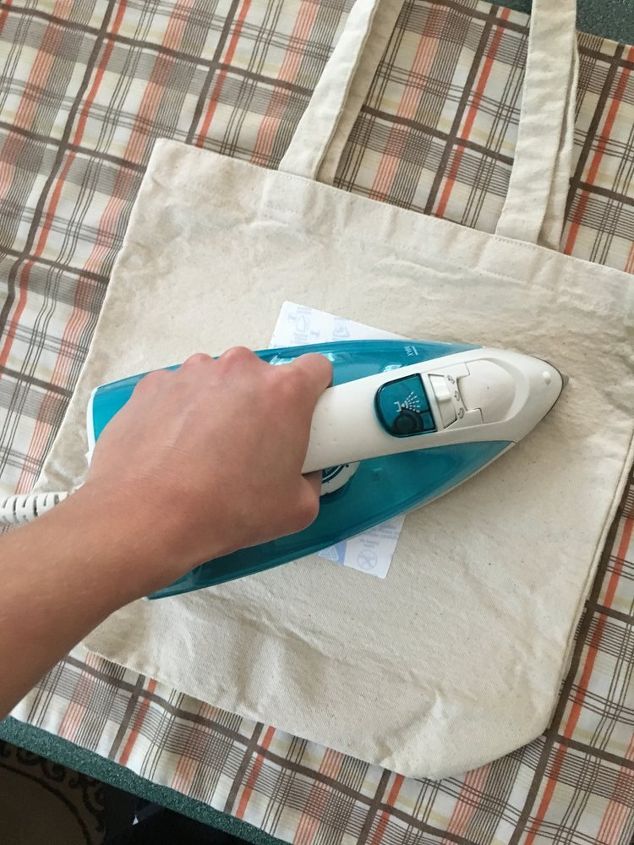
6. After going over your design like a thousand times (an exaggeration, but make sure you go over it a lot to adhere it well). Let it cool completely before carefully pulling the paper backing off and you’re done. Time to go to the library!
Please make sure to visit our original blog post in order to download one of our TWO designs, ready to print on iron-on transfers!
http://www.birchlandinghome.com/journal/2018/9/26/diy-library-tote-free-printables-for-iron-on-transfer
{ Follow us on Instagram: @birchlandinghome }

Want more details about this and other DIY projects? Check out my blog post!


Frequently asked questions
Have a question about this project?