


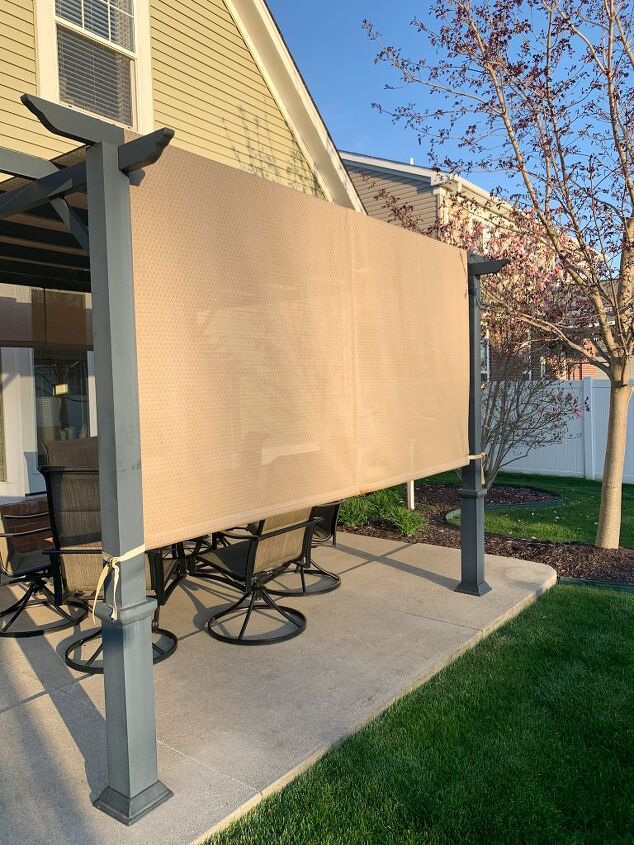
An Easy Way To Repair Canopy Straps
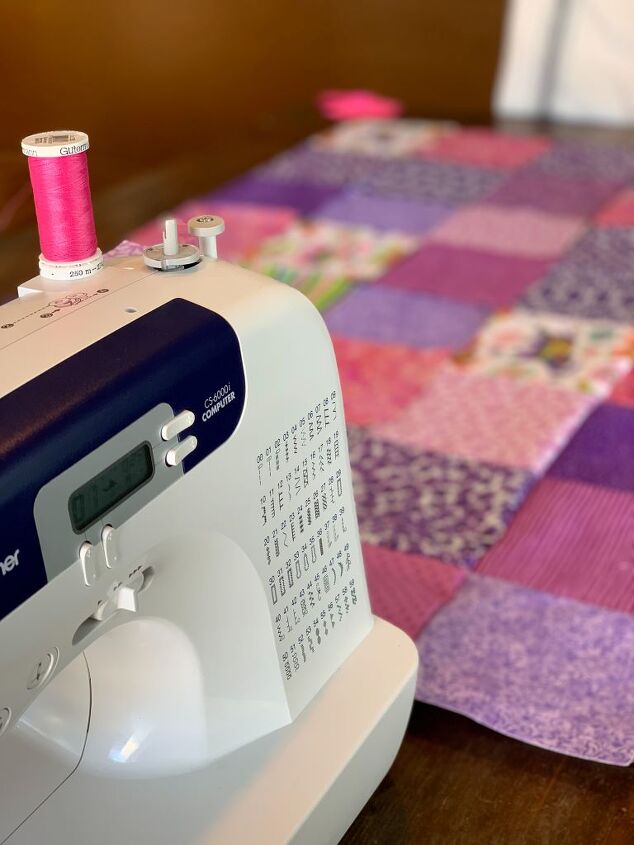
Now that my wrist surgery and healing is behind me for the most part, I am sewing again! Let me tell you, I couldn’t be happier about that. This past weekend, I pulled out my sewing machine, however it wasn’t to make one of my fun cottage blankets. I had to repair some of the straps on the canopy for our pergola. So today I am going to show you an easy way to repair canopy straps.
“Sewing mends the soul” – Unknown
I know I did mentioned my cottage blankets and if you’re new here, and don’t know what my cottage blankets are, you can read about my most recent purple cottage blanket here or read my blog post The Journey.
Affiliate links are used in this post. Read my full disclosure here.
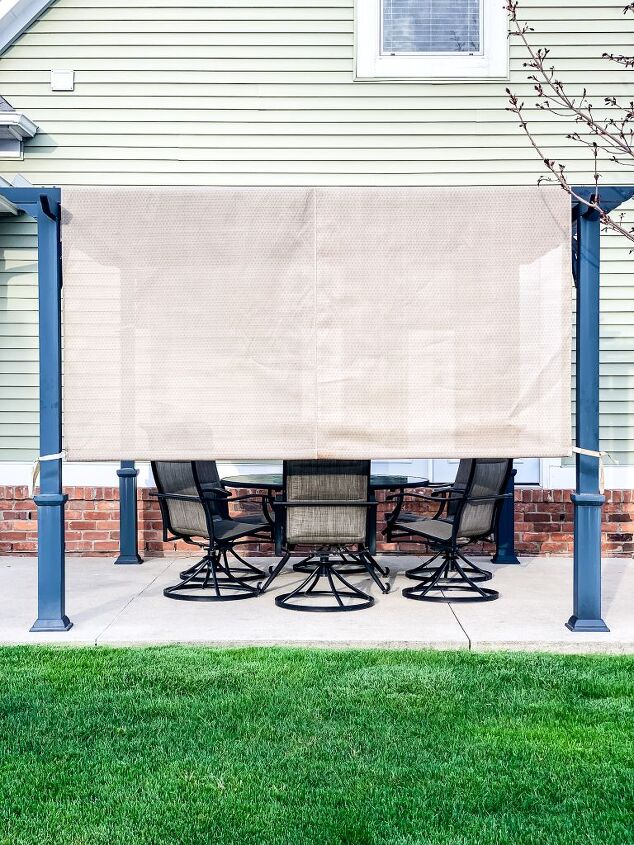
We looked into replacing the canopy at the end of the season, last year. Unfortunately, they can be quite pricey. When looking into a replacement this year, it was even more than when we checked into it last year.
Isn’t that the way it seems with most things these days?
Yes, we could have just replaced, but I was hoping to get one more year out of the canopy. I told Big Al I was determined to repair those straps and if I couldn’t figure it out then we would just buy a new one.
“Beautiful things come together one stitch at a time.” – Anonymous
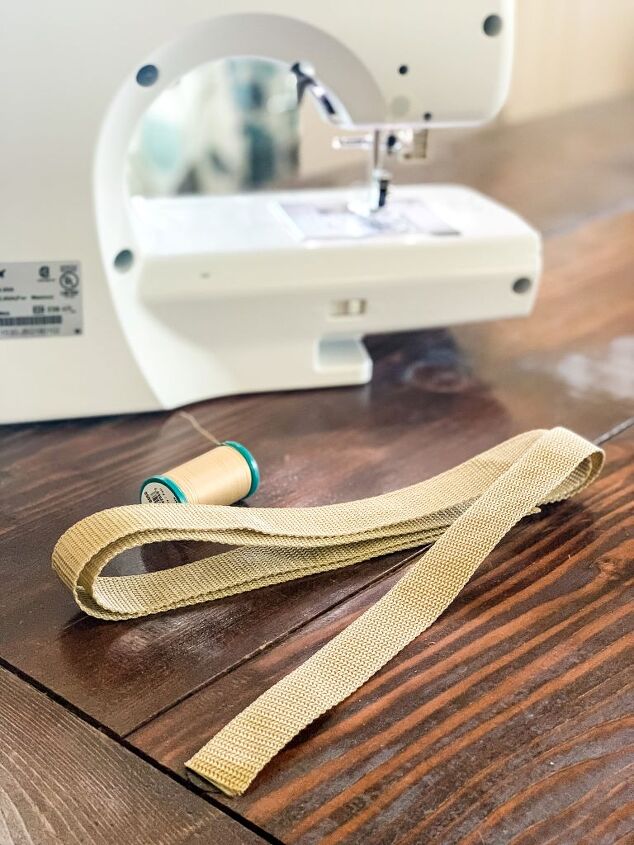
The supplies are minimal for this project.
- Sewing Machine
- Scissors
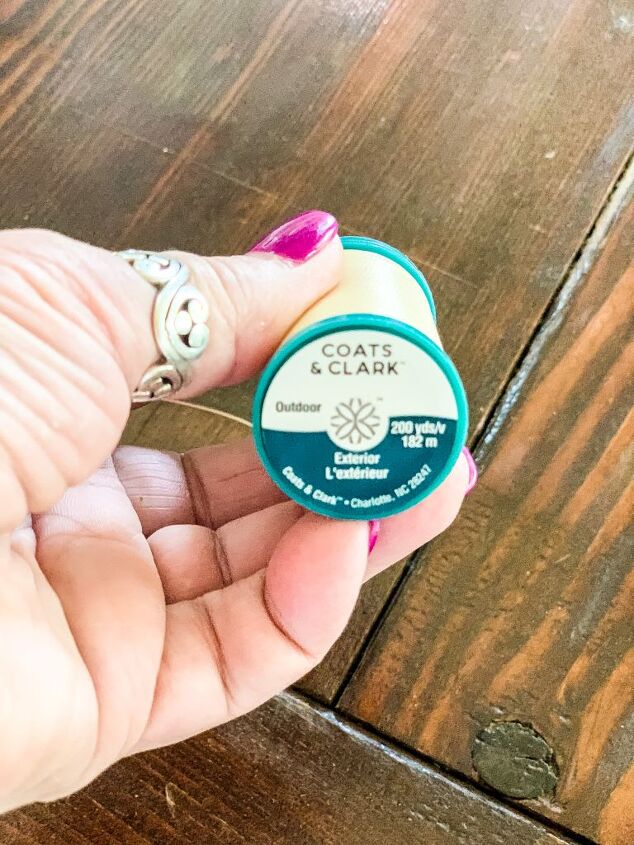
- Coats & Clark Exterior Thread
- Strapping Material
Two of the four sets of straps are in perfect condition. The straps in good condition are the straps that are up against the house and don’t face all the wind and heavy rain.
First, I measured the length of the good strap and headed off to Joann’s to get some replacement material. The strapping material is inexpensive, which is a plus. You can find it in the notions section of the store.
I also purchased some exterior thread. This is super important! If you use regular thread it will dryrot when it gets wet and your stitches will deteriorate.
Then you will for sure be online purchasing a new canopy!
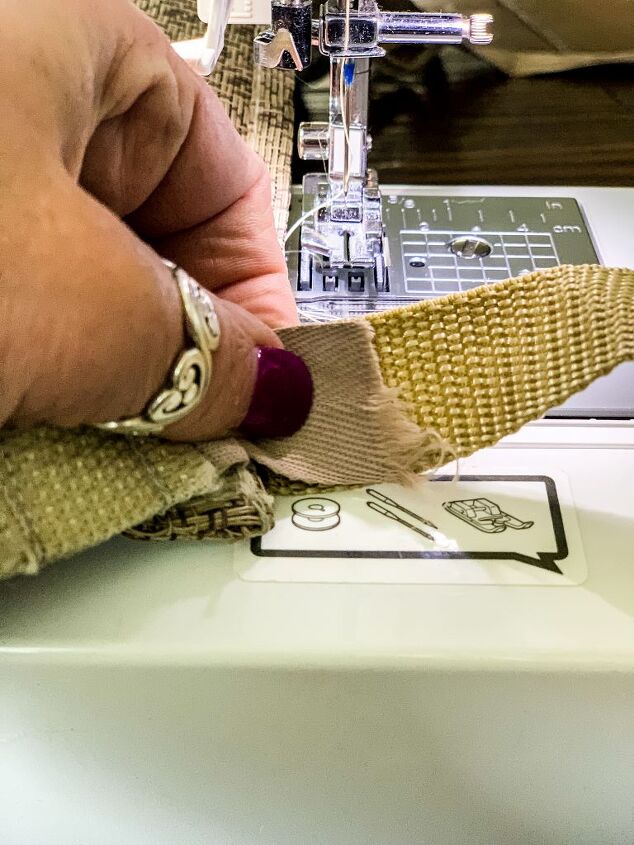
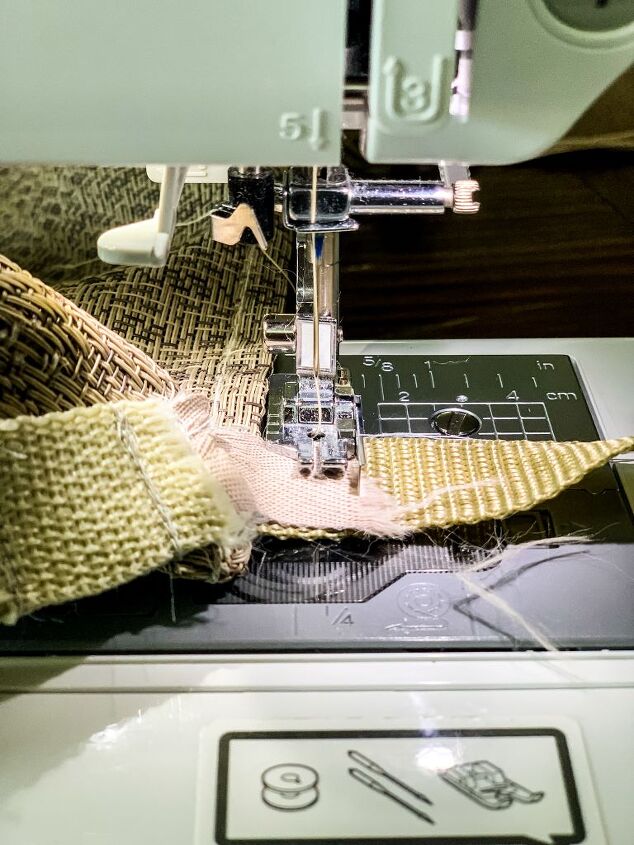
Cutting the strapping material was next. It’s easy to cut through, so a pair of scissors will work just fine. If you have a rotary cutter that will work just as well. Once I had each piece cut, I had Big Al bring the canopy inside so I could start sewing. The hardest part of this project was getting the canopy in a position so I could sew it. It is big and awkward to work with but with some manuevering I managed to get it done.
I had to stitch back and forth several times to insure the original piece of fabric was secured. I did it in more than one spot too. I also added another small piece of the new strapping to the back side so I could reinforce it better.
Remember, this isn’t going to look like brand new. I “repaired” it. Honestly, I don’t think anyone will look that closely at it. But for tutorial sakes, I will show you the close up look.
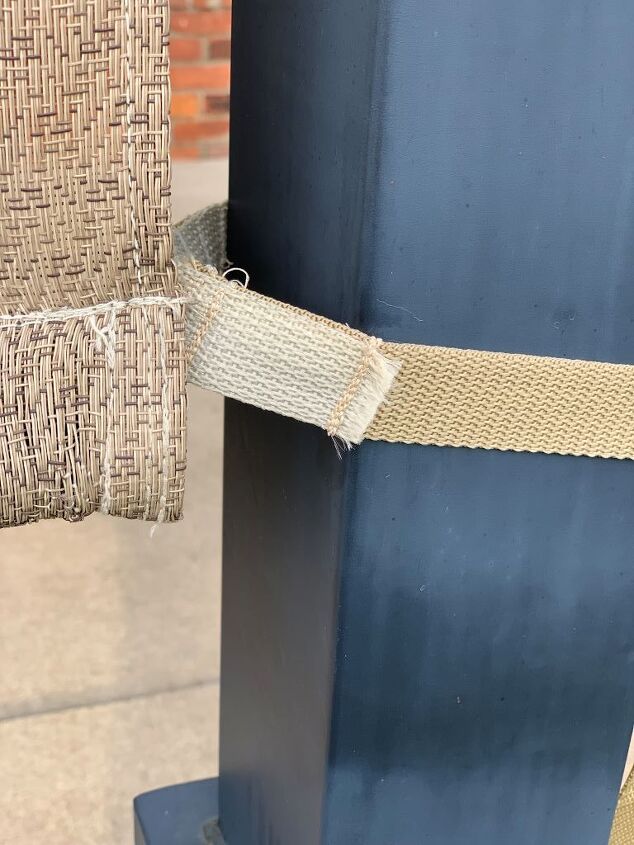
Well, that’s all there is to it! I took a leap of faith and repaired them.
Are they perfect…not really, but they are back together and no one can tell.
Now, the test comes. Will it withstand the wind and rain?
I hope you can see how easy it is to make a repair like this. With a little patience and determination anyone can do it!
If we get another year out of this one, I will be a happy girl and so will my wallet!
Fingers crossed!

Don’t forget to follow me on Instagram and Pinterest!

Comments
Join the conversation
-
We just bought a pergola and I was wondering how long the straps would last. I am glad to hear that they can be replaced if they rot. Thanks for the info.
-
You're welcome! We have had our canopy five years.


Frequently asked questions
Have a question about this project?