


DIY Outdoor Xylophone for Kids

We recently built a play set for our kids and I wanted to add several parts to it to keep them occupied without spending a fortune. One of the things I settled on was a xylophone made from a chain link fence top rail.
*You can easily modify this tutorial to make wind chimes instead! Drill holes in the tops only, then feed an outdoor-safe cable or rope through and attach to a piece of wood for the top.*
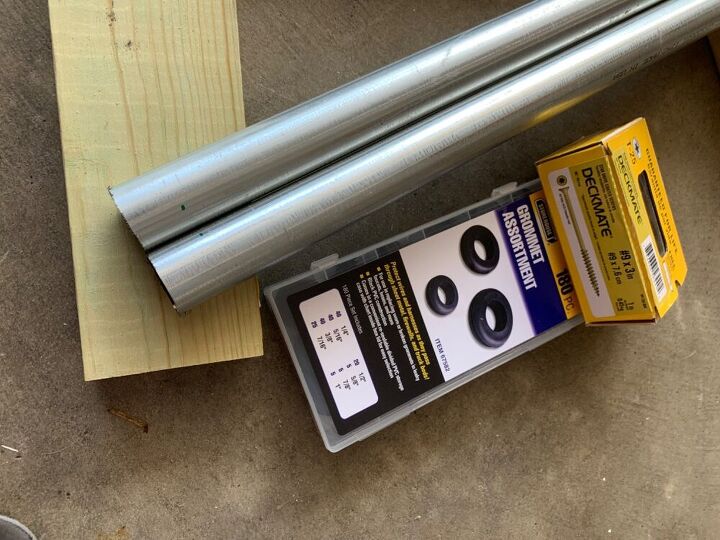
In addition to the 10’ rail (actually 10’6” with a swedged/tapered end, $10.28), you also need:
-rubber grommets ($6.99 at Harbor Freight for a giant pack) or you can use rubber washers or even cork pieces. (You will need 4 for each pipe, so for 8 musical pipes you will need 32 rubber grommets or washers. It was way cheaper to buy a big variety pack of grommets than smaller packs of washers)
-16 outdoor screws (I used 3” deck screws to attach to 2x4s because we already had a ton, but 2” or 2.5” would have worked.)
-material to mount the pipe pieces to (again, I used 2x4s that were being attached to our play set)
You will also need:
-tools to cut and drill the pipe pieces, which is by far the hardest part of this project. My husband is a welder and used to working with metal, so I let him do this. He used an angle grinder to cut the pipe, and metal drill bits to drill the holes.
-sandpaper to sand down rough metal edges after cutting and drilling
-mallet, stock or other object to run over the pipes to “play” them.
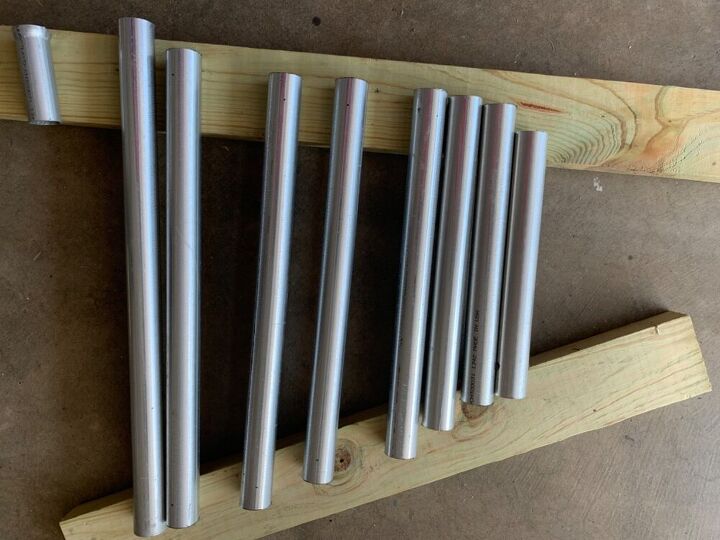
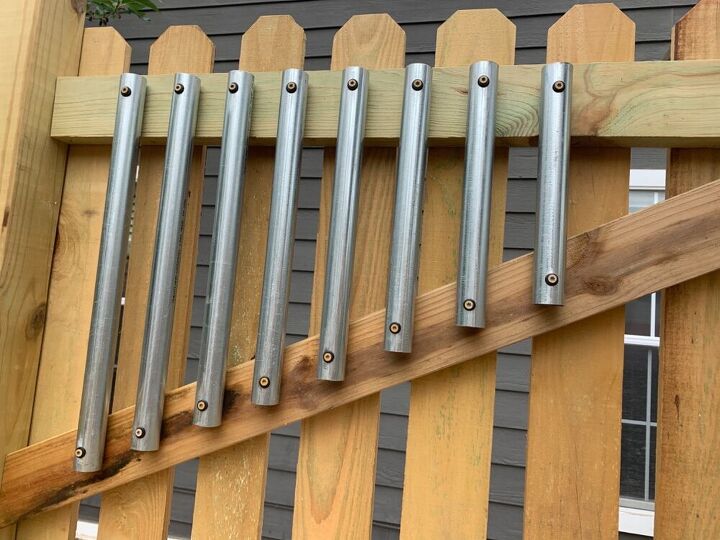
To cut 8 pieces from one top rail, cut the pipes at the following lengths:
22”, 20”, 18”, 16”, 14”, 12”, 10”, 8”
You can of course change these, but make sure your new lengths add up to no more than 120”, or plan to use two top rails.
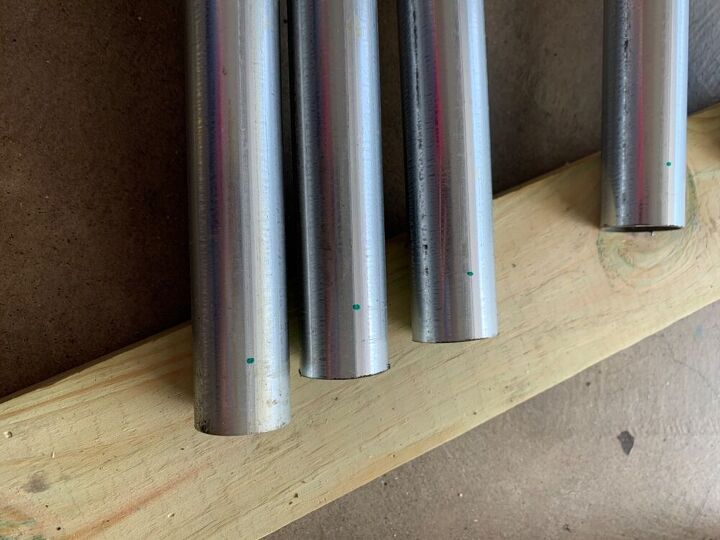
After the pipes are cut, mark one inch in on each end for where to drill holes. Make sure your marks line up with each other so the holes (and screws) go straight through, perpendicular to your mounting material surface.

Drill holes large enough to fit the screws and grommets. *The 3/8” grommets fit our screws the best, so that is the size drill bit we used. (Inner diameter of these grommets is 1/4”, which fit the screws snuggly.)
Holes should go through the front AND back at the top and bottom of each pipe.
Again, I had my husband do this. It would be much easier with a drill press, so use it if you’ve got it!
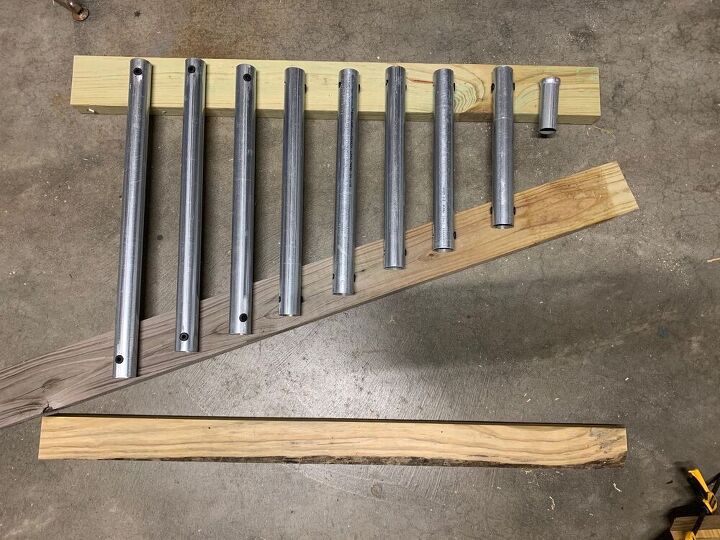
After all holes are drilled, sand all rough edges from cutting and drilling. Insert one grommet in each hole, so 4 total per pipe. This can be a little tough, but I squeezed the grommet to get it started then worked the rest of the edges around to get them in.
Line up the pieces and decide on spacing. Mine are 3” apart on center, and I wanted all tops even.
Attach the pieces to your mounting material. Screws should be tight enough that the pipes can’t wiggle around, but not so much that the rubber grommets are flattened and displaced.
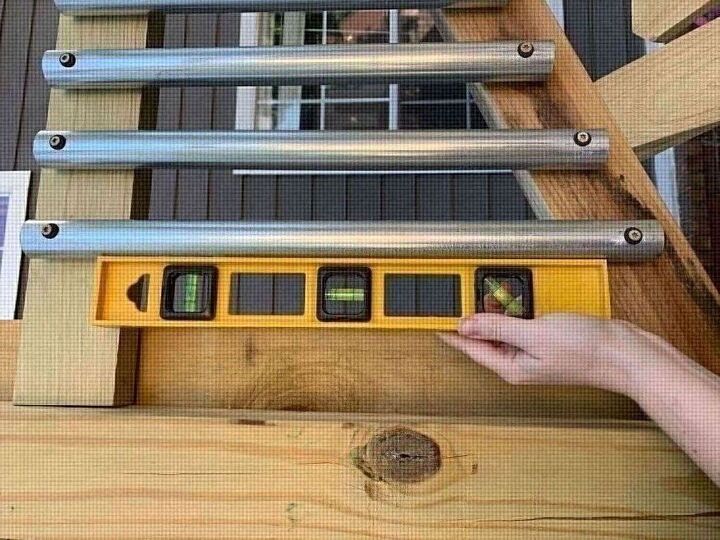
Because I was attaching this to a play set, I attached the top of each pipe piece to my top 2x4, and attached the 2x4 to the play set. Then I marked, cut, and attached the diagonal bottom. Lastly, I used a level to attach the bottoms of each pipe piece.
Feel free to paint the pipes and have fun with them! My kids are rough on things, so I didn’t think paint would last long without chipping.
To play the xylophone, you can use a stick if you want, or I put a cheap plastic mixing spoon out there. I also attached a small bracket with a rope to hold the spoon and keep it from wandering off.
Resources for this project:


Comments
Join the conversation
-
'Nice to see that you took a few more minutes to use a proper level to align the rods. So often I see projects that are hastily done just 'eyeballing it', resulting in less than professional results.
-
Love the idea!! Any trouble with bees trying to build hives in them? I know wasps try to build under the propane tank lid here.


Frequently asked questions
Have a question about this project?
Do your neighbors hate you?? lol
Put my comment/ question in wrong spot. Love the idea!! Do you have issues with bees/ wasps trying to build nests in them?
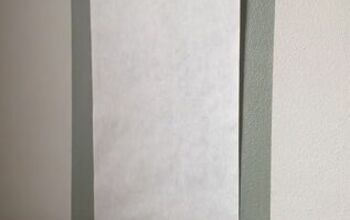
Hey, I love this project! I was wondering if there was a way to make this project free standing. I was thinking of doing something like the picture below. Another question I had was how long were the top horizontal wooden piece and the bottom diagonal piece which are acting as a frame for the metal pipes?