


Easy Cattle Panel Trellis | How To Connect To Raised Beds
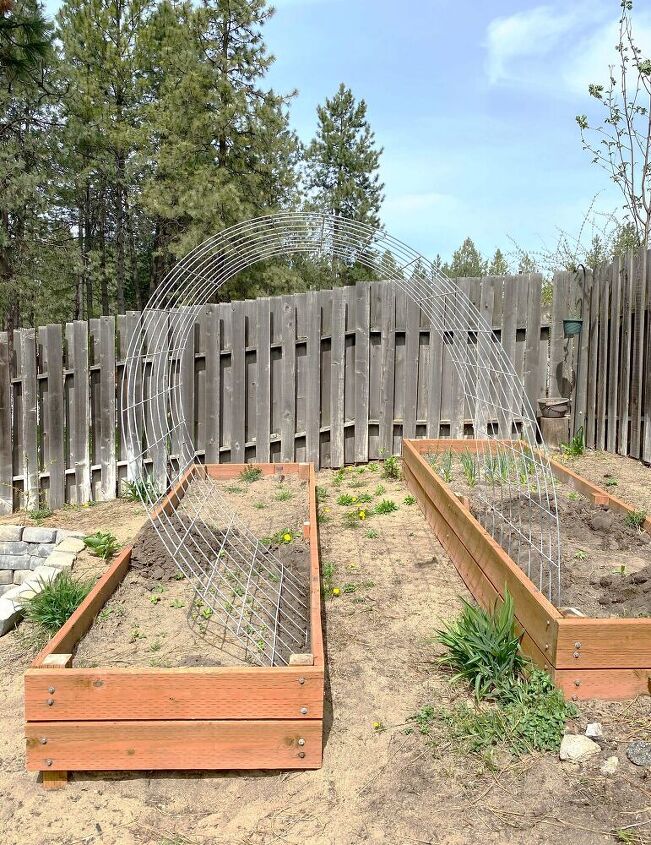
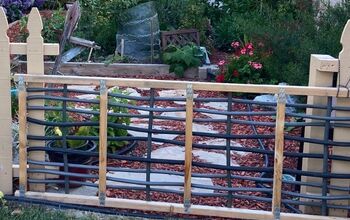
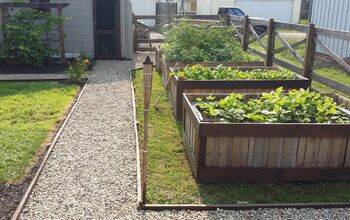
Cattle panel trellis is a great, inexpensive way to give your plants the ability to grow and thrive upwards! This can be great if you’re gardening in a small area and need more space, or if you’re just trying to maximize your garden’s production in any way possible. It’s also perfect for longevity and will last much longer than a wood trellis. We purchased ours at a local North 40 tractor and feed store. The one we snagged was 10 foot, and about $23.

We added ours into raised beds, but you can also place them just about anywhere.
First, dig the dirt out the sides of the beds where your paneling is going. We dug down about a foot on each bed.
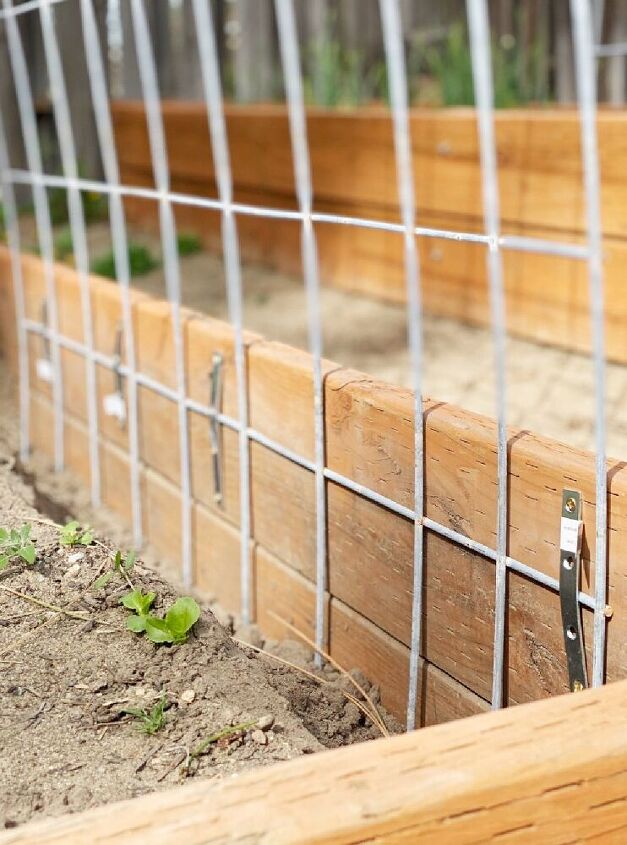
The panel will take on a life of its own if not secured to the sides. While fence posts hammered into the ground will work to secure the paneling, we deiced to do it more subtle and secured them to the inside of the beds as shown below.
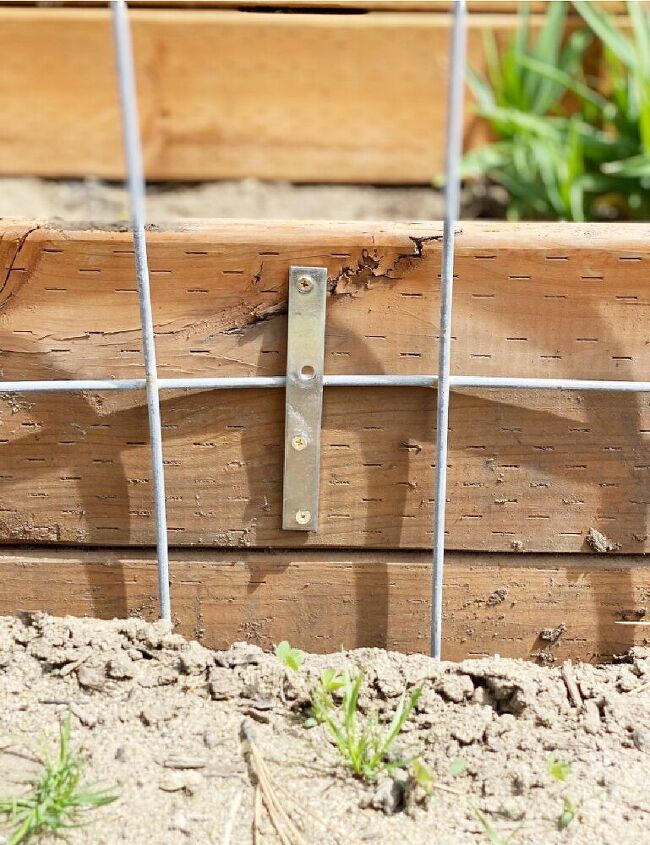
Make sure to use several of these bars with screws to hold the paneling or it could strip them out and become free. We did four per side.
I held the panel to the boards while Travis secured them. For a full tutorial on how we made our raised beds, which are holding up like champs after a full year in the Pacific Northwest, check out our post that went viral on Pinterest.
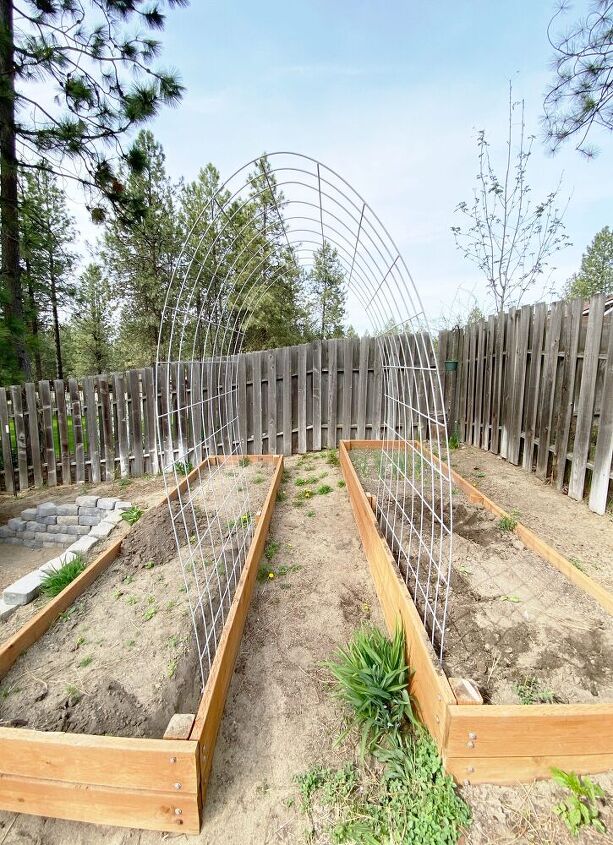
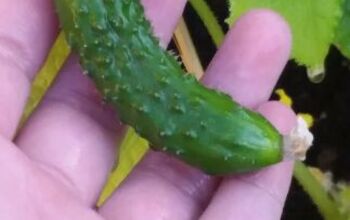
It’s that easy friends! Replace the dirt, and plant away! We might end up adding more trellis later this year or next, but for now, we’ll use this paneling for beans coming up one side, and cucumbers on the other. Make sure you’re following my gardening in real-time over on Instagram. It’s my favorite way to stay in touch!
Other gardening projects that might interest you:
- How to make an extended outdoor faucet to your garden
- How to make a garden plan that’s both functional and beautiful
- Easy plants to grow in your garden


Frequently asked questions
Have a question about this project?