


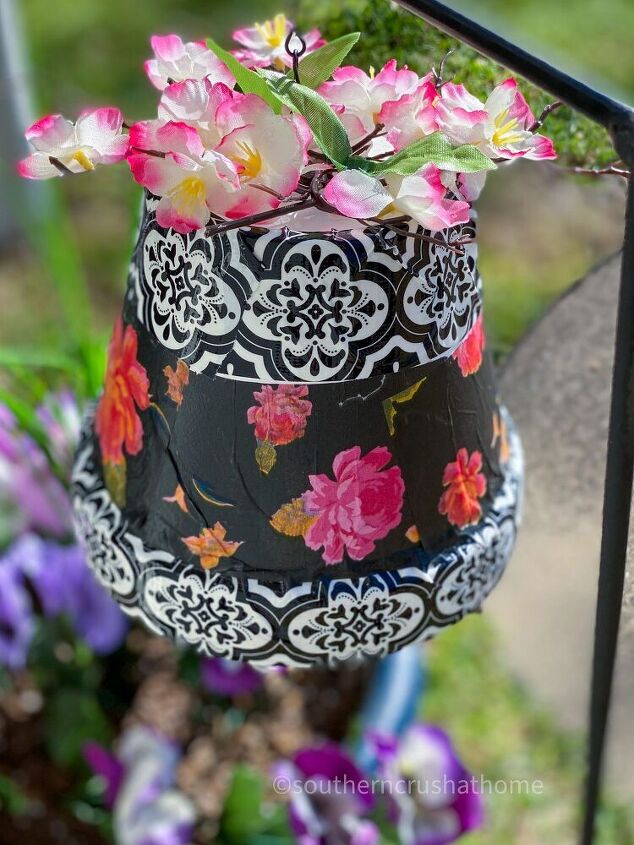
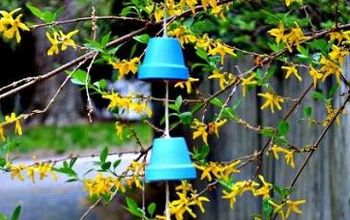
Clay Pot Wind Chime DIY
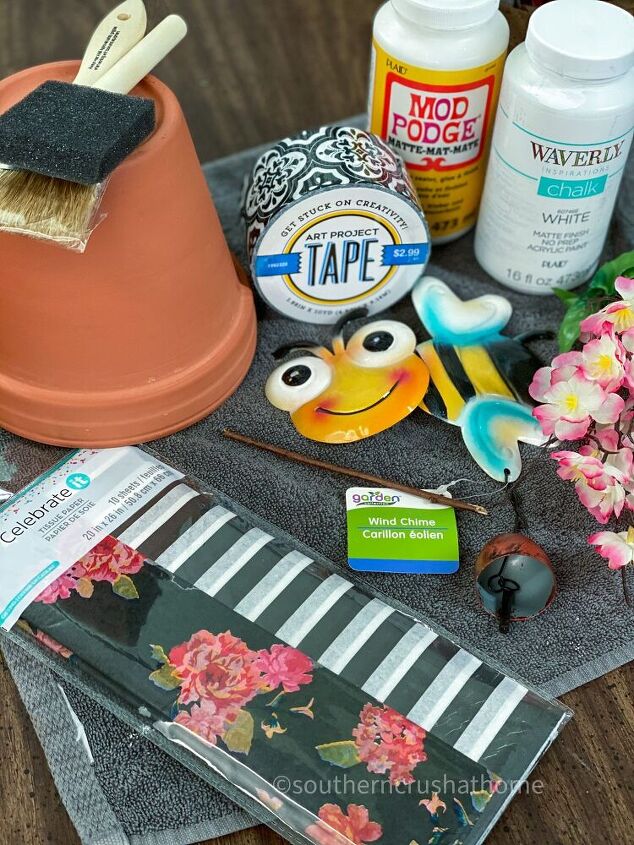
Learn how to make this absolutely adorable Clay Pot Wind Chime DIY. It starts with tissue paper, a clay pot, and pretty duct tape.
SHOP FOR SUPPLIES IN MY SHOP HERE
- Clay Pot
- Dollar Tree Flowers
- Dollar Tree Wind Chime
- Duct Tape
- Scissors
- Floral Tissue Paper
- Mod Podge
- Chalk Paint
- Hot Glue Gun
- Chip Brush
HOW TO MAKE An Easy Clay Pot Wind Chime DIY
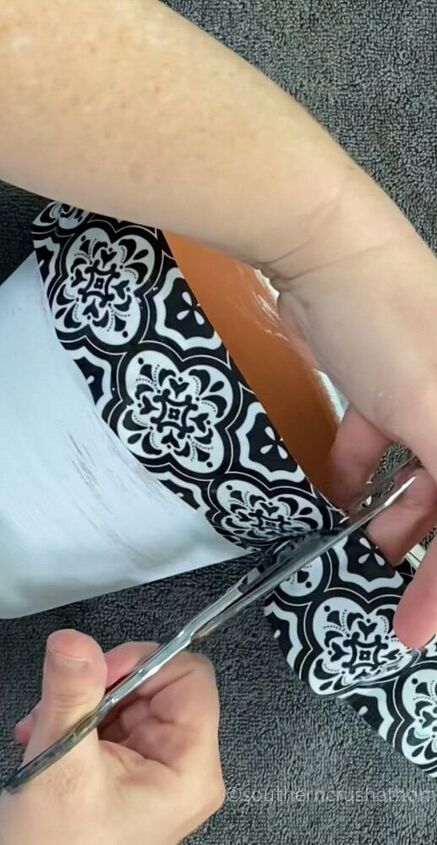
Paint the clay pot with white chalk paint using a chip brush. Let dry. You can use a heat gun to speed up the process.
Start adding duct tape across the top portion of the clay pot.
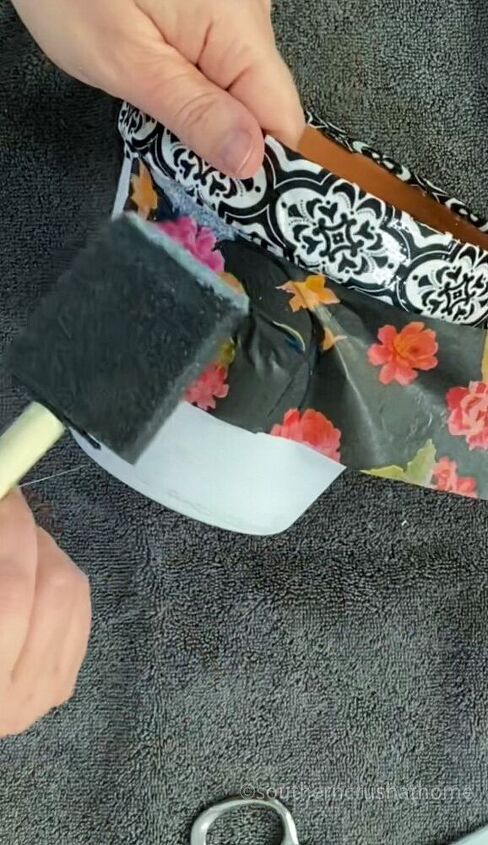
Cut a piece of tissue paper to place under the duct tape around the pot. Lightly use a foam brush to add mod podge to the clay pot, and on top of the tissue paper.
NEXT…
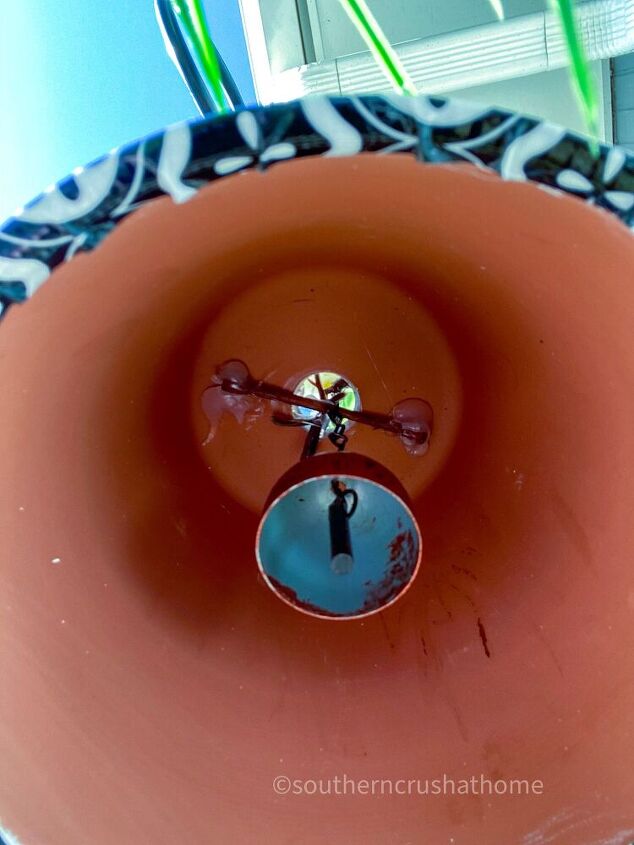
Now it’s time to add the wind chime! Remove the bee from the wind chime. You can use that in another project! We are just going to use the little bell and twine for this project. Wrap wire around the wind chime piece and secure it through the hole in the clay pot. Add a little hot glue to secure it to the clay pot.
Now you can take the chain that came with the wind chime and attach it to the bell through the hole.
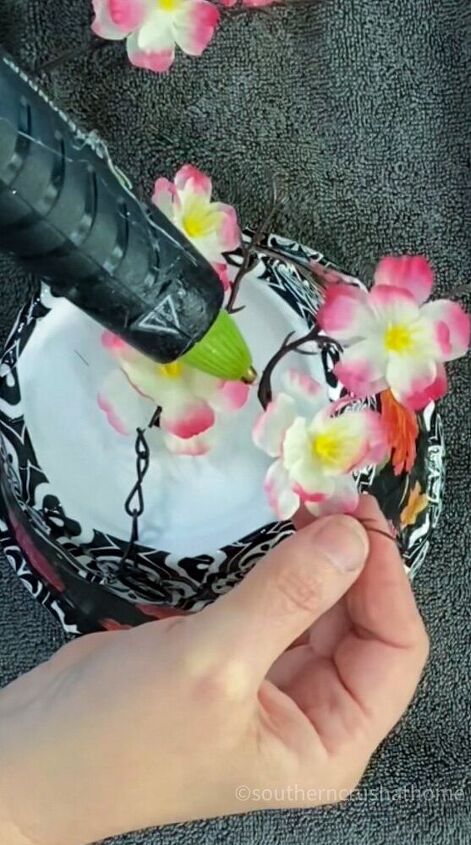
Break off some of the pretty flowers and hot glue them across the top of the wind chime. You can also add some of the leaves. The flowers give extra color and also cover the hole on top of the wind chime.
that’s it!
Not only is this duct tape wind chime beautiful, but it’s also so simple to make, especially if you start with a dollar store clay pot.
Have you seen the duct tape designs recently? It is not like years ago when they only had gray. There are so many gorgeous designs. Think of all the things you can make with these simple supplies. I could see this sweet wind chime being given to a favorite teacher as an end of year gift. Where would you display this pretty Clay Pot Wind Chime?
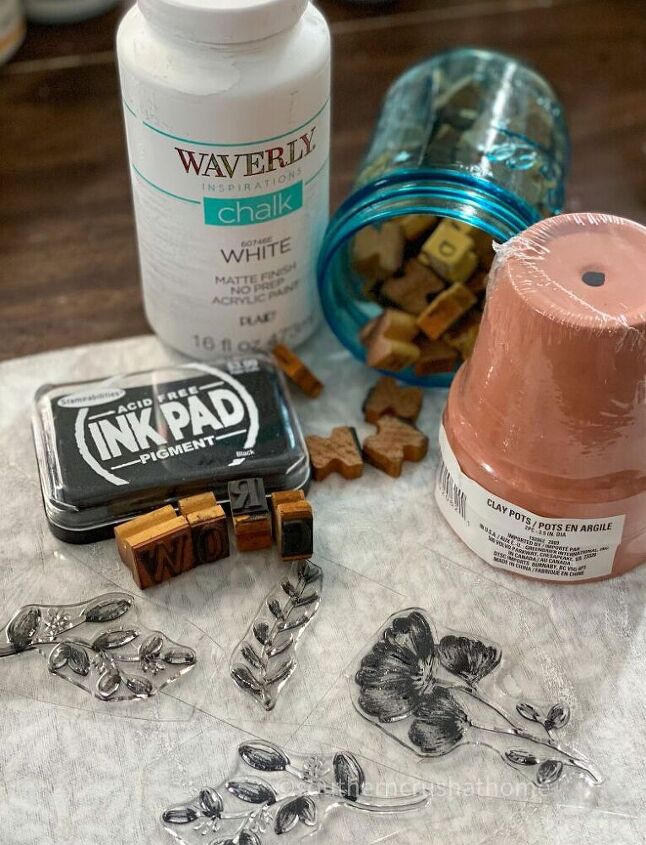
IF YOU LOVE TERRA COTTA POTS, YOU'LL WANT TO DEFINITELY SEE THESE DOLLAR TREE STAMPED CLAY POTS!
Resources for this project:
See all materials


Frequently asked questions
Have a question about this project?