


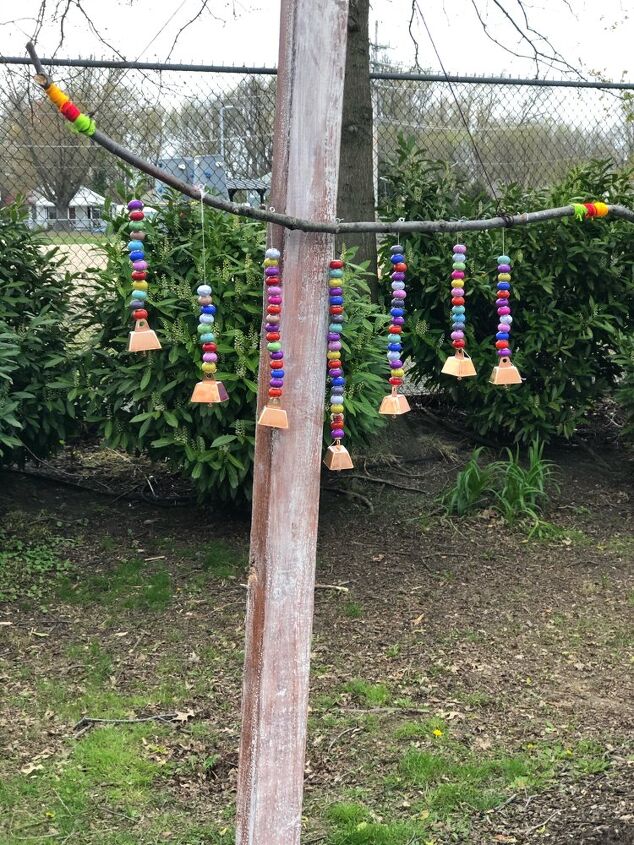
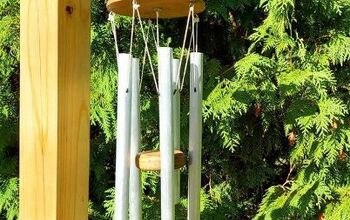
DIY Beaded Wind Chimes
With my family spending mostly at home these days, we have been enjoying more time in our backyard
I have been working to make the space more enjoyable for us. I recently put together an easy DIY beaded wind chimes craft that almost anyone can put together with supplies from her craft stash!


Supplies
Twig or piece of driftwood
Large Hole Acrylic Beads (I used 100 beads)
Nylon thread or twine (I used a Kite Line from a kite we no longer own)
Hemp Cord or Twine (I used hemp cord)
7 Mini Copper Cow Bells
7 Stainless Steel Screw Eye Rings
Cordless Drill
Scissors
Ruler or Yardstick
I started out with a twig that I picked up in my backyard. The other supplies I used were heavy acrylic beads, something to string the beads on (I used an old kite line I found in my family’s basement), some embroidery threat (also found in basement), mini eye hooks, a ruler or yard stick, hemp cord, scissors and a cordless drill.
These are the simple steps to make this DIY wine chime/garden decor:
1- Measure where to put your eye hooks. I used 7 hooks and spaced them 3 inches apart.
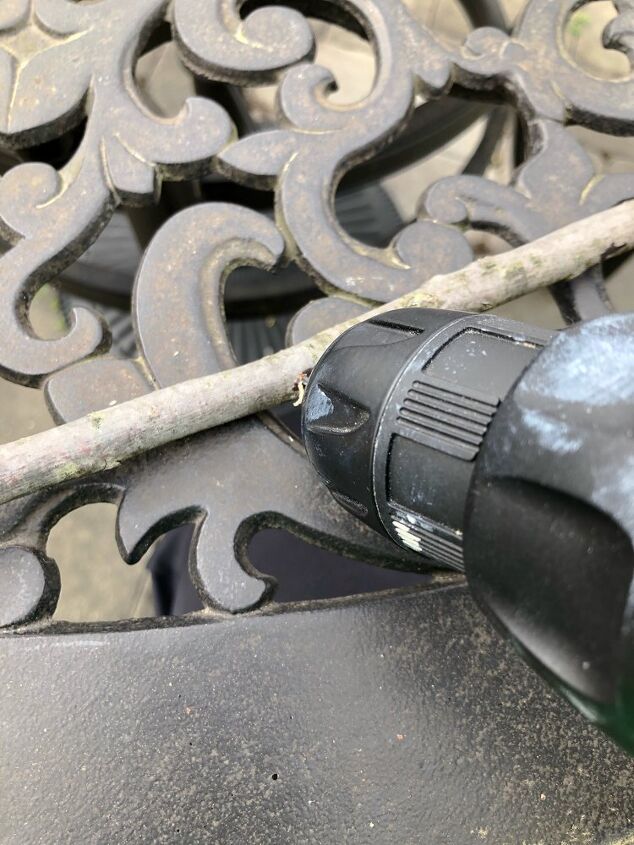
2 – Mark where you want to drill your holes.
3- Drill a small hole for each eye hook. I really only started a hole in the twig so it would be easy to screw in the eye hooks.
4 – Twist in the eye hook by hand. (Ideally, the hooks should go on the bottom of the twig. I accidentally hung my wind chime with them on the top, but it still works. lol)

5- Cut 7 lengths of kite line (or whatever you will be using to string your beads). Make the length of each line about 3-4 inches longer than you need to hold the beads. (You can trim the string later, after you tie them onto the twig.)
6- Tie a mini cow bell onto the end of each line.
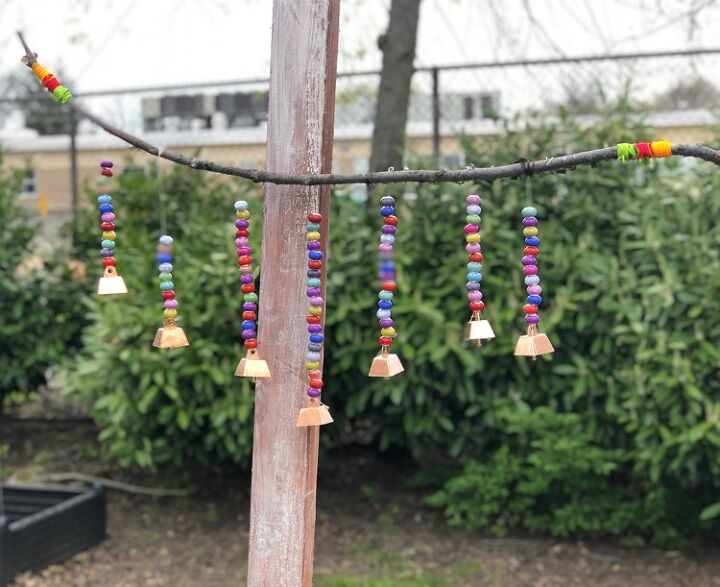
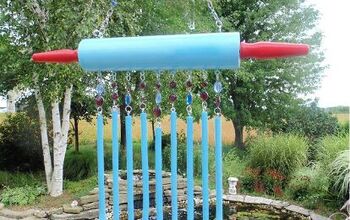
7- String your beads. For my DIY wind catcher, I made: 1 length of string with 20 beads (which I put in the center), 2 lengths of string with 16 beads (which I put on either side of the center), and 4 lengths of string with 12 beads each. This uses exactly 100 beads — my daughters figured this out for me!

8- Tie your beaded lengths of string onto the eye hooks. (I double knotted them to make sure they are secure.)
9- Tie some colored embroidery thread onto the ends of the twig for extra color.
10- Tie a long piece of hemp cord or twine to either side of the twig to make a loop for hanging. Now you just need to find a place to hang your new DIY wind chime / DIY garden decor!
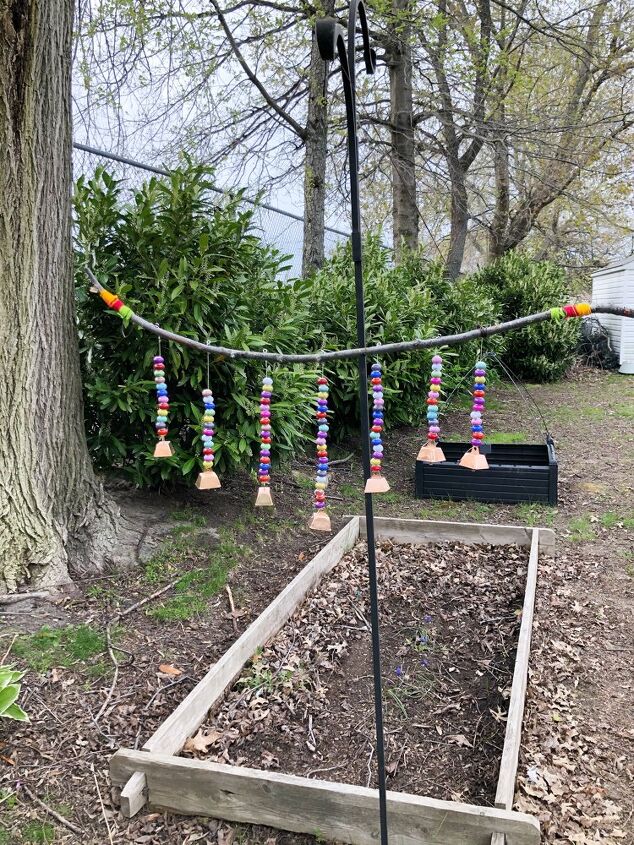
I originally hung my new DIY beaded wind chimes in one area of my yard. But then I decided to hang it on one of the DIY string light planter posts on my patio. It’s nice because I can see the DIY beaded wind chimes when I’m working on my computer in my family room.
Resources for this project:
See all materials


Comments
Join the conversation
-
Great idea! Thanks for sharing.


Frequently asked questions
Have a question about this project?