


Quick and Easy DIY Geometric Painted Planter
I’m not sure about you, but spring gets me all excited, and makes me wanna paint every single planter in my sight. My gold spay paint and I went on a geometric painting rampage this weekend, ha!
I’ve been busy sprucing up the deck cabana, and we’ve already been spending quite a bit of time out there—especially since we still have a gutted kitchen. The grill and microwave are our only options (sigh), but I have enjoyed eating most of our meals al fresco.
Here’s a super quick DIY painted planter tutorial that you can do in less than 10 minutes, and works for indoor or outdoor plants. So easy!
Gather your supplies: ( original blog post with all links)
+ Planter in any color and size (I spray painted my terra-cotta pot white)
+ Metallic gold spray paint
+ Painter’s tape (I used masking tape, but painter’s tape works much better FYI)
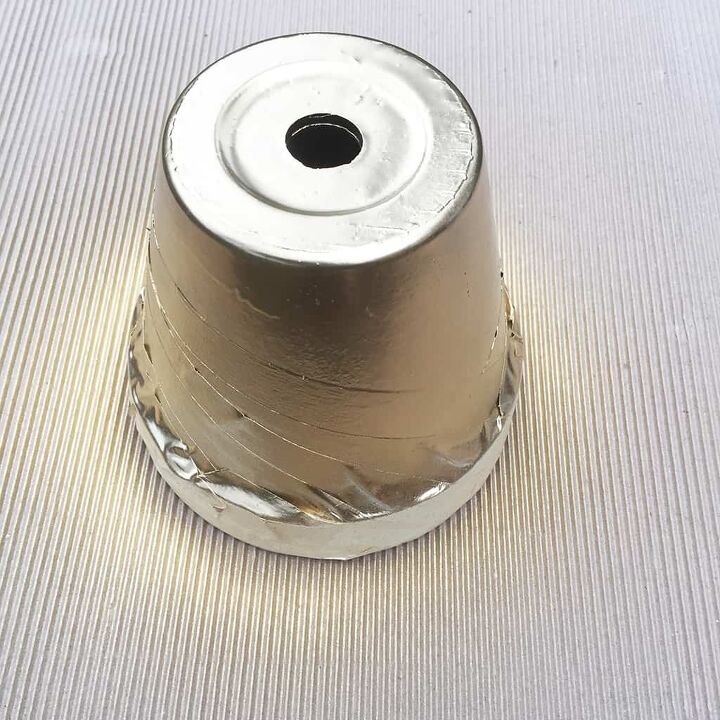
Tape off your planter only leaving the areas exposed that you want to be gold. Make sure you cover all outside areas that you want to stay the pot color.

Spray one or two coats of your spray paint, and let dry completely.
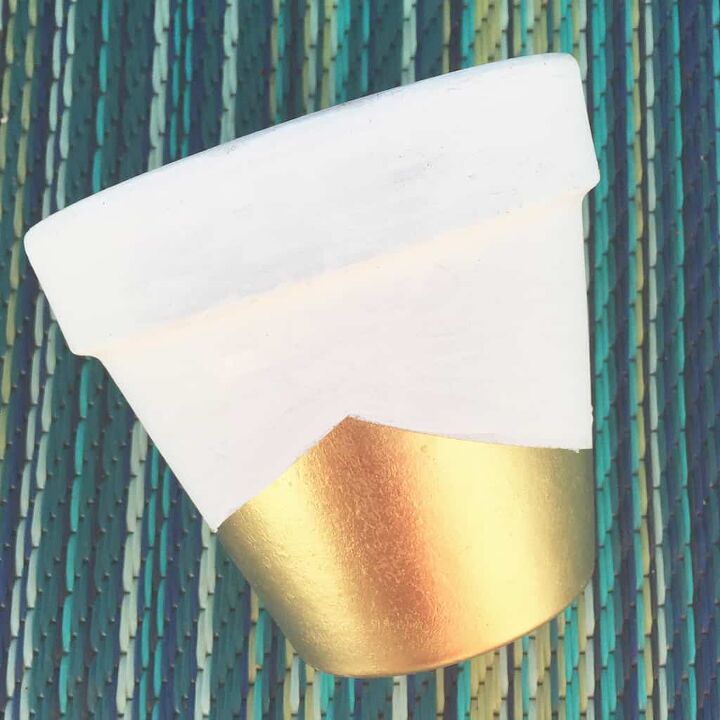
Peel off your tape (remember, painter’s tape comes off much easier than masking tape).
And you have a fun, geometric planter with a pop of gold. Sorry if you become addicted—I know I am. 🙂
Add your fave plant, and enjoy the pretty results.
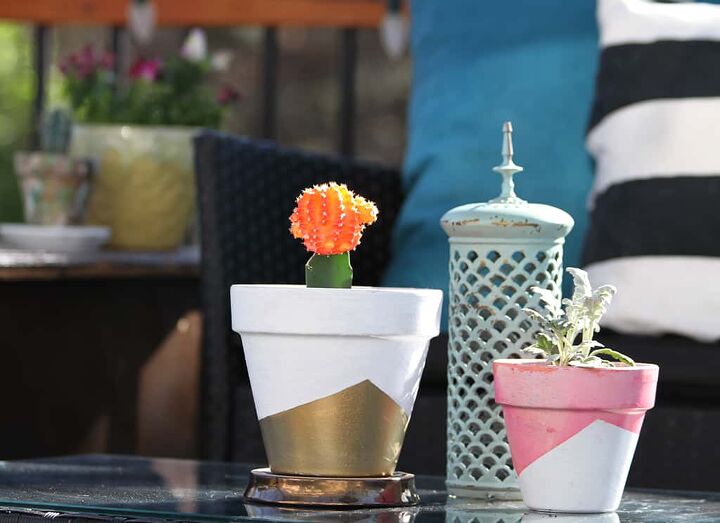
PS. I created the pink pot following the same steps, except I sprayed Tumble Dye instead of spray paint. It gives it a fun watercolor look.
Anyone else painted your planters using this method?
xoxo
Audrey


Frequently asked questions
Have a question about this project?