


Quick and Easy DIY Garden Mushrooms
I love to place surprises here and there in the gardens. Things that add some color and fun to fill in the space gaps between the perennials.

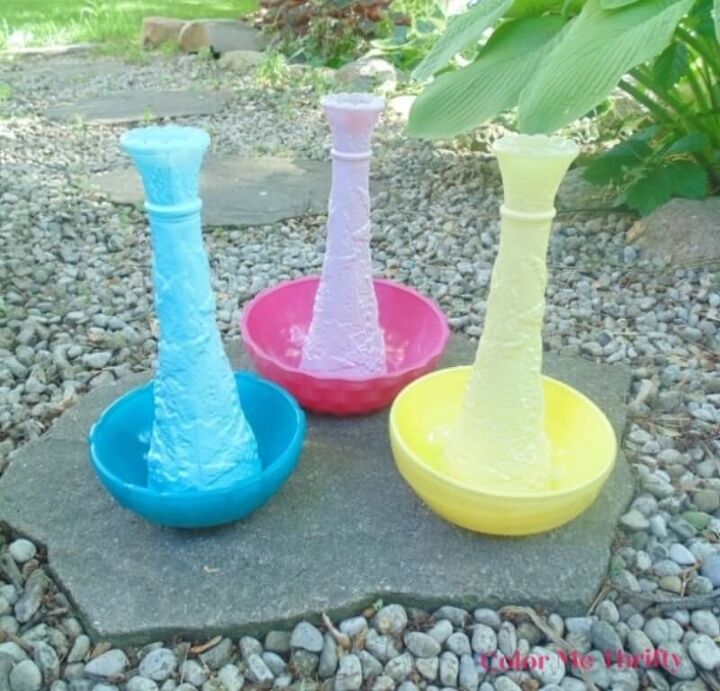
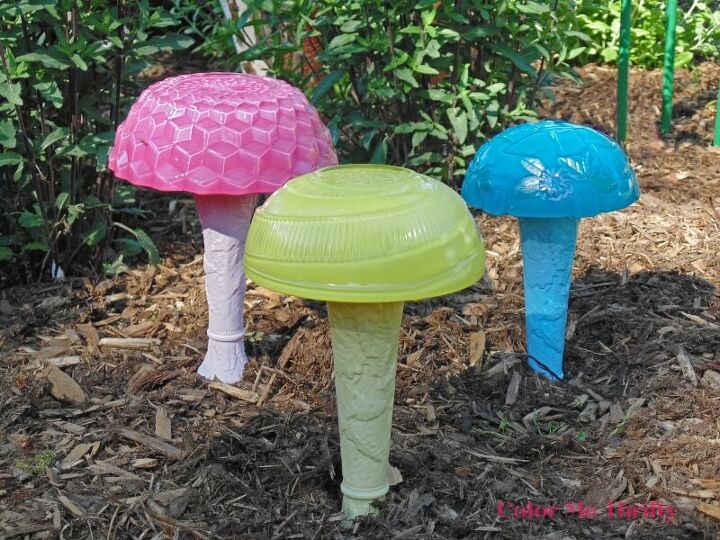
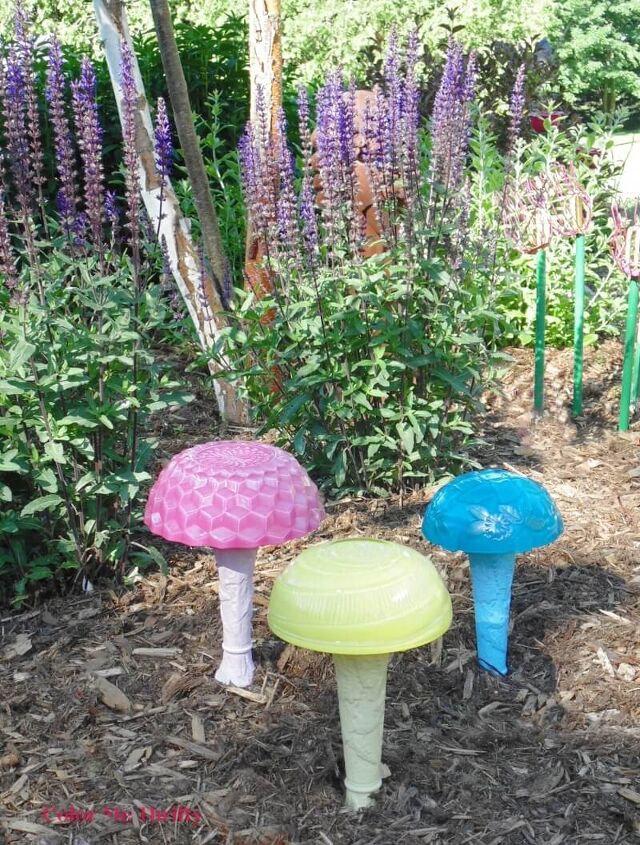
Like these easy to create garden mushrooms from inexpensive glassware that I found at local thrift stores.
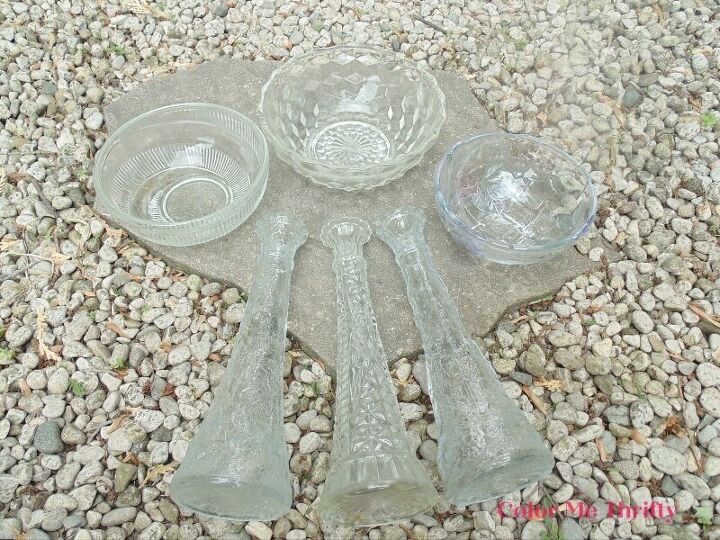
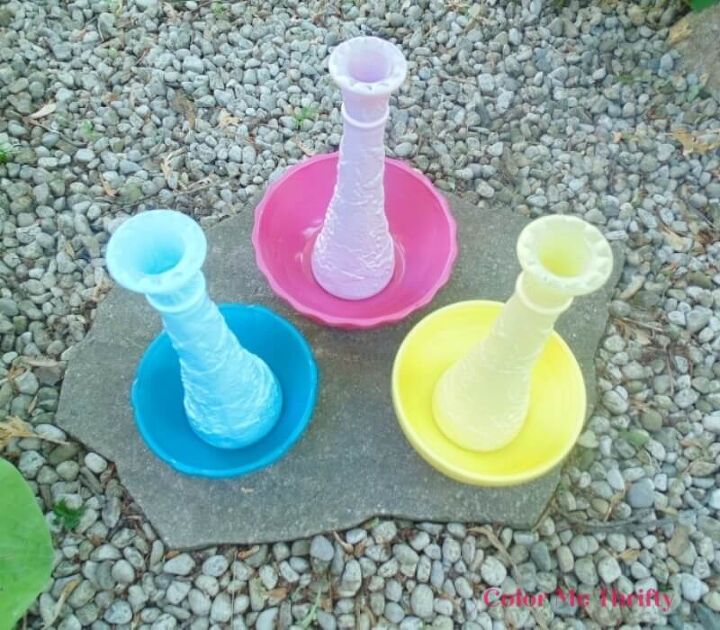
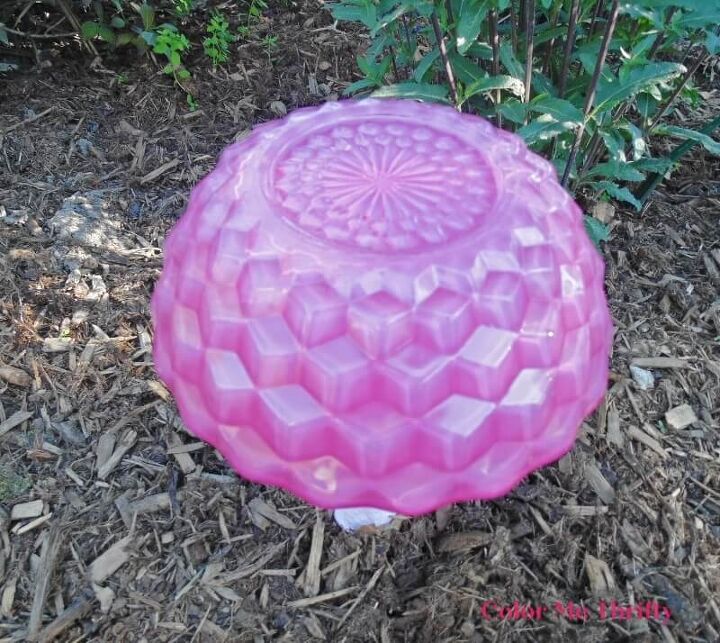
Here’s what I’m using for my mushrooms; 3 glass bowls that I found for just 25 cents each, and some 50 cent glass vases that I already had . I picked bowls that had interesting patterns in the glass.
The beauty about a project like this is you can use whatever you can find, or maybe you already have some glassware that you can repurpose into this fun garden project.
Supplies needed to create DIY Garden Mushrooms
- round glass bowls
- glass vases
- painter’s tape
- spray paint
- Marine Goop Adhesive or E6000 glue
- 1/2″ PVC pipe
- measuring tape
- mitre saw
- marker
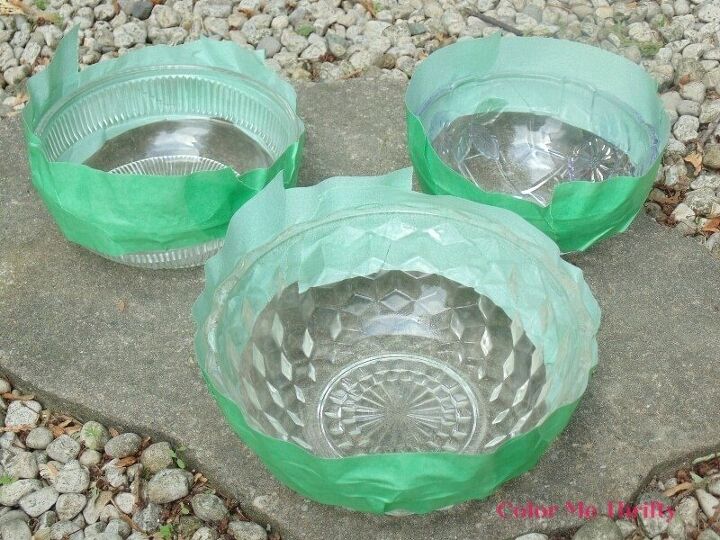
STEP 1: Apply painter’s tape around the outside of the bowls at the rim. Once you have it in place press it down with your fingers to make sure you have a good seal. This is to protect the outside of the bowl from getting spray paint on it.
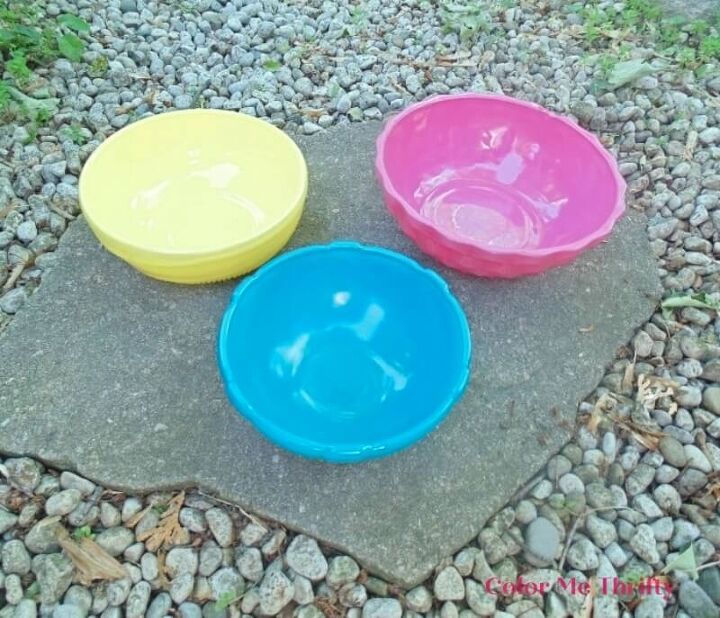
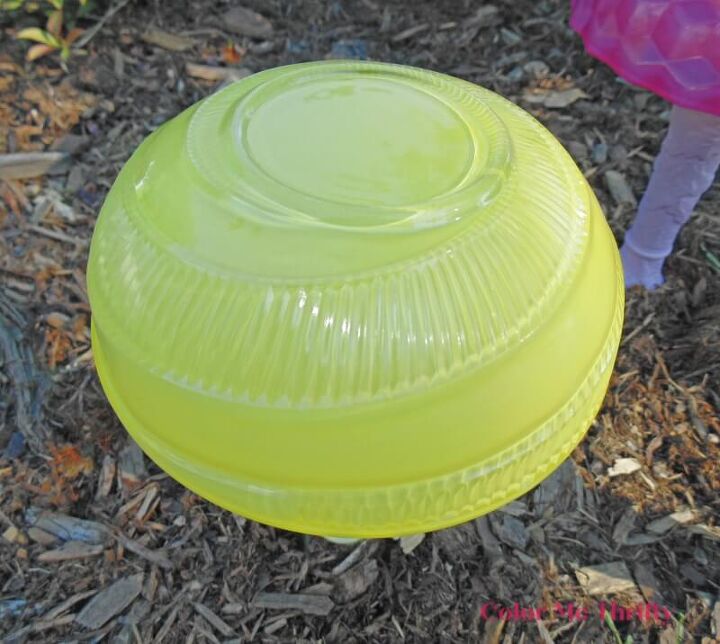
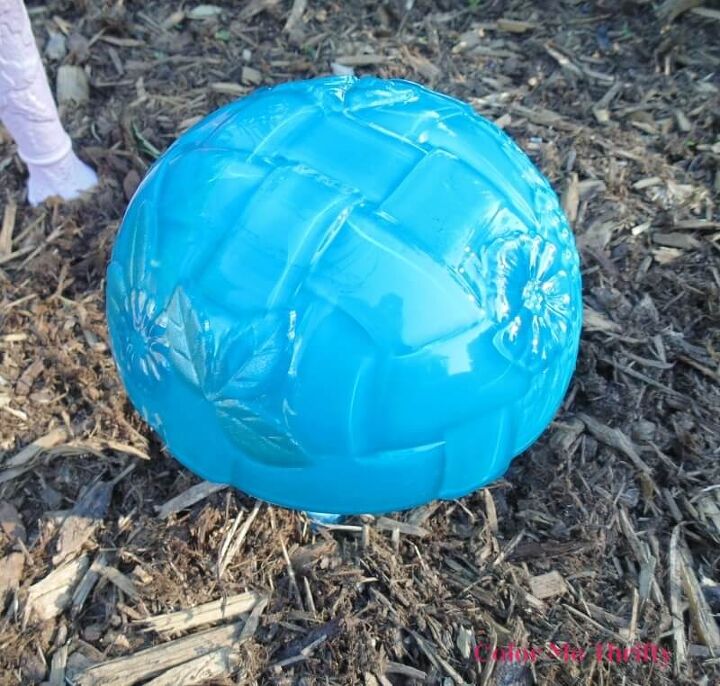
STEP 2: Spray paint the inside of the bowls with two light coats of your colors of choice, letting it dry in between. Remove the painter’s tape, and let the bowls cure for a couple of hours. I used a paint and primer combo spray paint meant for exterior use, and I’m using a gloss finish because that’s what I had on hand.
There are three reason why I’m painting the inside of the bowls instead of the outside.
- I really wanted to take advantage of how the paint looks through the glass.
- The paint will be protected from the outside elements, rain and sun etc, and will last longer
- They’ll be easier to store for the winter. I can store them on their heads without worrying about any paint damage.
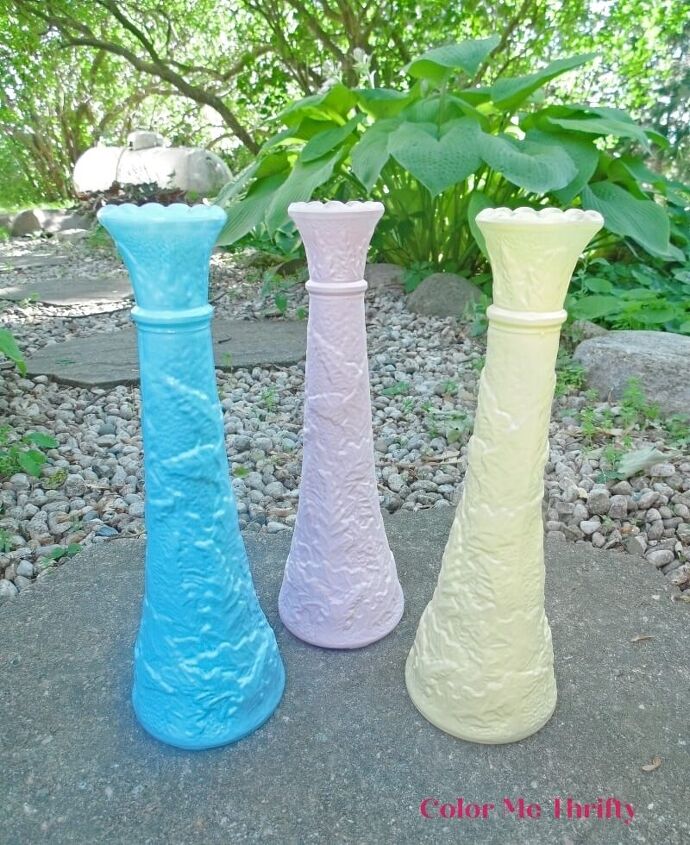
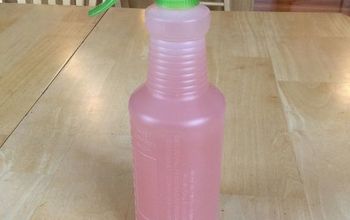
STEP 3: Spray paint the glass vases with two light coats of your colors of choice. I decided to use a lighter tone of the same colors that I used on the bowls. The yellow and pink are a chalk spray paint, and the blue is a matte spray paint. Again, I just used what I already had on hand. Let the vases dry and cure for a couple of hours.
TIP: Spray paint will take longer to cure in humid environments. It was a hot and humid week when I did this project so I let everything cure for a couple of hours before moving onto the next step. Normally I would only wait until the paint is dry, which is pretty quick, but it’s good to wait a little longer when the air is humid.
STEP 4: Apply glue to the bottoms of the glass vases and put them in place inside the bowls.
Make sure to put the glue around the outside of the bottom of the vases to get good contact with the bowls. Let these sit and cure for at least 24 hours, especially if it’s hot and humid. I chose to glue the bottoms to the bowls because there’s more surface area to get good glue contact, and so I can support my mushrooms with some stems to secure them.
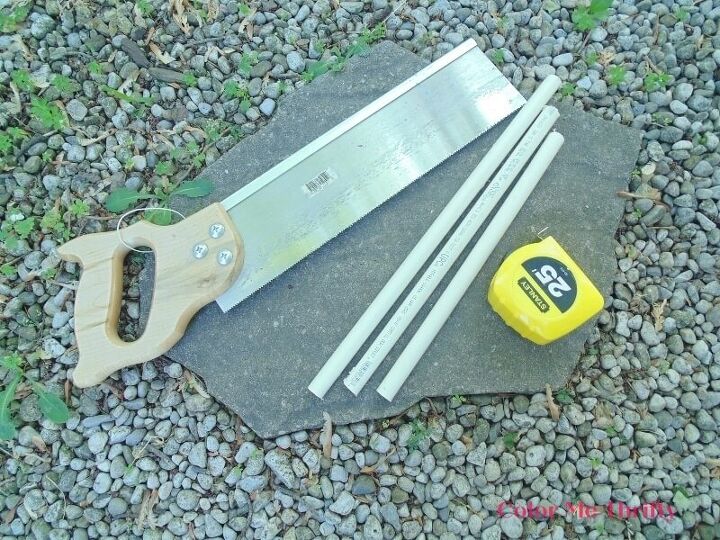
STEP 5: Our country property can be rather windy, and we often have animal visitors too. So to stop my mushrooms from being blown or pushed over, I cut some PVC pipe pieces to secure them in the ground. Here, the PVC pipe costs about 70 cents a foot, and I used about 4 feet.
Tips for cutting PVC pipe for DIY mushrooms
- Measure the height of your glass vases
- Add 4-6 inches so they can be pushed into the ground
- Mark the pipe and cut with a mitre saw, or any saw that has small teeth
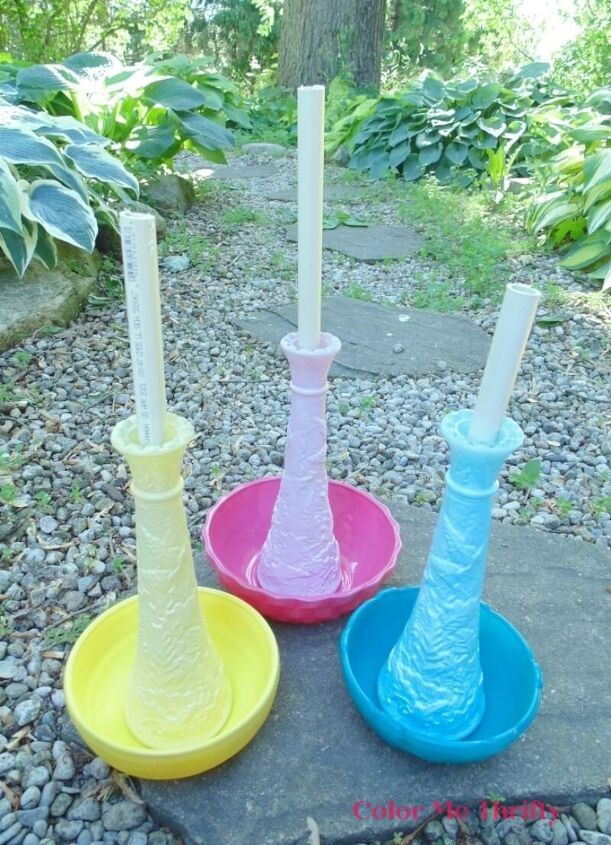
STEP 6: Place the pipe into the vases. Because my vases are all the same height, I staggered the lengths of the PVC pipe. I’ll be pushing some of the vases into the ground as well.
STEP 7: Push the pipe pieces into the ground, and place your glass vases over them. I wanted the heights to vary slightly, so I pushed the yellow vase into the ground a bit, and the blue one a little bit more.
I really love how the spray paint inside the bowl seems to make the glass patterns glow.
These bowls really don’t need any more decoration than what they provide with their patterns.
You could add some glass crafting gems if you like, but for me these DIY garden mushrooms are beautiful just the way they are.
These would be great placed anywhere in the garden that you need some fun fillers. Or make some mini ones and add them to planters as plant pokes.
The creative possibilities are really endless, depending on the glassware you use and the colors you choose. Not including paint drying time, these mushrooms took less than 30 minutes to create.
I hope this project has inspired you to create some DIY garden mushrooms of your own.
You can find more garden projects on my blog here.
Resources for this project:
See all materials


Comments
Join the conversation
-
I made a Goodwill stop, got several bowls and vases as well as candle holders and plan on doing this very soon! I have cats that think my wonderful flower beds are litter boxes and will use these to keep the furry beasts out. I have all kinds of different decorations placed throughout my beds as cat deterrents. These will work so well and look great! Can't wait to get these done! I will not try plastic as I live in the high plains of New Mexico with hot, hot sun and strong winds. They wouldn't last here.
-
I have done this in Texas using leftover bud vases and old glass light globe covers. Glued flat craft marbles on for color. Anchor in ground or flower pot with wooden dowel that fit in the vase. Going on the second summer and still look good.


Frequently asked questions
Have a question about this project?
So very cute. Could you use plastic bowls and not glass?
Is there a way to incorporate a small solar light into these?