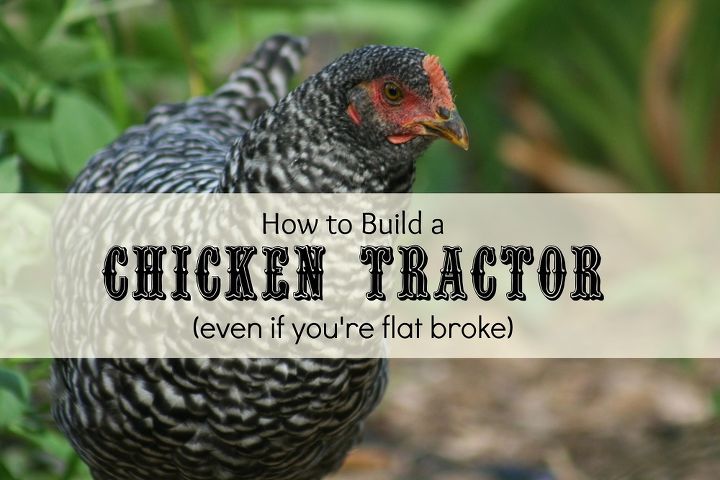
How to Build a Chicken Tractor Using Free Pallets

TheFrugalChicken.com
by TheFrugalChicken.com
2 Hours
Easy
This chicken tractor made from pallets is an easy project that took us only a couple hours. It didn't cost us anything because the pallets were free, and the chicken wire was left over from when I built my coop.
Luckily, our chickens still think it’s the bee’s knees!
A chicken run can be any size or shape, as long as it keeps your chickens safe from predators, can be moved, and has some way to provide them shade and water.
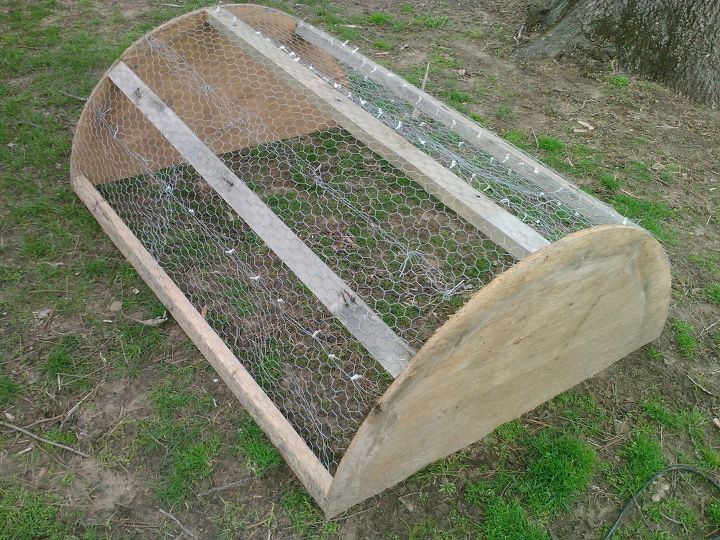
1. How big do you want your tractor to be?


The tractor pictured was built for our younger pullets and cockerels, who were dying to free range. Since our pallet wood was 5 feet long, we were limited to making the tractor 5'. For our younger chickens, we didn’t want to make it too long (read: too heavy to move).


We found some pallet wood in our scrap pile that was circular, and perfect for cutting in half for the end pieces, which made the tractor about 2' tall. 2' x 5′ gives the chickens 10 square feet in the tractor.


With this size, I do have to move it often, but I can move it myself. I make sure one end is always in the shade, so the chickens can get out of the sun.
2. Cut the wood to your desired length


The ends were a perfect diameter, so all we had to do was use a table saw to cut the circular pallet wood in half. The support beams were a little more difficult; the pallet wood was roughly the size of a 4×4, so we cut them in half length-wise to make them thinner.


3. Assemble the skeleton


Screwing the skeleton together was simple. I used 4″ wood screws (2 screws per 5′ board) to assemble the chicken run. Having a helper with this step makes it easier, but if you’re working alone, you can just hold the beam between your knees.


We left a foot or so between boards so the tractor is sturdy, but there’s still plenty of open areas so the chickens can get sun.
4. Attach your chicken wire to the skeleton


When I bought this chicken wire, I made a mistake and ordered 12″ width wire, so I spent the better part of a couple days using zip ties to make it my desired width.


To attach the wire to the skeleton on this chicken run, we used staples and a staple gun. It’s fast and the staples are inexpensive. We used chicken wire with 1″ holes.


You want to make sure your wire is attached all the way around the tractor, and there are not gaps or large holes anywhere.


5. Just add chickens, and you’re done!


That’s it! Like I said, it’s a fairly simple project that can be done in a couple of hours. Your chickens will thank you when they’re able to hang out in the sun, dust bathe, and scratch for goodies and still be protected.
TheFrugalChicken.com
Want more details about this and other DIY projects? Check out my blog post!
Go
Frequently asked questions
Have a question about this project?
  1 question
Comments
Join the conversation
 2 comments
  • Lauren Lagergren Lauren Lagergren on Mar 31, 2015
    This reminds me of the Ingalls who would move their chicken house(?) around and I think it may have been something similar.
  • TheFrugalChicken.com TheFrugalChicken.com on Apr 01, 2015
    I think it was! Can you imagine living in the 1800s in undeveloped land, and having your entire chicken flock killed? Might not make it through the winter then....
Next