


Keep Nectar Winter-cozy With This DIY Hummingbird Feeder Heater Hack!
I really enjoy having a hummingbird feeder on my back patio! It's positioned in the perfect spot where I can watch my little hummer friends right from the comfort of my kitchen windows.
Since our winters are so mild along the West coast of BC, we get a hummingbird variety that stays put all winter long.
So I needed to come up with a way to keep my feathered clientele well fed through the freezing months ahead... what could I do with a few things I had on hand?
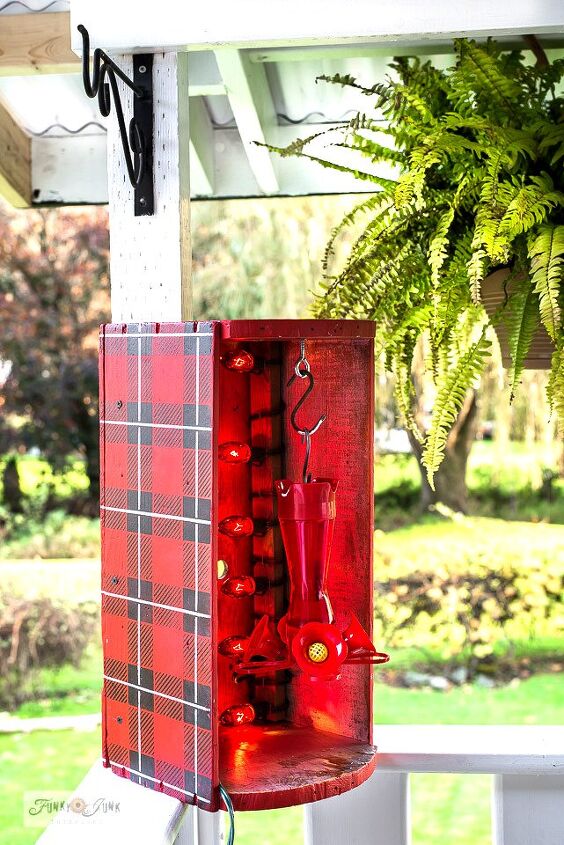
Grabbing a crate from my stash and some old school red Christmas lights, this feeder heater hack transpired...
And guess what... they started visiting in TWOS!
I'm so pleased that they like their new digs... and that it looks so cute too!
Here's how to made it:
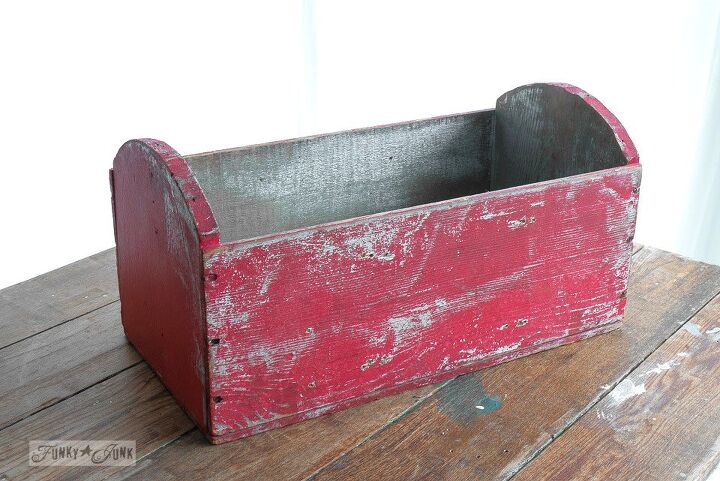
This rustic beat up crate needed a face lift anyway. So let's make it hummingbird-worthy cute first!
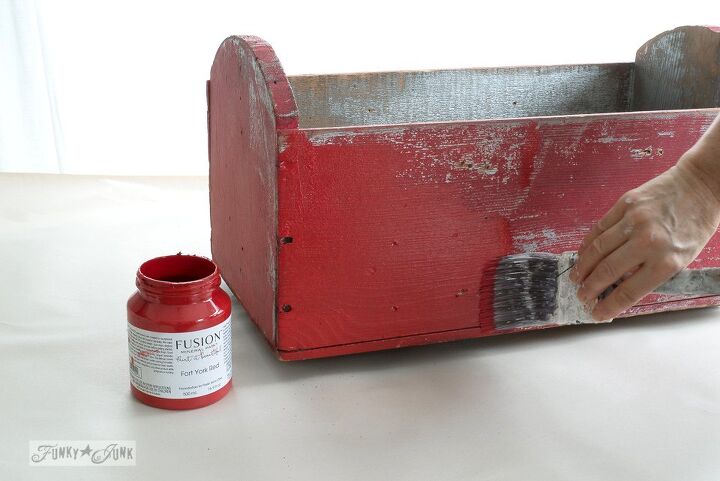
The crate received a nice fresh coat of Fusion Mineral Paint's Fort York Red to start.
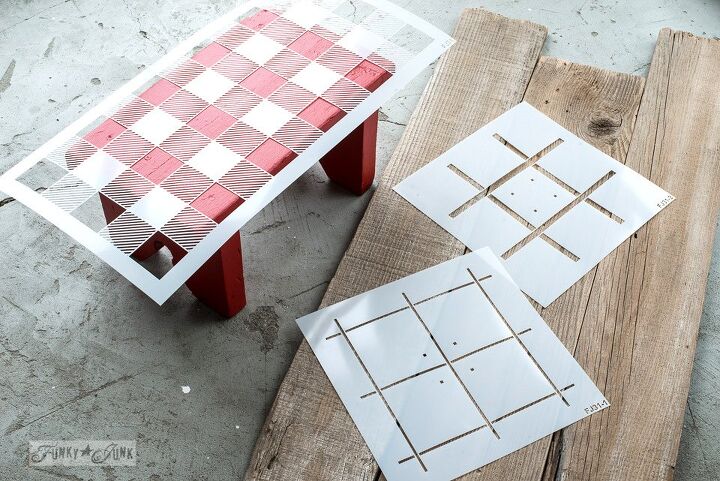
Then two stencils were used to achieve this cozy Buffalo Checked look!
Left: Buffalo Check - Long
Long (22") is only avail until Dec 31 2020. A slightly shorter one (14") is available year around.
Right: Plaid Shirt
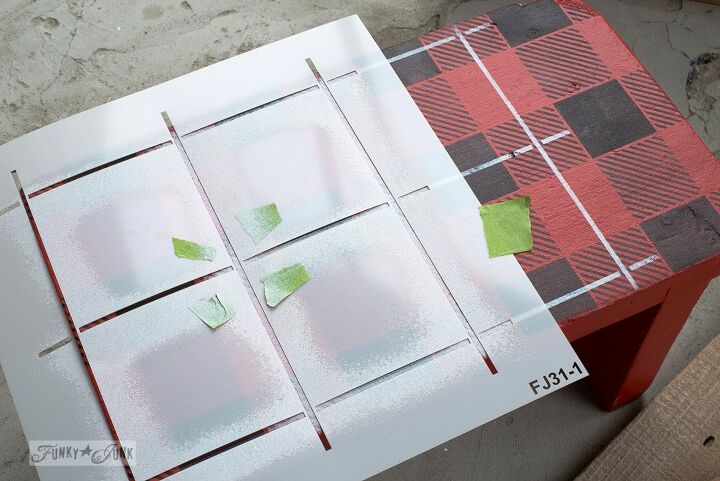
How to stencil a Buffalo Check pattern:
- Centre Buffalo Check on project, then stencil in black.
- Using the 4 registration marks, align the thin lines of Plaid Shirt on top of one of the solid Buffalo Check squares, then stencil in white.
- Continue pattern by aligning like-minded pattern along the edges until surface is complete.
Honestly, it's much easier to understand the process by watching it... which I can help with!
Learn how to Buffalo Check any surface from THIS POST, which includes a helpful video!

What a cutie, huh? This Buffalo Checked paint treatment looks amazing on ANYTHING, year around for a cabin-fever look or perfect for Christmas decorating!
So let's turn it into a hummingbird feeder heater next!
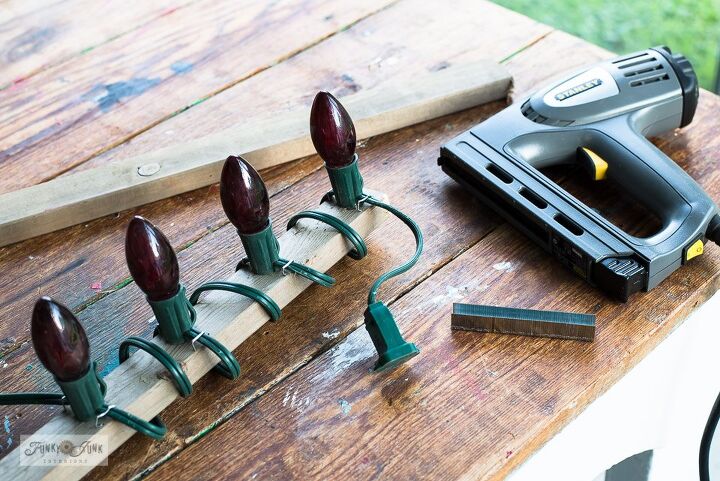
Two small boards cut to fit inside the crate were wrapped with old school red Christmas lights (not LED), then the cords were carefully stapled to the boards.
Care was made to ensure one string of lights could wrap both boards by leaving some leeway in between the two.
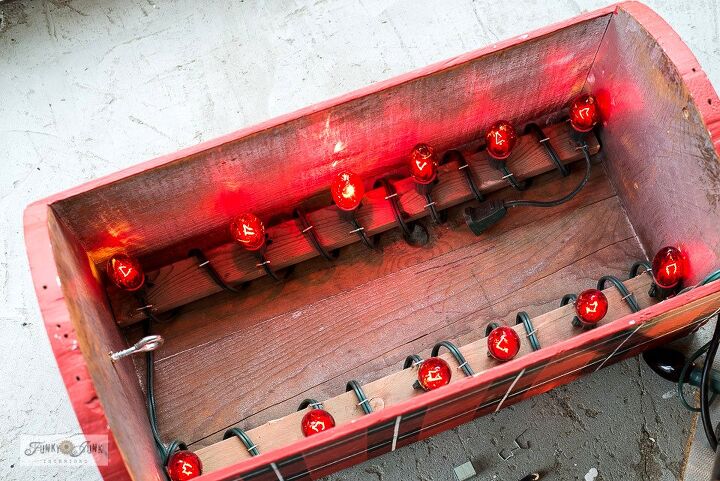
Once both 'joining' light bars were complete, they were positioned into the crate, then attached with screws.
And the finished result is one very toasty feeder that screams 'Come and get it!'
It's warm, cozy, and the hummers seem to love it!
Plus, I can see the feeder at night now, which is pretty cool too!
Desire more details?
Visit my original blog post HERE along with many more Buffalo Check projects!
Are you also a hummingbird fan? Think you'll make one too?
Resources for this project:
See all materials


Frequently asked questions
Have a question about this project?