


Rustic Chic on a Budget: How to Make a Dollar Tree Chandelier

Creating a beautiful and elegant chandelier for your porch doesn't have to be expensive. With a little creativity and some supplies from the Dollar Store, you can craft a rustic chic chandelier that adds charm to your outdoor space.
This post was transcribed by a member of the Hometalk editorial team from the original HometalkTV episode.
Hometalk Recommends!
Not only is this project easy to accomplish, but it also costs only around $20, making it a budget-friendly option for anyone looking to spruce up their porch with a touch of elegance.
Materials Needed:
- 4 plastic garden fences from the Dollar Store
- Tomato cage
- Welded wire mesh
- Zip ties
- White spray paint
- Black wax
- Battery-operated fairy lights
- Battery-operated puck light
- Faux white branches or plastic greenery
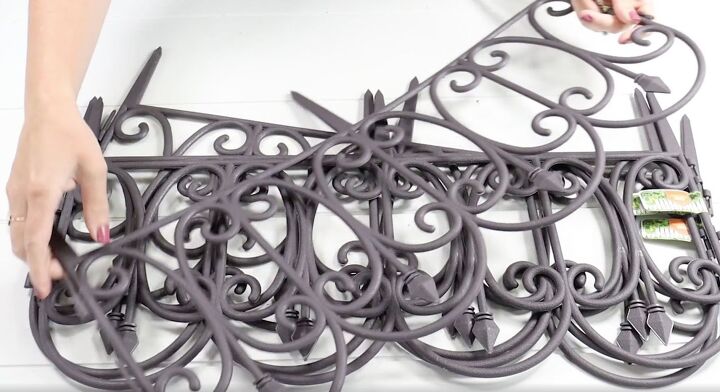
I headed out to my local dollar store and I picked up some of this plastic garden fence.
I was able to pick up four of these plastic fences for $1.75 each.
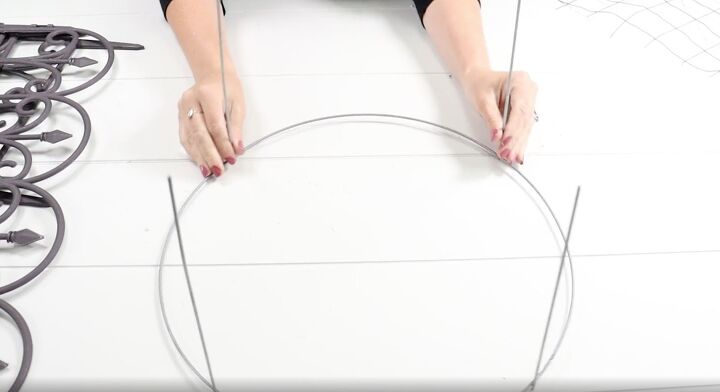
1. Prepare the Tomato Cage
Start by cutting off the top portion of the tomato cage, leaving just the bottom ring intact.

2. Attach Welded Wire Mesh
Cut a piece of welded wire mesh to fit inside the tomato cage ring.
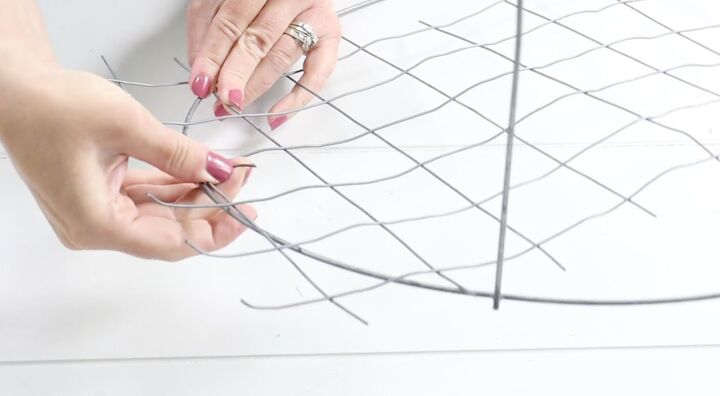
Bend the wires around the outside of the ring to secure the mesh in place.
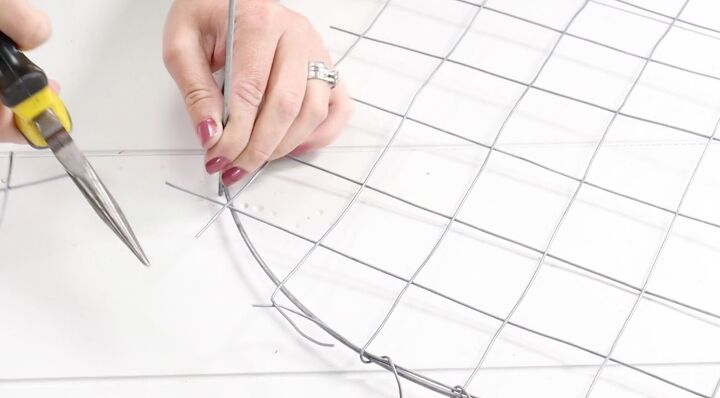
For the corner areas where it didn’t quite fit, I took a pair of wire cutters, cut off the excess, and then bent it around the wire so that it's attached to the tomato cage.
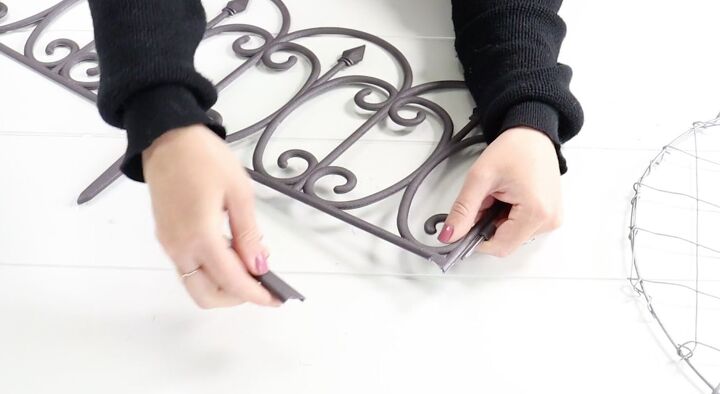
3. Prepare the Plastic Garden Fences
Remove the pegs from the plastic garden fences to prepare them for attachment to the tomato cage. The fencing is lightweight plastic, so it is easy to bend and break off.
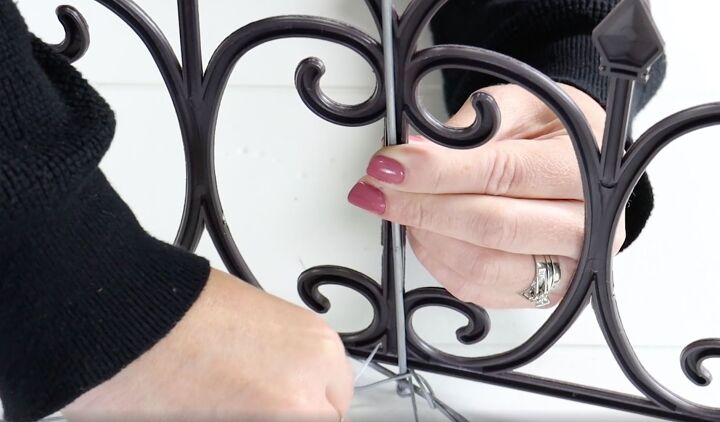
4. Secure the Fences to the Tomato Cage
Using zip ties, tie the first piece of plastic garden fence around the tomato cage.

Continue adding zip ties every few inches to ensure the fence is securely attached to the cage.

When I got to the end of a fence piece I added on another piece using the guide holes to click it into place.
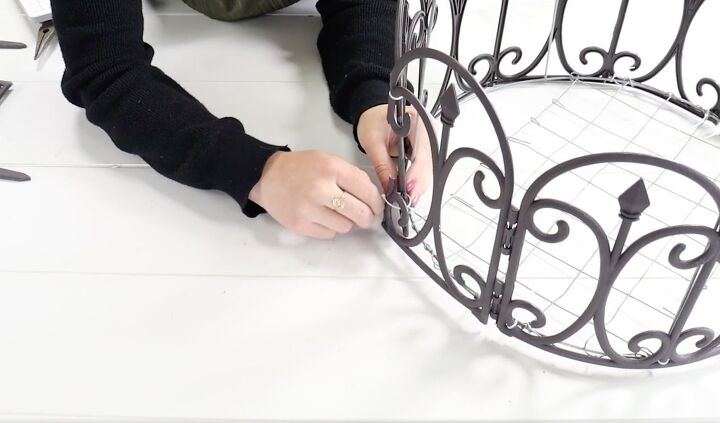
At the very end, I had a small opening where the two fence pieces didn't quite meet. To fill this gap, I broke off another piece of the fence, worked it in with zip ties, and connected it the same way.
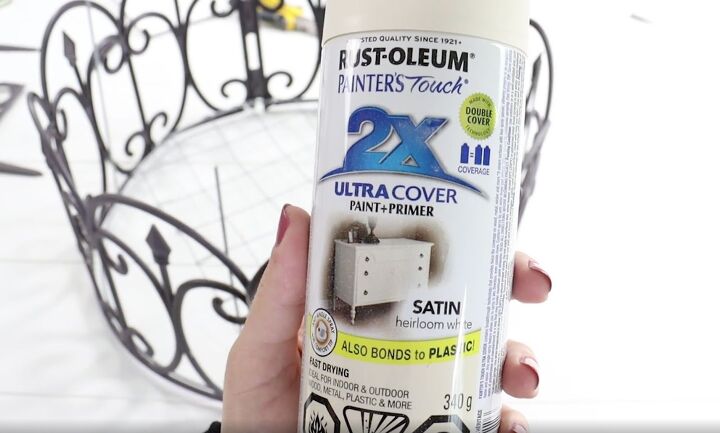
5. Paint the Chandelier
Once the chandelier is fully assembled, paint the entire piece with white spray paint.

After it dries, apply a little black wax to add dimension and achieve the look of rusted wrought iron.

6. Add Fairy Lights
Wrap battery-operated fairy lights around the outside of the chandelier. Secure them in place as needed.
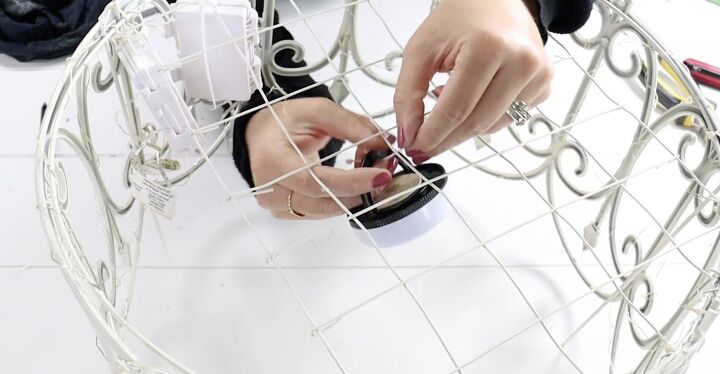
7. Install the Puck Light
Attach a battery-operated puck light to the top of the wire fence mesh in the center of the chandelier using zip ties. This will provide additional lighting options for your porch.

8. Add Decorative Finish
Enhance the chandelier's appearance by adding faux white branches or plastic greenery around the top. Use zip ties to keep them securely in place, ensuring they withstand weather and temperature variations.

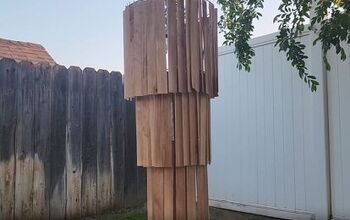
This is my finished chandelier outside under my porch. It is a covered porch, so I'm not worried too much about the rain. I really love the beauty and elegance that the chandelier adds to my porch.

It is low enough that I can reach from the ground to change the batteries or turn the puck light on and off. If I was going to hang it in a higher space, I would probably get a puck light or battery lights that can be controlled with a remote to make things easier. For me though, this works for my space and I am so happy with how this turned out.
I would love to see your Dollar Tree chandelier creations! Share your photos and experiences in the comments below.
Resources for this project:
See all materials


Comments
Join the conversation
-
Your light turned out so beautiful. Thank you for sharing, I'm going to try this for my gazebo and hope it comes out as pretty as yours, or at least pretty close. LOL
-
Absolutely beautiful


Frequently asked questions
Have a question about this project?
Where did you find the white branches, please
How do you open your door?
This is a must do project! It is just beautiful, and you are so creative. I do have a question; it appears you used the long wire of the tomato cage to hang it; I’m wondering how you attached them & made it able to hang?