


Steel and Wood Retaining Wall

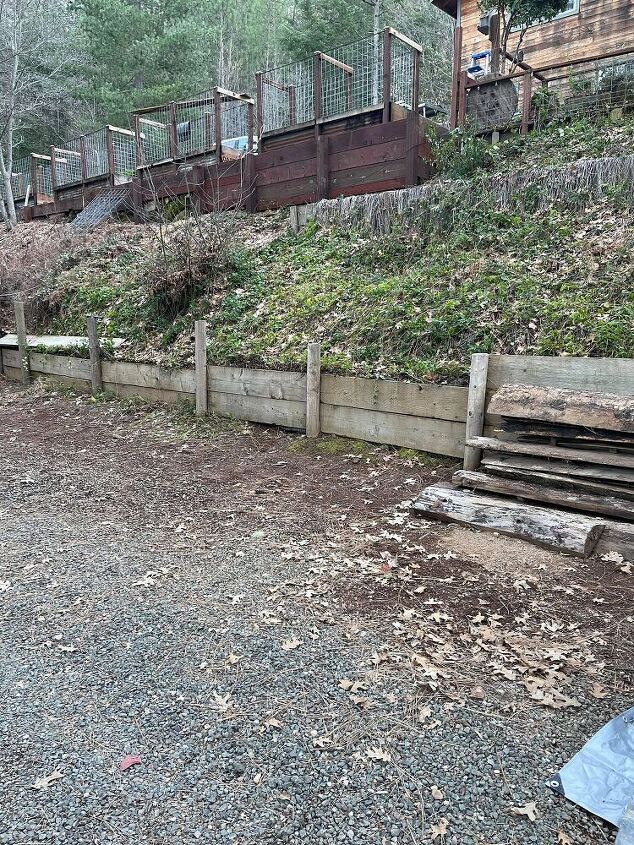
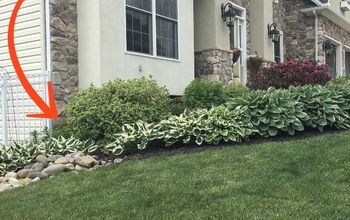
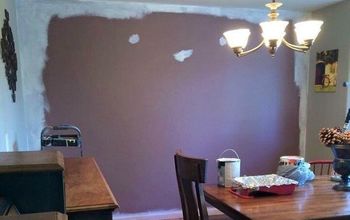
This is a BIG and expensive project! We have several retaining walls on our property that need to be redone. The photo below shows just one of the walls that is falling down (we are looking at the lower wall, light green wood).
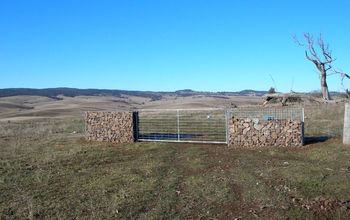
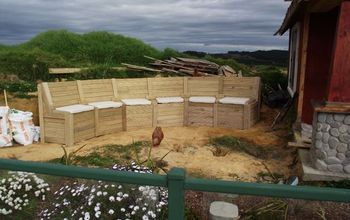
We decided to tackle these walls one section at a time, as money and time allow. If you are looking for a way to build/replace retaining walls, doing this yourself will take time and muscle, but save you thousands of dollars. (By the way, the fenced in "boxes" up above are our raised garden beds. We live in a forest and the removable fence panels keep the deer and critters out beautifully!)
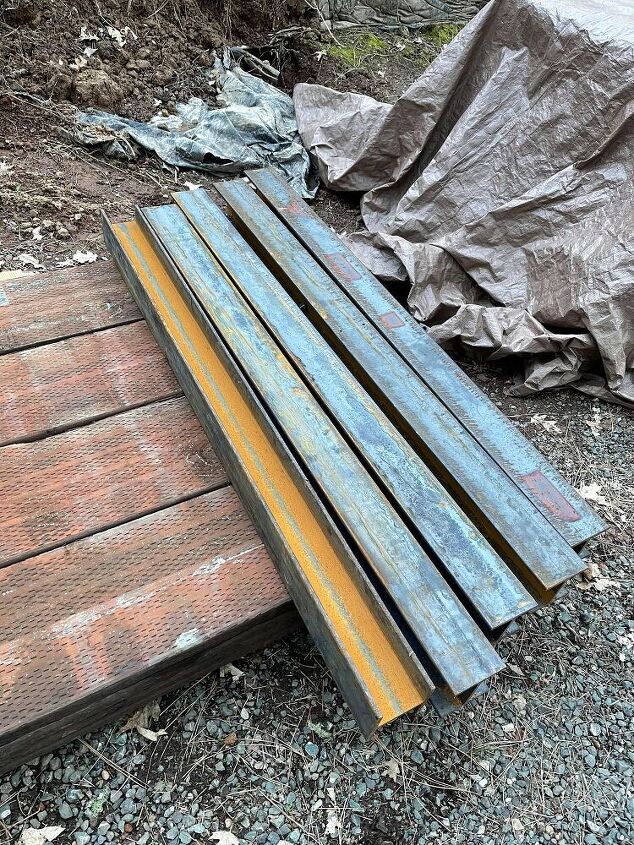
Rather than use wood posts, which tend to rot and break (this is why many of our walls are in terrible shape), we decided to ask a friend to cut several steel I beams to the length we need. They are called "I beams" because they are in the shape of a capital letter "I". We are going with a 36" high wall for this area, and the beams will go into the ground 2', so these are 5' long. We will also be using new pressure-treated wood, which is what you see underneath the steel beams in the photo below.
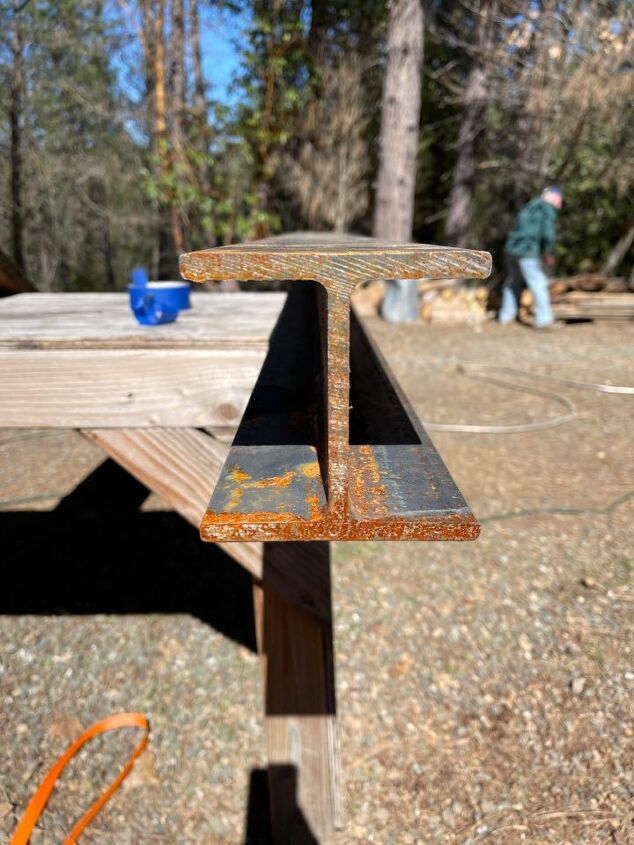
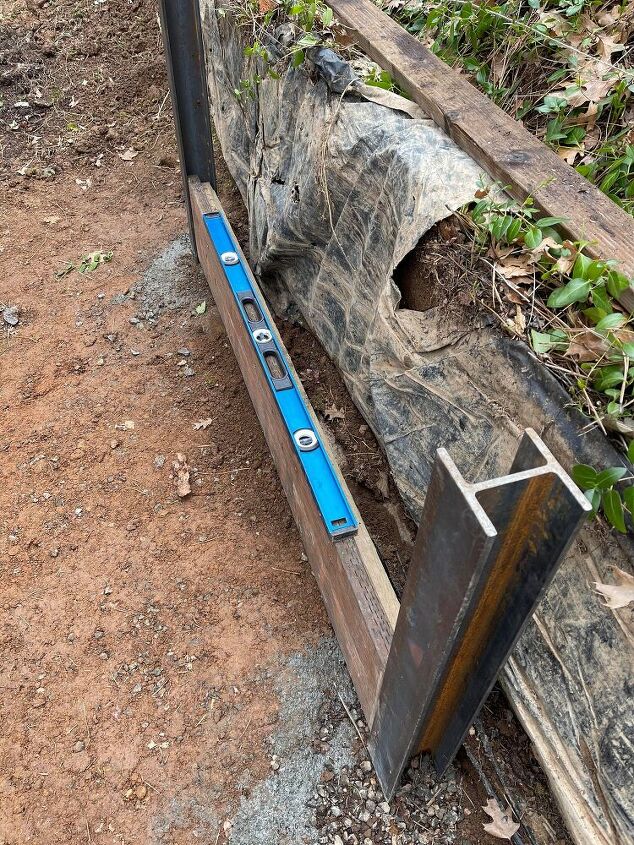
Here's a close up of that "I" shape:
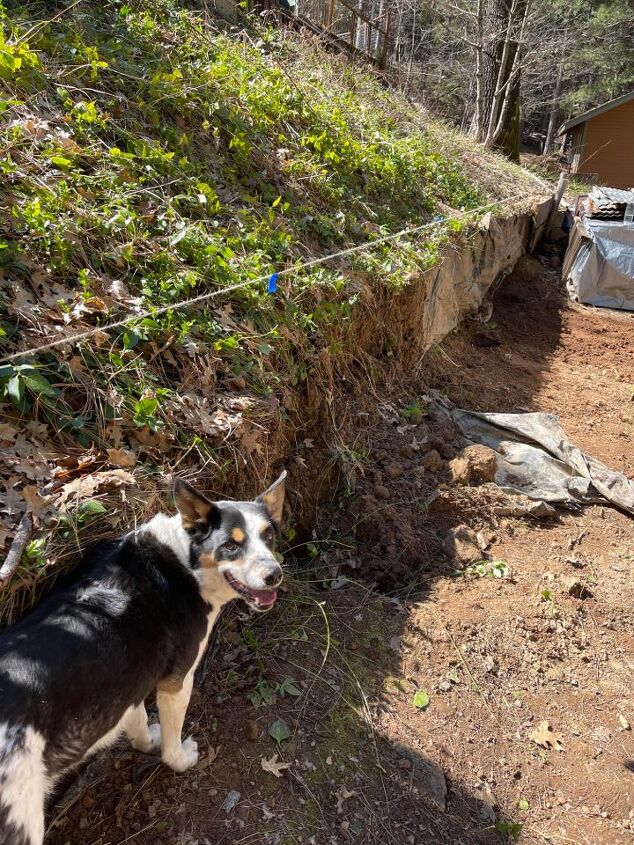
The first thing we did (after removing sections of the old wall), is create a straight line to guide our placement of the new wall. I'm not going to go into too much about how we did this, as we are not experts. I will tell you that we used a lot of string, and checked the level constantly. I am sure that you can Google this step and find some great how-to videos. Anyway, here is what our line looked like (we had a helper for this  ):
):
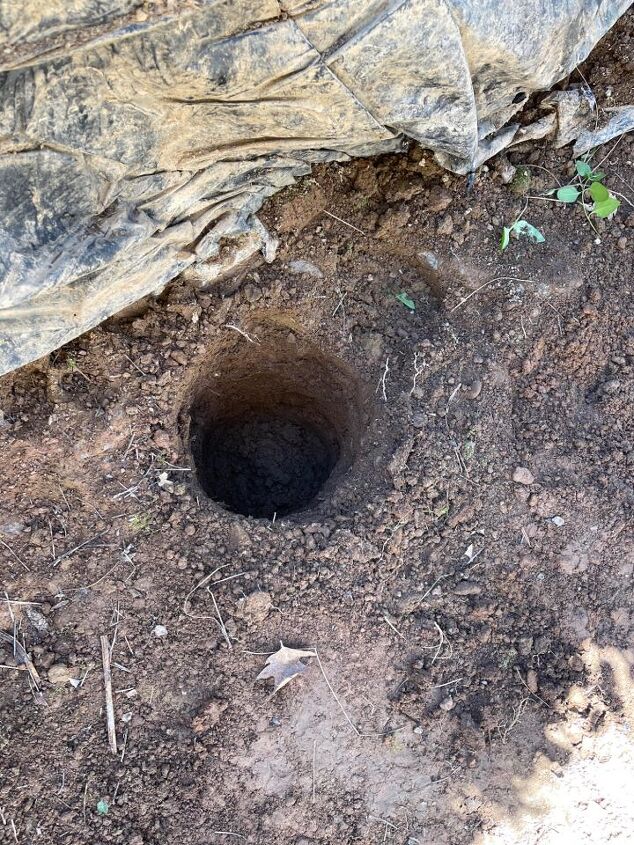
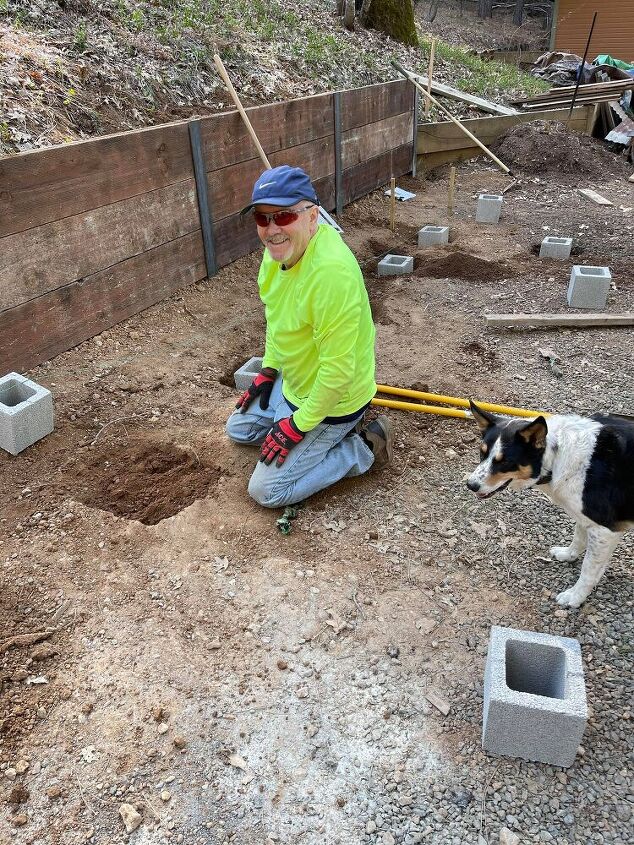
Next, after clearing out old pieces of plastic, and shoveling lots of rocks and dirt that had fallen, we were ready to mark off our holes and start digging. This is hard work (note that we are working with extra hard red clay soil), but we did it! Hubby used a post hole digger while I worked on removing rocks and did other small jobs. Here is a close up of one of his holes:
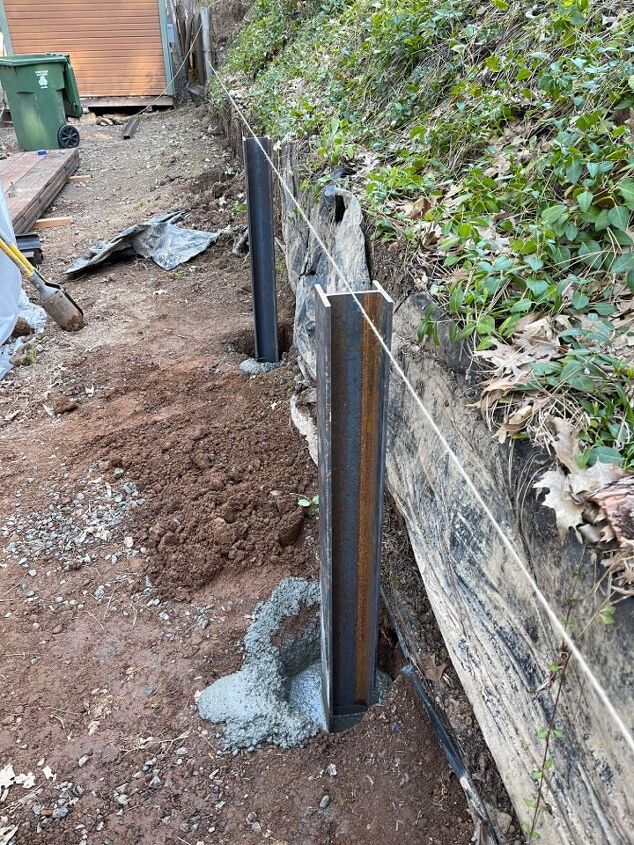
When we placed the posts in the holes, we held them in place with 1-2 bags of concrete, depending on how big the hole was. Again, we used the string as our guide, and checked the level constantly.
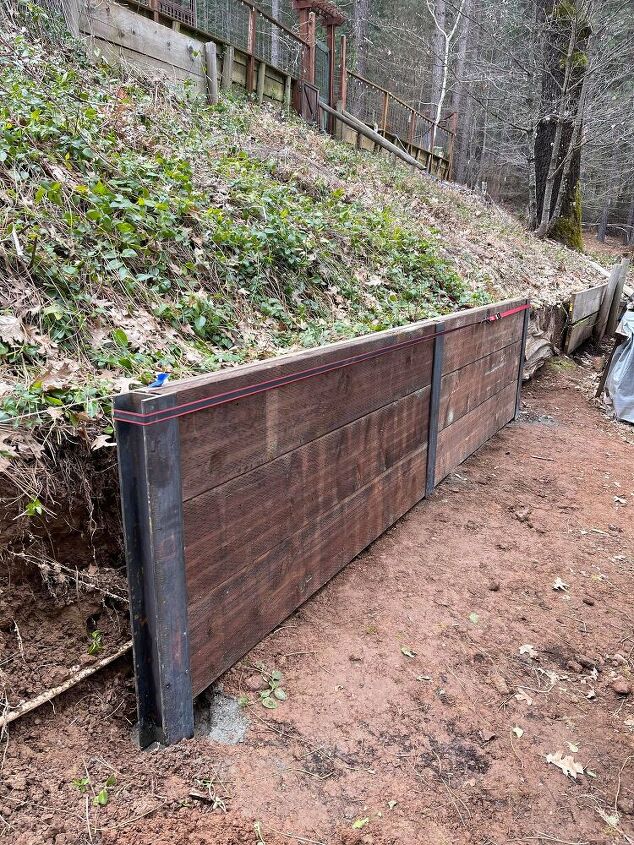
When the concrete had set up for the first two posts, we simply slid in our 2x12's. The I beam will actually hold a 4" thick board, so we got the idea to put the boards from the former retaining wall behind the new boards. I love that we were able to reuse them this way, and it made our wall so much stronger! In the photo below, you will see the new boards (red-brown color) in front, and the old boards (light green color) in back. If you don't have old boards, you could also cut smaller pieces of wood and place just in the I beam channel, behind the 2x12.
We did screw the boards together as we went, to pull them together and make them even stronger.
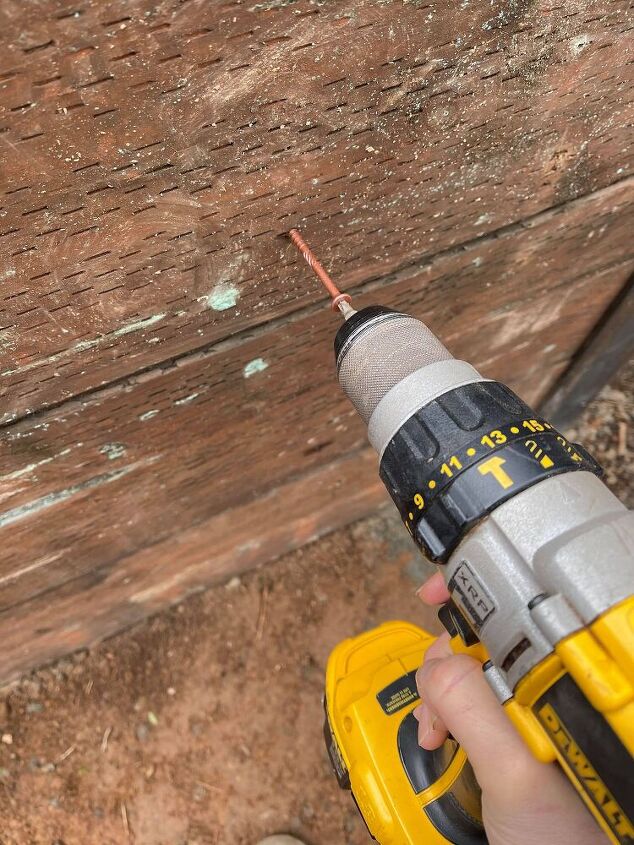
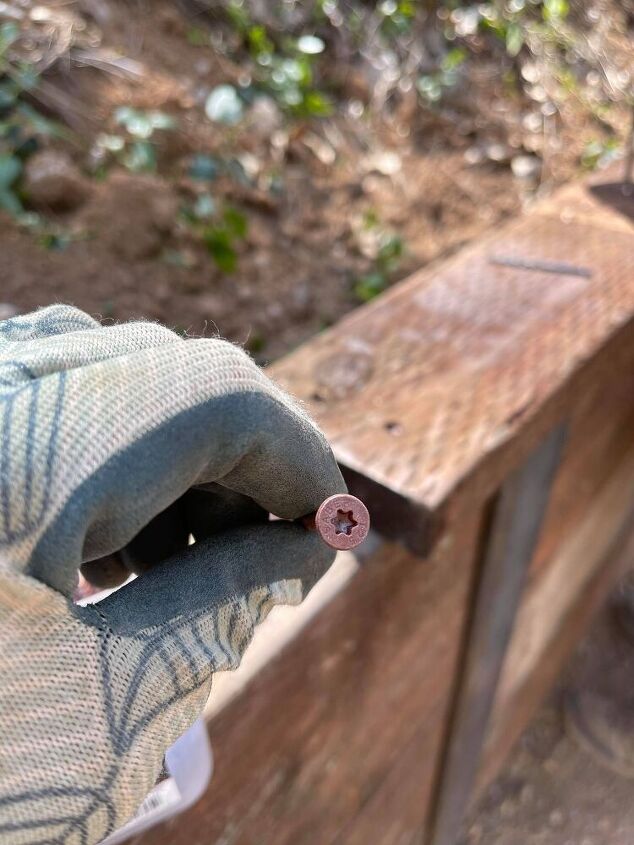
Here are the screws that we used.
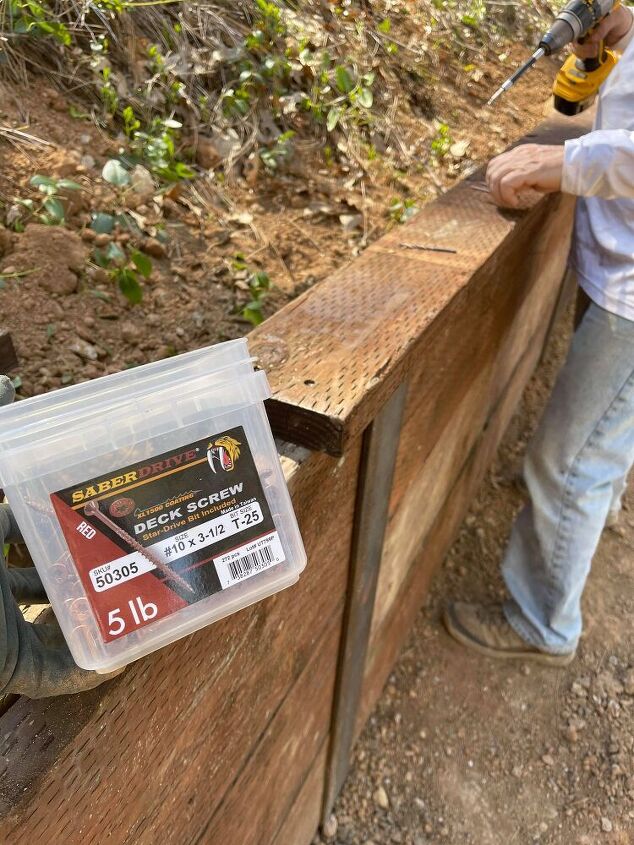
They are very strong and have a unique head that makes it harder to strip them. They also blend in nicely with the color of the pressure treated wood.
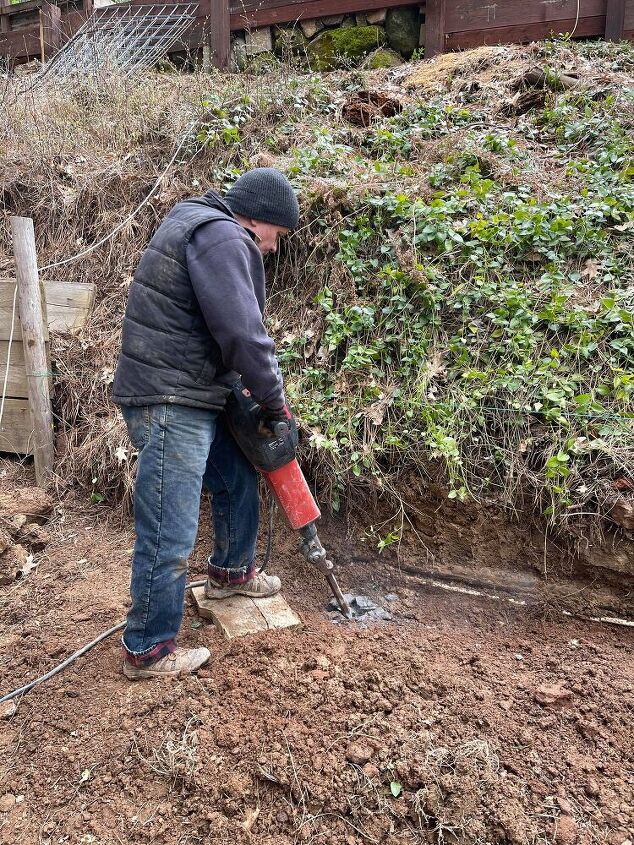
As we went along, we found some rocks and old concrete that we had to use an electric hammer to remove. Ugh - that was really hard work!
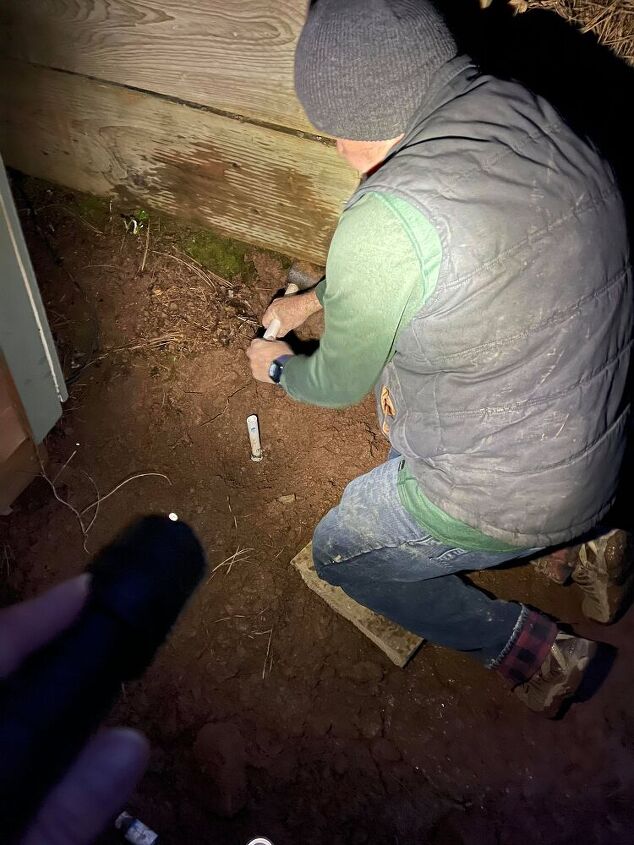
And then there was the day when we broke the water line, and had to rush to the hardware store before closing to get the supplies we needed to fix it. I had to hold a flashlight for hubby in the dark that night so that we could have water in the house again. 
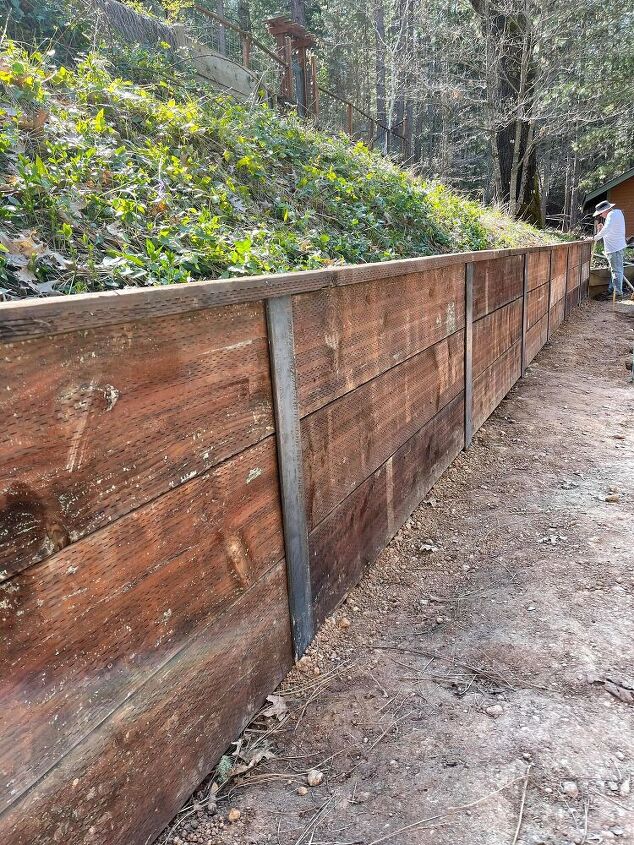
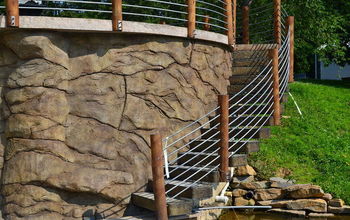
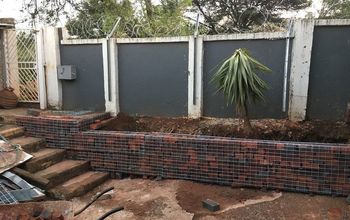
All of the repairs, hard work, and muddy mess were worth it as soon as we got the first few sections done. It looked soooo beautiful compared to the old wall:
To finish it off, we topped the wall with 2x6 boards. We also stapled some leftover house wrap behind the boards, to deter the ground cover from creeping through the cracks between boards.
We have a lot more to do, but we are SO happy with how this is turning out! We are now taking a break from wall building so that we can lay blocks for the chicken coop. This is another huge job - stay tuned for more!
Please be sure to comment below with any questions you might have. Again, we are not experts, but we really love this idea of using I Beams, and the wall is really, really strong. I told hubby that it looks like something you would see at a fancy winery. 
If you liked this post, I'd love it if you would like and share it, as well as give me a follow in Instagram and/or Facebook. Your interest in my posts is what keeps me coming back to share more DIY projects -- thank you!
Happy DIYing!
Xo,
Jamey
Resources for this project:
See all materials


Comments
Join the conversation
-
Great job, lots of really hard work. Beautiful dog.
-
Awesome job!! Lots and lots of hard work, but you saved the hill from crashing down and added a lot of value to your property!


Frequently asked questions
Have a question about this project?
Did you put any weep holes in the wall? To allow water to drain out, to reduce hydrostatic pressure.
Love the look. The use of I beams is perfect for this purpose and keeping in 6’ runs just adds to stability of what looks like an enormous amount of heavy dirt that is even heavier after rain. I like if you should encounter a failure in wood, totally repairable without starting over. How long was your wall in end? Thanks for sharing idea. I’m not as ambitious as you so I’d share with person I hired to replicate. Thanks for sharing
Where do you get the i beams? I love the look!!