


How We Updated Our Walkway and Shrub Bed

Most things look so much better when they are first completed, it's fresh and its new but sadly that all changes as the time passes. Outdoor areas especially take a hard beating with factors such as moisture, frost, fading from the sun and normal wear and tear. We sometimes turn a blind eye to these things and don't see what it could become if only we make it a priority. Well Covid made this a top priority for us, if we were stuck at home we may as well make our scenery pretty!!

Like I mentioned it was great first when we built the house 25 plus years ago but it needed to be great once more, different but great. Here's how it looked after about 15 years, worn but still holding up.
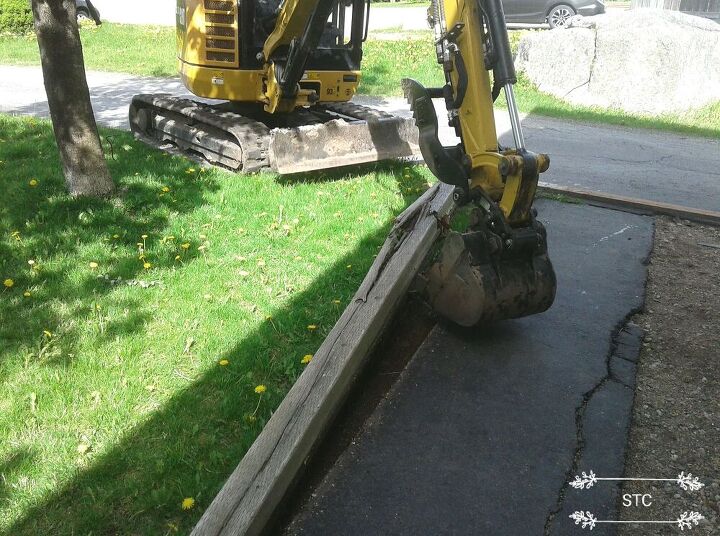
We had built up our landscaping over the years, adding trees and shrubs but that too had grown old and needed to be rejuvenated! Over time the 4x4 posts had split apart and deteriorated and the asphalt was cracking and so on. A few more years and it was way past time to demo!
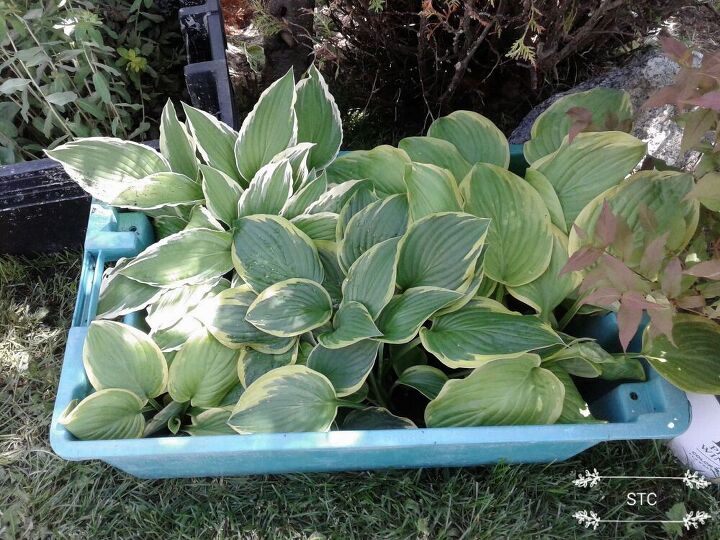
First things first up came my precious hosta plants and they were set aside for replanting. The red weigelas had lived a good life here and had gotten donated elsewhere.
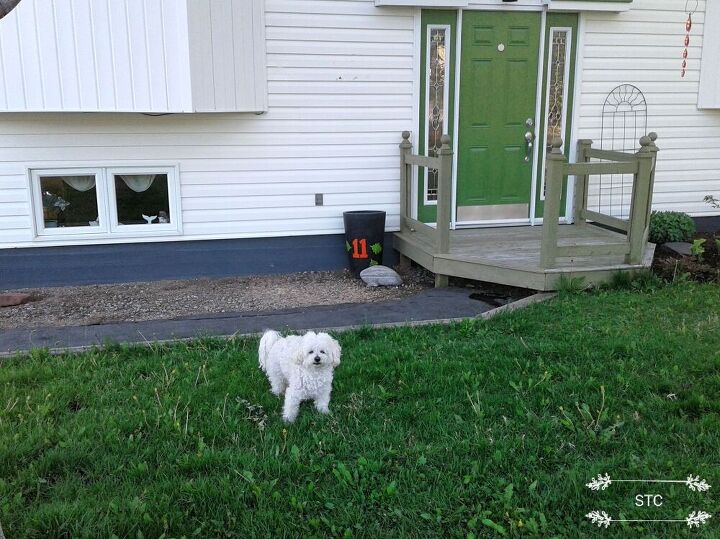
My dear sweet boy has to inspect and oversee everything, you dog owners know the drill!
Now to get the muscle power on site to get this demolition started! Hahah, you thought it was going to be man power right? My husband likes to work smarter, not harder and luckily he has toys for that! With a few swift moves the wood and asphalt were history!!
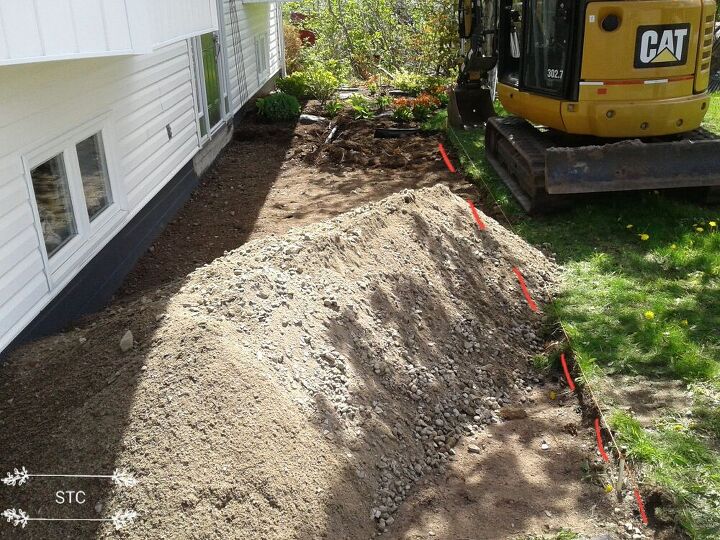
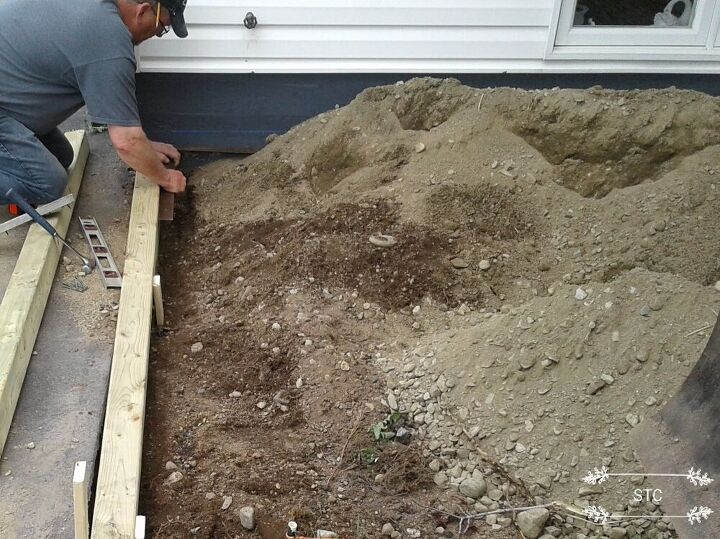
He cleared out the old front step as well and then the base was started by adding new compacting type soil thats used in building our local roads known as class A soil. He set up a plumb line outside as you can see by the red markings using a string tied taut between two sticks.
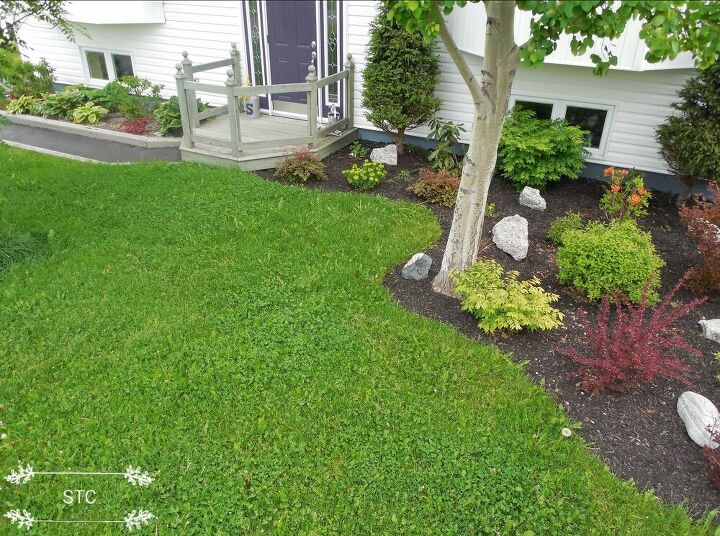
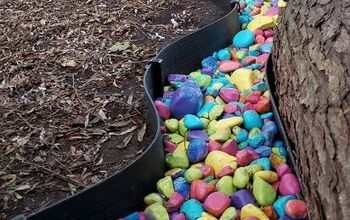
My flower bed on the other side was disrupted along the edge due to the construction but that's okay, I'll freshen it up as well.
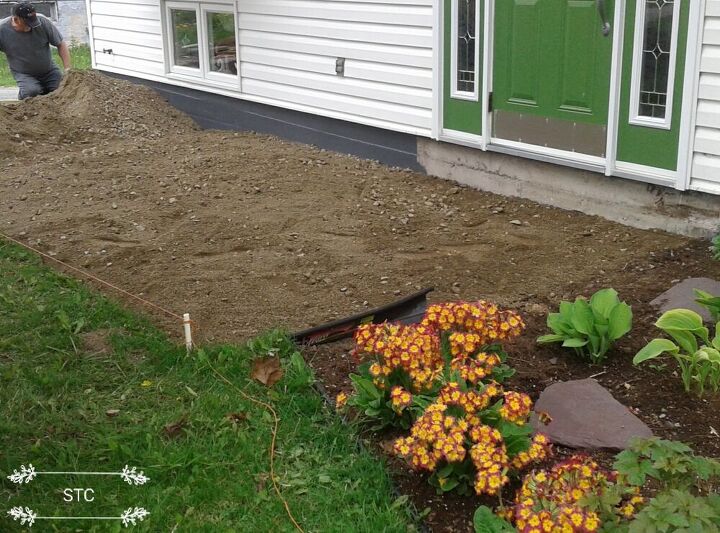
A plumb line was also snapped onto the concrete with the chalk line to follow as a guide for the soil level to be brought up to. Oh yes, I see I'll have to touch up the area with paint as well now that the original basement finish has been revealed!
The outside edge would need to be built up with some wood posts to compensate for the height variation. It had to be built at a 90* angle fro the basement line therefore you see my husband using his square to ensure the placement. Two were nailed atop one another and the soil would secure them as well once it was back filled in place.
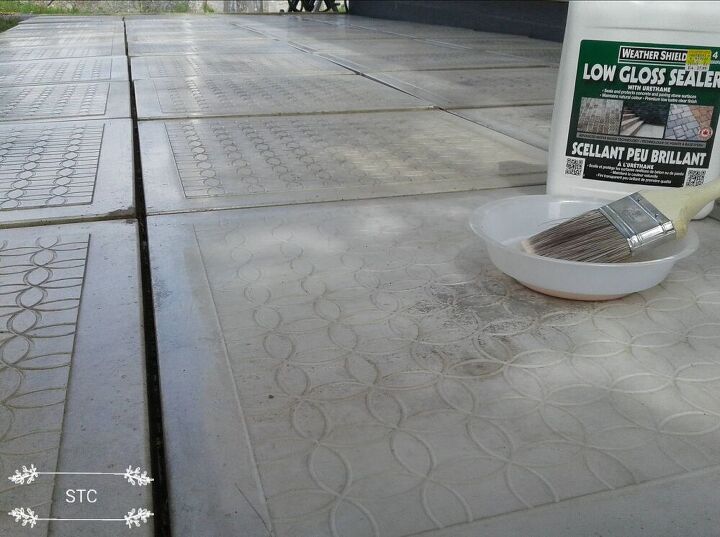
I apologize for not having photos of the next steps but we chose to use 2x2 concrete patio pavers to cover in the area. They were labour intensive to put into place snugly but once the soil was level and compacted it went pretty smoothly. Then came the job of adding weather protection to the newly installed entryway, that fell into my hands. I just applied the water based product with a brush, easy because it dries fast and clear.
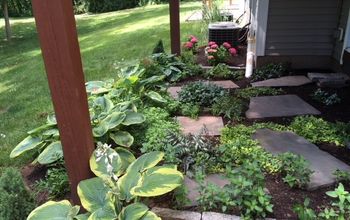
The gardening? That fell into both of our hands as I needed some help with heavy lifting and soil spreading. First I installed a 5" weed barrier around the outline of my flower bed as in a previous post I like to create curved shapes to keep it more natural looking.
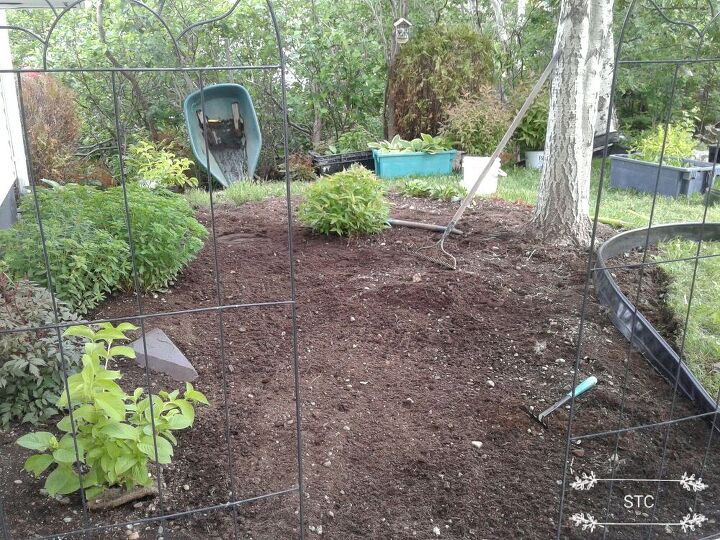
I try to keep the top of it flush with the soil level as close as I possibly can to conceal the plastic outline. The soil is back filled and pressed tightly against the edge to keep it firmly in place. Any hollows or unevenness on the lawn side can also be topped up with additional topsoil. I walked on either side of the barrier edge in order to use my body weight to compact the soil tight around the weed barrier.
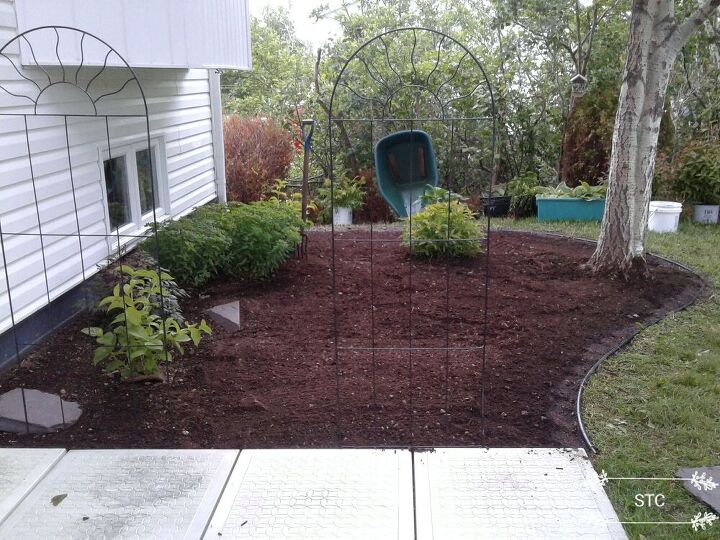
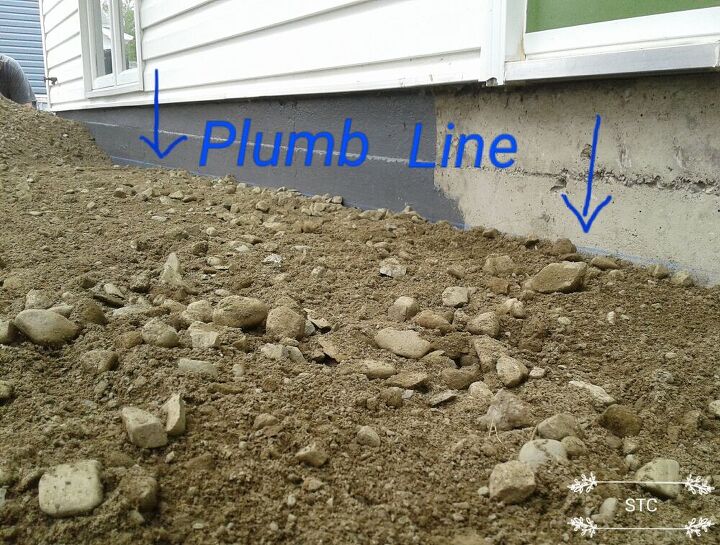
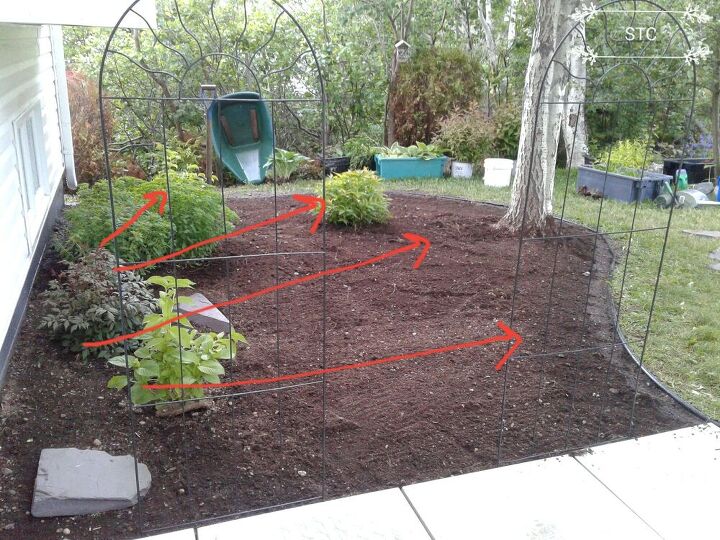
An added note that my husband reminds me of when I garden along the house foundation is to ensure proper slope for drainage as shown by the arrows. The highest point should be near your foundation so that moisture then flows away from your home and doesn't pool around it.
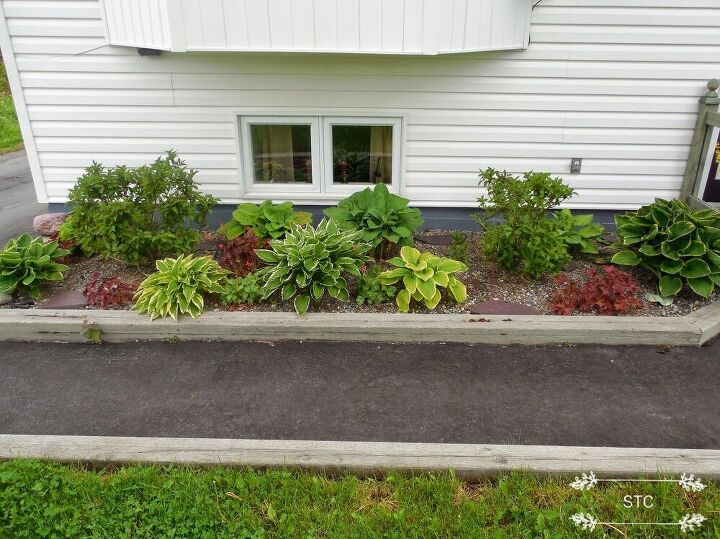
There's no fun in gardening unless you add in new plants right? To ease up on maintenance I'm aiming for a shrub bed because I've been phasing out perennials.
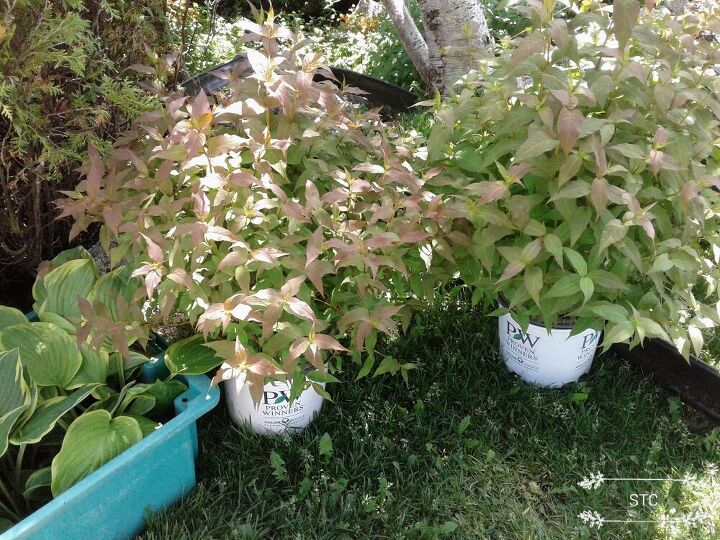
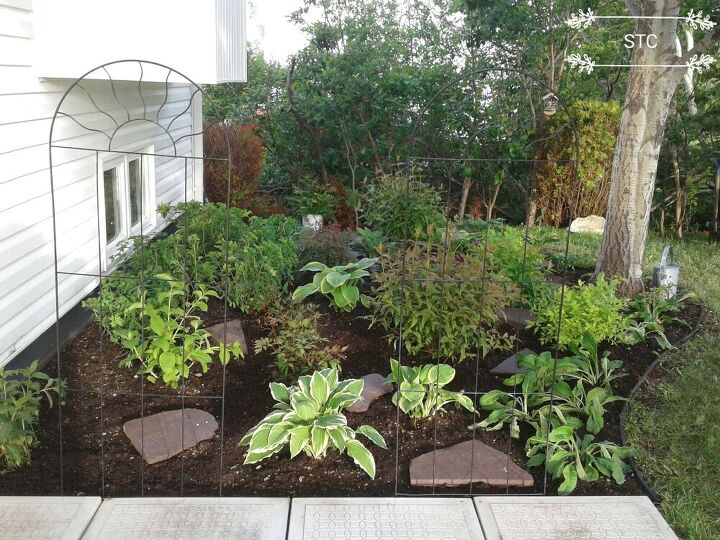
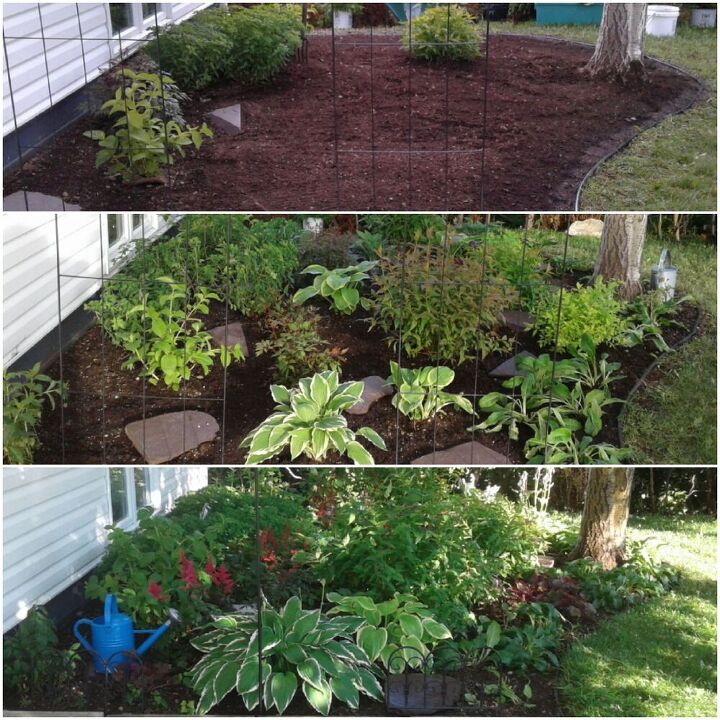
I won't get into heavy detail with the planting in this post but I do use bonemeal at the time of planting and a granular slow release fertilizer so it's one time applied and done! Seen below is the freshly planted bed with slate rocks used as both fillers and stepping stones allowing me to easily tend to the plants.
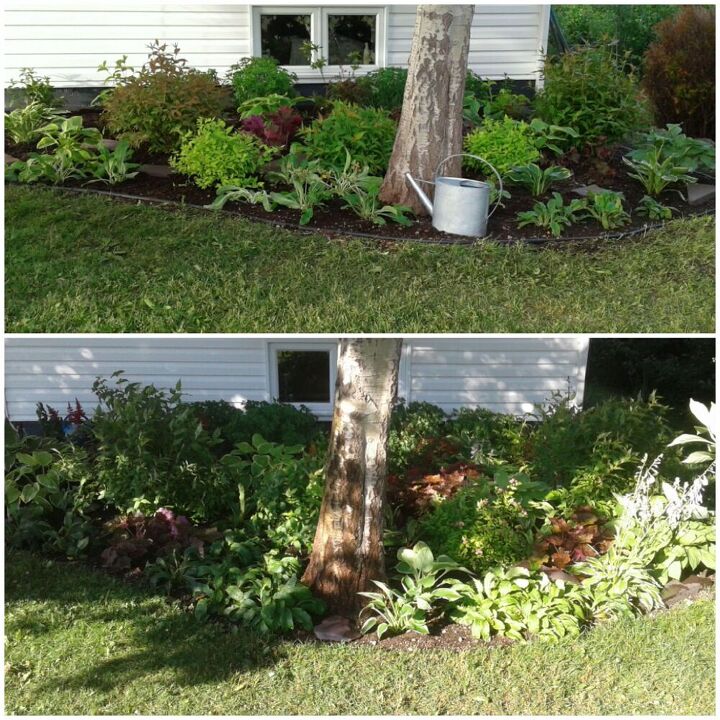
With fertilizer, sunshine and time here's what became of the once puny little plants! It's now hard to find most of those stepping stones! Everything has it's season, the primulas were in full bloom earlier while now the hostas and astilbes are just beginning to show their blooms. This is a shade garden and those three plants thrive in those growing conditions.ķ

Here's another angle of the plants at the time of planting vs. how they look today. Always make sure to allow for proper spacing at the time of planting and I think this photo shows why...they grow!
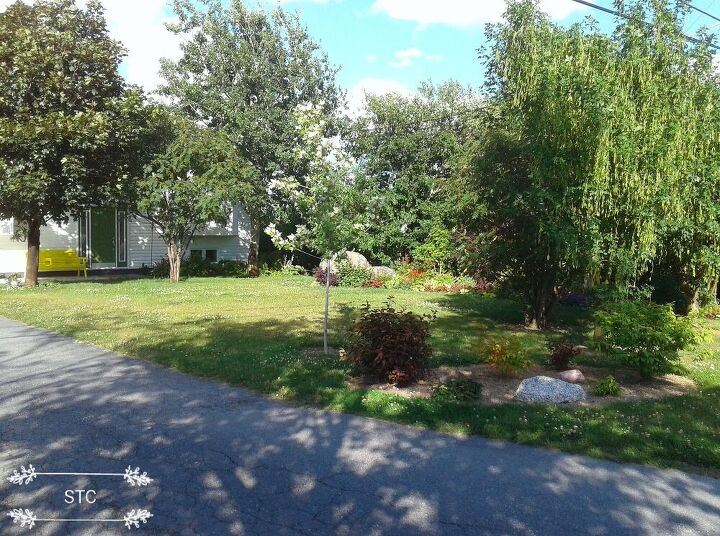
Another recap of how the space looked before, during and after the makeover was completed. It's like a blank canvas and you get to decide on the color, the size and the style of your art.
Here's what we created with our canvas, 30 years of planting and growing has created a case of "honey we shrunk the house!" But thats all good because its hiding the fact that the house now needs an update too, hahahah! !
I hope these little updates have been a reminder that there's no time like the present to do check off that to-do list! Happy home owning!
Comments
Join the conversation
-
Those weren't little updates. Well some were. The walkway was a major upgrade. The planting beds are amazing. Great share


Frequently asked questions
Have a question about this project?