


This Table Has Been Saved With a Unicorn SPiT Makeover.

5 Materials
$40
3 Days
Medium
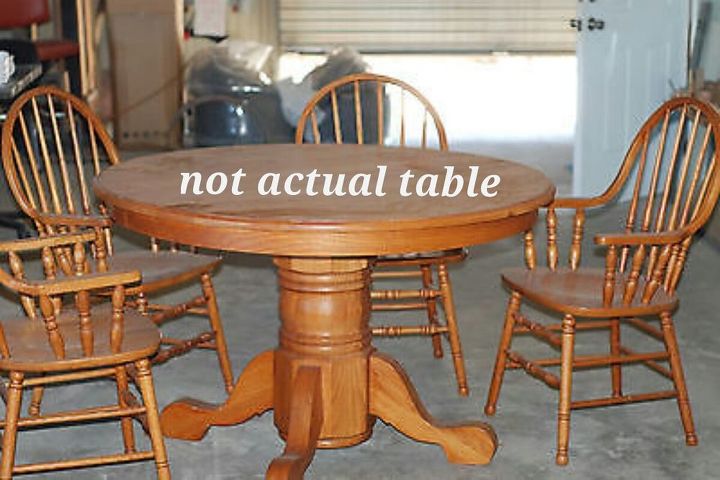
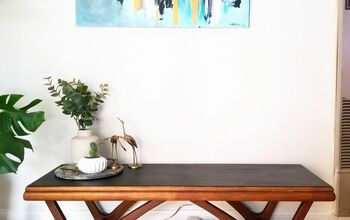
I SPiT on this table to save it from the dump. This round clawfoot pedestal table circa early 1990's was on it's way to the dump when I knew it could be saved with SPiT, Unicorn SPiT that is. Note this is not the actual table (my before photo got deleted) this is just for reference.
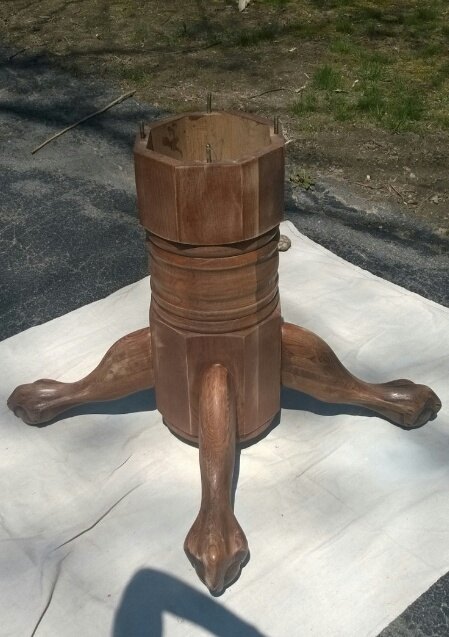
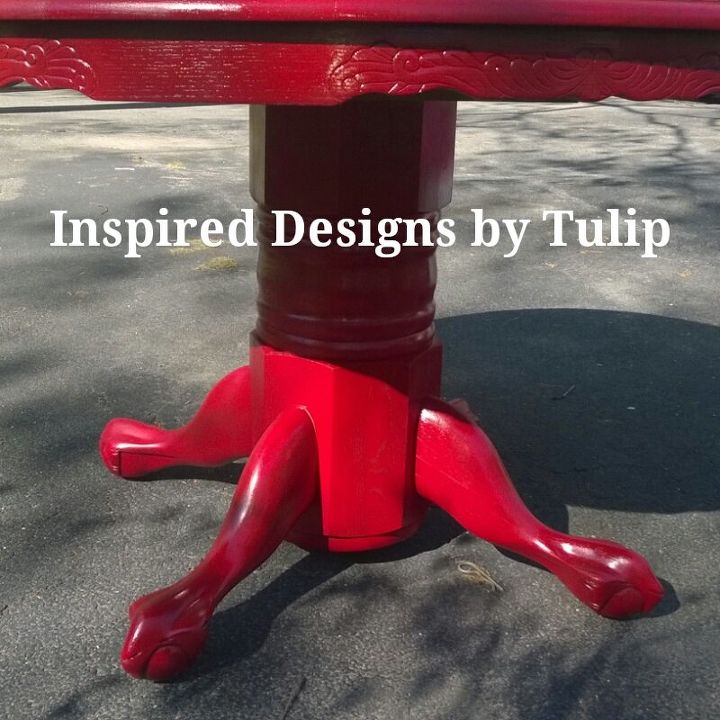
I started by sanding the top down to bare wood with 80 grit sand paper on an electric sander. My table has a wood inlay with a starburst pattern. I sanded the base down as well (this is my actual base). See how pretty the feet are? One the initial sanding was done i went over it with 220 sand paper for a very smooth finish.
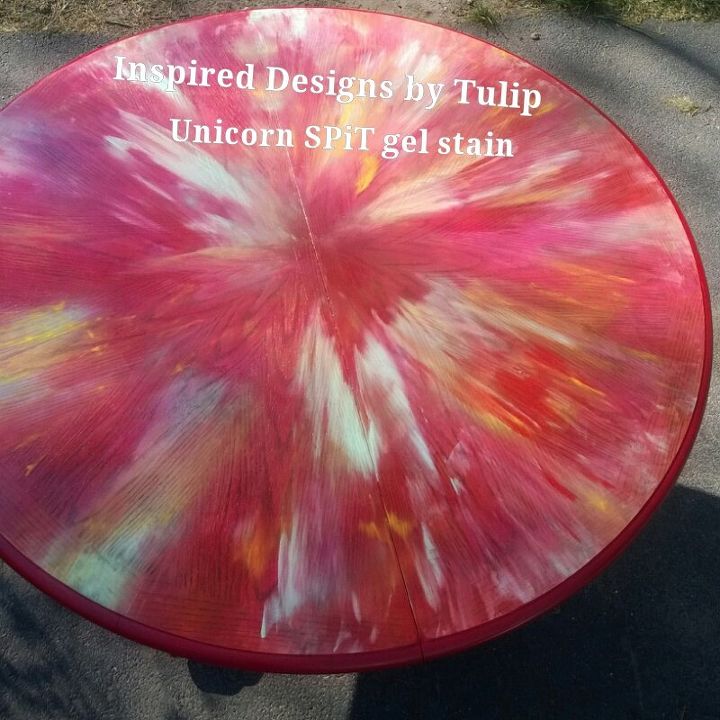
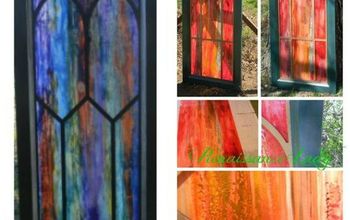
Once the sanding was done I was ready to SPiT all over the top of this table. Unicorn SPiT gel stain that is. Unicorn SPiT gel stain is a wonderfully jasmine scented product with infinite used, you can spit on wood, glass, concrete, fabric and so much more. Visit www.unicornspit.com/ to learn more. I used 4 colors Molly red pepper, Lemmon kiss, zia teal and white ning for this table.
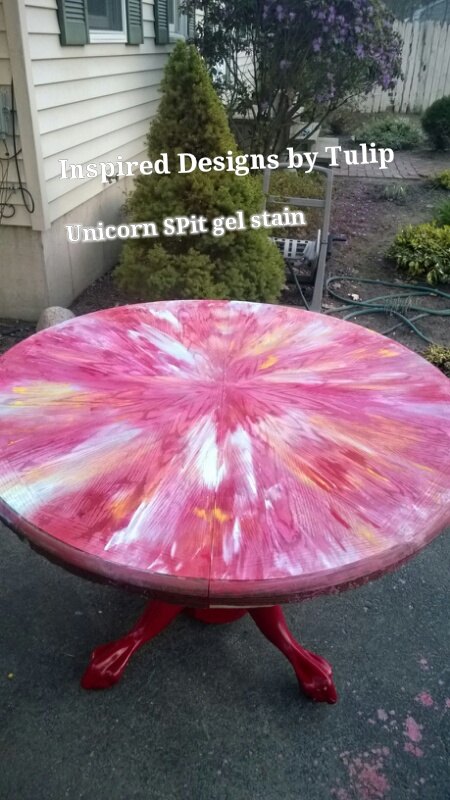
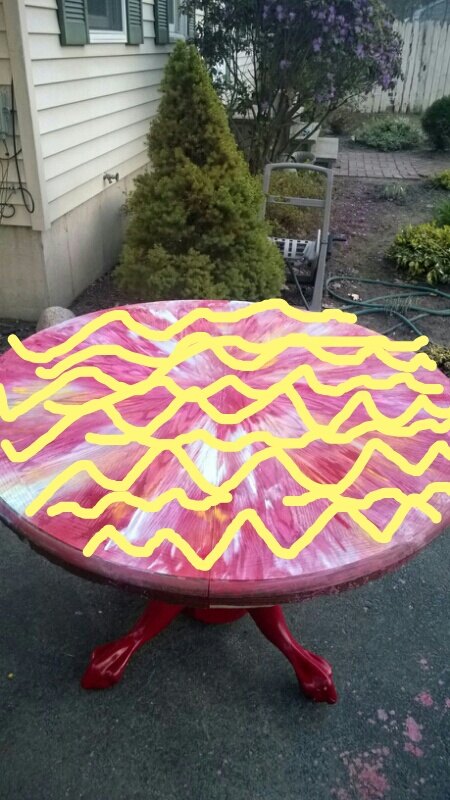
I did not dilute the Unicorn SPiT for this table. I sprayed the table until it was just damp with a spray bottle first to help the Unicorn SPiT move. I applied the SPiT in zigzag horizontal stripes about three inches apart in alternating colors from the top of the table to the bottom. I next sprayed a little more water on with a spray bottle. Then starting in the center and following the starburst grain in the wood i used the side of my hand to spread the Unicorn SPiT from center to edge of the table (aura blast technique, see unicorn SPiT videos on YouTube). This gave me a starburst without looking like a spiral...
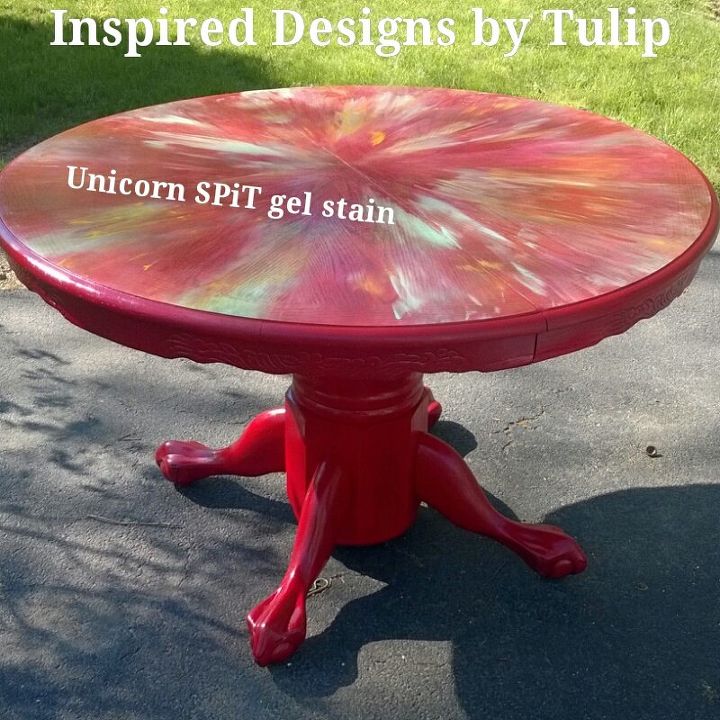
I applied three coats of Tung oil to seal it following the directions on the can and sanding with 220 sand paper in between layers. I then applied four coats of indoor/outdoor clear gloss polyurethane to add shine, again allowing for dry time and sanding between layers. These two stages are what really bring the Unicorn SPiT (which dries to a matt finish) to life and give it it's dimension.
For the fancy feet on this table i spray painted the base with red ruby Valspar spray pain.
All that was left was to put her back together and show her new look off. This dump to fabulous makeover brought to you by Inspired Designs by Tulip and Unicorn SPiT.
Comments
Join the conversation
4 of 13 comments
-
Omg! This is beautiful! Reminds me of a flower!
-
I can't help but feel a bit ancient when someone refers to a 90's table as old. :-) Beautiful update by the way!


Frequently asked questions
Have a question about this project?
Hi
I am getting ready to stain two small table top rounds-from an old garden cart type table I am re-doing for my sunroom. I love your design and I am afraid of messing things up.
My question is this... did you put all the colors in a zig zag pattern at the start? I have only seen concentric circles used. Thank you for any words of help or encouragement!
Sandy
Beautiful job! Let me ask...were you not concerned with the possibility of the polyurethane yellowing? I am currently working on my very first spit project. I applied one coat of Low Gloss Tung Oil. I can hardly tell I even put anything additional on it. But I am wondering if I apply additional coats of Tung Oil and then apply the polyurethane if that would eliminate the yellowing problem. What do you think? by the way, I see no yellowing on your table, love the colors!