Raised Stencil With Bondo!

by
Stephanie Coon/Rehab to Fab
(IC: blogger)
3 Materials
I started playing around with raised bondo stencils because I dont care for wood appliques. I want a more authentic raised detail and something that wont come off over time.
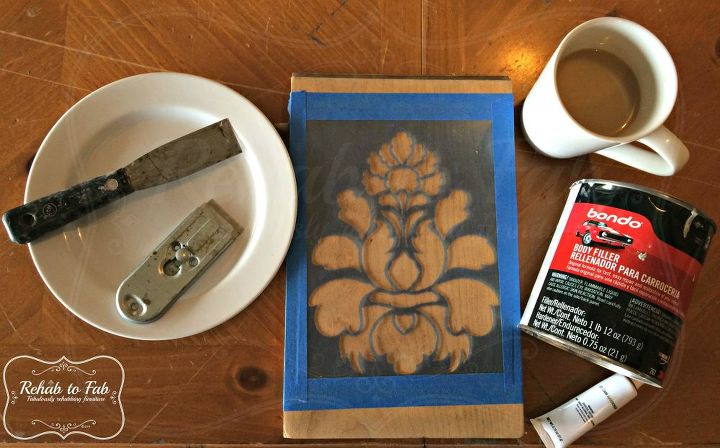
I first tape the stencil to the surface.
I mix up my bondo (which can be bought at any Auto part store) with the hardener. Each can comes with a small tube.
Once it's mixed well, you have to work quickly. Start from the outside and work your way in. Being very careful not to lift the stencil.
Practice on sample boards like this to get a feel for when you should lift the stencil. Wait to long and it sticks to the stencil. It's all trial and error.
Lift straight up...
Before the bondo sets, I use a razor to remove the edges.
Sand with a fine sanding block to the as smooth as you like.
Painted and sealed!
Texture love!
Now I know many use other products but I've tried them and none can hold up like bondo. I love the look it gives.
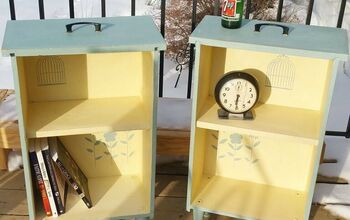
Here's another bondo raised stencil.
Check out my work on FB: Rehab to Fab. Click the link below.
Enjoyed the project?

Want more details about this and other DIY projects? Check out my blog post!
Published October 14th, 2015 4:20 PM
Comments
Join the conversation
2 of 95 comments
-
 June Lovvorn
on Oct 11, 2020
Love this !!!! I must try!!!!
-
-
 Tiffany mitchell
on Nov 01, 2020
I am using it on the headboard of a bed I turned into a bench on the front!
-














Frequently asked questions
Have a question about this project?
are stencils deep enough to make the finished work raised? . looks like it could be a 1/8 or 1/4 inch.
thanks in advance. Lee
Will this ruin the stencil?
Lovely!! Very classy and classic looking technique!! How long does wait before I take the stencil off of the bond?