


How to Easily Install an Electric Box Extender

Follow our step-by-step instructions to learn how to install an electric box extender. Easy and affordable DIY.
For more simple and budget-friendly DIY project ideas, be sure to follow us on HomeTalk and visit our blog!
Are you thinking of doing one of those pretty new accent walls with wood trim in a fun pattern?
Or maybe a classic board and batten style feature wall?
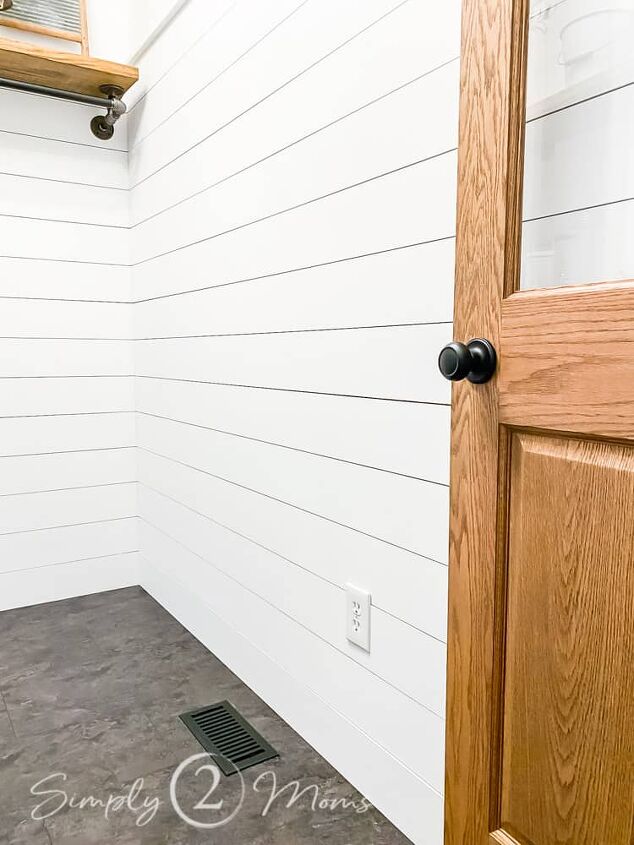
Or even a shiplap wall like I just finished in our laundry room makeover?
What if the design of your accent wall wood trim pieces lands right in the middle of a wall outlet?
Sometimes it won’t matter like in our master bedroom when we installed board & batten and worked around the outlets.
But other projects like my shiplap feature walls…it’s unavoidable!
Why Do I Need to Install an Electric Box Extender
The first and most important part of this project is to turn the power off!
You never want to work around electrical wiring without turning the power off to that room at the breaker box in your home.
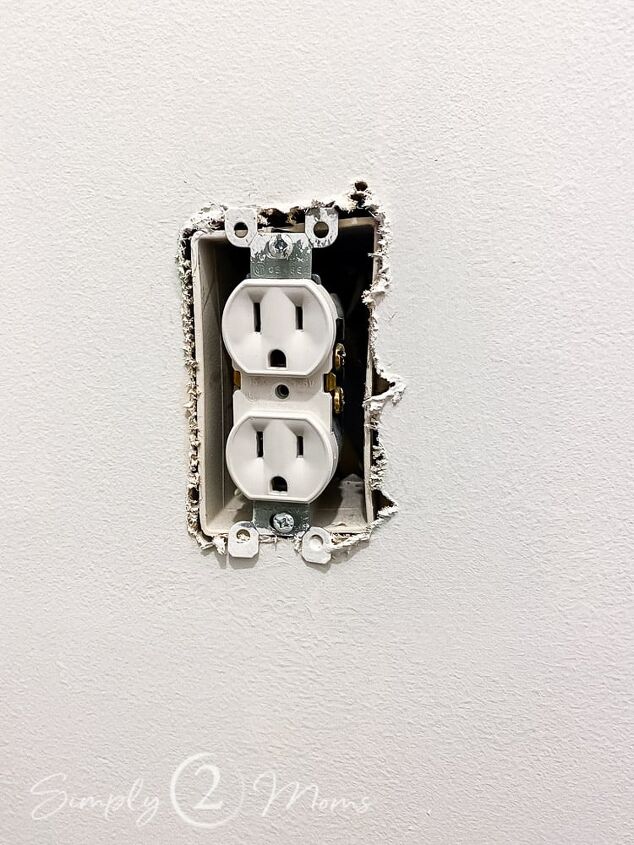
After I removed the cover of my wall outlet you can see how the electric box sits flush with the drywall.
That plastic box inside the wall holds all the electrical wiring to the wall plug sockets.
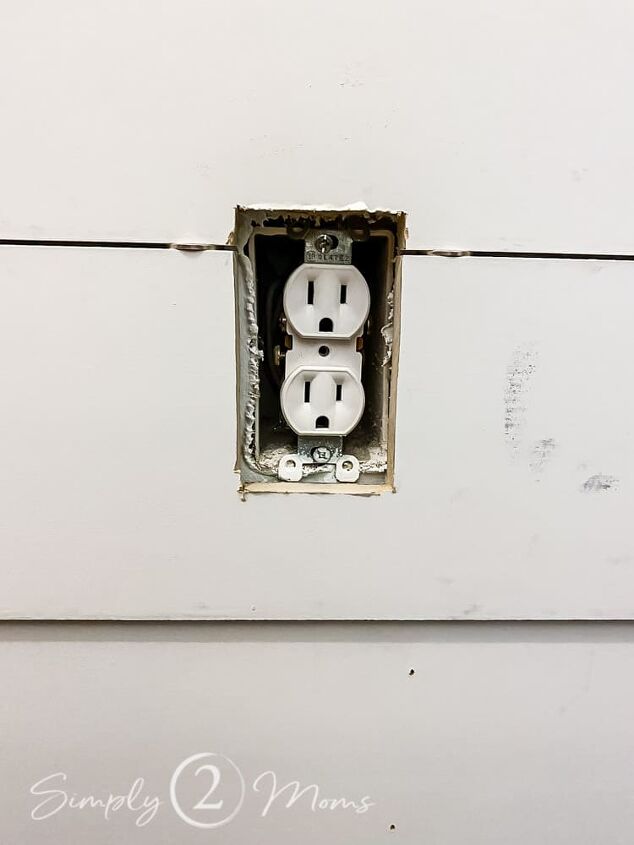
The boards I used to create my shiplap feature walls are about 5/8″ thick so you can see how far back the electrical wall box sits in the wall now with the shiplap boards installed.
I wouldn’t be able to secure the outlet cover to the box with the shiplap boards installed around the existing outlet.
Plus you don’t want anything you plug in to that outlet so far into the wall.
So I needed to extend that electric box.
But how do I do that?
How to Extend an Electric Box
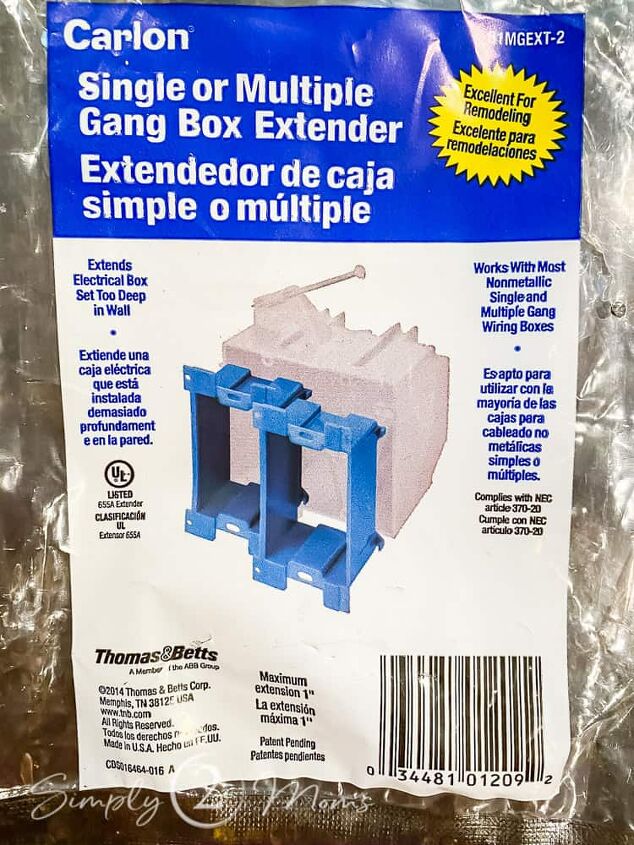
I purchased a box extender from my local hardware store.
Since I had two outlets in the laundry room that needed to be extended I purchased a 2-pack.
The double pack of outlet extenders is a little bit cheaper than buying two single spacers.
But if you only need one you can buy the extenders in a single pack.
This spacer will extend your outlet up to an inch which was perfect for what I needed.
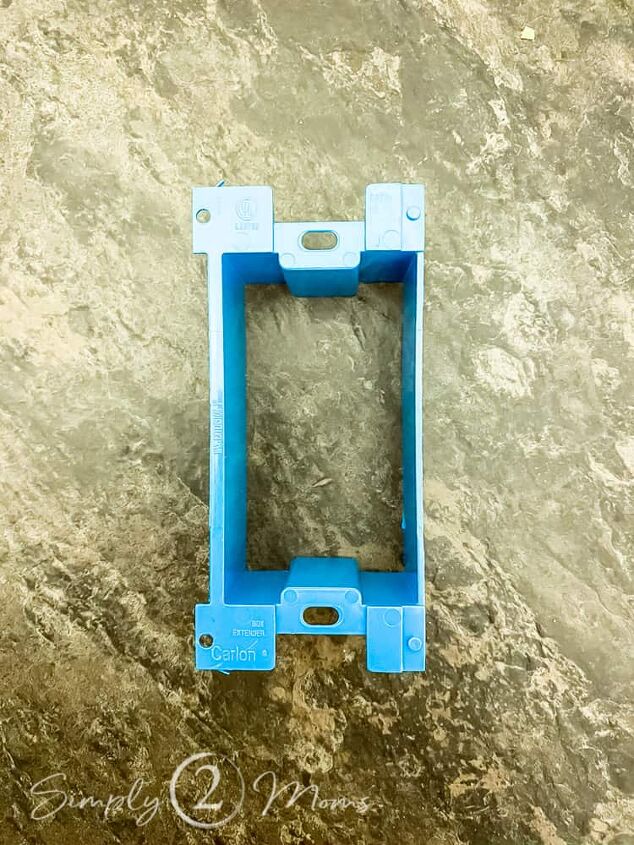
Extenders are also sometimes referred to as spacers…just a little FYI from me to you!
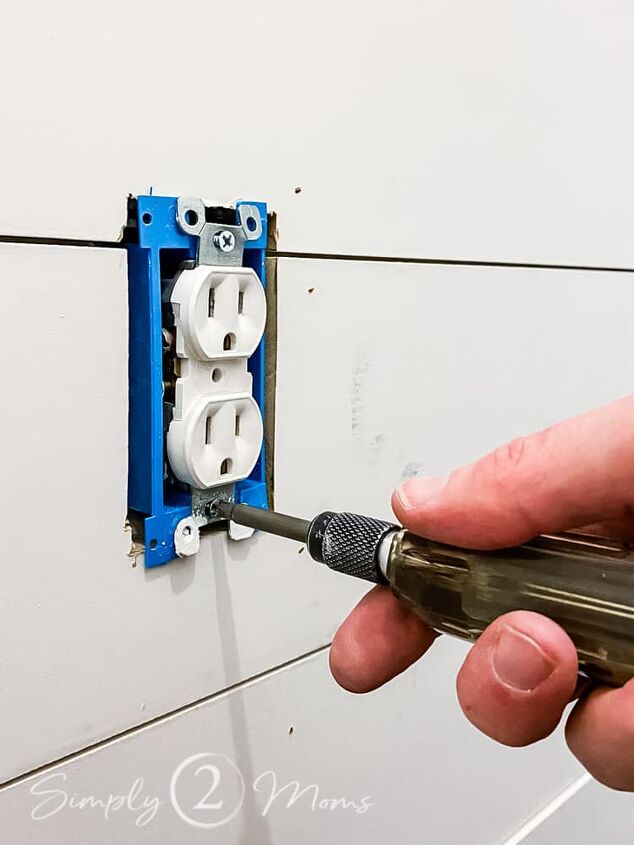
Just place the plastic extender in the space around your outlet and gently pull your outlet forward to sit flush with the wall.
Don’t worry there will be plenty of slack in the wiring to allow you to move the outlet.
I promise!
Once you’ve put everything in place you will screw the new extender onto the existing outlet using the screws provided.
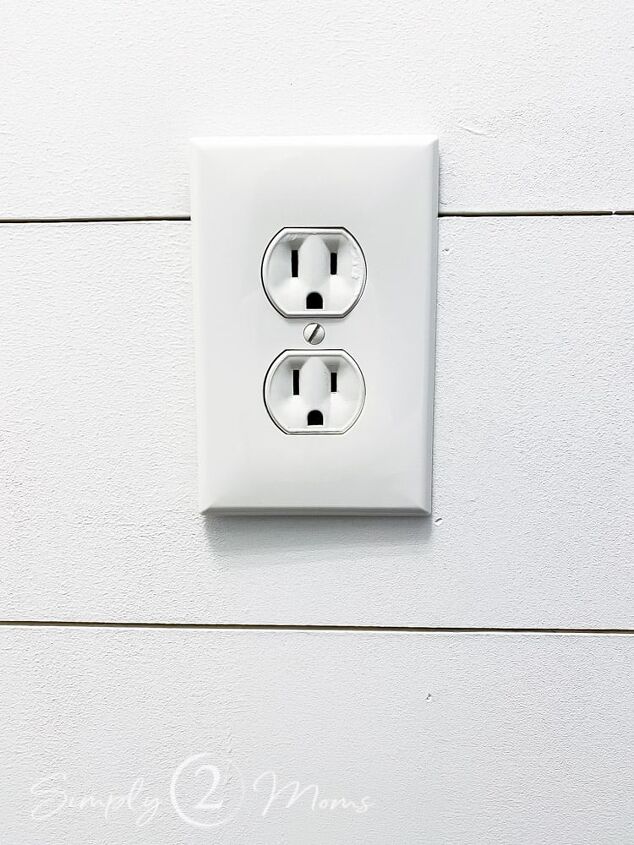
Then just pop your outlet cover back over the outlet and it’s done!
So easy right!?
And now my outlet sits flush with the new shiplap walls in my laundry room.
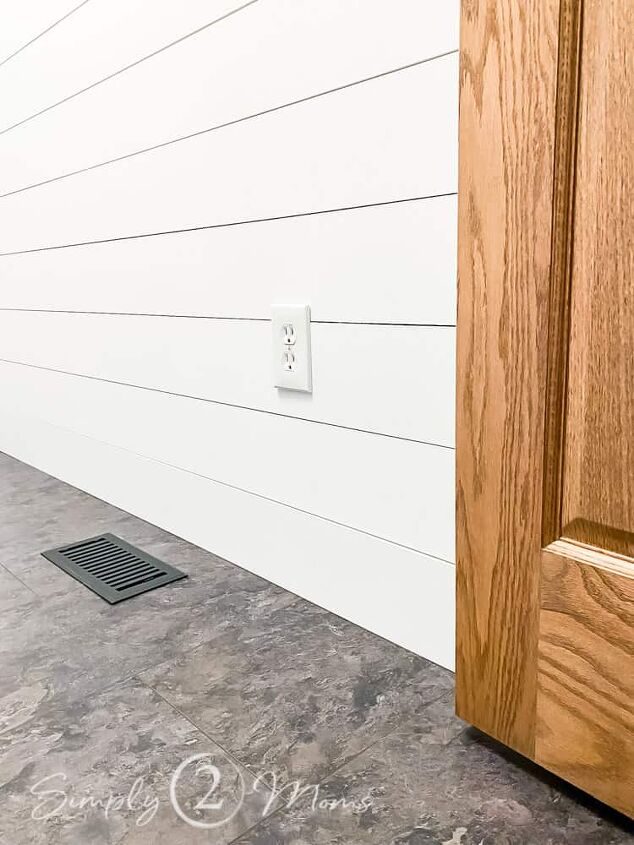
Here’s a little sneak peak of the shelves I built in the room.
Can’t wait to share that DIY project with you soon!
Comments
Join the conversation
-
Great and easy solution. Of course these are PVC and are made for plastic boxes. Metal boxes need steel extenders. It has to do with a grounding issue. Very good share


Frequently asked questions
Have a question about this project?