


How to Replace Cartridges to Fix a Leaky Bathroom Sink

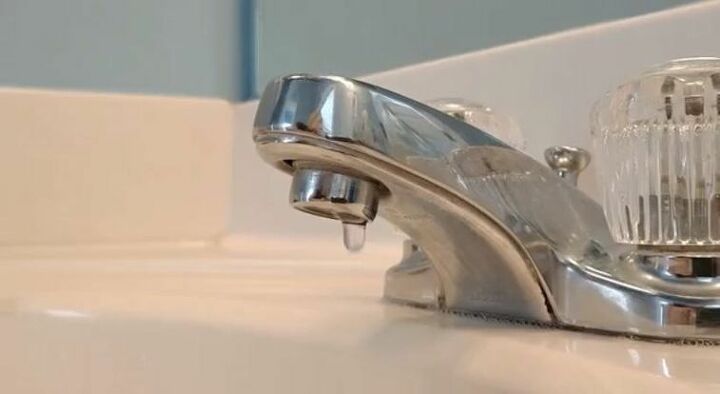
My master bathroom sink was leaking and the dripping sound from the leaking water hitting the sink was driving me crazy while I tried to sleep so I decided to find the cause and fix the leaky faucet to get my sleep back! I knew that a leaking faucet was wasting water and energy in my home so once I discovered that the cause of my leak was worn cartridges, I replaced the worn cartridges with new ones that stopped the dripping and made my sink like new!
The cartridges inside your bathroom faucets can wear out over time and a leaky faucet is a very common symptom that they have worn out. Replacing the cartridges is a simple to do repair for the problem and just requires finding the replacement in-store or contacting your sink manufacturer to order a replacement. In some cases, the sink manufacturer will replace this part for the life of the faucet. If not, a pair of replacement cartridges will cost approximately $25.
You Will Need:
- Replacement cartridges for your sink model
- Crescent wrench
- Phillips head screwdriver
- Flat-head screwdriver
- Cloth or sink stopper
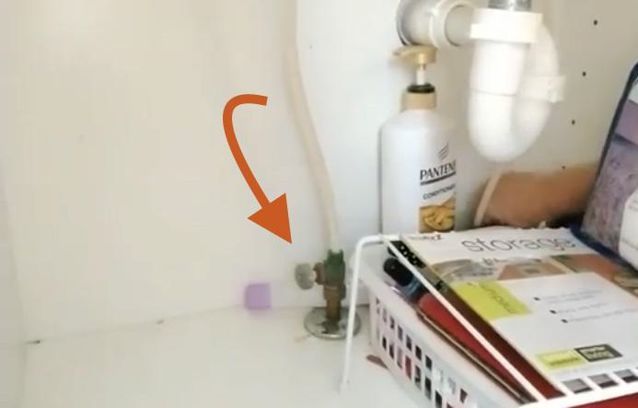
Step 1: Shut Water Off
I turned off the water to the hot and cold faucets underneath the sink and then turned the faucets on until the water stopped running. Underneath your sink, you will find turnoff valves for your hot and cold water and if you turn them clockwise as far as they will go, this will turn the water flow to the faucet off. Turn the faucets on to drain any water and release any pressure from the lines.
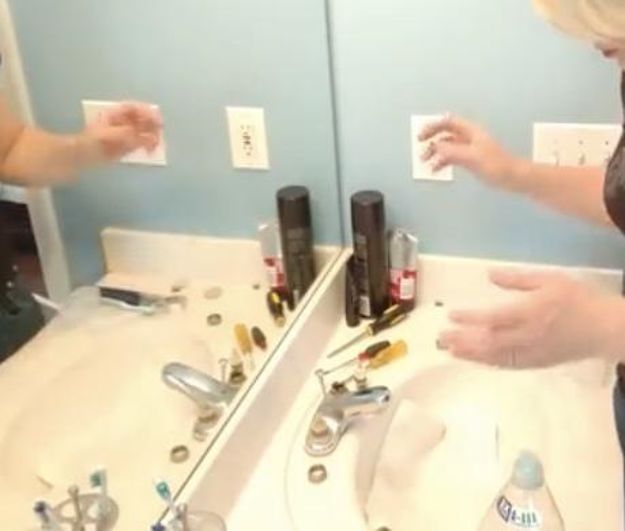
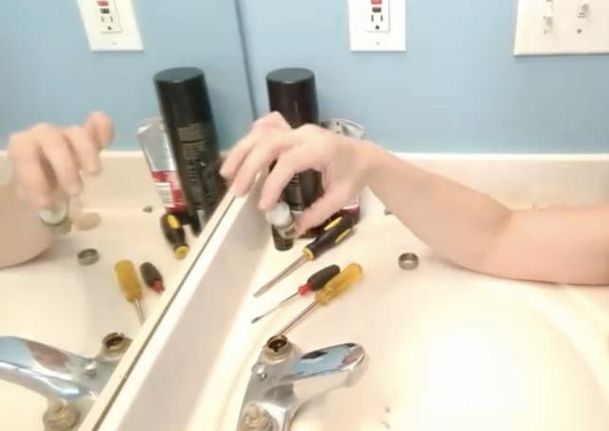
Step 2: Cover Sink Drain
I placed a towel over the drain to make sure that nothing fell into the sink drain while I was working. Anything that covers or plugs the drain will work to prevent screws, washers, or bolts from getting lost in the drain and requiring another DIY problem-solving project to retrieve them!
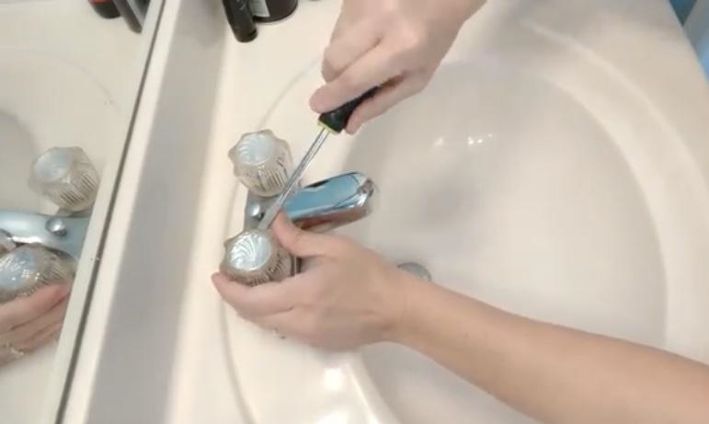
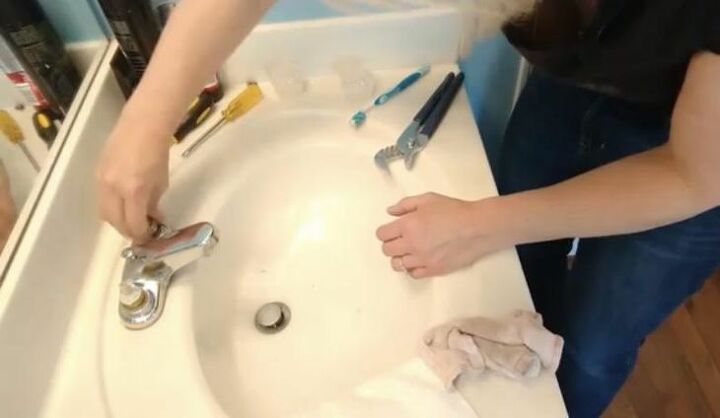
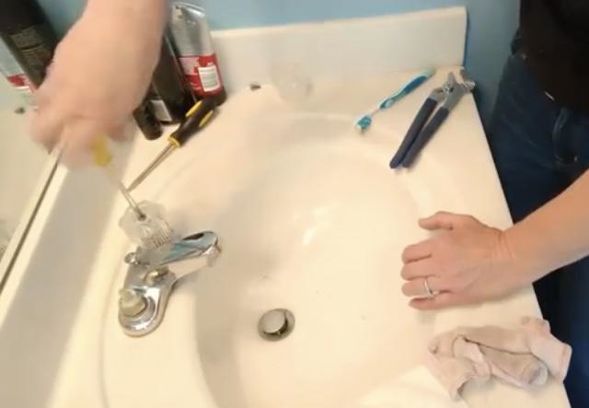
Step 3: Remove the Faucet Covers or Handles
I used a screwdriver to get underneath the notch of the cap on my faucet covers and popped them off. I removed the now exposed screw in the center of the clear plastic covers and was then able to separate the handles from the cartridges underneath.
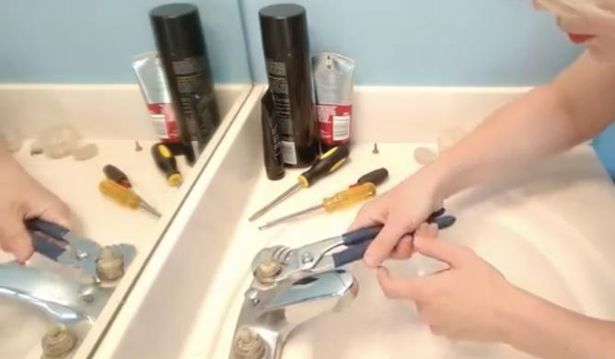
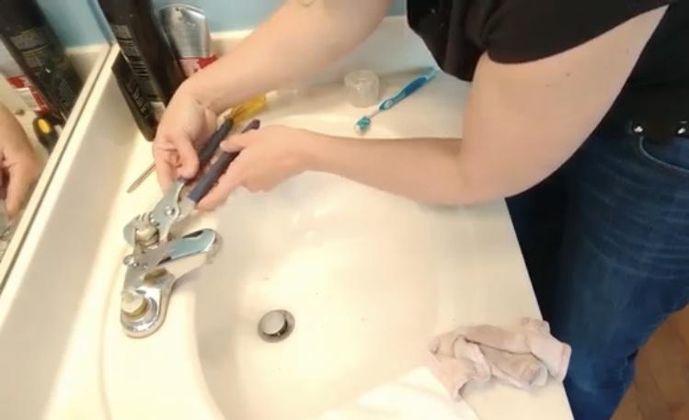
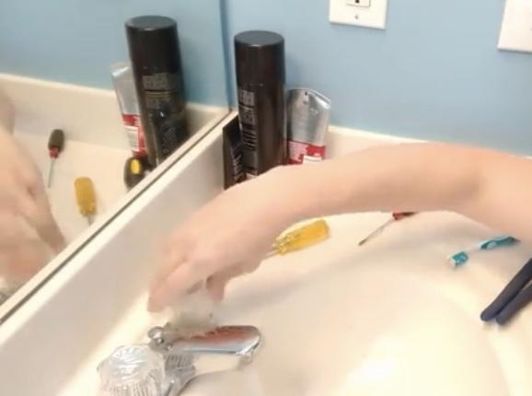
Step 4: Remove Cartridges
I removed the bonnet nuts that hold the cartridges in place with a crescent wrench and then replaced the worn cartridges from both the hot and the cold handles. If you cannot easily pull the cartridges up and out, use pliers to gently remove them. Remove any residual water with a towel inserted into the opening to soak it up.
Step 5: Install New Cartridges
I aligned the tabs on my new replacement cartridges to the corresponding notches on the faucet and pushed them firmly back down into place.
Step 6: Reinstall Bonnet Nut
I placed and then screwed the bonnet nut back on each cartridge and then tightened it with the crescent wrench. Don’t overtighten the bonnet nut because that could cause problems with water flow to the faucet.
Step 7: Reinstall Faucet Covers
I reinstalled the faucet covers over the new cartridges and tightened them with a screwdriver. My faucet covers fit down on top of the cartridge like a puzzle piece and have red or blue inside for hot and cold. Make sure to put the right cover on the hot and cold sides!
Step 8: Turn Water on Underneath Sink
I turned the water to the sink back on to both the hot and the cold side by turning the water shut off valve counter-clockwise.

Step 9: Turn Faucets on and Check for Leaks
I turned the faucets back on to make sure the water was flowing properly and then turned them off to determine that the leaking was stopped following the installation of the new cartridges.
Many homeowners mistakenly believe that a leaking faucet indicates the need for an expensive plumber visit or a brand new faucet, when in fact, there are simple fixes that don’t involve a total replacement or a professional to come to your home. Follow the steps to replace worn parts on the faucets in your home and save money and energy in the process.
Have you been able to troubleshoot a leaking faucet by replacing worn components or know another great tip for bathroom leaks? Share all of your problem-solving steps and tricks or find inspiration for other DIY home solutions to everyday dilemmas at Hometalk!
Resources for this project:
See all materials


Comments
Join the conversation
-
I'm married to a plumber but would still attempt this project, when needed, on my own Thank you


Frequently asked questions
Have a question about this project?
Would this be the same for the bath tub? One lever for hot and cold.
You are very funny. Ever thought about becoming a comedian?