


How To Stop Holding The Toilet Handle Down So It Flushes Completely

1 Material
A simple and inexpensive adjustment to your toilet so you don't have to hold the handle down for a complete flush.
Traditional flapper style flush valve
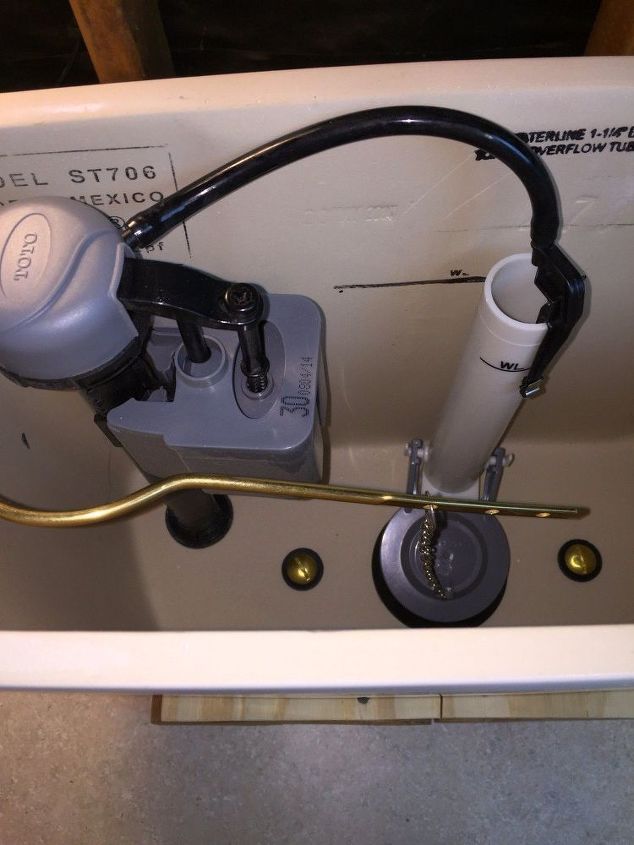
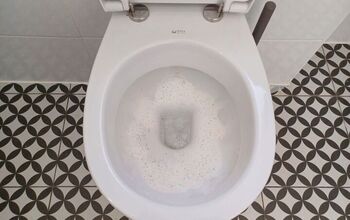
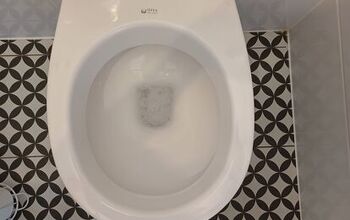
This helpful tip is for toilets which use the traditional flapper style flush valve. I'm assuming that your toilet is operating properly and that you just need a little more time for a complete flush. Refer to our article "I Hate My Low Flow Toilet" if not sure. Now there are 2 sizes of flapper flush valves, first check to see which size your toilet is using (this is the soft rubber flap the is connected to the handles chain). It will be either a 2 inch or a 3 inch size flapper. First turn the water supply to your toilet off. Then completely flush the toilet so as much water will exit the water tank.

3 inch universal "adjustable" flapper
Once you've verified the size of the flush valves flapper you will need to visit your local hardware or home improvement store and pick up one of these in either 2 inch or 3 inch size. There are several manufacturers, I happen to like Korky. It might be helpful to take a photo of your old flush valves flapper or take it with you to compare it to the new one in the store.
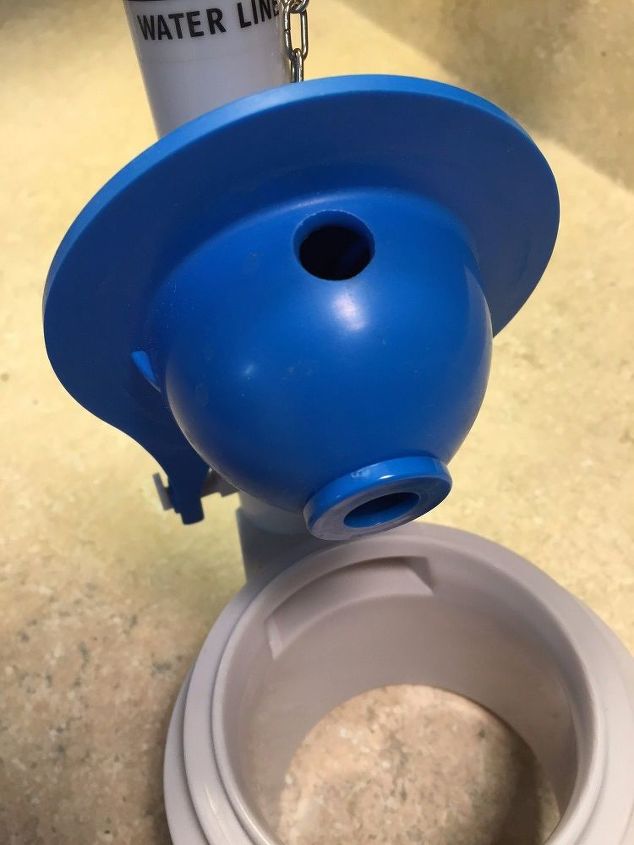
Old flapper in the open (flush) position
Here you see the old flapper unit we are going to replace with the new adjustable unit. You see two openings, one at the bottom of the flapper and the other is located at the top when the flapper is in the opened (flushed) position. In the closed position (not being flushed) air fills this area of the flapper. When you open (flush) the toilet the flapper raises up to let the air that is inside the flapper escape through the upper opening allowing water to enter causing the flapper to close. Once the flapper is closed the water drains out of the unit into the toilets bowl area. Starting the process all over again.
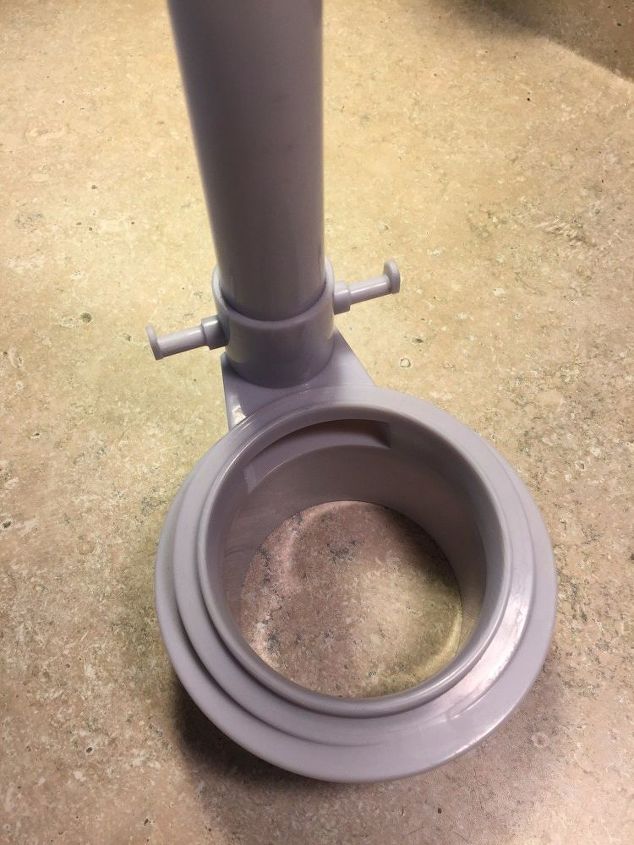
Rubber flapper removed
Follow the manufacturers instructions on how to remove the old flapper. Usually it just involves peeling the rubber hinge area off the flush valve. Be care not to crack or break the ears off the hard plastic flush valve. Here I removed the old rubber flapper and I am now ready to install the new adjustable flapper unit. NOTE: YOU DO NOT NEED TO REMOVE THE ENTIRE FLUSH VALVE (LIKE IN THE PHOTO) TO REPLACE JUST THE RUBBER FLAPPER!
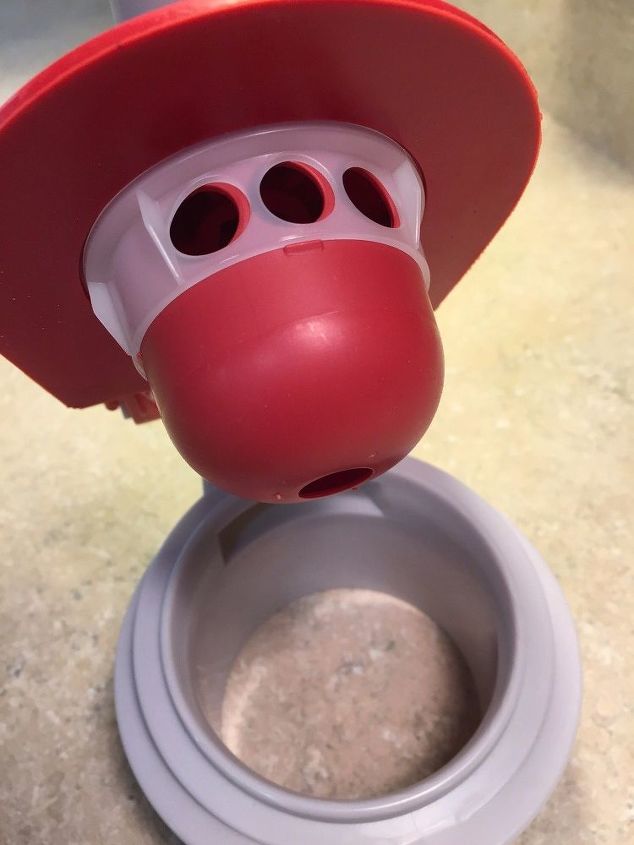
New adjustable flapper unit installed
The new adjustable flapper unit is installed and is ready to be adjusted. As you can see this unit has 3 top openings and one bottom drain opening. The white/clear ring turns, allowing you to close off as many of the openings as you wish.
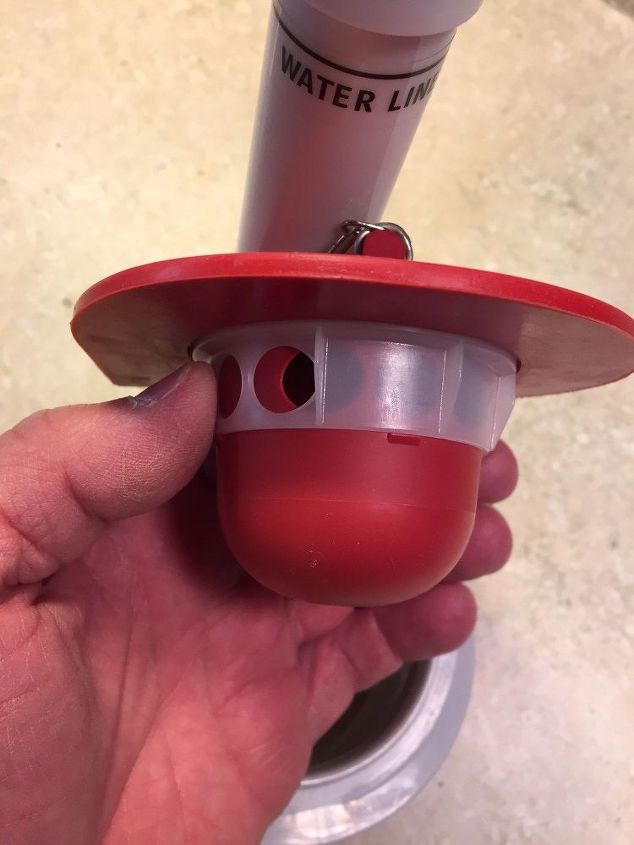
Flapper adjustment ring
See how much adjustment you have! The smaller the upper opening the longer it will take for the air to escape keeping the flapper open longer. This allows more water to enter into the bowl for a more complete flush. Turn the water supply back on and begin testing. It may take several flushes and adjustments to get this exactly where you want it. 
Here's
Comments
Join the conversation
3 of 5 comments
-
I do not believe you need to replace any parts. Move the chain to the next hole to the right and adjust so there is just a little bit of slack in the chain. If that does not take care of the problem, move the chain to the last hole to the right and readjust the chain. NOTE: THEIR MUST BE SLACK IN THE CHAIN, OR THE WATER WILL LEAK OUT OF THE TANK. Please let me know if this took care of the problem.
-
If you're good with the length of your chain and the handle is properly placed and securely tightened in position, check the bottom of your flapper. I found that mine had a hole adjustment which after setting to a larger size hole worked like a charm.
Hope that helps and you're "good to GO"


Frequently asked questions
Have a question about this project?