


Laundry Room Backsplash for Less Than $5

Want to spruce up your laundry room for less than $5? Grab a Sharpie paint pen and keep reading!
Hometalk Recommends!
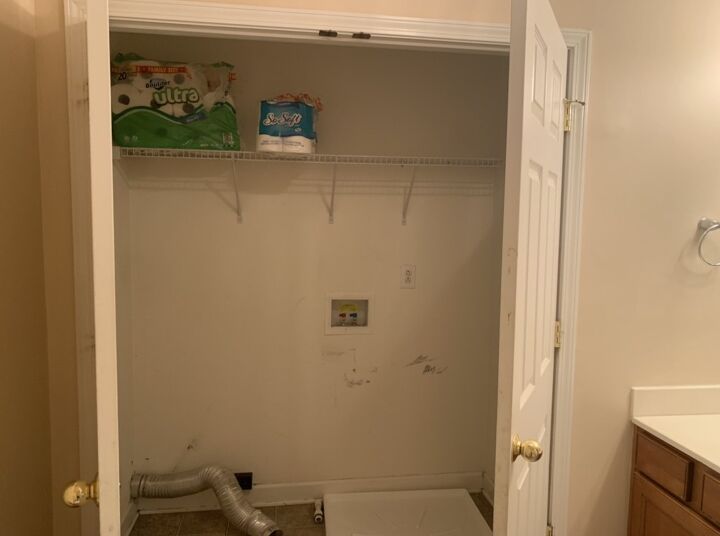
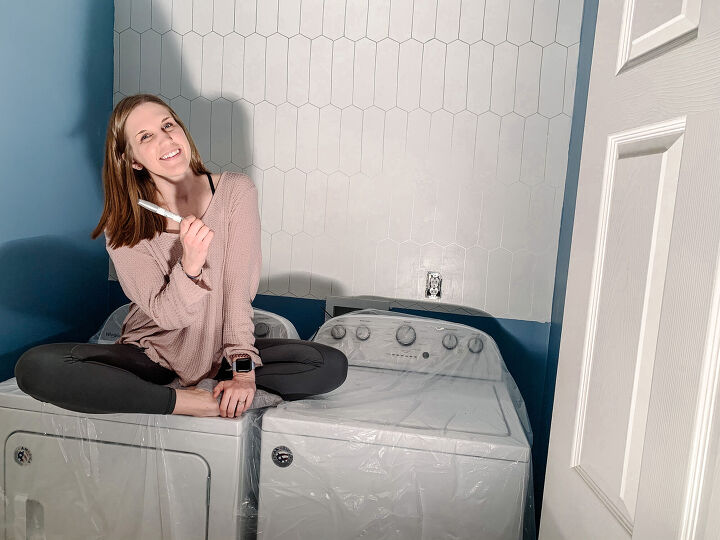
Here is what our laundry room (closet) looked like when we moved in. Nothing special, and certainly not maximizing the space. This room desperately needed some love.
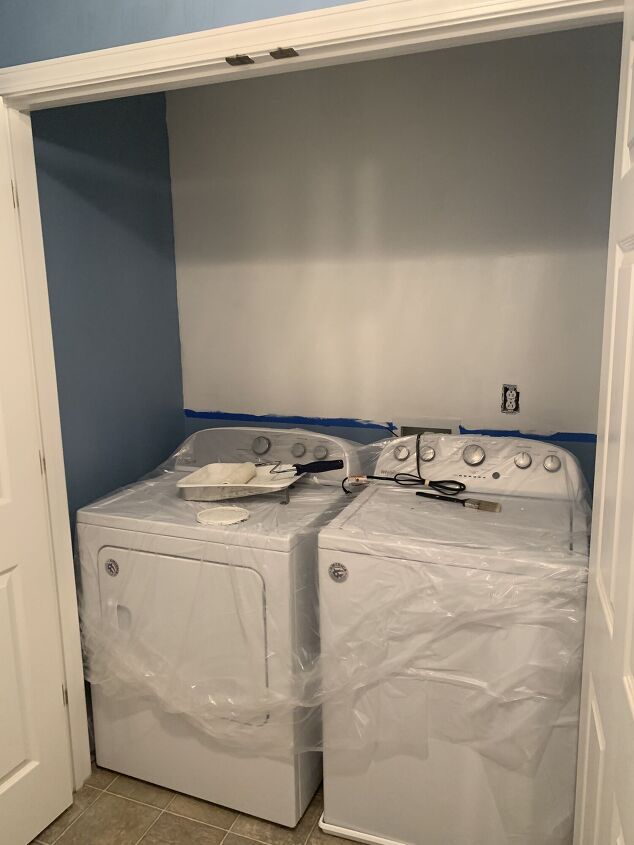
I removed the shelf, and painted the room to freshen it up. I painted the back wall white as the backdrop for my backsplash.
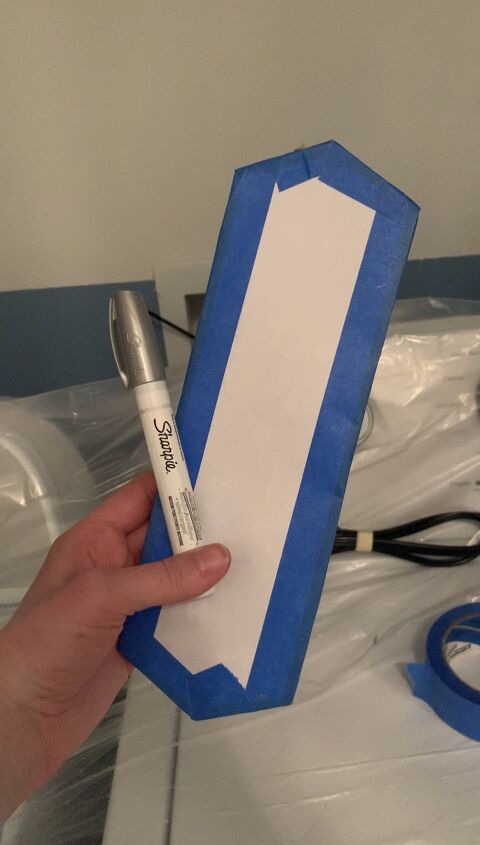
This is all you will need for this project: a Sharpie paint pen and a cardboard template. I added painter’s tape to my template to ensure smooth edges.
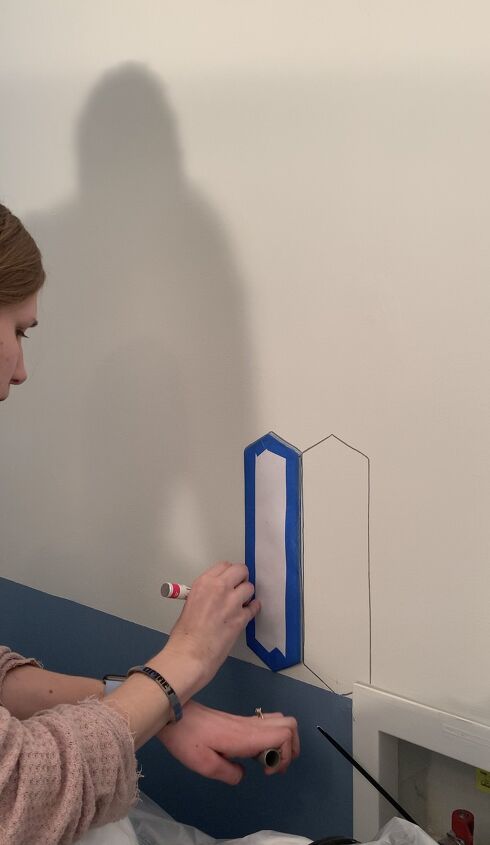
I began by tracing the first “tile” in the middle of the bottom row. This would ensure my bottom row would be full “tiles.” It was mindless and repetitive work, just tracing over and over. I loved the brain break this project gave me :)
Tip: use painter’s tape on the back of your template to help keep it in place. Use a level to make sure the pattern won’t begin to slant.
With the backsplash now in place, it was time to execute the rest of my laundry room design: adding cabinets and shelves to maximize the functionality of the space.
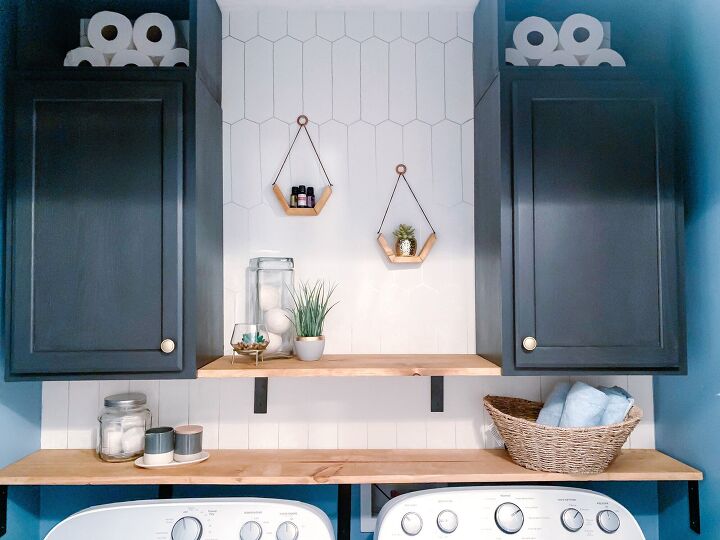
And here is the laundry room in all it’s glory! What do you think? Not bad for a $5 backsplash, right?
Resources for this project:


Comments
Join the conversation
-
Very creative and it looks amazing.
Annie
-
YES!,!!! I like! Thanks.


Frequently asked questions
Have a question about this project?
Why did you leave the washer and dryer in the laundry room
while you where doing the project
Is there a template to do the cardboard tile ?
Love the outcome! Two questions: 1)would a paint marker work, or is it too prone to smearing? 2) what color and brand is that beautiful blue paint? Thanks!