DIY Shaker Style Door

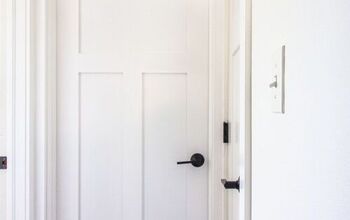
If you drool over beautiful new shaker style doors in the hardware store like I do but you gag at the price tag then this DIY door is for you!
Click the link to see exactly how I did mine!
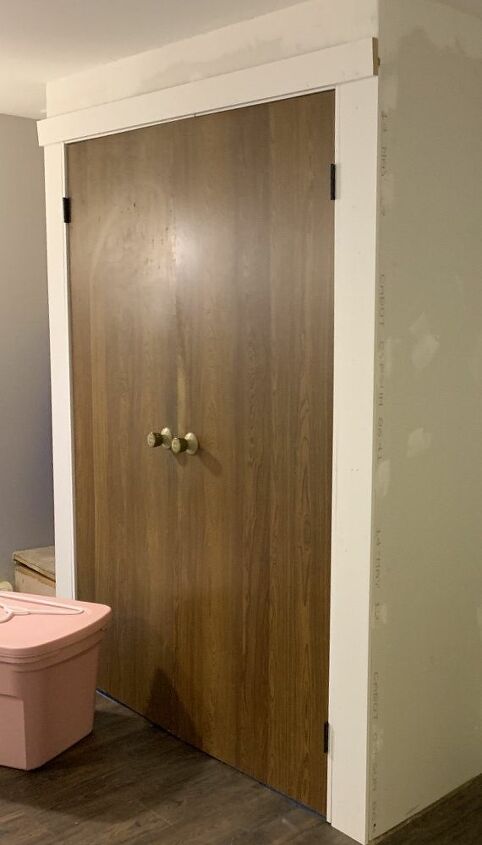
I bought my doors on a local marketplace add for 10$ each. Sometimes people even give them away on the free sections because they think they are so dated there's nothing they can do to them.
Before i hung my doors I cleaned them very well with a household cleaner and knocked off the door handles. (You will cover the holes with trim, don't worry!)
Measure the height of your door and cut two pieces of your trim to length. Use PL Premium for the back side of your trim and pin nail them to your door.
TIP: Make sure you do a quick open and close test before nailing. my doors required about 1/4 gap between the hinges and the trim to open freely.
Once your door is framed out, measure the inside of your trim and cut to size.
Before you glue them on, divide the inside space into 4 sections and mark with a pencil so your trim pieces are easy to align. Glue and pin nail them into place
Use wood fill for your pin nail holes and caulking in larger gaps before painting.
I used BIN Primer in two very thin layers and let it dry fully for 48 hours before painting. Then i used a solid white trim paint for three layers until the doors were solid white.
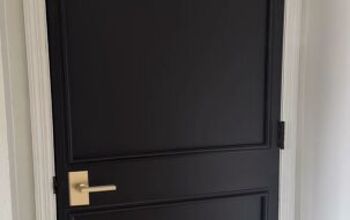
You can put any handle you like on your new doors but i LOVE the look of a long sleek handle.
Woohoo! Two doors at the hardware store would cost well over 600$ here in Canada and i did them for under 40$! Now thats winning at DIY home renos if you ask me!









Frequently asked questions
Have a question about this project?
Hi Denika,
This looks amazing. How did you handle the side profile of the door when it is open to make it all look like one piece? I am thinking about doing this for a barn door.
Thanks,
Joe
Looks so much more high end now. Question, why only one handle?
just getting rid of the ugly brown was a big step towards improvement. The rest you did? Great job.