


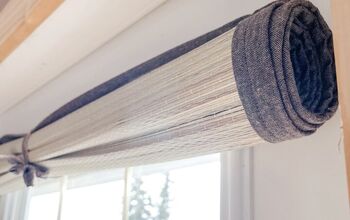
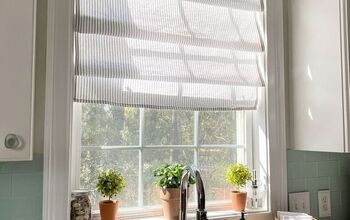
Making a Roman Shade With a Curtain Panel and Mini-Blinds

6 Materials
$45
4 Hours
Easy
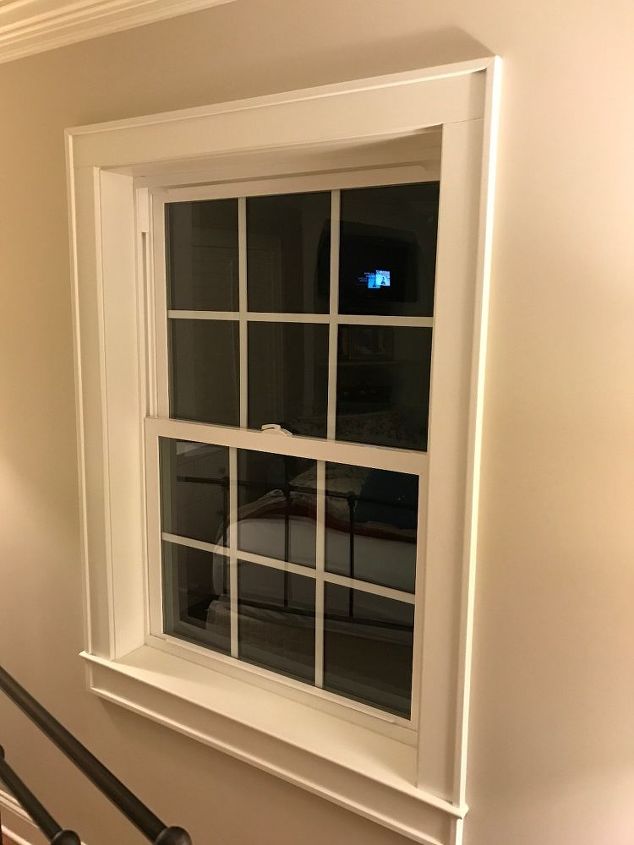
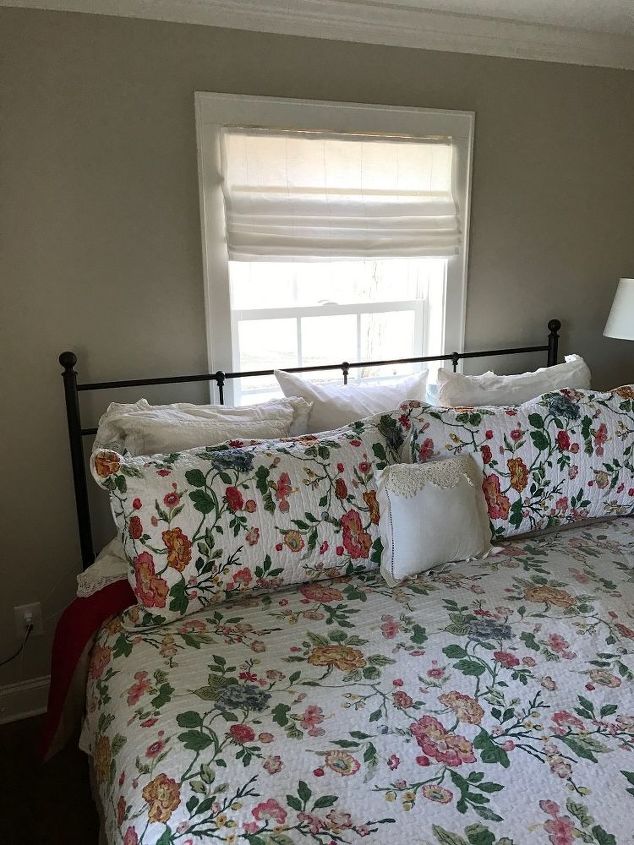
My husband and I spent two years renovating our tiny cottage. We started the process before farmhouse chic became popular though there are definitely elements of that throughout. From our antique apron-front sink (my husband’s great-great-grandfather’s) to the original white shiplap in the laundry room, there are touches of charm and vintage quaintness all over. Since we live pretty far out in the country, I didn’t think too much about window treatments when we moved in. We have plantation shutters on the front side that faces the road, but the back of the house overlooks a four-acre field on our property, so I left those windows bare.
Over time, my husband and I felt that even those windows should have some sort of decor and at least a partial covering. I didn’t want to install shutters and block the pretty view, so I got creative with a way to solve the problem. I settled on roman shades, which would add a touch of personality to the room without obstructing any of the scenery they provide. The only problem? The roman shades I was pricing online were way above our budget, and even if I had someone make me one, the fabric and labor were going to cost me more than I was comfortable spending. We have two small children and are in the stage of life where absolutely every penny counts.
So, I started researching some options on how to create a DIY roman shade as inexpensively as possible. I landed on a site that detailed a process using a cheap single curtain panel and mini-blinds from the dollar store. The technique seemed simple enough and the supplies were certainly low-budget, so my husband and I set forth! I tweaked the process here and there to meet our timeframe and dimensions, so here is what we ended up doing:
1. Measure, Measure, Measure
We measured the dimensions of the window we wanted to install the shade within. We kept the width and height in a safe place so we could reference it later.
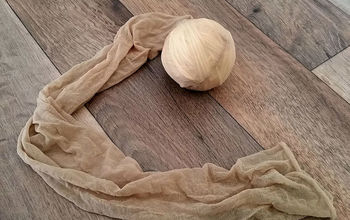
2. Preparing the Fabric
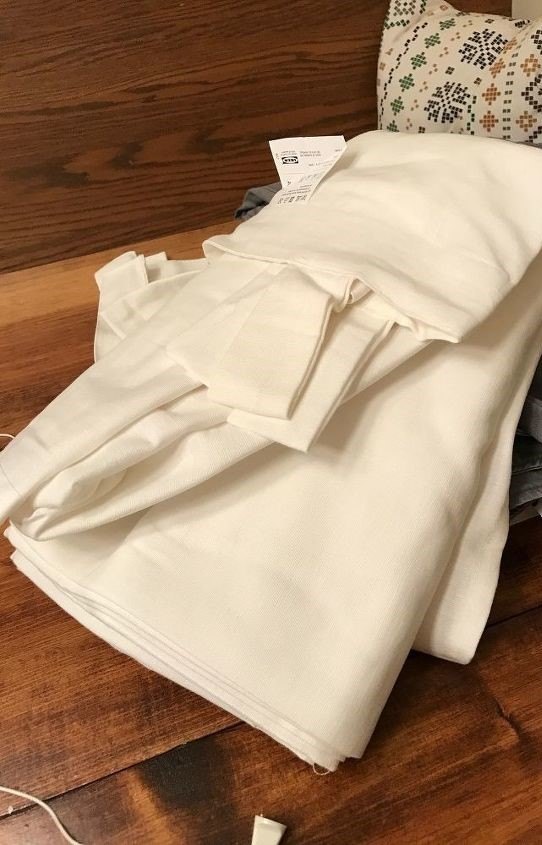
We used a simple white linen curtain panel that we’d purchased last year from IKEA. You can use any fabric you like, though I loved the farmhouse vibe that the linen panel gave to the room. However, it had sat in packaging for quite a while and it was full of creases when I pulled it out. I washed, dried and ironed it completely flat before moving forward.
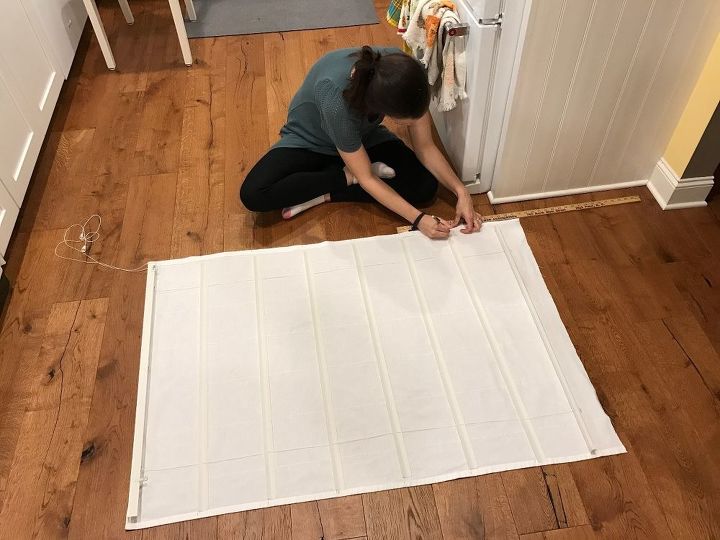
3. Cutting the Fabric
Then, I cut the fabric out to meet the shape of the window opening. The trick here is to not cut it to meet the exact specifications. Rather, leave one inch on the sides and two inches on the top and bottom for wiggle room, because you’ll be folding it over a little later.
4. Hemming the Sides
Next, I folded in both sides of the curtain panel ½ of an inch and press with an iron. If you’re handy with a sewing machine and don’t mind the look of stitching on your roman shade, you can sew the fabric at this point. I, however, cannot navigate such a machine despite my best efforts, so I decided to use good, old-fashioned hemming tape. I simply put it inside the folded in portion and ironed on top of it to adhere it in place. Worked like a charm! I repeated the same steps for the top and bottom of the fabric. When you’re done, you should have a rectangle, with all four sides folded in ½ of an inch.
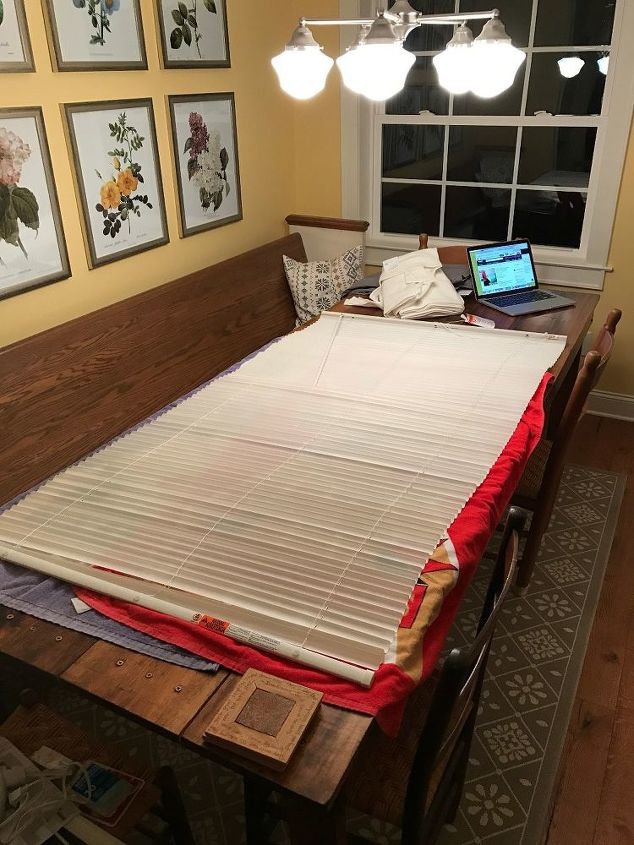
5. Preparing the Mini-Blinds
Then, we moved on to the mini-blinds. Using a hot glue gun, we applied a hefty portion of hot glue to the top bar of the blinds. With the fabric laying face-side down, I laid the blinds down on top of it, making sure the top of the fabric was in line with the top of the mini blinds.
6. Cutting the Strings
This is one of the most important parts, and one I almost slipped up on. We had to next cut the ladder string out of the blinds. There are two strings on your blinds. One is called the pull cord and the other is the ladder cord. The pull cord is thicker and is the “main” cord that you see running vertically up and down the blinds. On the other hand, the ladder cord is comprised of all of those tiny horizontal strings you see attached to the pull cord. I wiggled my scissors in between the two and snipped each piece of the ladder cord. My blinds had three separate string portions, so I repeated the step three times.
When I was done, I removed the bottom bar from the blinds. You’ll see little plastic caps keeping it attached. Remove those and the bar will slide right off. Keep them handy though, because you’ll need them later!
7. Organizing the Blinds
Next, I slid off a majority of the mini-blinds, leaving only about 5-7 intact. With the bottom bar removed, these slide right off, so it’s no issue! The ones left behind will become your roman shade folds. A good rule of thumb is to have a mini-blind about every six inches or so. If you end up having extra after you measure this out, just remove the extra slats off the bottom.
8. Gluing the Slats
Then, I placed a small line of glue under each blind to adhere it to my fabric, being very careful not to glue the pull cord to anything. You’ll need that pull cord to be free so you can move the folds up and down, so leave it be.
9. Repositioning the Bottom Bar
Finally, just slide that bottom bar of the blinds back into place and tie a knot at the bottom of each pull cord. Then, replace the plastic caps to keep it all secure. Using your glue gun, glue the bottom bar to the fabric it is sitting on top of. This is to ensure that once your shade is up, no portion of the blinds will be showing.
5. Preparing the Mini-Blinds
Then, we moved on to the mini-blinds. Using a hot glue gun, we applied a hefty portion of hot glue to the top bar of the blinds. With the fabric laying face-side down, I laid the blinds down on top of it, making sure the top of the fabric was in line with the top of the mini blinds.
6. Cutting the Strings
This is one of the most important parts, and one I almost slipped up on. We had to next cut the ladder string out of the blinds. There are two strings on your blinds. One is called the pull cord and the other is the ladder cord. The pull cord is thicker and is the “main” cord that you see running vertically up and down the blinds. On the other hand, the ladder cord is comprised of all of those tiny horizontal strings you see attached to the pull cord. I wiggled my scissors in between the two and snipped each piece of the ladder cord. My blinds had three separate string portions, so I repeated the step three times.
When I was done, I removed the bottom bar from the blinds. You’ll see little plastic caps keeping it attached. Remove those and the bar will slide right off. Keep them handy though, because you’ll need them later!
7. Organizing the Blinds
Next, I slid off a majority of the mini-blinds, leaving only about 5-7 in tact. With the bottom bar removed, these slide right off, so it’s no issue! The ones left behind will become your roman shade folds. A good rule of thumb is to have a mini-blind about every six inches or so. If you end up having extra after you measure this out, just remove the extra slats off the bottom.
8. Gluing the Slats
Then, I placed a small line of glue under each blind to adhere it to my fabric, being very careful not to glue the pull cord to anything. You’ll need that pull cord to be free so you can move the folds up and down, so leave it be.
9. Repositioning the Bottom Bar
Finally, just slide that bottom bar of the blinds back into place and tie a knot at the bottom of each pull cord. Then, replace the plastic caps to keep it all secure. Using your glue gun, glue the bottom bar to the fabric it is sitting on top of. This is to ensure that once your shade is up, no portion of the blinds will be showing.
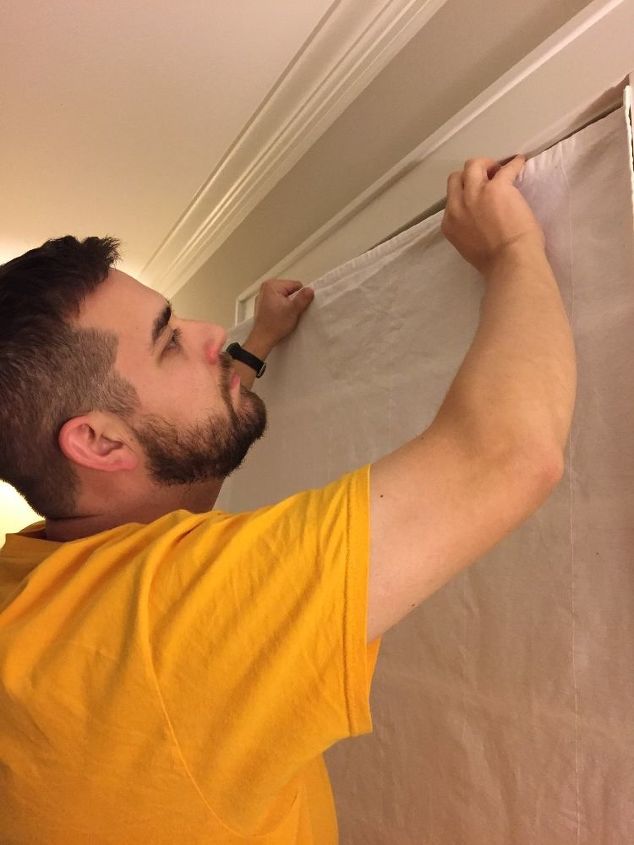
10. Final Step!
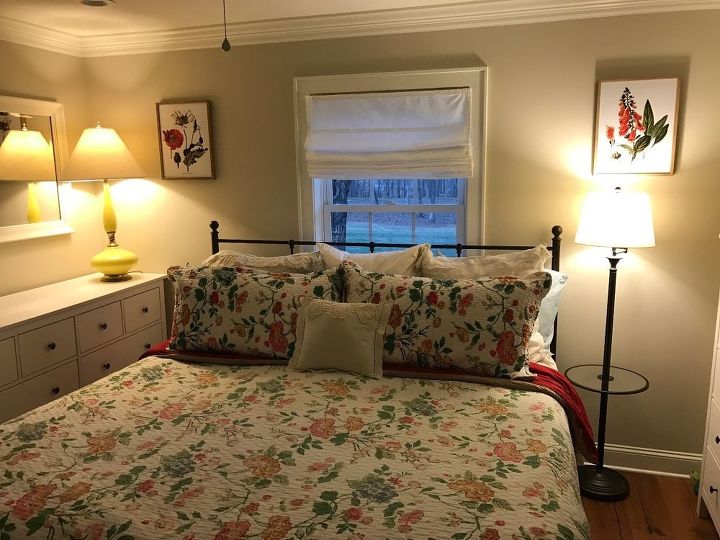
Finally, we hung our shade in the window using the hardware that the mini-blinds came with! Simple as that!
Resources for this project:
See all materials


Any price and availability information displayed on [relevant Amazon Site(s), as applicable] at the time of purchase will apply to the purchase of this product.
Hometalk may collect a small share of sales from the links on this page.More info
Comments
Join the conversation
2 of 112 comments
-
When I did this the first time, I found the single slats sagged under the weight of the fabric; I then took the extra ones and glued them to the ones I was using, to give it more stability. It did not bulk of up or make it look bad at all.
-
Great DIY solution, Courtney! Your step-by-step guide on making a Roman shade with a curtain panel and mini-blinds is both creative and budget-friendly. Thanks for sharing your farmhouse chic approach to window treatments. If you're looking to explore more options, consider incorporating duo roller blinds for added versatility in light control and privacy. Nice job on the project!


Frequently asked questions
Have a question about this project?
Do you mean Austrian blinds?
I just want to know where you purchased your bedding. Great job on the shade
how do you wash it without messing it up