


Turn a Sideboard Into a Coffee Station!
Do you ever paint a piece, use it in your house for a while, then decide it’s time for another makeover to either keep or on-sell?
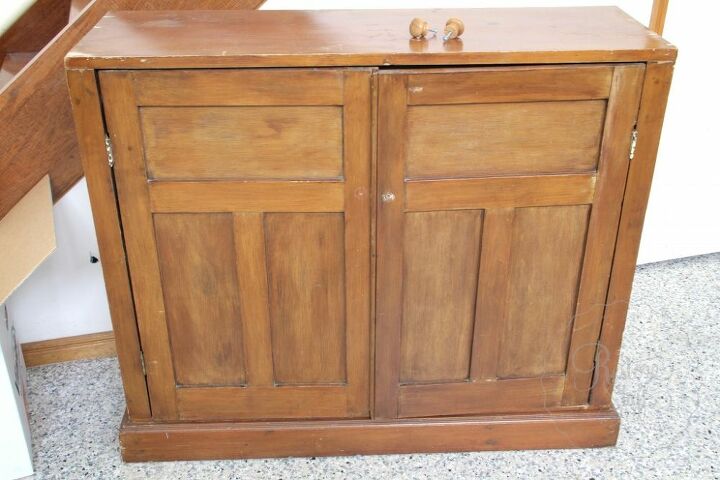
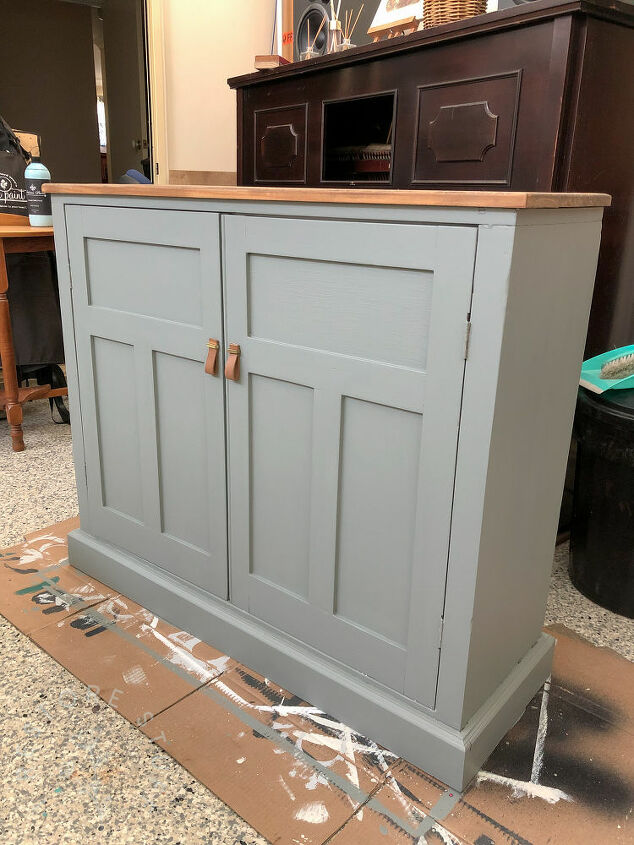
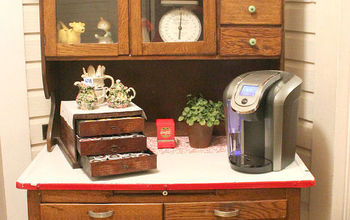
This is about the 3rd makeover I’ve done on this piece. I’ve loved it from the start when friends were getting rid of it, and placed it in my care! Here’s how it started when it came to be with me:
I did two makeovers at various times between this and it's final makeover that I'll show you today. You can see those on my blog post link here associated with this article.
But you can see in the image here, that there's not really a top to grip onto when moving this piece anywhere around the house. This became a frustration, so for it's next makeover, I wanted to add a "top" section, to make it easier to move.
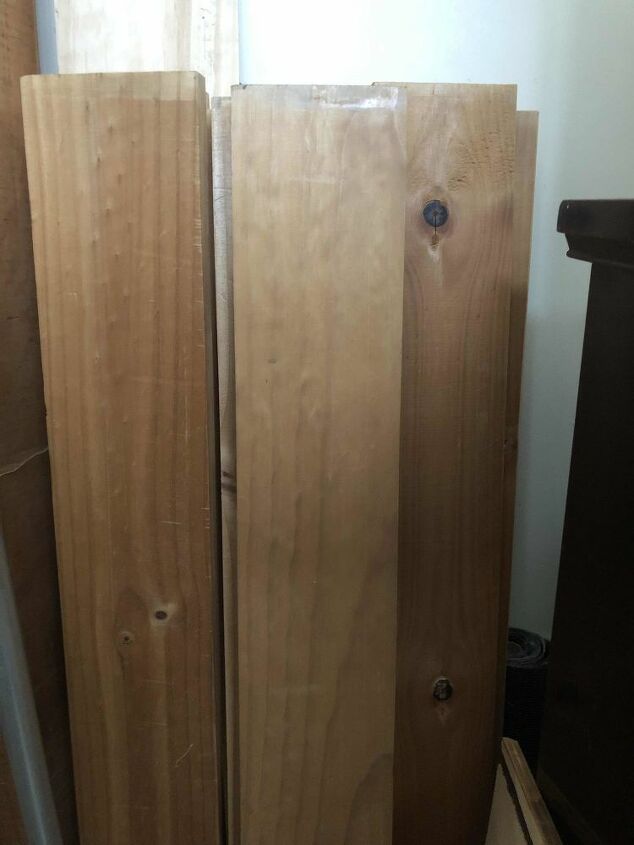
Enter these handy bed slats that were being thrown away by my sister, who asked if I could use them for anything. Of course I can, so I took 3 of them, had them cut to size, leaving a little overlapping on either side of the cupboard to create a "lip" to grip onto when moving the cupboard.
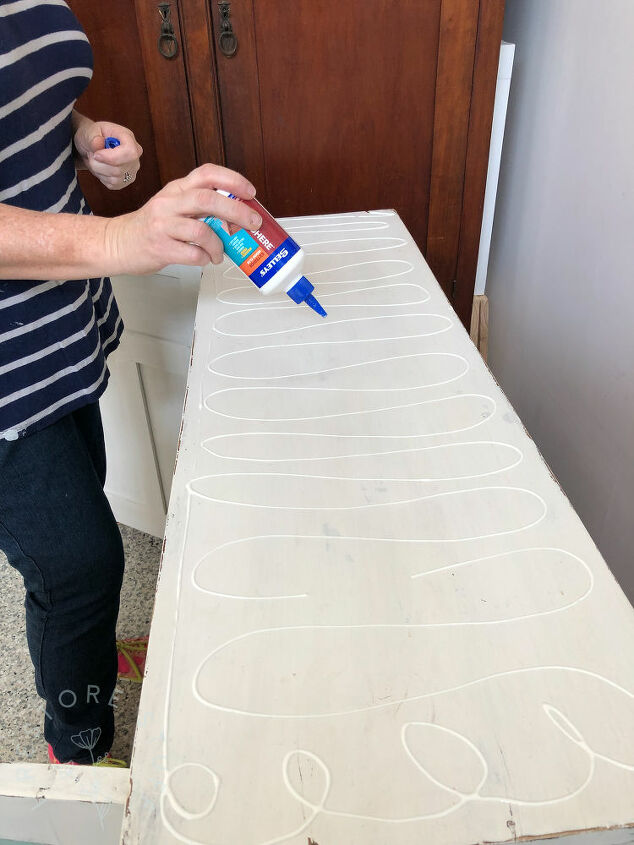
We applied wood glue to the length of the top of the cupboard, then clamped the 3 slats (which had already been joined together using glueing and clamping) down to the top and screwed them to secure them from underneath.
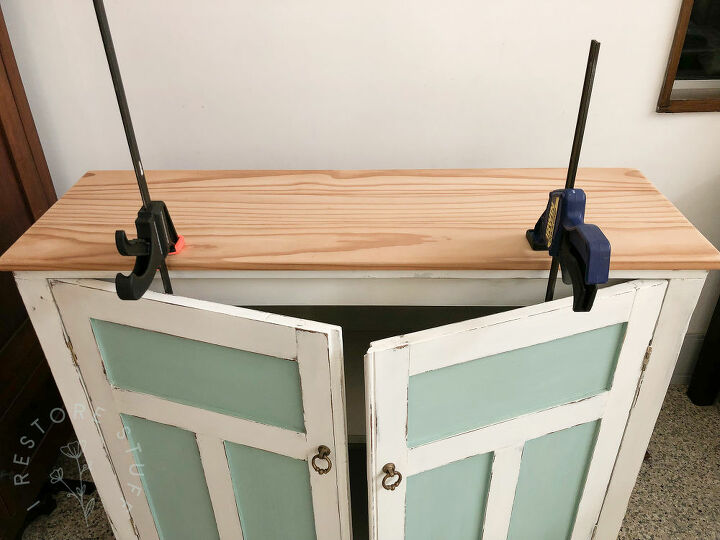
We also made sure the boards came forward to create a small lip/ledge at the front, to match the protruding ends. After a couple hours, we removed the clamps since we already had screwed the top from underneath, so not necessary to leave them attached for a long time.
I then painted the base in this lovely Fusion Mineral Paint colour, Sacred Sage. But I wanted it to look a little more aged, so keep reading to see what I added to create a more aged look after the next step of stencilling.
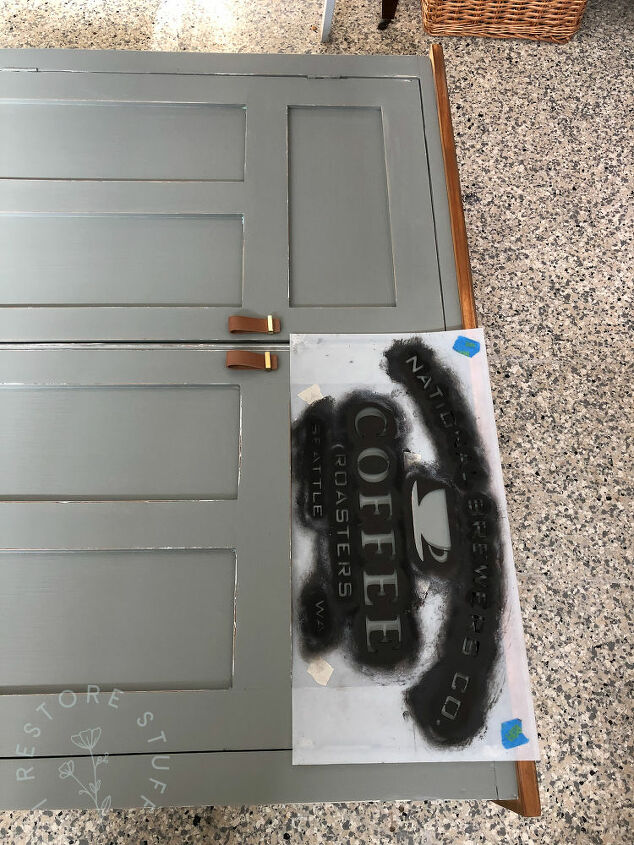
I lay the whole cupboard on it's back to apply the Coffee Stencil from Funky Junk Stencils onto both top sections of each cupboard.
Coffee stencils finished - using Fusion's Casement white colour.
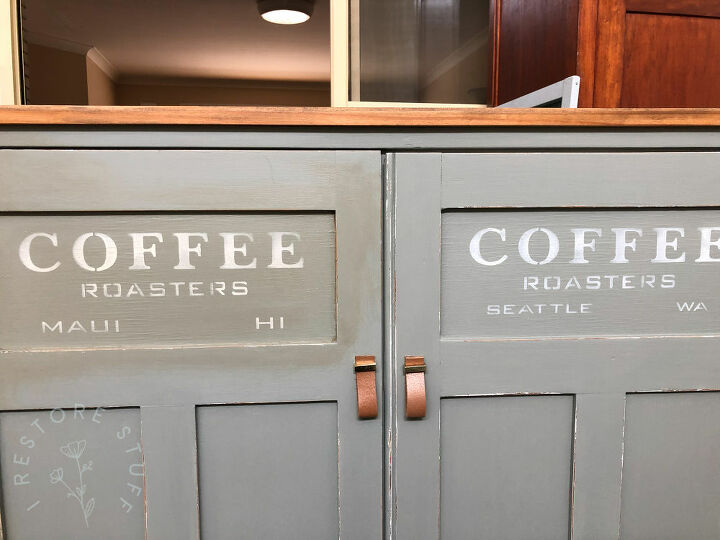
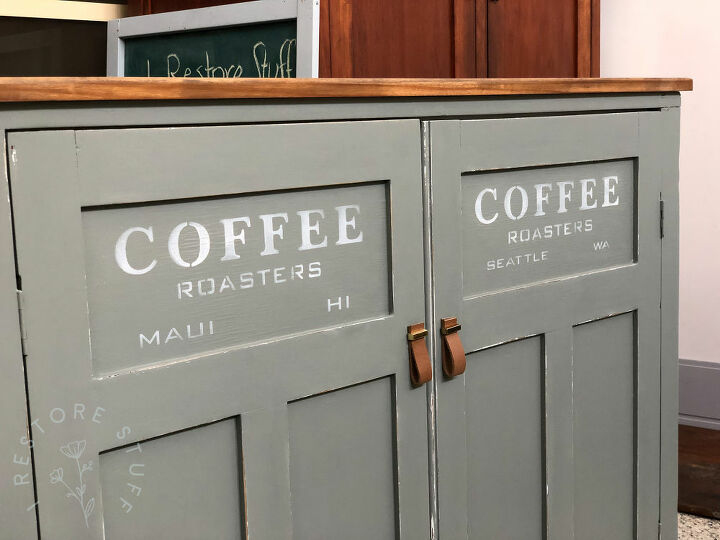
Then I added Fusion's Antiquing Glaze to create a more aged look, after distressing the edges of the piece all over with a light grade sandpaper.
To apply the glaze I used a brush. Brush it all over, working in sections, then wiping it back along the grain (or at least in the same direction) with a lint free cloth.
The glaze sits in the grooves and along the surface of the paint, creating an aged finish.
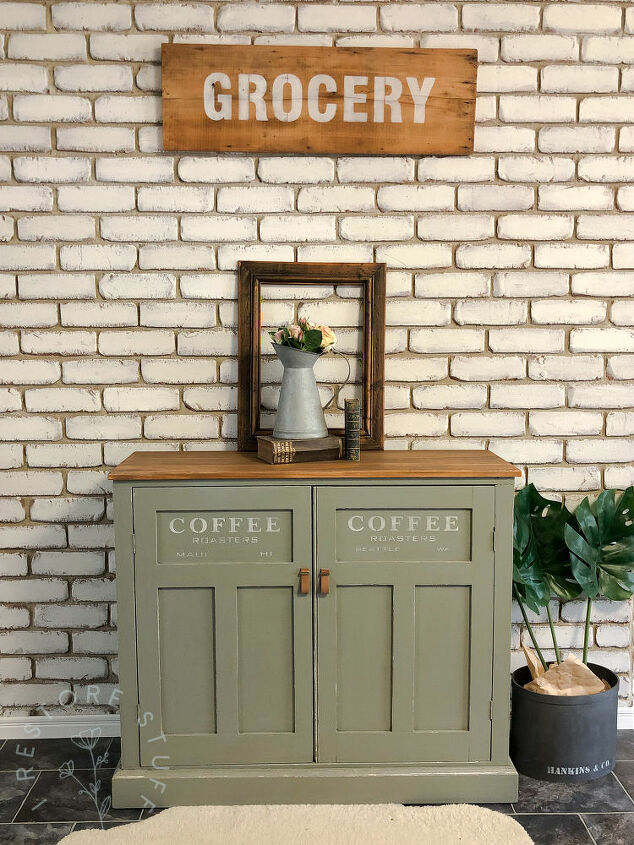
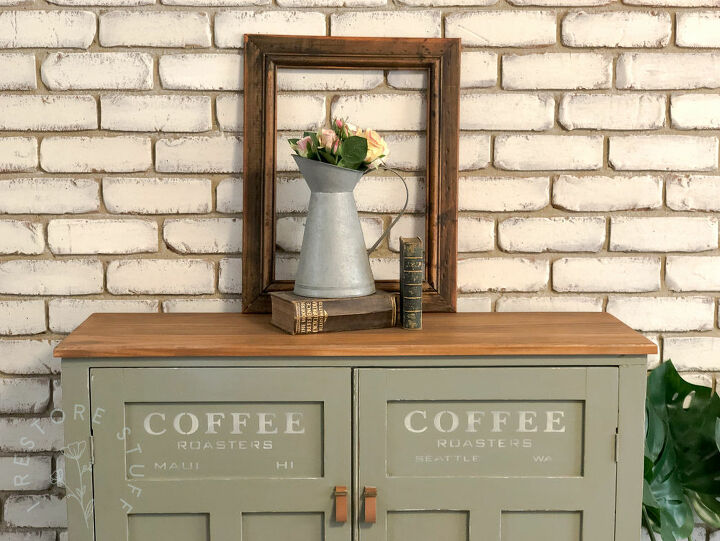
And here's the finished look. A great piece of furniture for a coffee station. Fits all your cups and coffee supplies inside the cupboard and a coffee machine on top!
You can view my original blog post here for more pics and details.
Resources for this project:
See all materials


Comments
Join the conversation
-
I love the way the handles tie in with the color of the top of this piece. It’s really beautiful I love it!
-
Wow. Love everything about it and everything in the picture. Nice!!!!!


Frequently asked questions
Have a question about this project?
what are the handles made of?
Are the handles leather straps? The whole thing looks great!
I really love this!