


Rolling Coffee Station for the Kitchen Counter

by
Jessica O
4 Materials
$20
3 Days
Easy
I like having my coffee maker and coffee jars tucked under my cabinet, but then that means I am pulling it in and out, scraping my coffee maker on the counter, to fill the water and beans every day.... I looked on line and saw flimsy plastic trays for $35 +. I came up with a quick,easy & sturdy way to roll it forward, matching my kitchen colors as well.
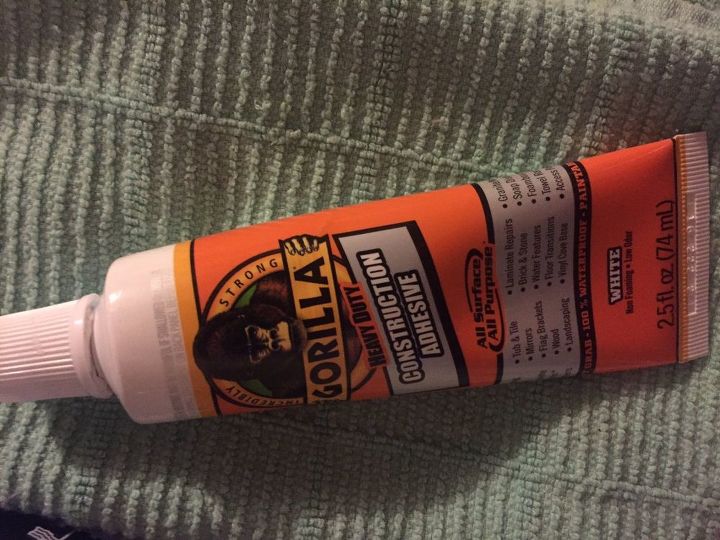
Gorilla Glue
Start with a few supplies - I had gorilla glue at home. I was trying to make this a no-drill project ! I also didn't know if my tray would withstand drilling, so this was a safe option.
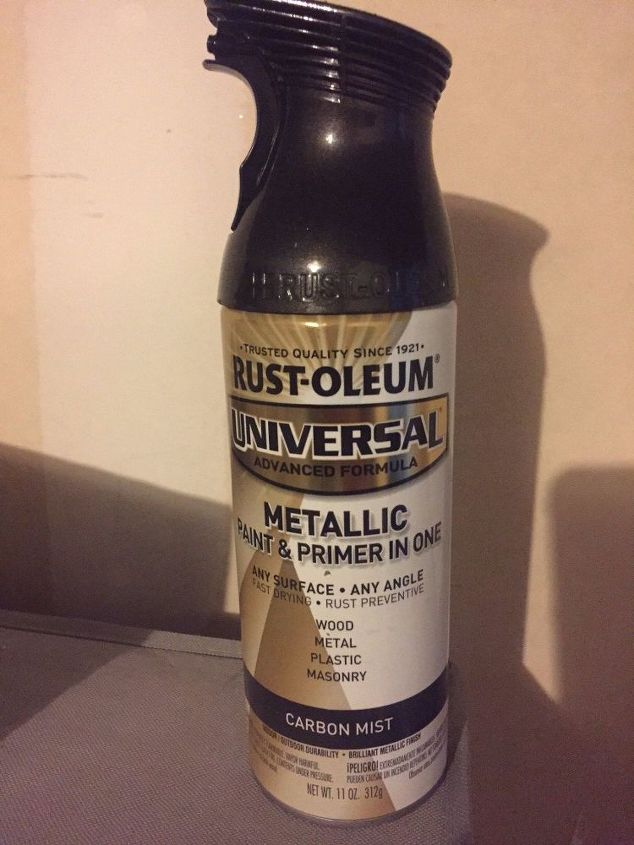
Spray Paint
Plain old every day spray paint. I was already painting a garden cart, so I used this one that was good for wood. My tray was wooden. Make sure your paint matches the material for your tray.
Spray Painted Wood Tray
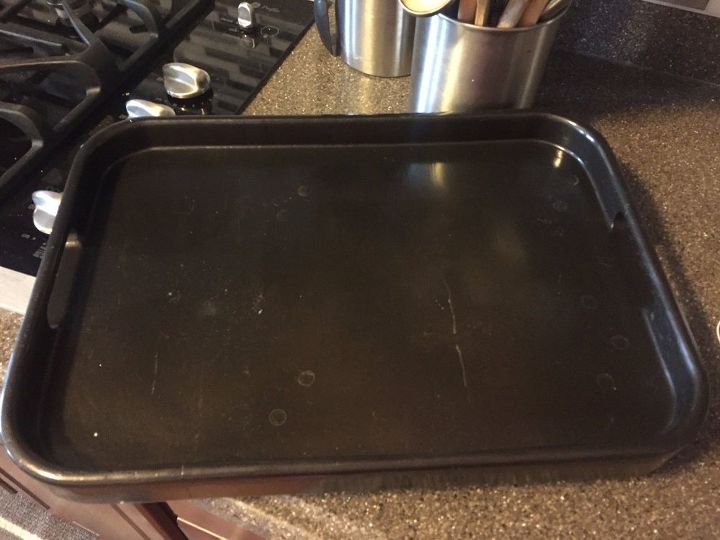
I had an old, beat up blonde wood tray already in the house. It was a good size and had already lived a good life. I sprayed 3 or 4 coats of spray paint on the tray outside, letting it dry for 24 hours. I did not have to sand as my wood did not have a coating, but you may need to sand your tray first so that the paint adheres.
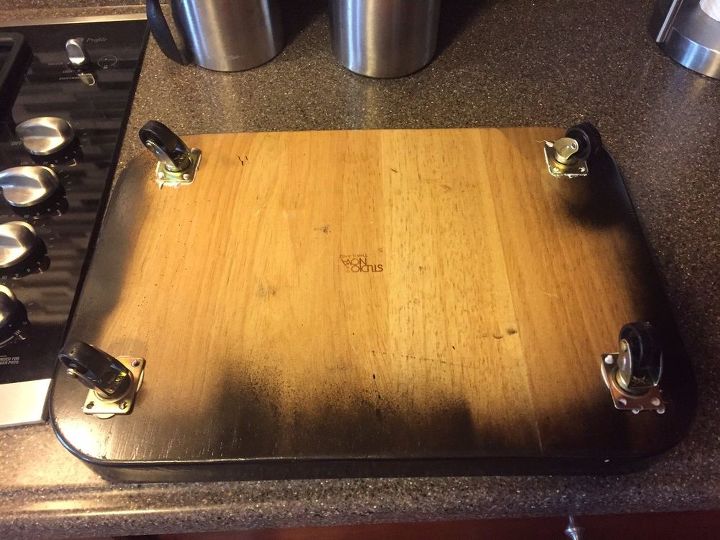
Flip side of tray with casters placed
Once the paint dried (now you can see the original color) i flipped over the tray and using my gorilla glue, added 4 properly spaced casters to the bottom.
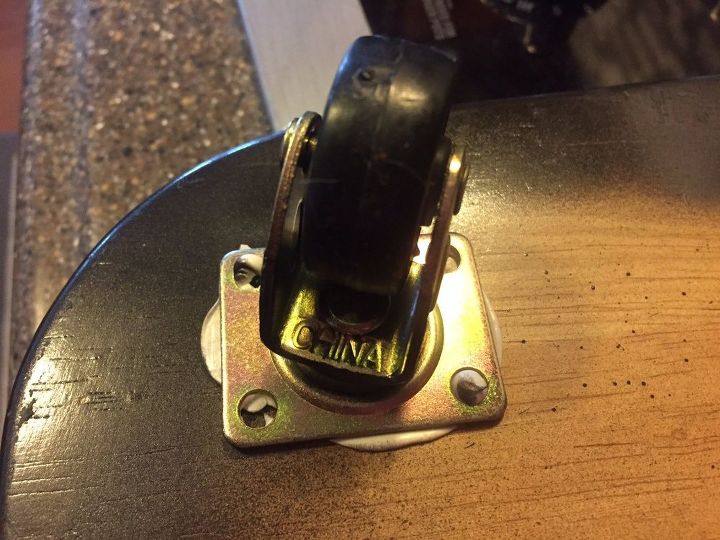
close up of glued on caster
I measured the distance from the tray to the top of my kitchen cabinets to make sure my casters would not be too large. I picked these up at the local big box hardware store for about $2 each. Once they were set, I flipped the tray over and placed a heavy item on top to help set the glue in place firmly. I left it to dry another 24 hours.
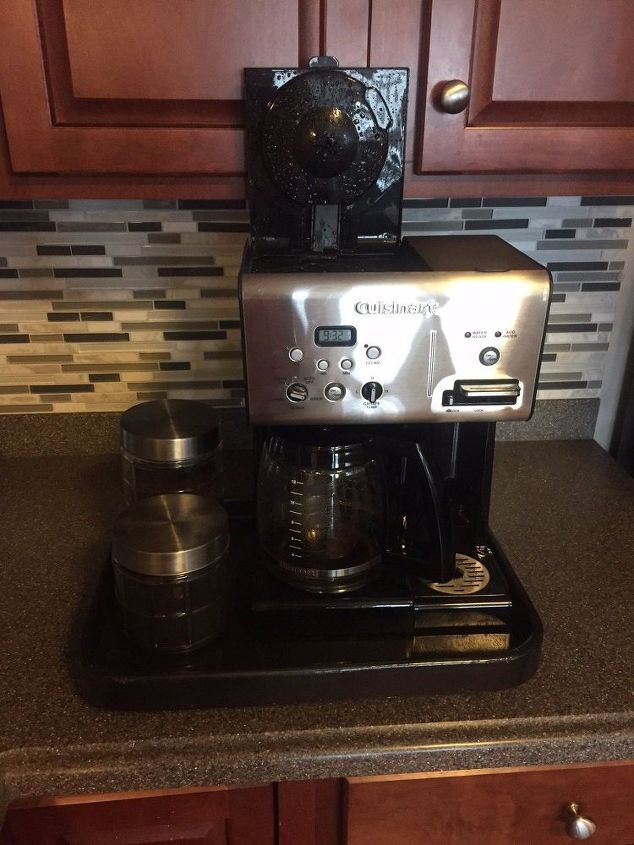
Success ! Tray rolls forward nicely to fill.
Once it was finished, I loaded my coffee maker and two coffee tins on to my tray. I can roll it forward on the counter, like this, to fill the coffee and the water.
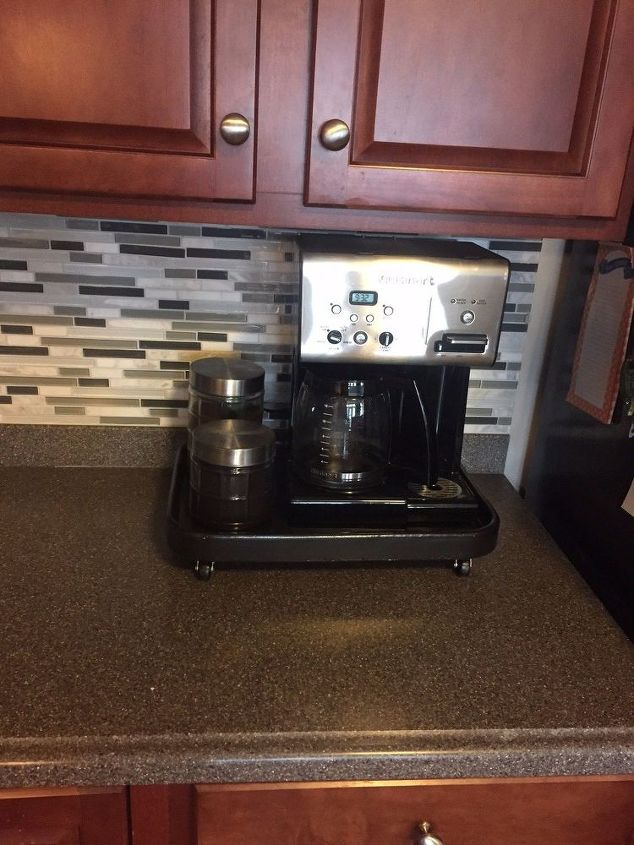
Then rolls back under my cabinet !
Then I roll it back under the counter to brew and serve. No more scraping my counter. No more dragging the coffee maker back and forth ! I looked on line and it was $35 for a cheap, not sturdy plastic unit. This is a solid piece now and will give me coffee drinking pleasure for years to come ! 
Comments
Join the conversation
2 of 89 comments
-
i loved this idea so much, I made one for myself.
-
Neat idea! You might try something like Slipstick CB255 1 Inch Floor Protector Chair Glides or similar instead of the rollers. Much lower profile and easy to slide without damaging the counter top.


Frequently asked questions
Have a question about this project?
This is such great idea, I cannot find an appliance caddy as my coffee pot is too wide or tall for any of the ones on the market. What size casters did you use and do you remember where you got them? Happy Holidays!