


DIY Recycled Timber Shelves

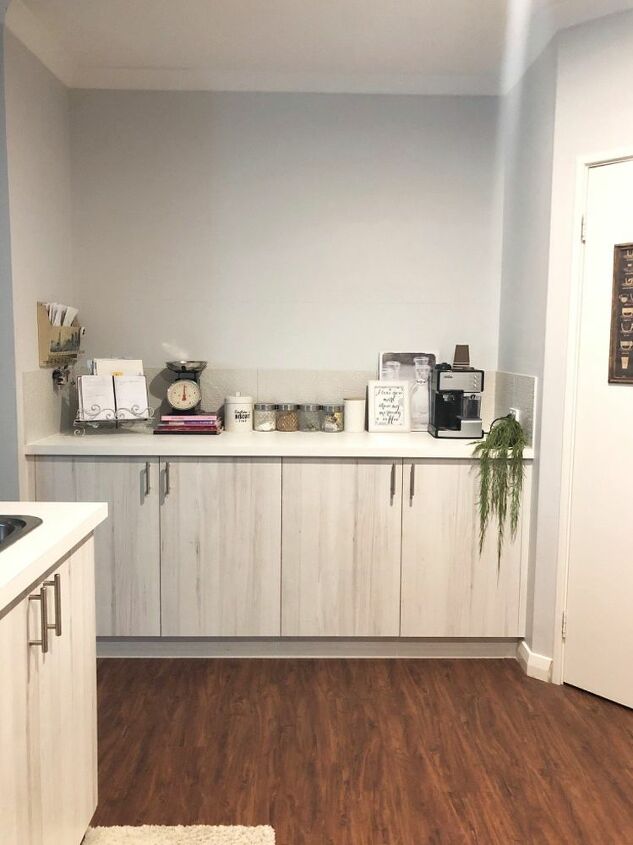
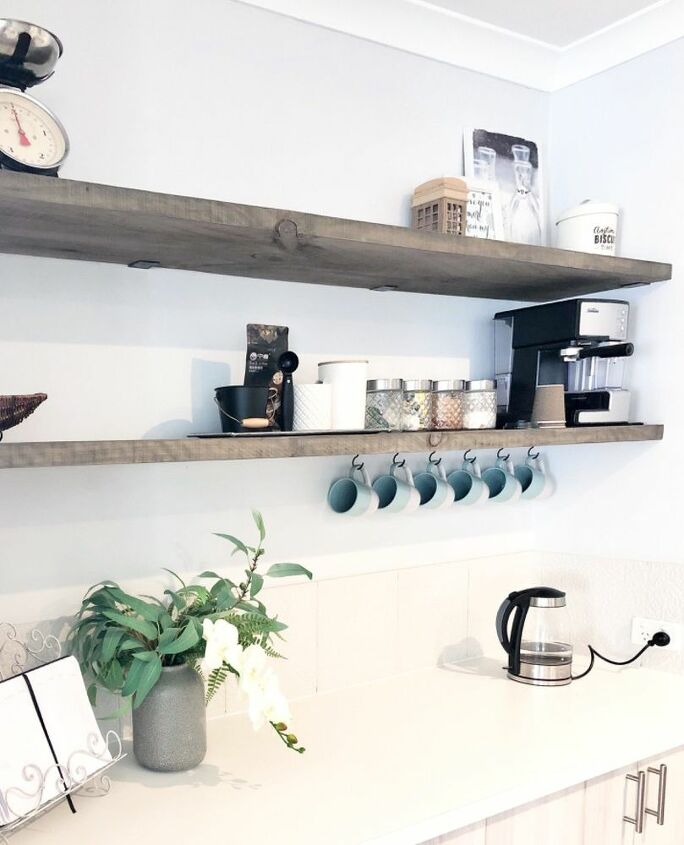
I had this blank wall in my kitchen that was desperate for some loving. I thought about putting in overhead cupboards but then thought I would make the space a feature instead with some beautiful recycled timber shelves.
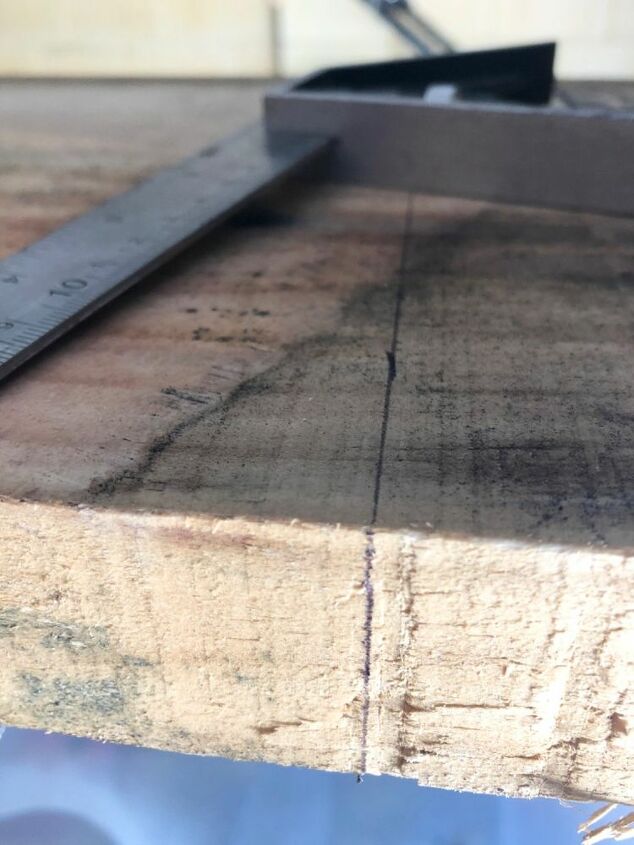
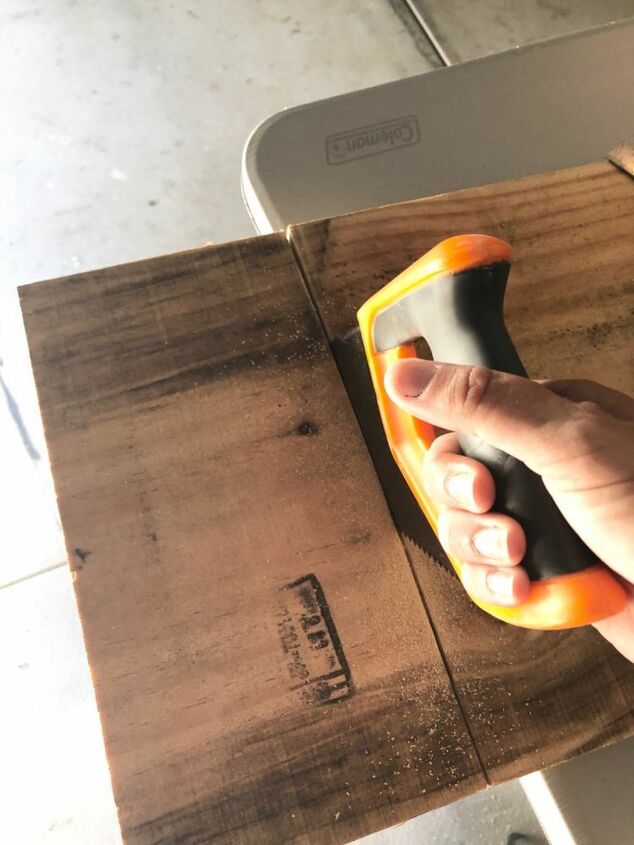
I bought two 2.3m planks of recycled timber from a local scrap yard for just $10AU each - total bargain. I measured the wall space and it was 2.1m, so I marked that on my timber and cut them down to size - slightly less than the wall space to allow room for a bracket.
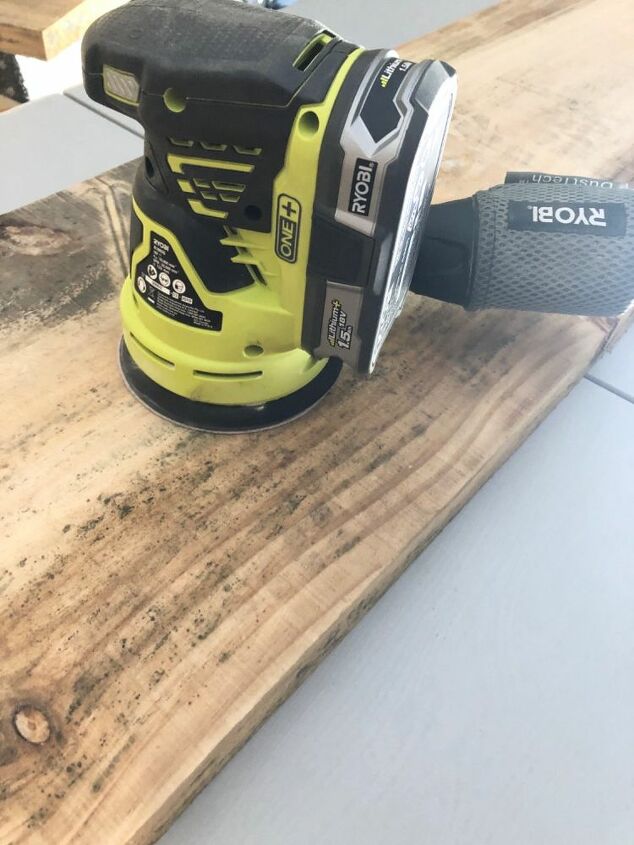
Once I finished cutting the timber down, I gave them a sand to smooth the surfaces and edges.
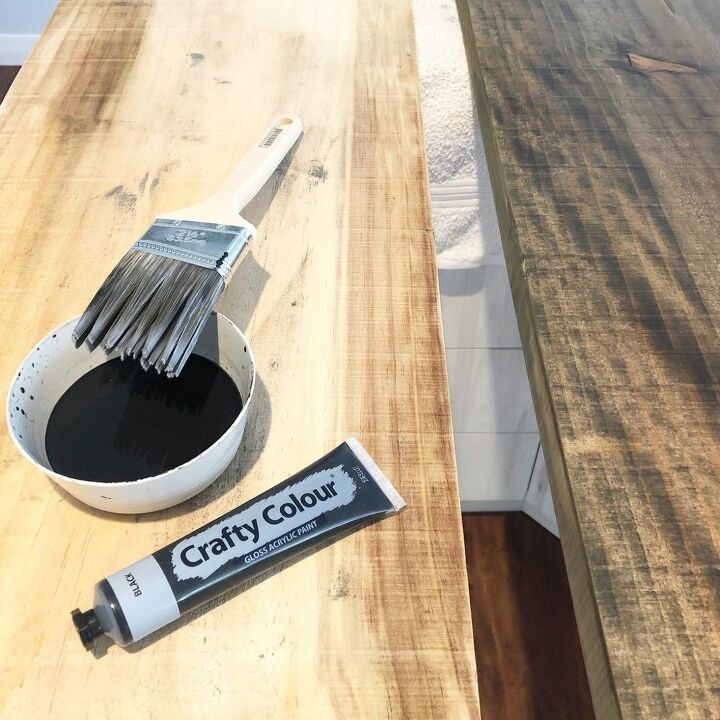
Next, I stained the timber with some black acrylic paint & water. I put a small squirt of paint in a bowl, filled it with water, mixed it and then used a brush to paint it on. I experimented a little at the beginning, slowly adding a little more paint to the mixture until I was happy with the colour on the timber. The more paint you add, the darker the stain will be. I found a happy medium, not to dark, not too light. 👍🏻
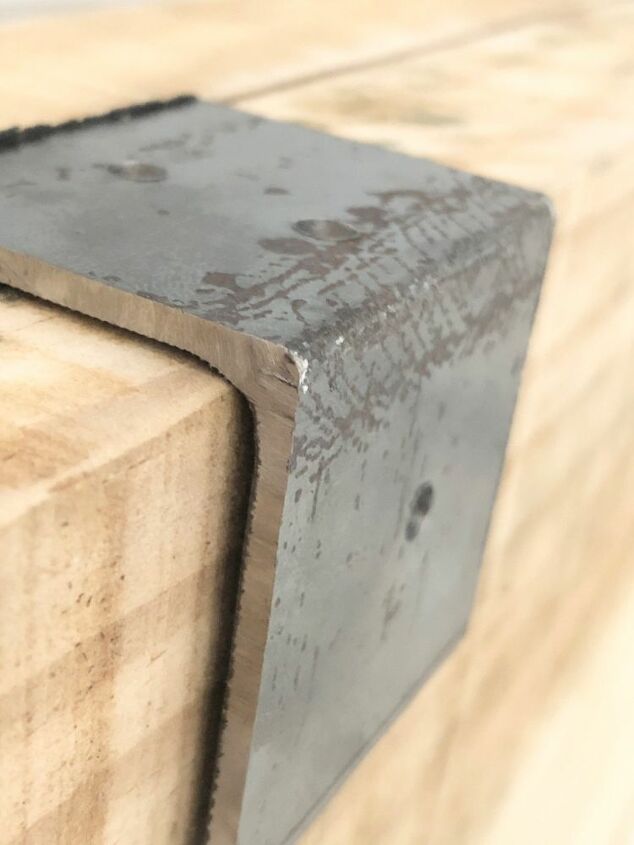
Once I was finished staining it, I let it dry completely and then sealed it with a beeswax wood polish.I then put the timber planks aside to dry again, while I got started on the brackets.To keep with the recycled theme, I decided to use some angle steel I picked up at a scrapyard to make my own brackets.
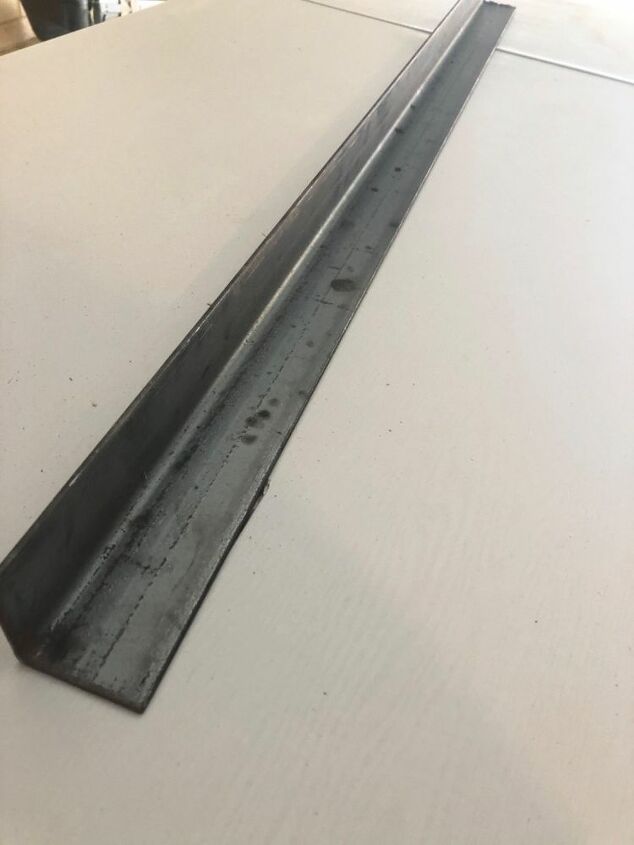
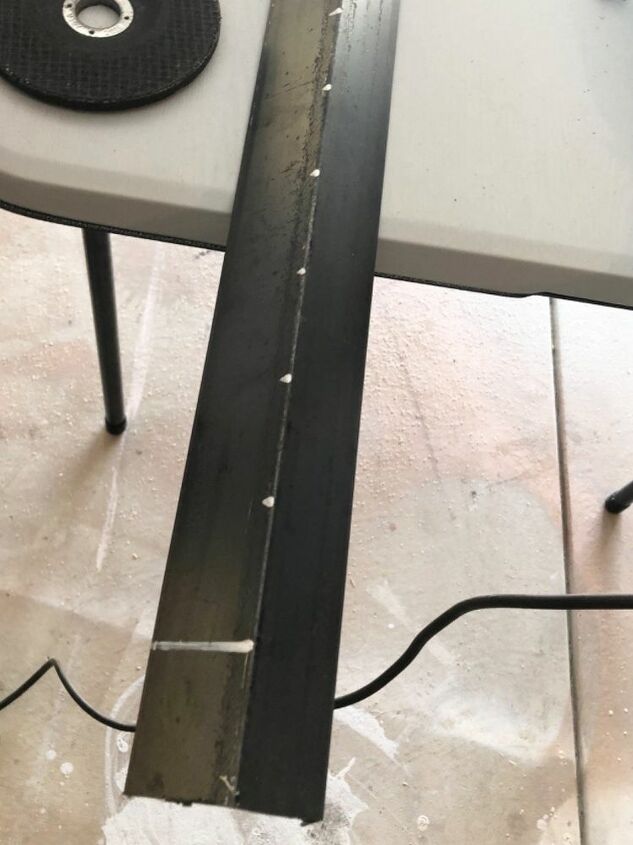
The angle steel I chose was heavy duty, perfect for holding the weight of the shelves.I started by marking my brackets out on the steel. I used a paint pen to mark out where I needed to cut.
Once I had marked out all my brackets, I used a grinder to cut them out.
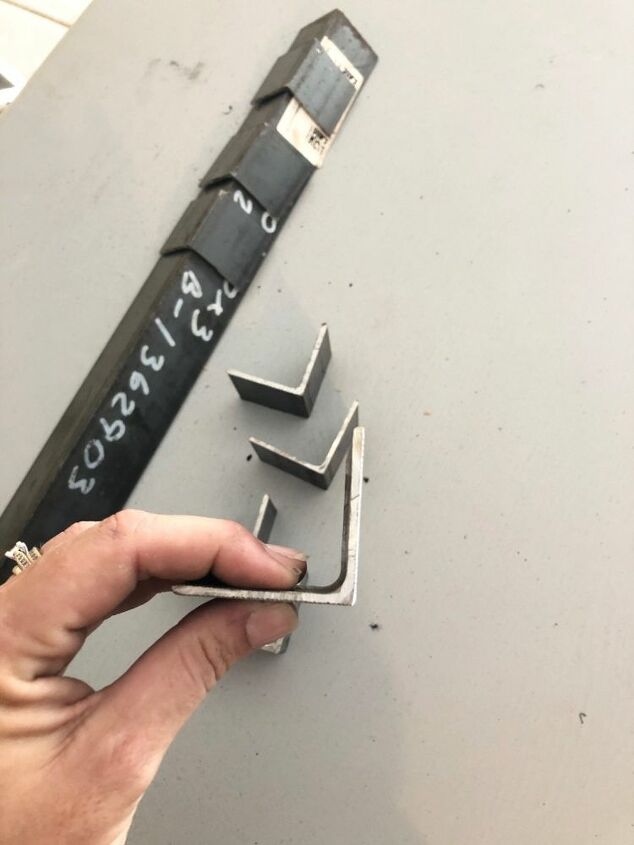
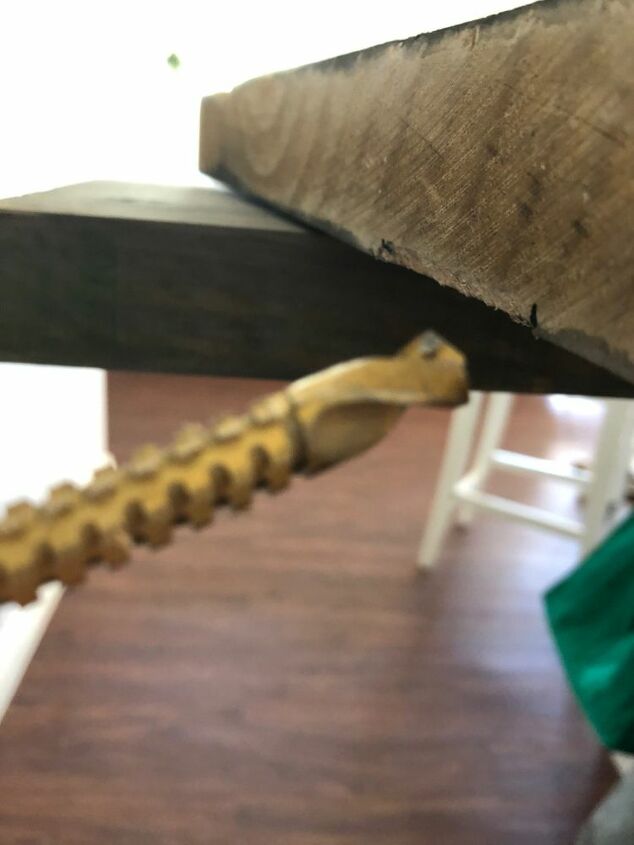
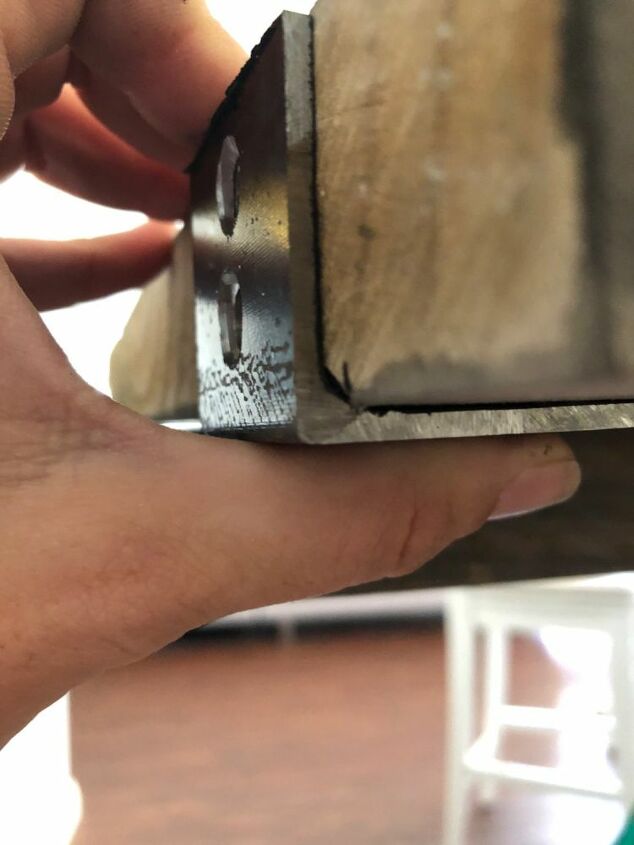
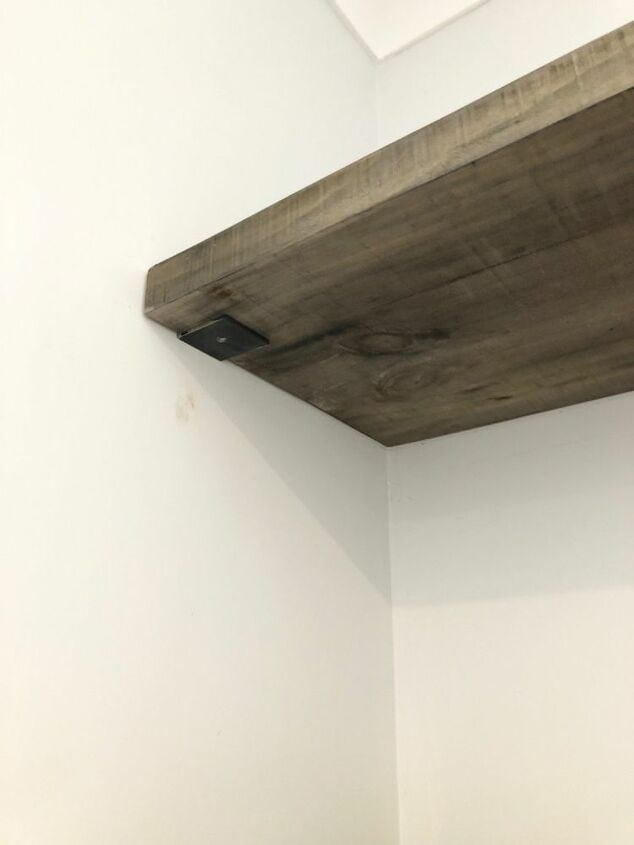
I then drilled some holes into the brackets for the screws.I could have just bought brackets pre-made but when I saw the angle steel at the scrapyard for only a could dollars I figured it would be a lot cheaper to make them then buying them.As I wanted the bracket to wrap around the timber and sit flush, I had to carve away the edges of the timber where the bracket would sit, as the inside corner of the bracket had a curve in it.
I measured and marked on my timber where each bracket would sit and then used a saw drill bit to round off the edge on the timber, so that the bracket could sit flush.
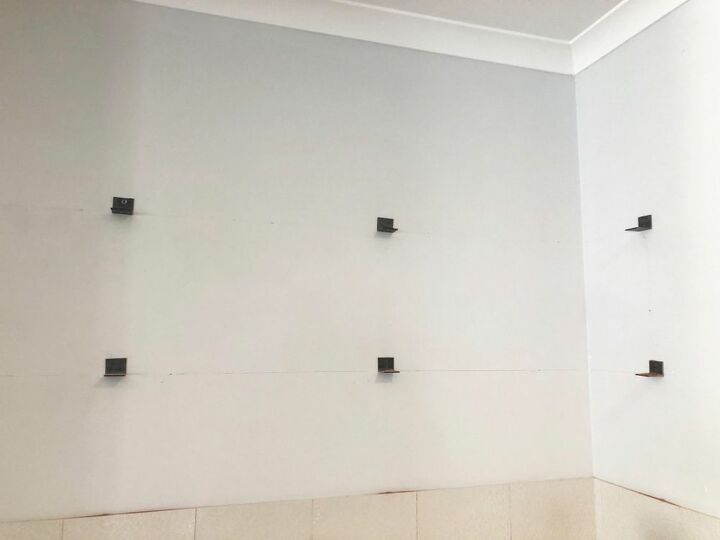
Next, I measured and marked on the wall where my brackets would go, and then attached them all to the wall with long screws.
Next, with the help of my husband, I lifted the shelves up onto the brackets and then screwed them on from underneath.
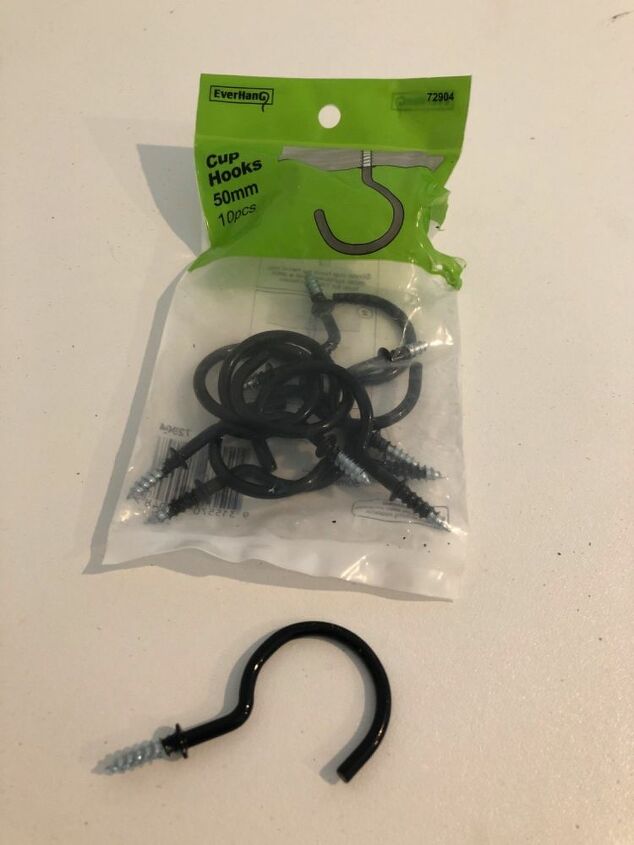
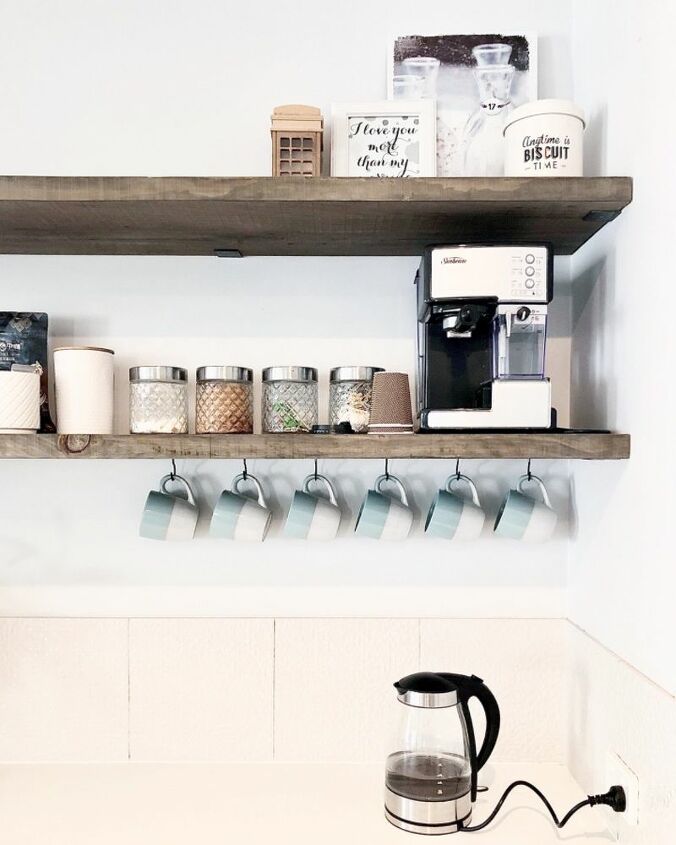
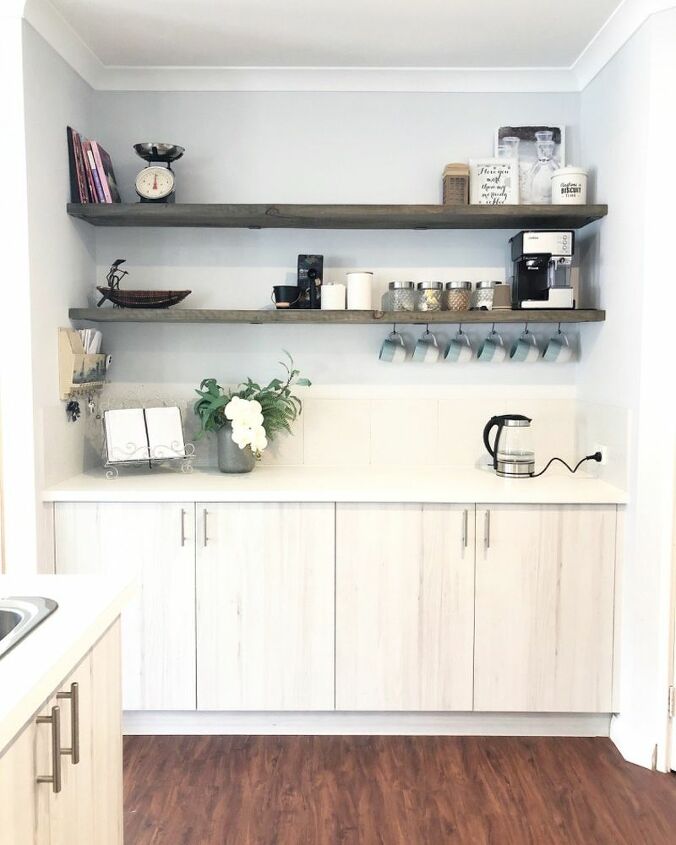
Lastly I screwed in 6 large hooks underneath the bottom shelf to hang some coffee mugs from.
And it was done. 👍🏻 I’m very happy with how they turned out, and stoked to have some clear bench space again! 😊For more of my DIY projects, please check out my Instagram page @_prettyliving


Comments
Join the conversation
-
LOVE it. I like how you make your own stain too, very thrifty.


Frequently asked questions
Have a question about this project?
I don't understand the meaning of m so can you tell me what the measurements is length width and thickness of the timber plank in inches and feet wise please thank-you I love your project it's so sophisticated elegant I loved that you left it open it makes it look like a bigger space !!!!