


How to Build a Custom Padded Headboard That Changes With Your Decor

My son needed a new headboard and my wife asked me to build him one with a colorful, padded back. She added that if the color could be changed out to match new decor occasionally that would be even better. It was a tall order, but I was up for the challenge. I came up with a DIY that could be adapted to either mount on the wall or attach to the existing bed frame. Plus, the plan could be altered to fit any size bed. Here’s exactly what I did to create this padded custom colored headboard.
Supplies:
- 2 x 4’s
- Plywood
- Pine Boards
- Dowels
- Doweling Jig
- Table Saw
- Wood Glue
- Wood Plugs
- Drill
- Hammer
- Level
- 2 Inch Thick Foam
- Fabric
- Staple Gun
- Sander
- Rag
- Paint
- Brush
- Nuts and Bolts
- Safety Goggles
- Gloves
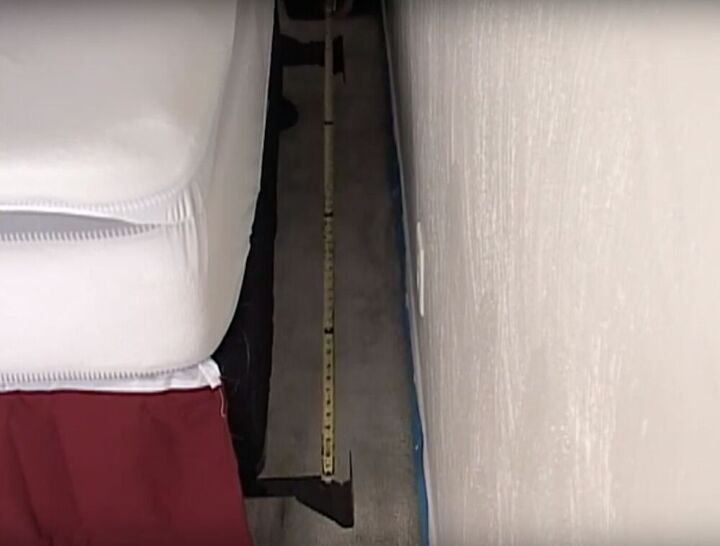
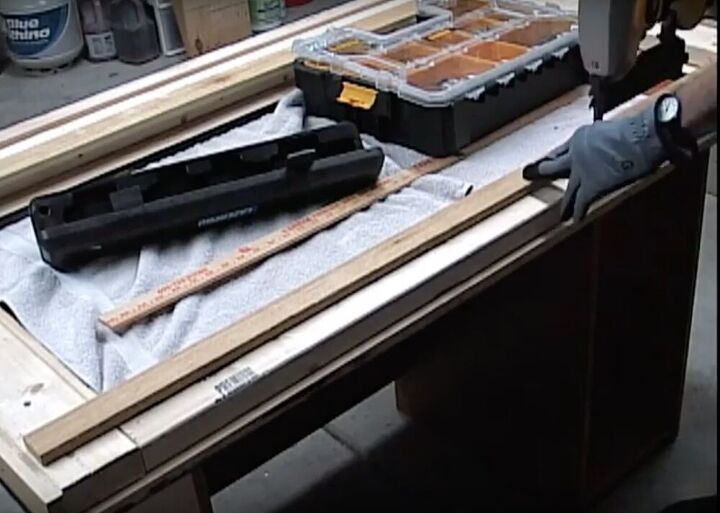
I started this project by putting on my gloves and goggles. In order to construct the frame,I measured the distance between the bed frame mounts and then I measured from the floor to how high I wanted the headboard to be. Once I had these numbers in hand, I cut my wood. When you cut the horizontal boards, keep in mind that they will be set inside the vertical boards. You want the entire frame to be the width necessary to mount it on the frame.
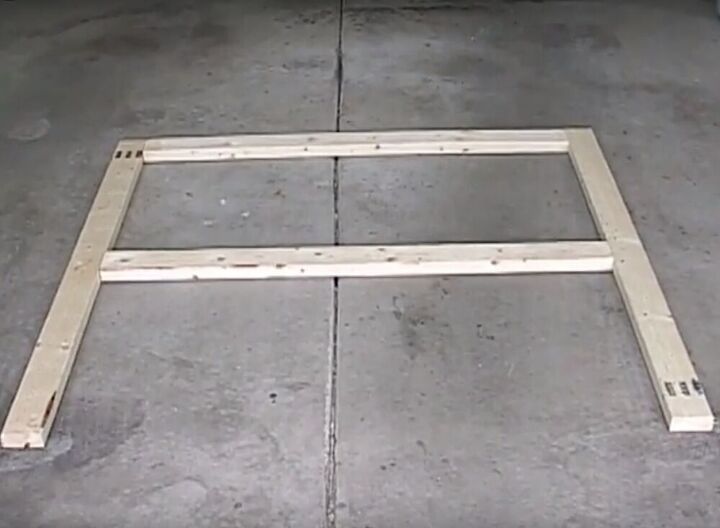
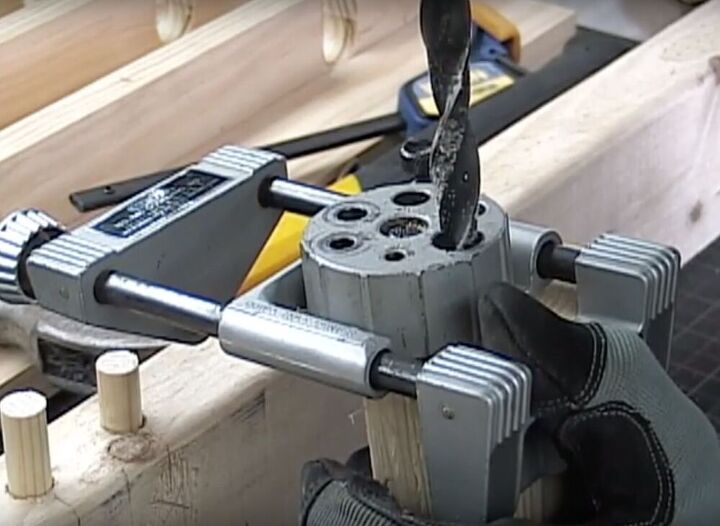
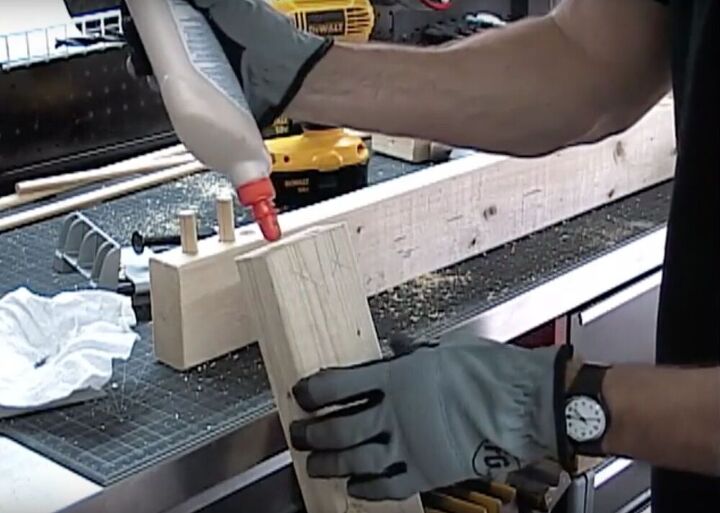
I decided to connect my joints with wooden dowels instead of screws. To do this, I used a doweling jig to cut holes in the wood, then I tapped my dowels halfway into the holes with a hammer. I added wood glue in the open holes and then tapped the pieces together and let the frame dry. If you don’t want to use wooden dowels, you can either use metal braces mounted on the back of the frame to hold it together, or wood screws.
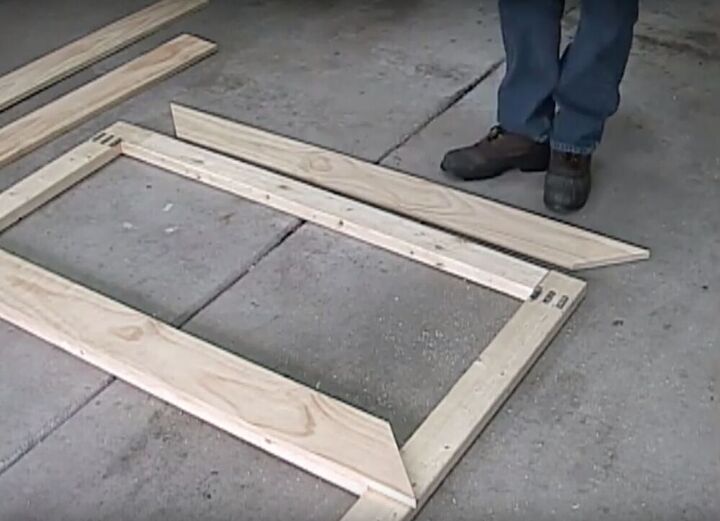
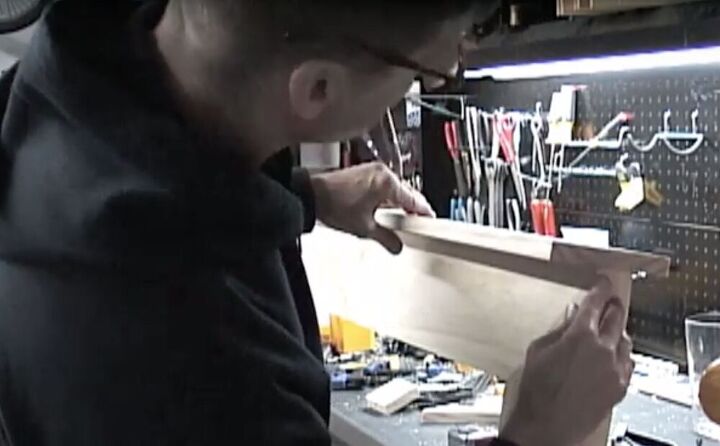
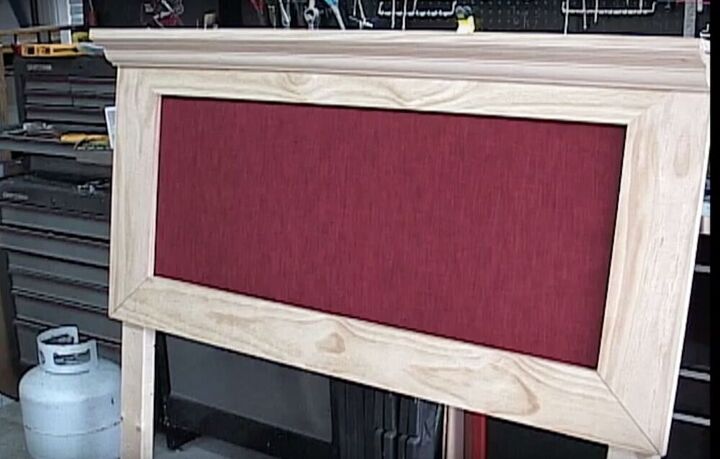
Next up, I needed a face board that would hold the center fabric board. I wanted this decorative face board to be a bit larger than the 2x4 frame on the sides, while the top and bottom of the face would be flush. This design would hide the rough 2x4 frame behind it. So, I cut my 4 boards, with 45 degree corner angles and a 1” overhang on each side.
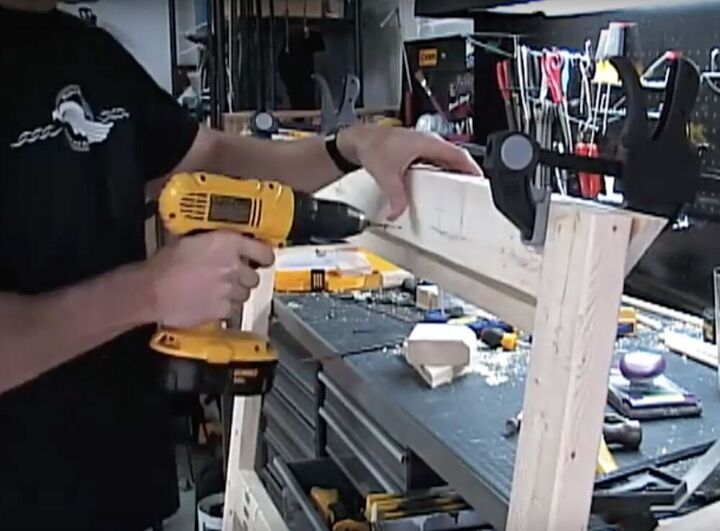
Before I started screwing the boards together, I measured my screws to make sure they wouldn’t pop through the back side of the wood. Then I drilled pilot holes, so I wouldn't crack my boards when adding the screws to join the face board to the frame. It also made the drilling go faster.
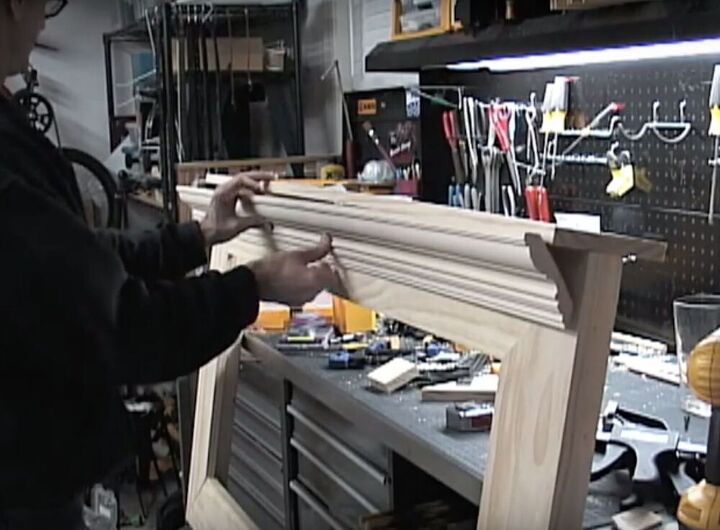
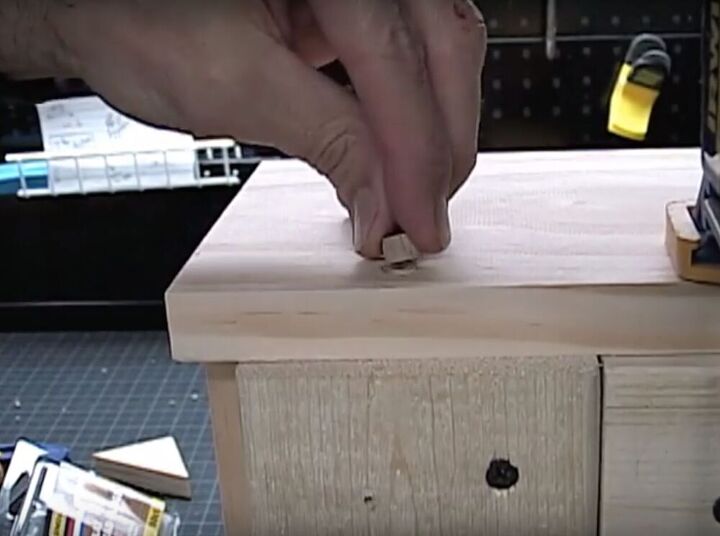
I cut another board to the same length as the top of the face board, since I promised my son a small shelf for his collectibles. To make it a little more decorative, I grabbed a length of crown moulding and cut it to the same size, as well. I glued and nailed the two pieces of wood together and then mounted the shelf to the base frame with screws. I finished it off by countersinking the screws and hiding them under flat head wood plugs. I knocked them into place, using a small piece of scrap wood in between the hammer and shelf, so I didn’t dent the wood.
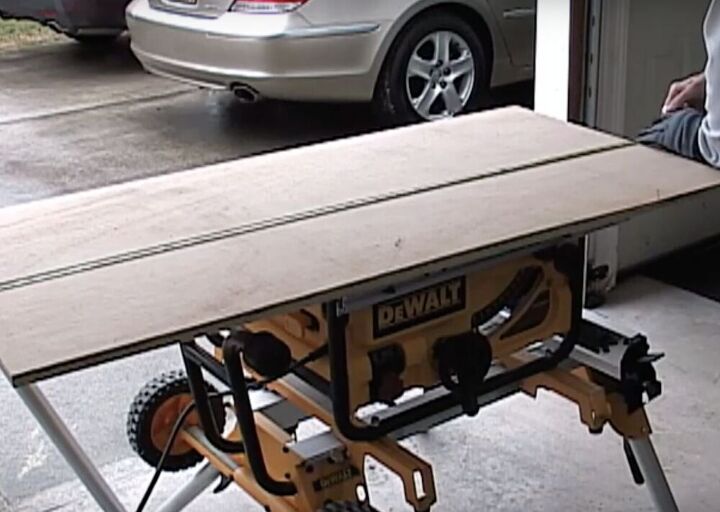
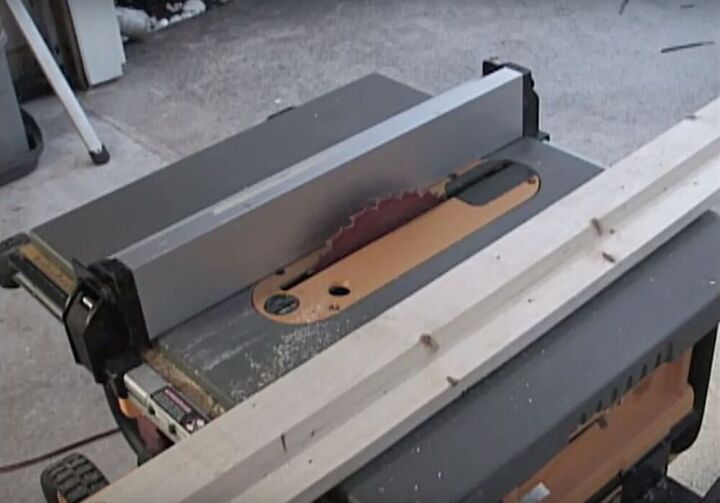
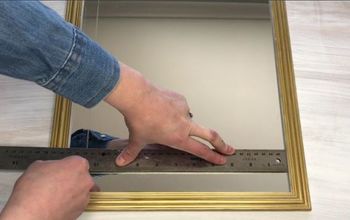
The center board was made to support the fabric insert. Since the fabric would be wrapped around the sides of it, I cut the board ¼” smaller than the wood frame opening, all the way around using a table saw. Then I checked the size to make sure my gap was good. If you don’t want to use foam, you could just cover the board itself, but then remember to make the gap smaller or your board will be loose.
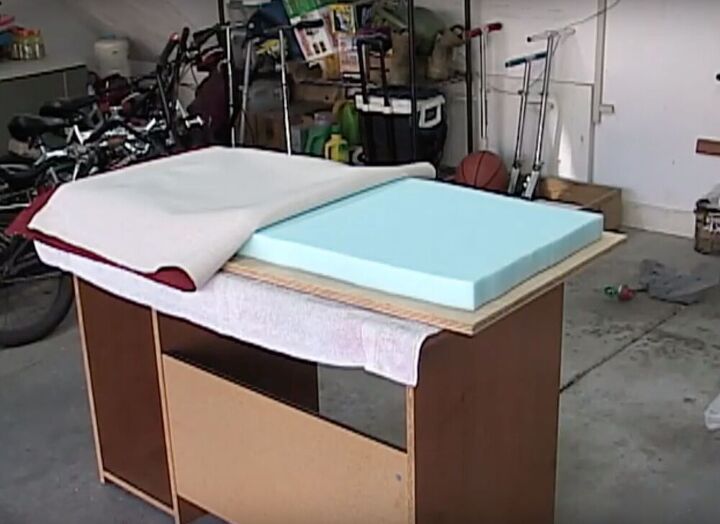
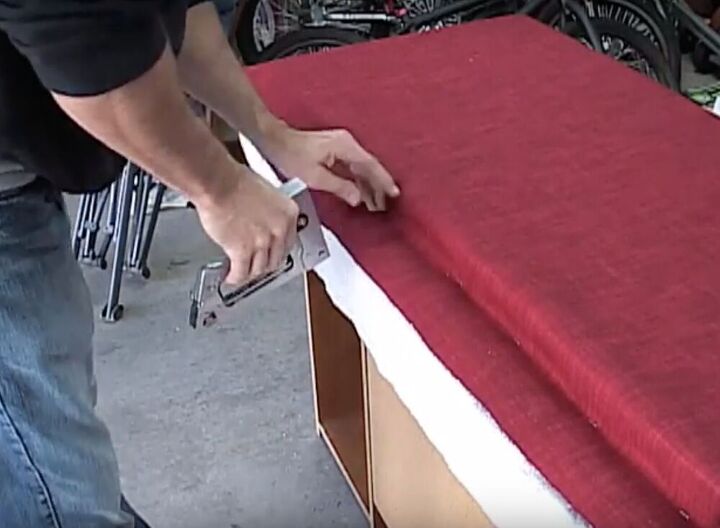
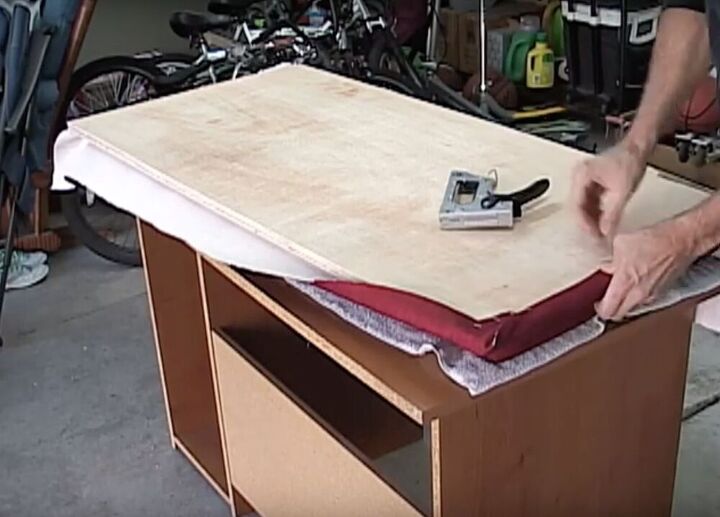
I started by placing my board inside the frame and used a pencil to trace the hole onto the board. Then I cut my foam to that exact size. Next, I cut my fabric. I made the piece several inches larger than the foam, so I’d have enough to attach it to the board. I placed it on top of my foam, smoothed it out and stapled it in place around the foam. Then I turned the board over, wrapped the loose fabric around the back of the board, and starting with the corners, I stapled it to the board. Then the board just tucked into the open space of the frame.
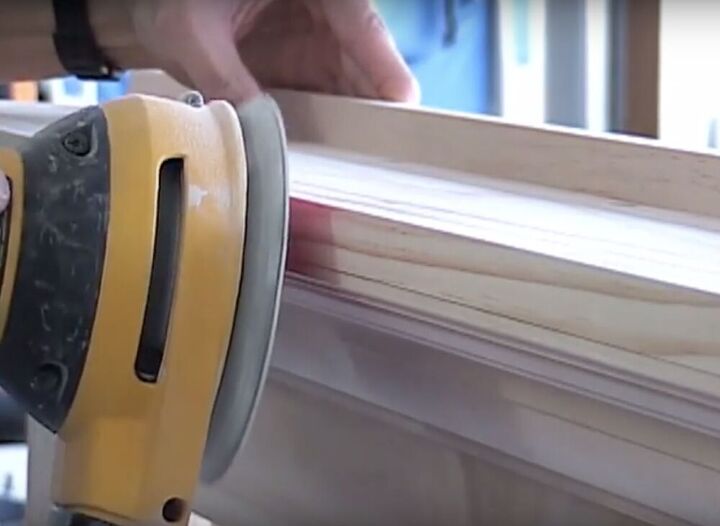
I used a very fine sandpaper and gave the entire board a quick once over to smooth out any ragged edges or imperfections. I was extra careful as I moved over the crown moulding. Next, I wiped it off with a rag and handed the piece off to my wife who used a brush to paint it black. Of course, it would look great stained, too, if you prefer that look.
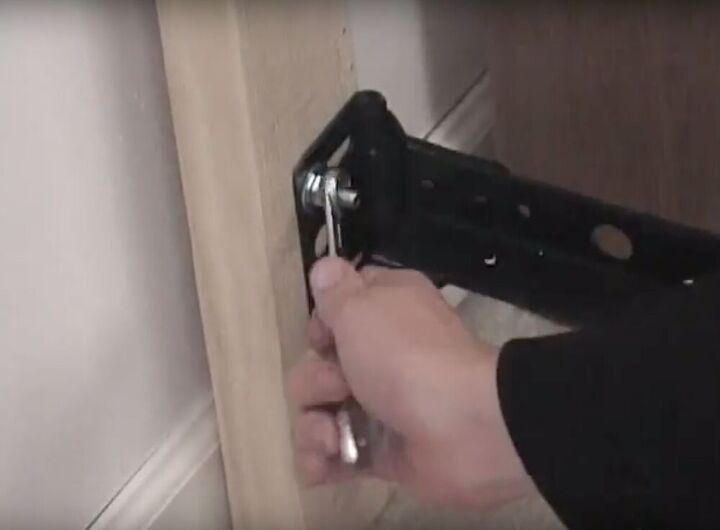
As I stated earlier, this bed could be mounted to the wall or to the bed frame itself. To mount it to the bed, I drilled holes in the wood frame legs that lined up with the frame holes and fastened them together with nuts and bolts. Then I was done and it was time to make the bed and decorate my shelf.
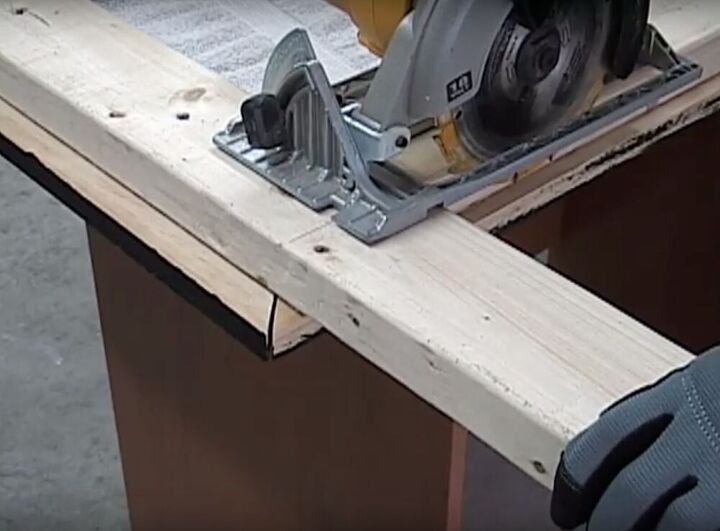
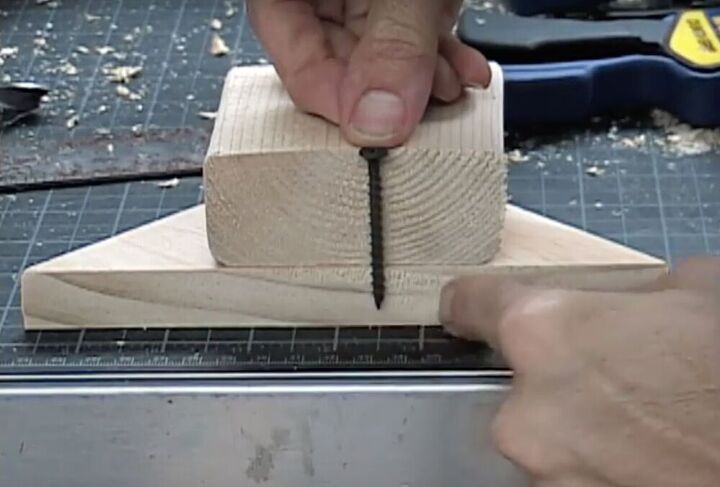
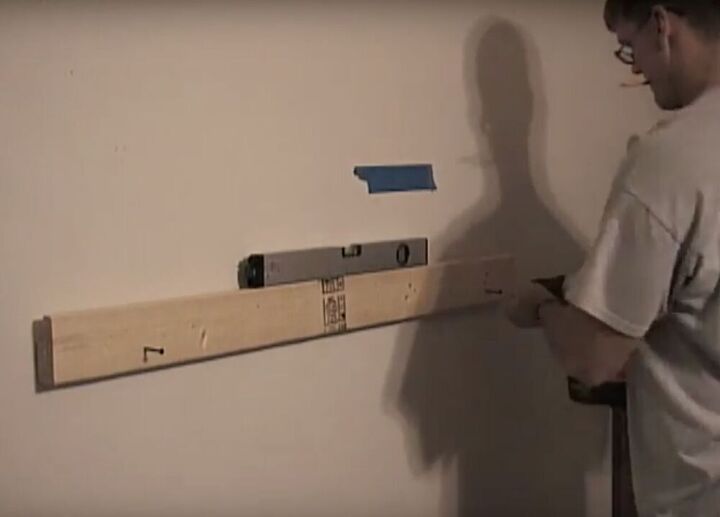
For option 2, I needed to mark my desired headboard height with a piece of tape so I knew where I wanted it to be placed. Next, I needed to saw the wooden legs off the frame. I needed to construct a hook out of wood that would mount to the wall, so I ran one of the discarded leg pieces through my table saw twice, to create an “L” shape. Then I mounted a thin slat of wood to the bottom and the top of the frame on the back. The top piece would hook onto the L shape board that was mounted on the wall with screws. Make sure you anchor the wood in a stud in the wall for security. The bottom slat would keep the headboard level, so it wouldn’t hang on an angle.

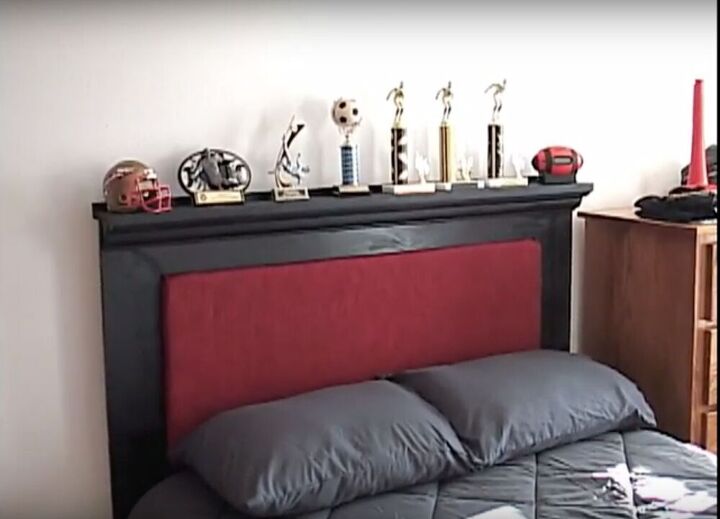
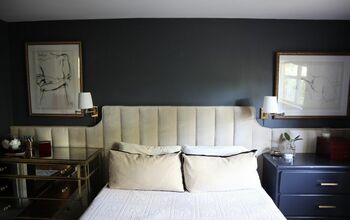
Now my son has a brand new custom padded headboard that can grow with him. My wife can simply remove the staples to swap out the fabric anytime she redecorates his room, right through his teen years. It was much less expensive than purchasing a new headboard and this one is comfortable thanks to that foam insert. It’s just what they ordered. It wasn’t a tricky build, so if you’re looking for a new headboard that you can customize to fit your own style, why not give it a try?
Would you hang this on the wall or mount it to the frame? Let me know in the comments!


Frequently asked questions
Have a question about this project?