


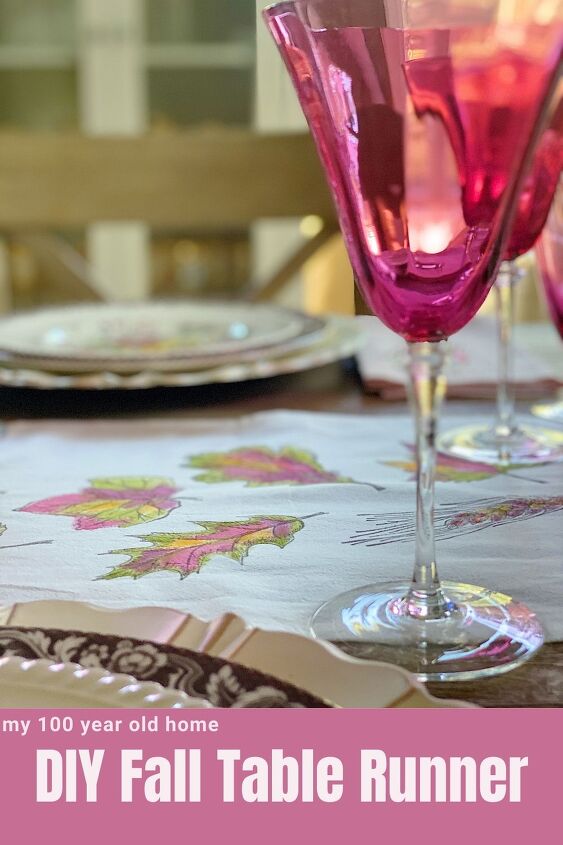
DIY Fall Table Runner
I thought it might be fun to make a Fall Table Runner. So I pulled out my leaf stamps and made this DIY Fall table runner.
Every once in a while, I make smart decisions. I had planned to make the fall table runner but then I remembered a ready-made table runner I had seen for sale online. It was perfect. It had a ruffle on it, was adorable, and it was super inexpensive (only $11.99)!

My new book, A Home to Share, is available for Pre-order now! Click here for more details!

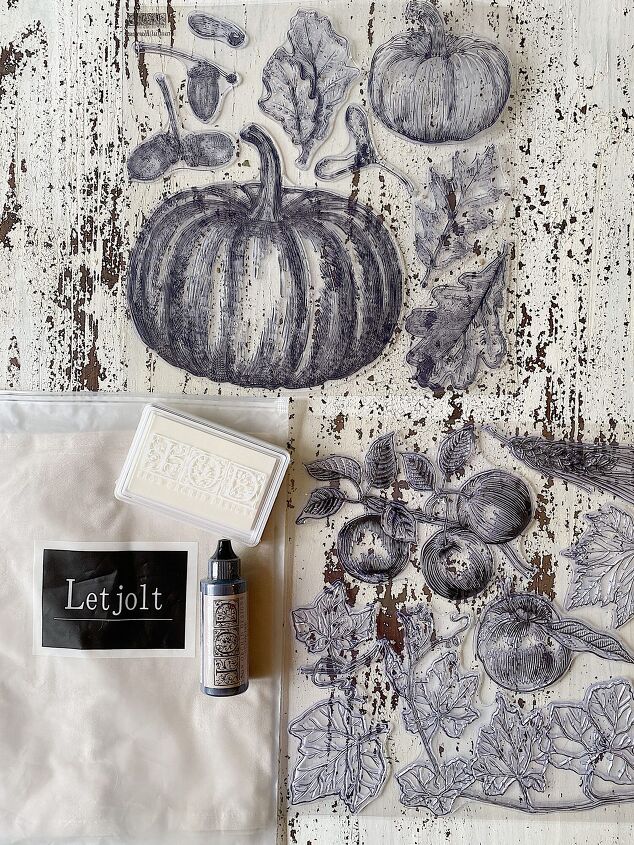
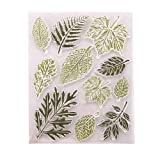
I was absolutely inspired when I received the Iron Orchid Designs Fruitful Harvest collection featuring apples, pumpkins, and leaves. My mind began to spin with all of the fun projects I could make with these stamps.
Earlier this week I made a warm apple pie that featured a decorative pie crust stamped with the Iron Orchid Designs Fruitful Harvest stamp. It turned out so beautifully, exactly like I had pictured it in my mind. Of course, this fueled my enthusiasm to do another project right away.
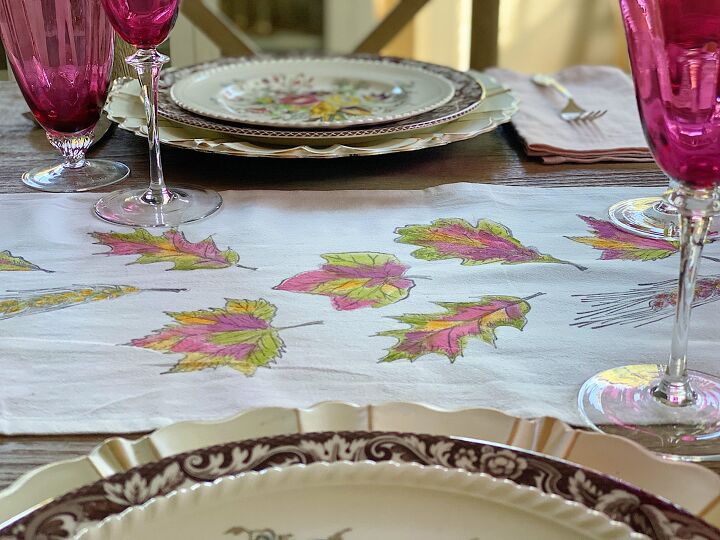
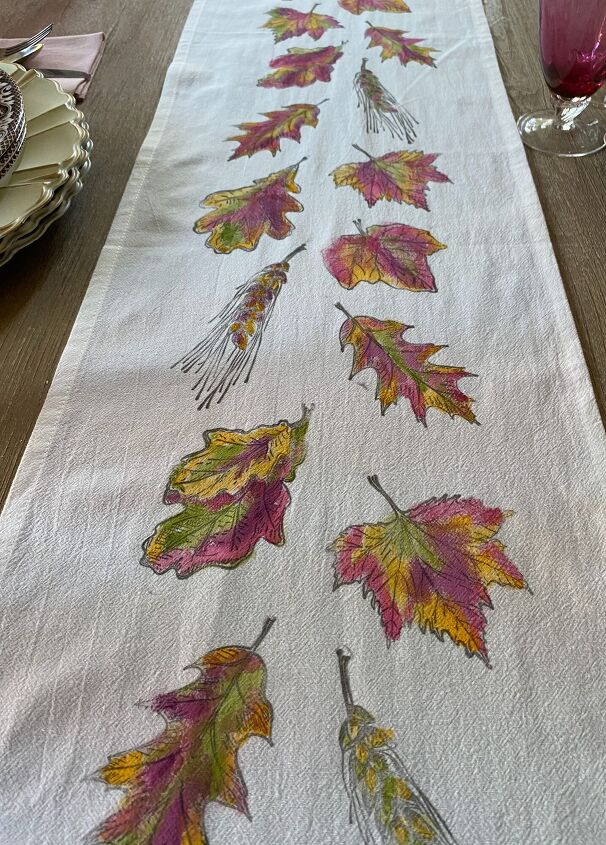
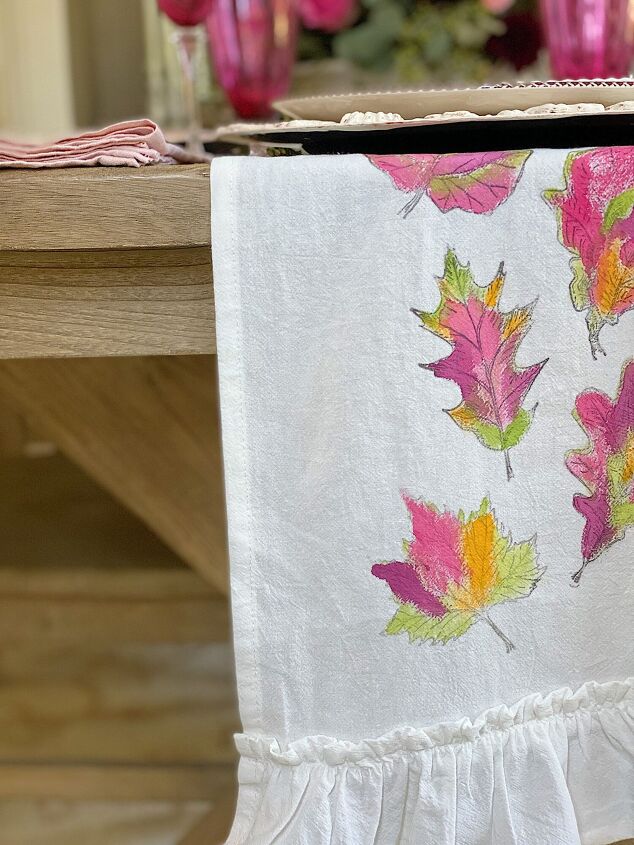
So I made this fall table runner. I had been getting ready to set my Thanksgiving table and thought this would be perfect. So off I went!
I purchased the inexpensive, but darling white table runner online. It was the perfect length for my table and had a super cute ruffle on each end. I gave it a quick iron and was ready to go in transforming it from a plain white table runner to a spectacular Thanksgiving table runner.
You all know how much I love to craft and I am always looking for new ideas that look amazing and are not hard to do. Iron Orchid Designs has the most incredible products for crafts and DIYs. Their designs are so creative, they are a company of wonderful people, and their products will easily help you to discover amazing new DIYs and crafts.
If you go to the IOD website you will find “DIY tools and tutorials to inspire your creative soul”. They have decor moulds, decor stamps, and decor transfers to make fabulous items for your home. Today I get to share how I used their stamps to make this fall table runner.
Where can you buy Iron Orchid Designs products? Just click here to find a retailer near you! (You can also order online from some of the retailers.)
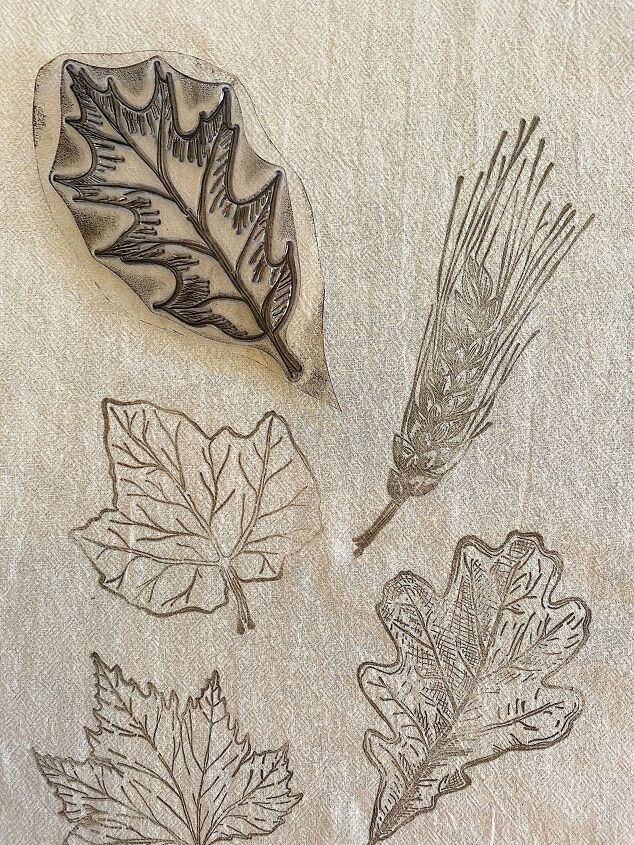
I used the Fruitful Harvest Stamp for this DIY project.
I love it when I have a crazy idea and it works!
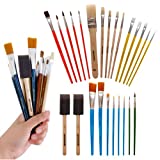
- Iron Orchid Design Fruitful Harvest Stamp or Maple Palm Leaves from Amazon
- Scissors
- Table Runner
- Ink and Stamp pad
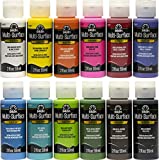
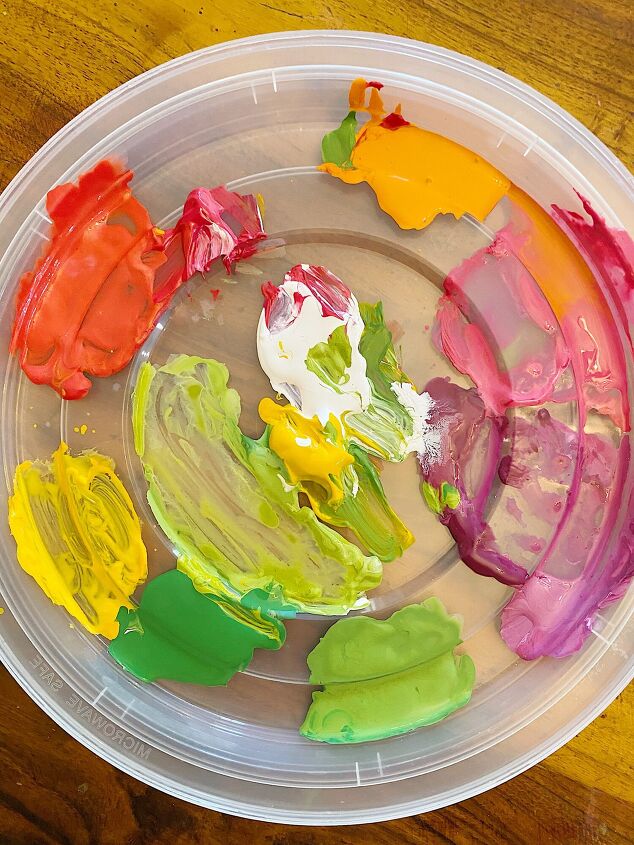
- Acrylic paints – I used light green, Alizarin Crimson (red/pink), purple, warm yellow, and white and mixed the colors to match my salad plates.
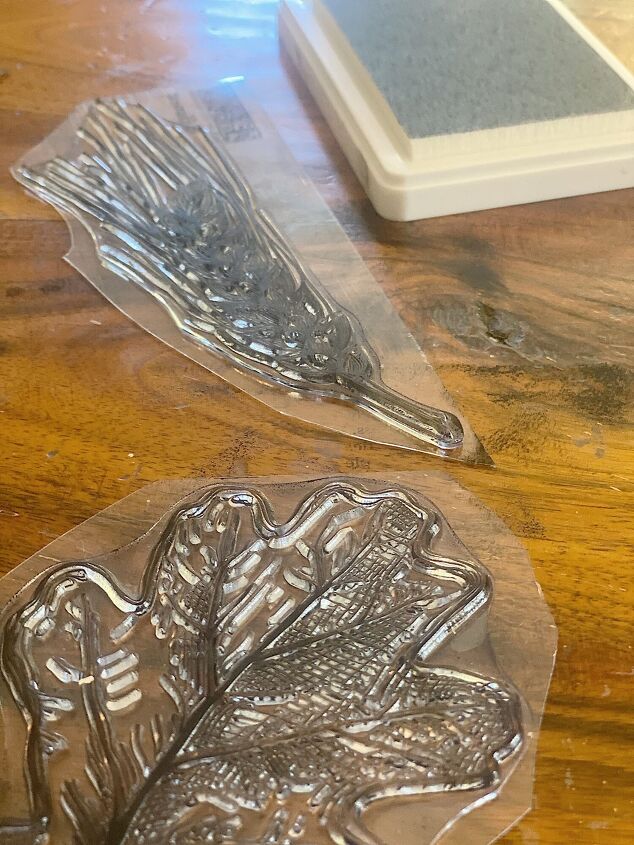
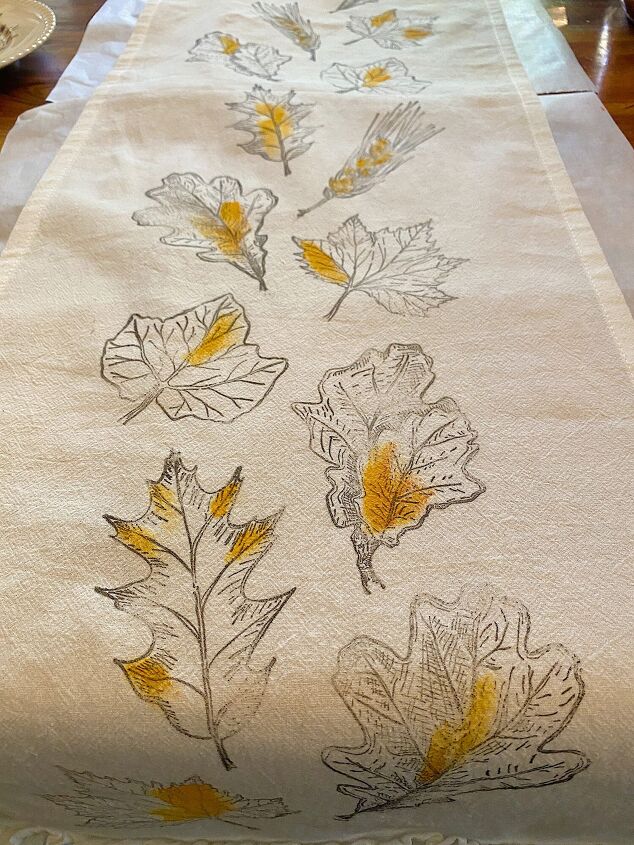
The stamps from Iron Orchid Designs come in a sheet, so give them a light sanding to prepare them for the paint.
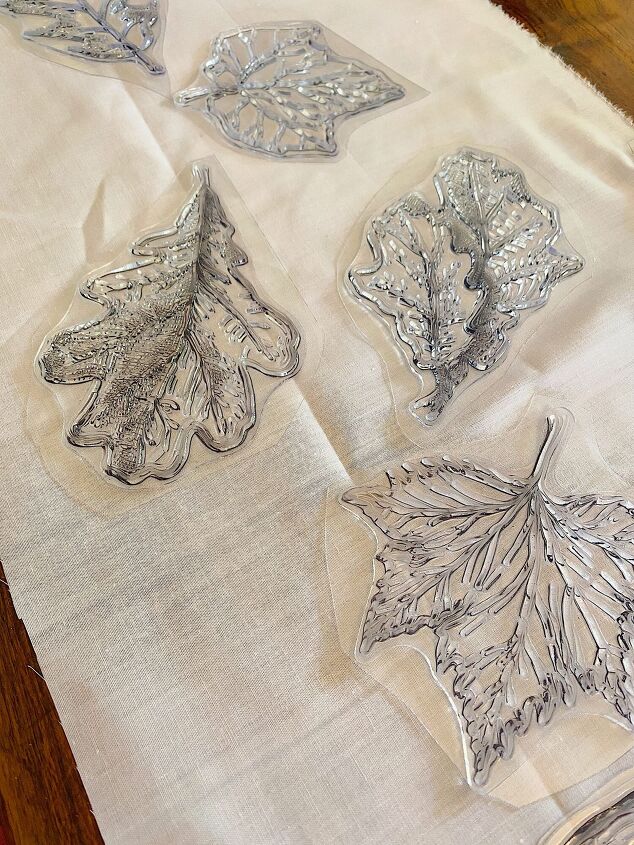
Once the stamps were cut out and lightly sanded, before I applied the ink, I laid out some fabric to determine where I would place the stamps. I also did a few test stamps just to make sure I had enough ink and also to determine how to paint them.
Every single stamp look perfect and the painting was easy! You can make this1
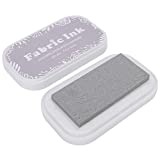
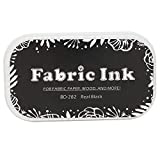
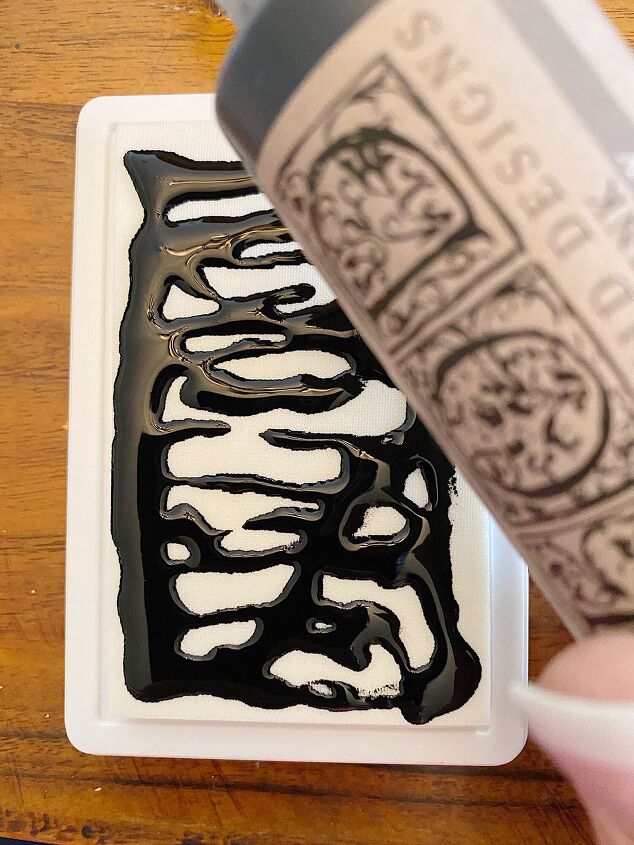
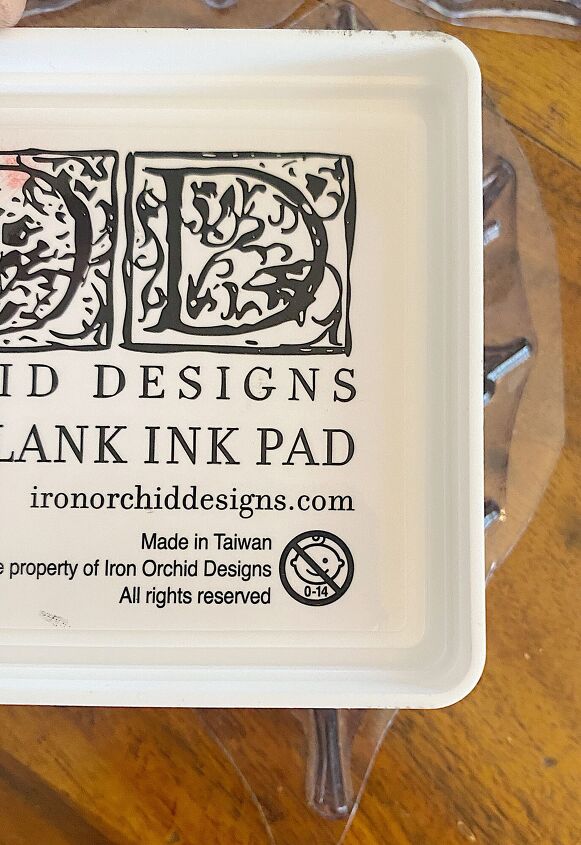
- one – Iron Orchid Designs ink comes in a bottle separate from a blank ink pad so that you can refill the ink pad as needed and not waste ink! You simply drizzle the ink onto the pad and it absorbs, easy peasy!
- two – Cut the stamps individually from the sheet.
- three – Next, push the stamp into the ink pad to coat the entire stamp evenly.
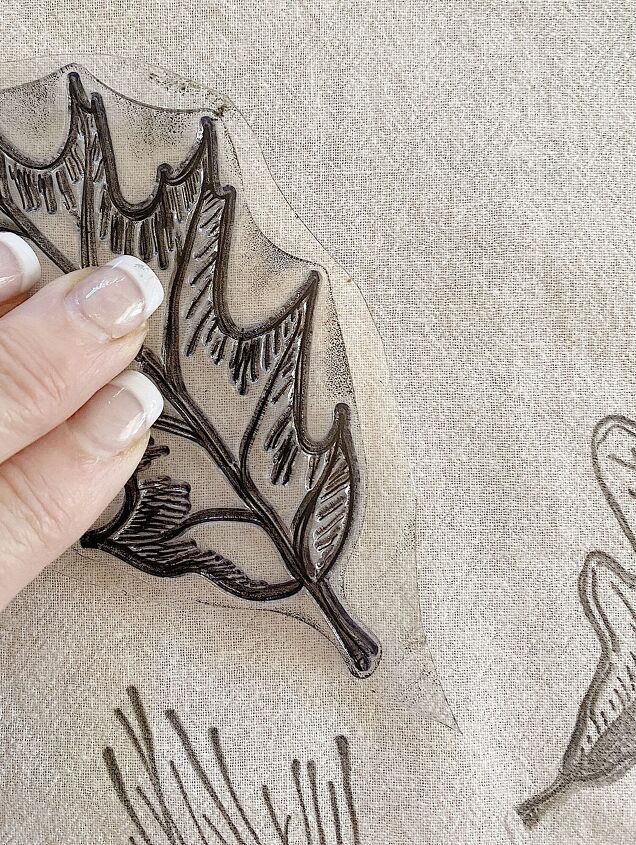
- four – Gently place the stamp on the fabric and use your finger to apply medium pressure to the area of the leaf.
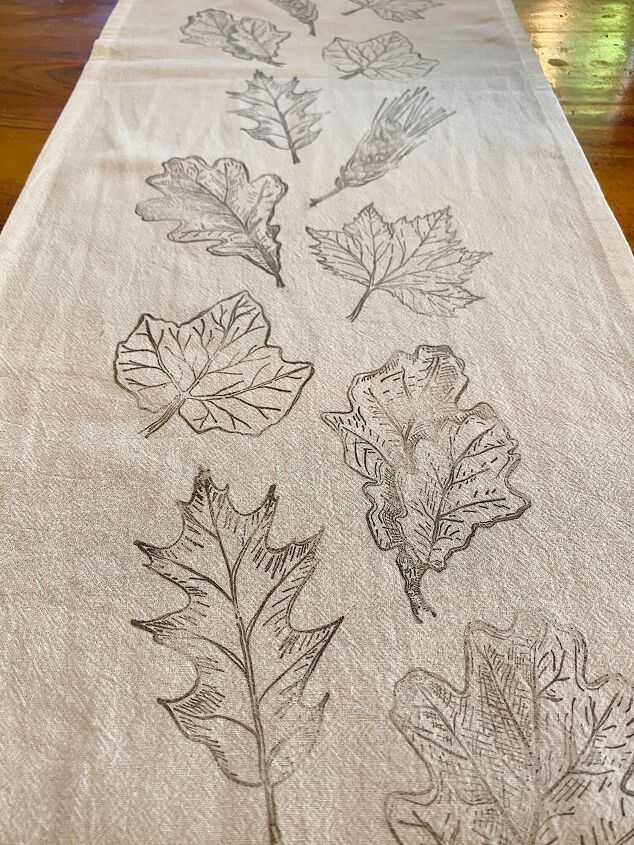
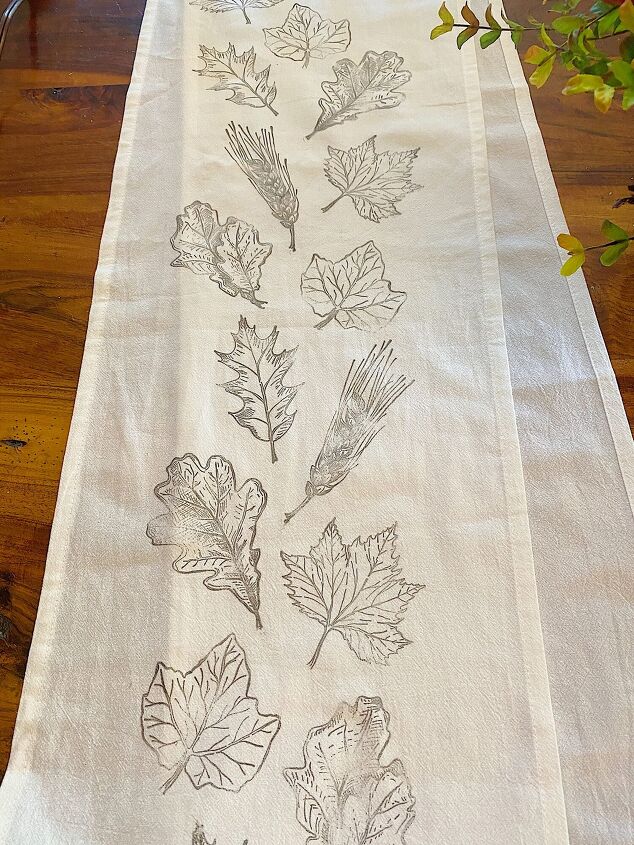
- five – Continue to stamp the leaf patterns down the center of the runner.
- six – You can see from the photo that the design was sporadic and done quite loosely!
- seven – Once finished, let the ink dry for about 30 minutes.
- eight – Mix paints to match the colors of your table. I matched the colors to the salad plates that I selected for my table. I mixed more colors than I needed and only used four of the colors – warm yellow, light green, pink, and purple.

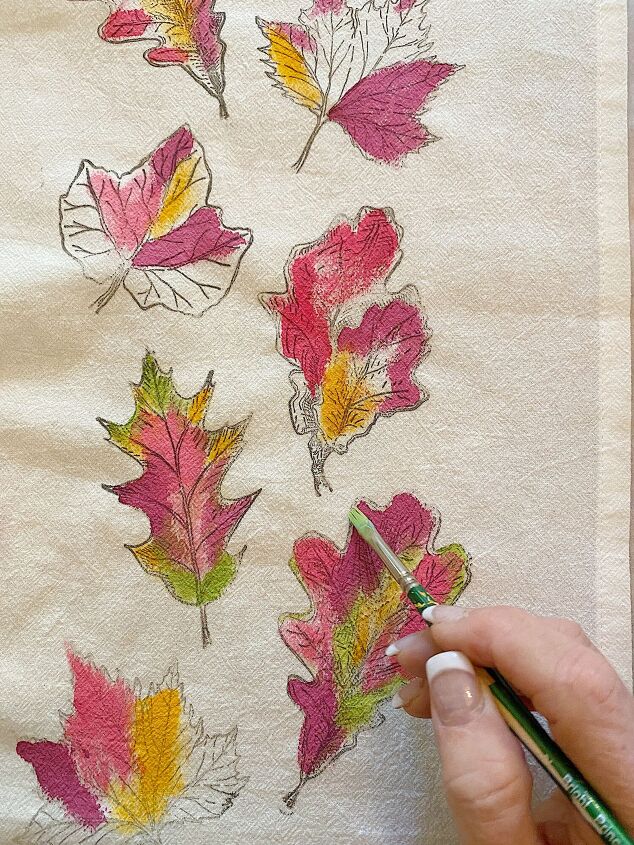
- nine – I painted the runner in thirds. I had a paintbrush for each color and I did one color at a time. I added the yellow paint first and just painted it sporadically like I thought it might look on a fall leaf. For each color, I thinned the acrylic paint with water but made sure it wasn’t too thin. You don’t want it to run or bleed after being painted.
- ten – Once I was done with the yellow, I went back and painted the purple. Next, I added pink.
- eleven – I painted green last.
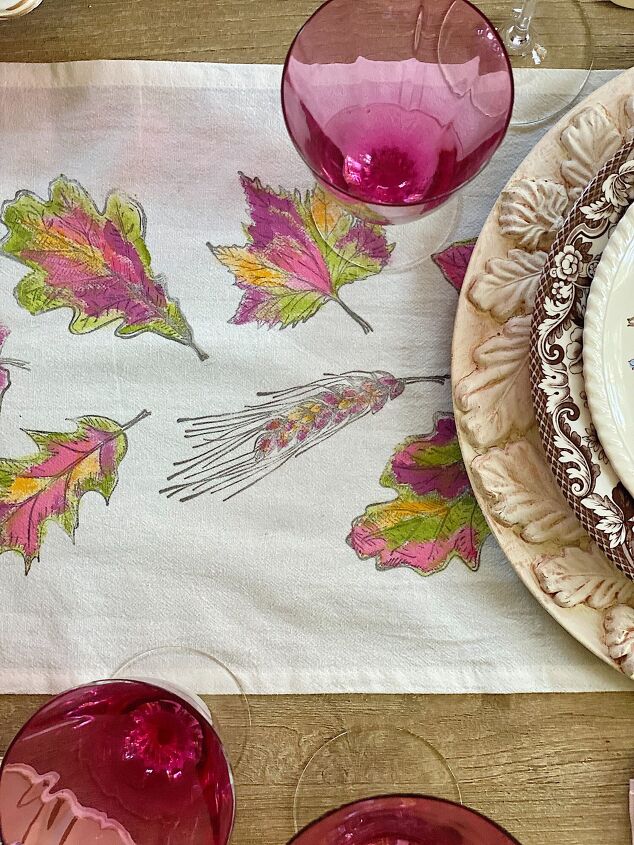
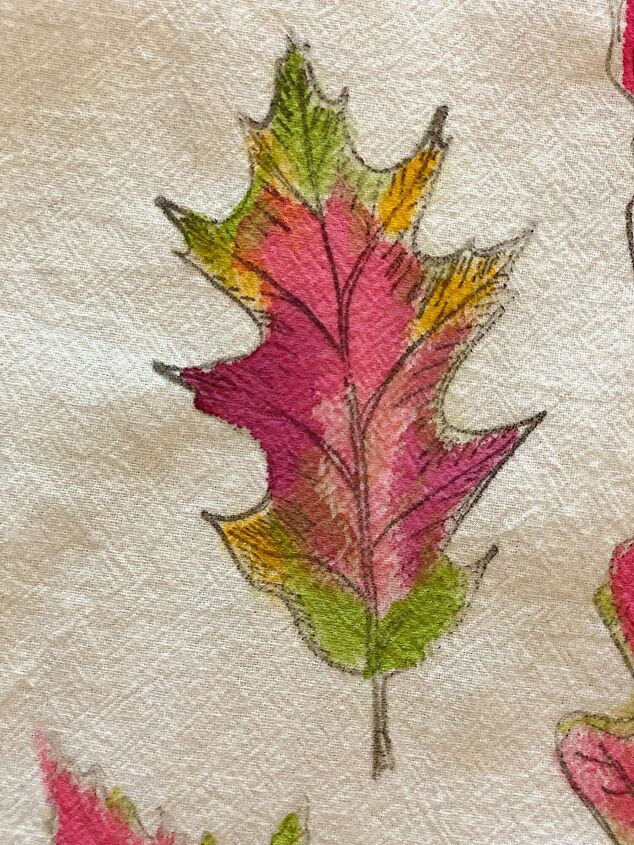
- twelve – Here is a close-up of one of the leaves. Don’t worry about painting them perfectly. Just have fun!
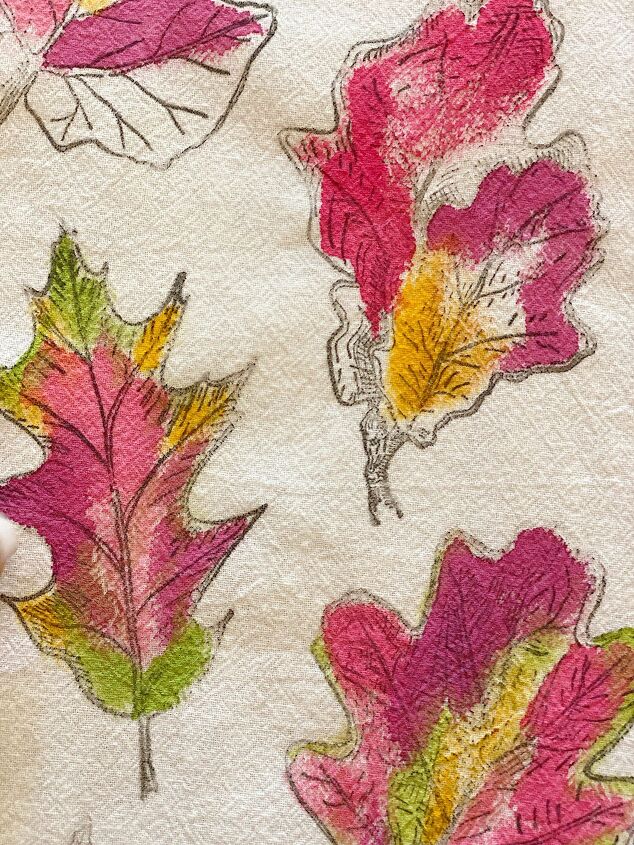
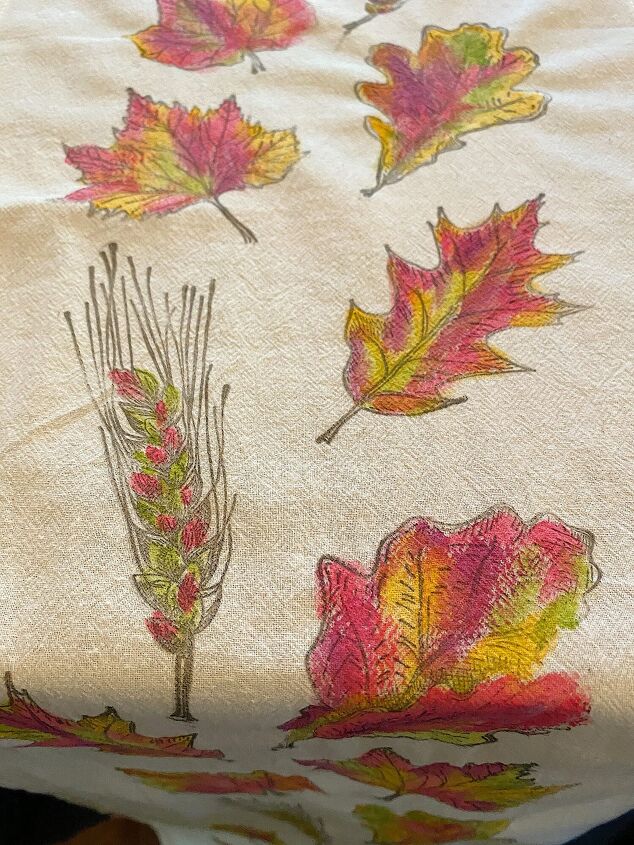

- thirteen – Here is another close-up. As you can see, the paint was added very loosely.
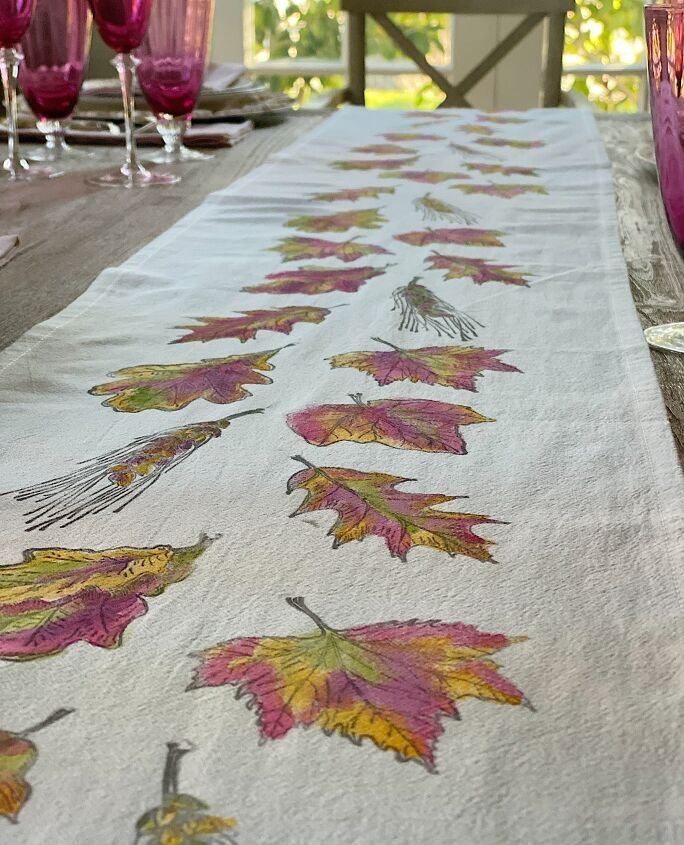
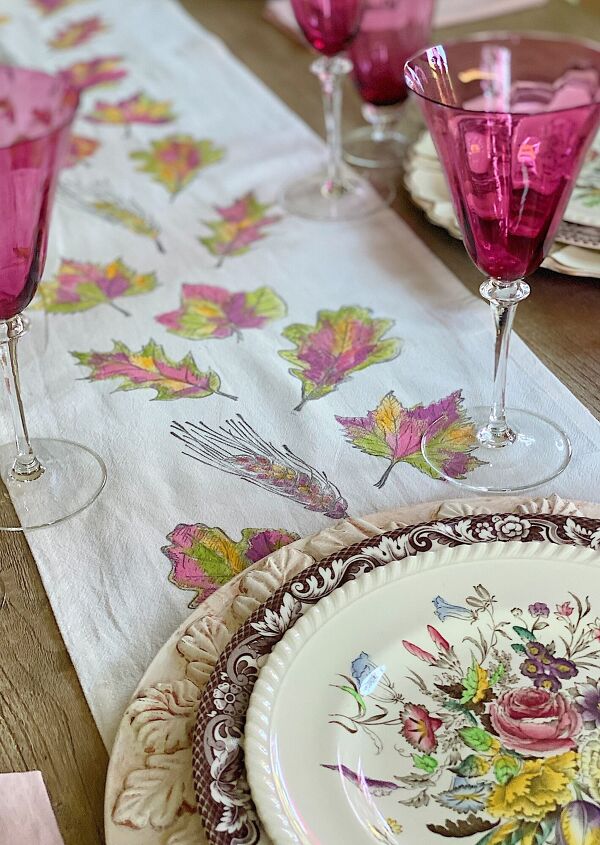
- fourteen – The finished runner looks amazing.
- fifteen – Let the runner dry.
- sixteen – Using a thin cloth, iron the white table runner so that you seal the paint in the fabric. Lay on the table and enjoy!
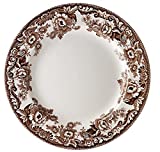
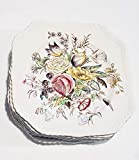
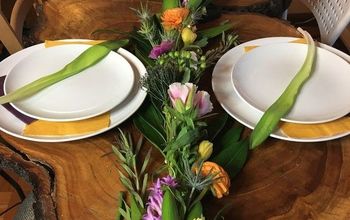
Here you can see the dishes and charger that I chose to use to set the Thanksgiving table. The colors in the salad plates helped me to choose the colors to paint the leaves. I found these gorgeous plates at a flea market a while back. I found ten plates for just over $30!
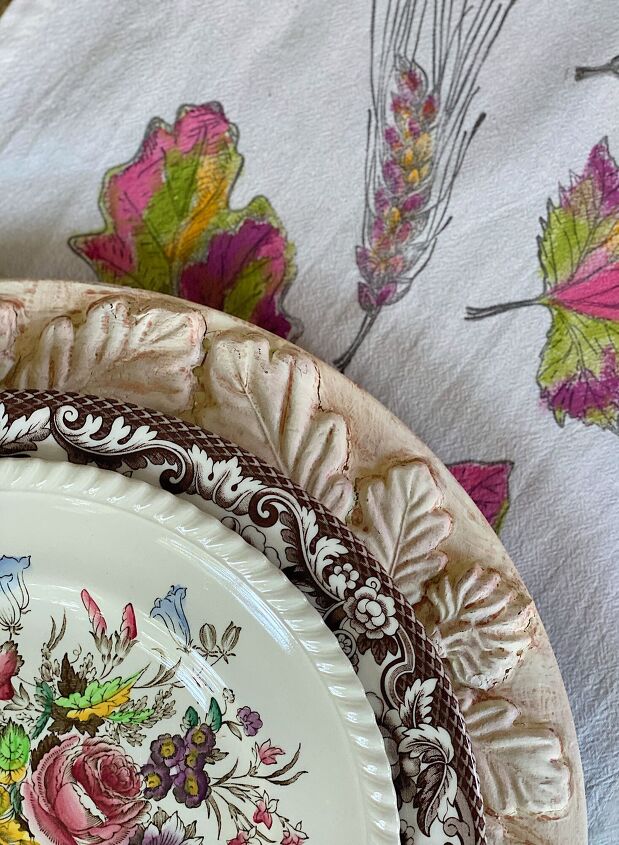
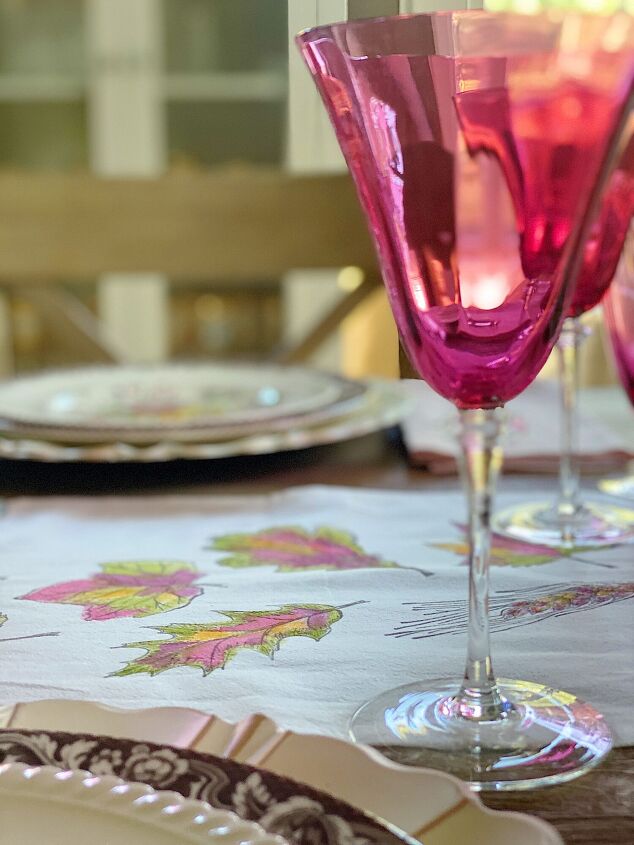
One of the things that I love most about DIYs is that I get to customize what I am making. In this case, I used the colors in the plates and then headed to the grocery to see what flowers I could find to compliment the plates. I added in my cranberry glass which looks amazing with the new fall table runner.
If you are enjoying my blog, you can sign up to receive my blog updates here. .
I love the ruffle on this table runner. Look how wonderful the painted leaves look!
I love that the colors are a nod to Thanksgiving, but not traditional Thanksgiving colors.
This is a great project to try if you are a timid crafter. Stamping and painting the inside of the stamp is really easy. There is no right or wrong, just stay inside the lines.
Or not.


Amazon Live
Click here to watch any of my Amazon Live shows. All shows are recorded.
Yesterday I shared how to make two types of pumpkins on Amazon Live. Click here to watch.
Click here to watch the show.

Pin the images below to your craft or decor board on Pinterest (just click the Pin button in the top left corner). You can also follow along with me on Pinterest!
For more real-time updates, follow me on Instagram @My100YearOldHome


Frequently asked questions
Have a question about this project?