


Gold Glitter Wreath

by
Megan Aubrey
In staying with my “The Most Sparkliest Christmas EVER” theme this year I decided to dip a (glittery) toe into the wreath making world. For some reason I am many rounds short of ever making a wreath in my life. It just never appealed to me UNTIL a wreath was pretty much the only way to add some curb appeal to my little apartment. Suddenly I wanted to make ALL the wreaths. Plus, my neighbors have some pretty impressive ones and I wanted to add to the festivity.
So after conferring with my wreath making connoisseur friend, pinning inspiration, and strolling through the aisles of Michaels (and the Christmas section in Wal-Mart), I hit upon my next creation: a gold and glittery wreath. Bingo. That’s just what I need on my door. All the glitter, all the time!
So after conferring with my wreath making connoisseur friend, pinning inspiration, and strolling through the aisles of Michaels (and the Christmas section in Wal-Mart), I hit upon my next creation: a gold and glittery wreath. Bingo. That’s just what I need on my door. All the glitter, all the time!

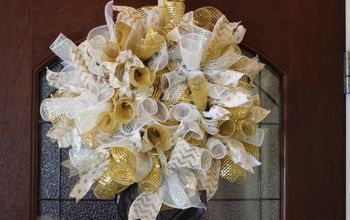
Make your door sparkle with this gold glitter wreath!
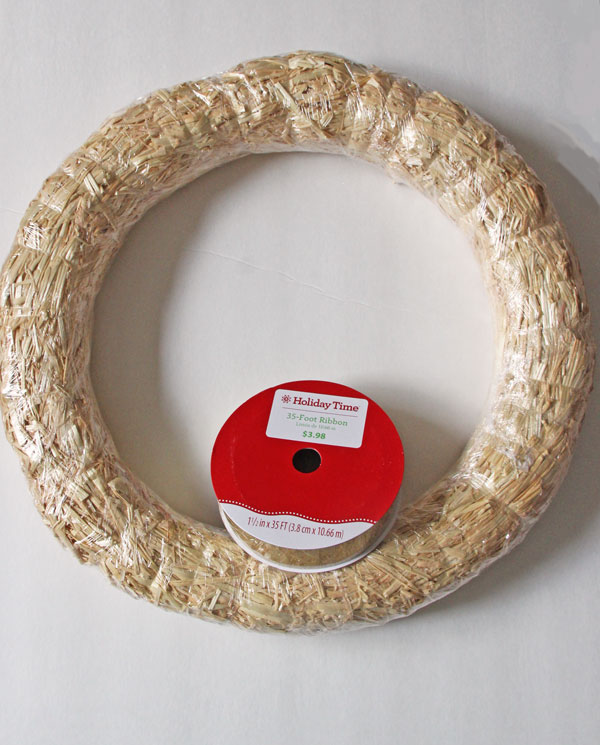
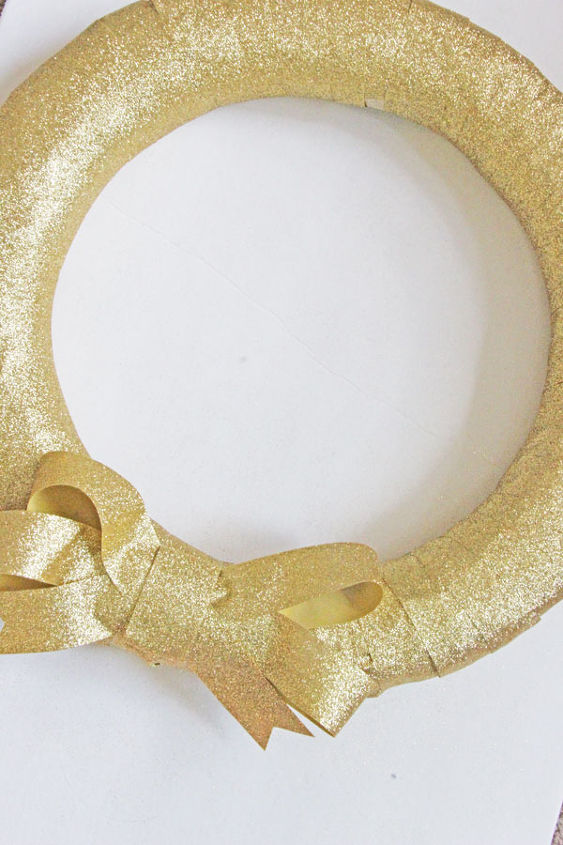
All I need to make my glitter extravaganza wreath was a roll of 35 foot ribbon (plus a little more to hang) and a wreath form. I first thought I was going to use a foam wreath form but the circle just seemed too skinny for the wreath. So I actually went with the straw form (don’t unwrap it!) and it was perfect (and much cheaper).
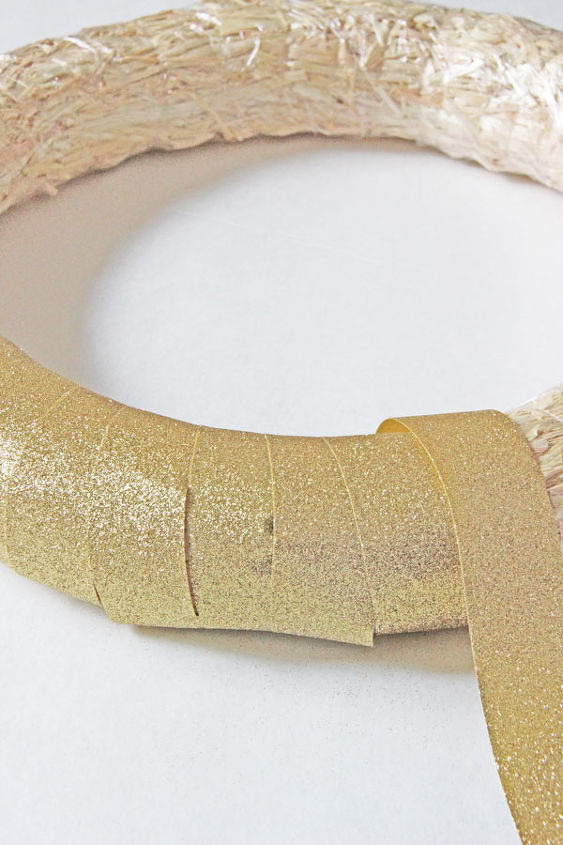
Now, I went real classy when making this wreath by using a good measure of duct tape. When all else fails, duct tape doesn’t (put that on a t-shirt, right?!).
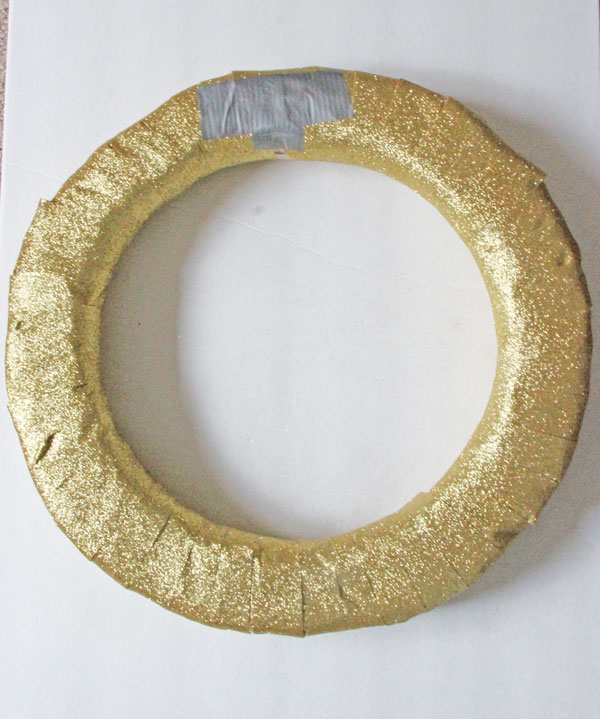
Once the wreath is completely covered, duct tape the ribbon on the back of the wreath.
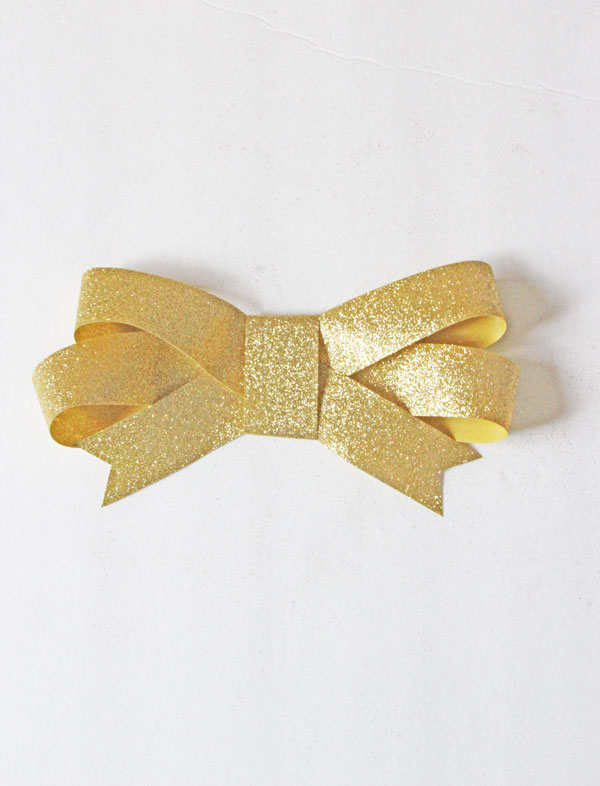
Finally, you need to make a bow. In full disclosure this is my first time making a bow and it is WAY harder than anticipated – especially with the ribbon I was using. It seems like ribbons with more bend and wire are easier to manipulate into bows. I based my bow loosely on this tutorial but honestly I cannot really tell you how I made it. After over an hour of wasted YouTube tutorial watching and crinkled ribbon, I said heck with it and just went rogue on my bow making.
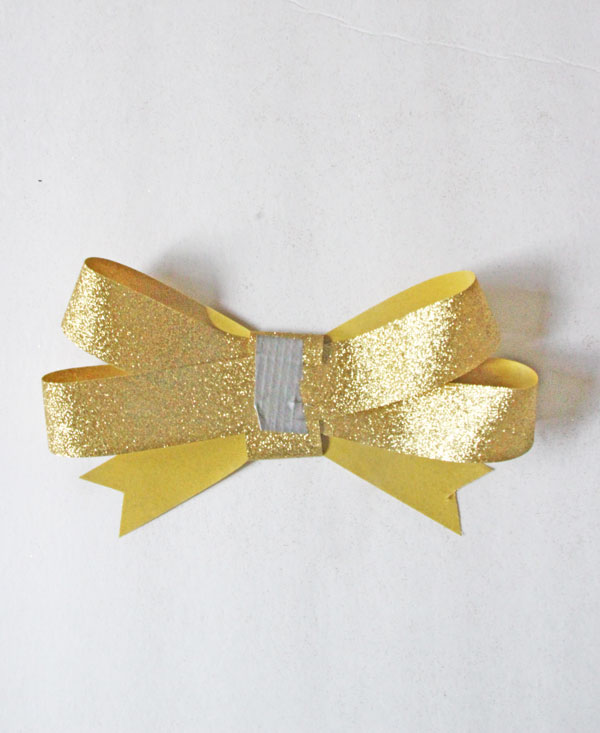
Four loops and a little duct tape later I had a bow. However, since I see more wreaths in my future (hence more bow making) I pledge to learn how to make a bow and share with you my findings.
Look at it in its gold glitter glory!
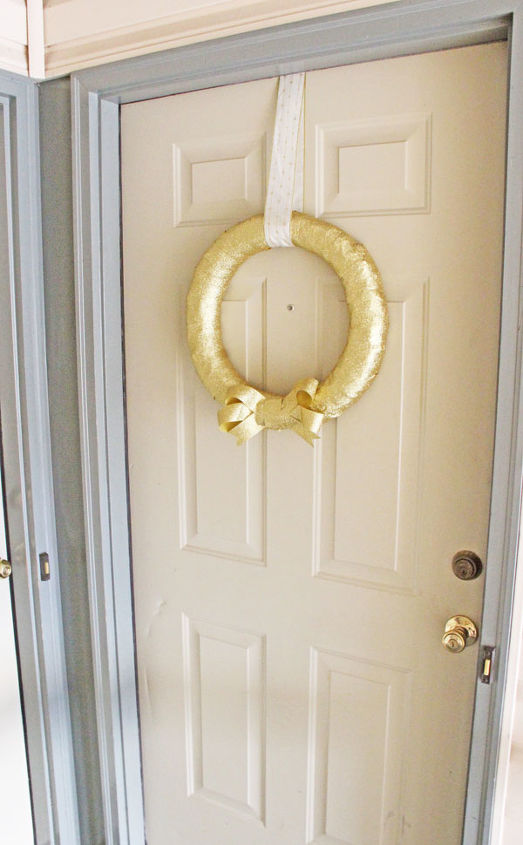
Lastly, use the same ribbon or a coordinating ribbon and loop it around your wreath to hang it. Secure it to the top of your door with – that’s right – duct tape.

Now isn’t this the classiest wreath making tutorial you just ever did read? Thought so!
Want more details about this and other DIY projects? Check out my blog post!


Frequently asked questions
Have a question about this project?