


How to Paint Your Glass Light Shades
We have been practicing glass painting on pressed glass pieces, and this time we colored the shades from our ceiling fan.
Hometalk Recommends!
Take a look at the process we used to make our ceiling fan shades look like real stained glass.

The best thing about painting on pressed glass is the design is already there, waiting to be filled in like a page from a coloring book.

This is our ceiling fan before painting the shades.

Now, with the lights on, the stained glass effect is not overwhelming but the color does warm the room more than the original shades.

It's a good idea to make a sketch of how you're going to paint your project. It doesn't have to be a fancy sketch, but having some kind of 'map' makes the journey easier.

We used a French glass paint called Pēbēo Vitrail because it looks realistic. It costs more than acrylic paints, but it seems to go a long way. We keep it in the refrigerator so it wont dry out (works for nail polish, too.) Also, we do not put the caps on too tight, because the paint is like super-glue when dry.

Some of the colors seem streakier than others, so we came up with a plan to use Gallery Glass Clear after the first coat of color. When the Gallery Glass is dry, it gives the glass the effect of hand-blown glass.

The slight texture caused by pouncing up and down lightly while painting Gallery Glass gives the second coats of color more to cling to.

Here's one of our favorite colors of Pēbēo: it's called Aqua Green and is like sea glass or like a vintage Coca Cola bottle color.

To give the shades a leaded glass effect, we painted some of the recesses with dark gray chalk paint. We think this looks more realistic than the plastic that can be squeezed out of a tube sold for making faux stained glass.

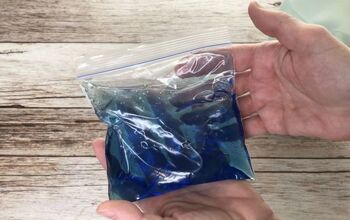
We also painted some glass marble gems. If you do this, work on plastic because this paint is like glue. We had to break off a few drips, but other than that we loved the results.

We glued the gems to the lower band, taping them to hold in place.

When the tape was removed we added a little more faux lead paint around each gem to tie the design together.

Ready for rehanging.

We have another video that explains a lot of the basics of glass painting on vintage pressed glass here.
Resources for this project:
See all materials


Comments
Join the conversation
-
How gorgeous! We are updating on a budget and I can't wait to try this!
-
Great idea


Frequently asked questions
Have a question about this project?