


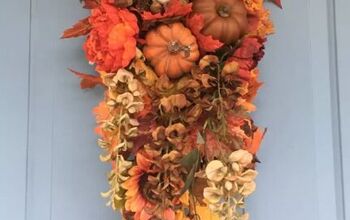
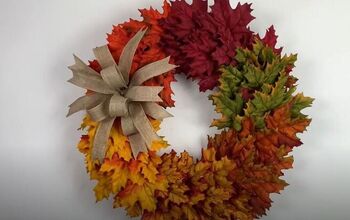
A Sweet DIY Fall Wreath
$50
1 Hour
Easy
Here’s a cute DIY Fall Wreath that I made in about an hour over the weekend. It’s not that expensive of a project (under $50) but the most expensive pieces were the feathers.
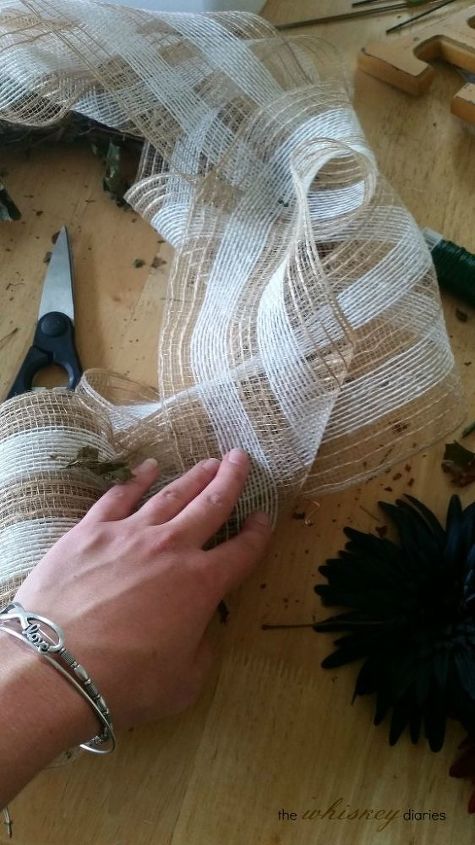
Lay your branch wreath out on a table. Open up your burlap ribbon and secure the end to the back of the wreath. Bring the ribbon to the front of the wreath and gently twist it while securing with the floral wire.
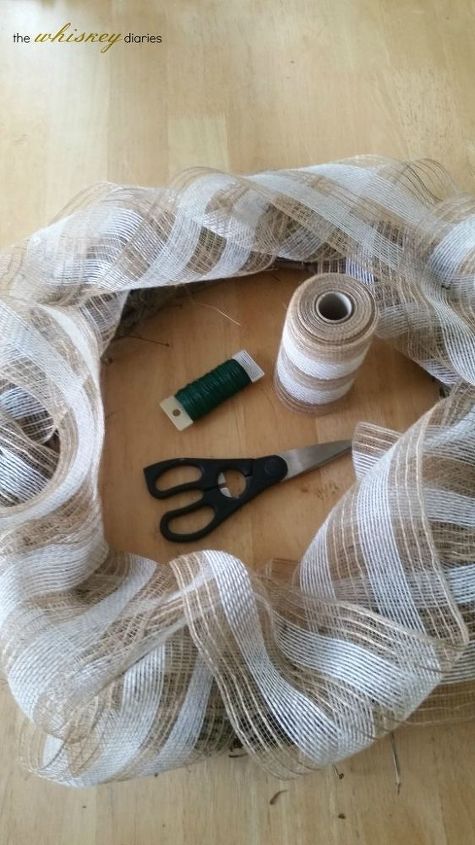
I went around the wreath twice with the burlap, but you can definitely do more. I’m just lazy and wanted to see the end result. Also, about half way through you start wondering why you didn’t buy a pre-made one and call it a day. DON’T GIVE IN TO THE TEMPTATION TO QUIT. Take a break and make pizza bagels instead.
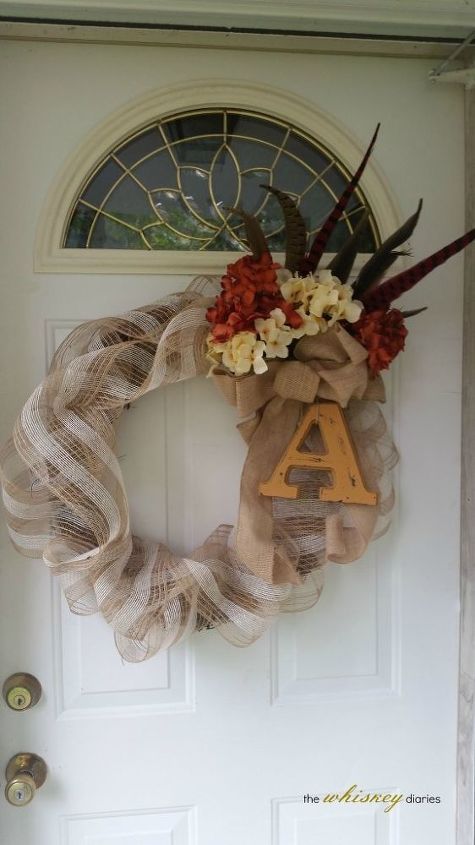
Once you’re done with the burlap, figure out which spot you want to want to add your embellishments (I picked the spot that I hated the most and could cover up).
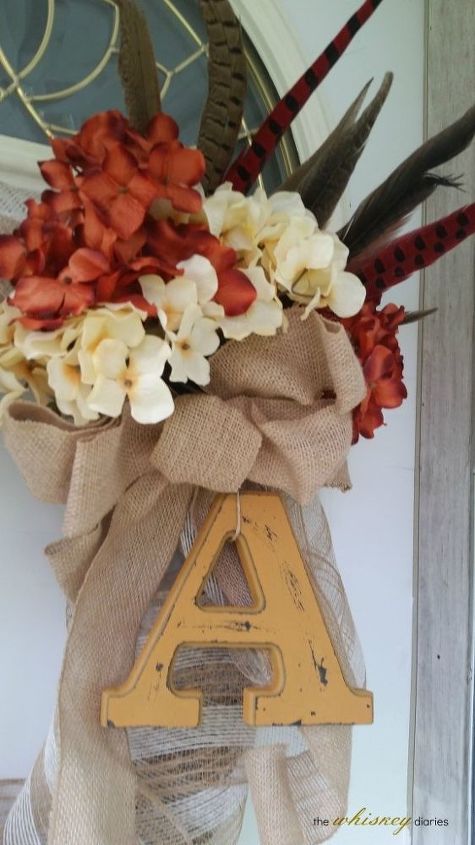
Lay out your flowers/embellishments on the table before you start just adding them to the wreath. This way you can decide how you want to layer them and how you want the end result to turn out.

Want more details about this and other DIY projects? Check out my blog post!
Comments
Join the conversation
2 comments
-
So pretty! I love the big A and feathers!
-
So pretty! I love the A - it adds so much to an already beautiful wreath.


Frequently asked questions
Have a question about this project?