


A Road Bookshelf Makeover
A few months ago, I did a bedroom makeover for my youngest son because he had out grown his babyish room. He loves cars so we made it a car theme. He needed a bookshelf to hold all his books so I made him a "road" bookshelf to fit in with the rest of the room.
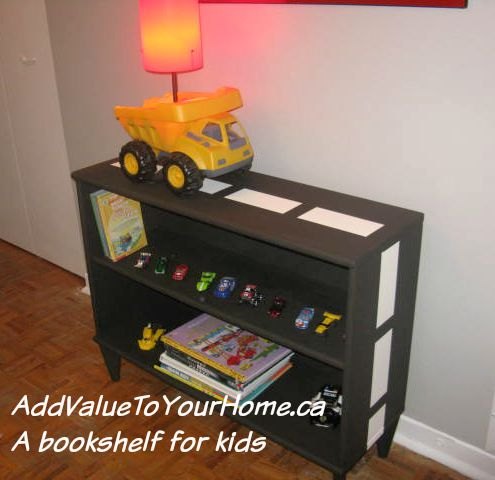
The "road" bookshelf
It's actually holding more cars than books right now (lol) but hopefully that will change. My son helped me "style" it.
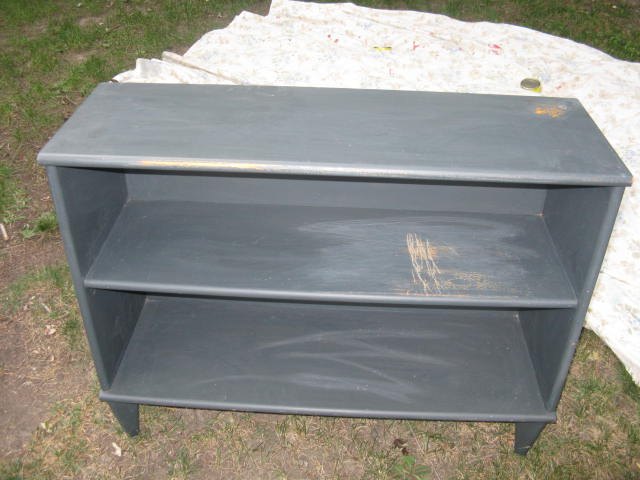
A $12 thrift store find.
I bought a bookshelf for $12 and it sat in the basement for a few months awaiting its makeover. After a wipe with a damp cloth and a light sanding of the scratches it was ready for painting.
I first sprayed painted it black but didn't like the look so I got out my home made version of Annie Sloan Graphite chalk paint and used my faithful Behr Stealth Jet latex home made chalk paint. It took a couple of coats to cover the black.

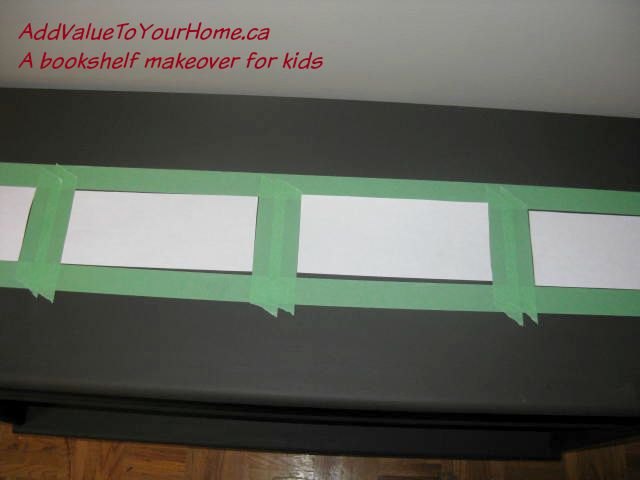
Road bookshelf
Here's a view from the other side.

Want more details about this and other DIY projects? Check out my blog post!
Comments
Join the conversation
4 comments
-
Such a cute idea Debi!
-
Cute!


Frequently asked questions
Have a question about this project?