


DIY Worm Composting Bin
$25
15 Minutes
Easy
Lately, everyone has been talking about ways to Go Green. Making your own worm composting bin is a cheap, easy, and fun way to Go Green! Not only does it decrease the amount of waste you need to throw away, but it results in amazing nutrient-rich organic fertilizer for your garden, flowers, lawn, or even your house plants.
You can buy fancy bins at your local hardware store or from multiple places on-line. Or you can save a bunch of money and make your own!
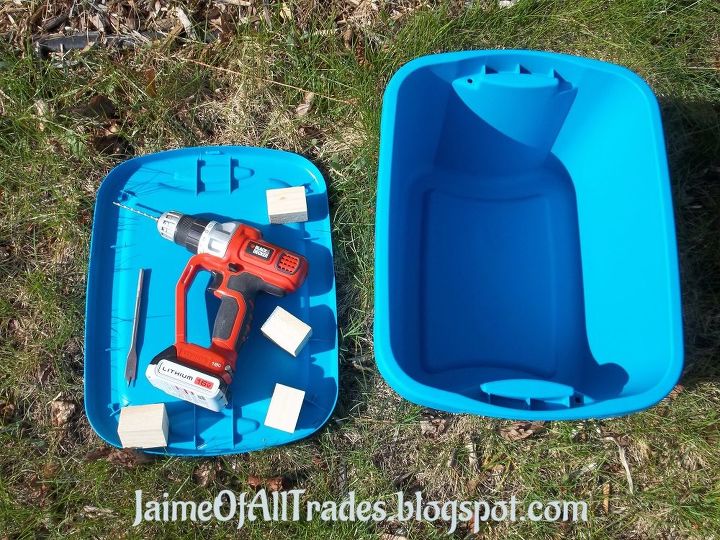
Needed Materials:
2 Rubbermaid-type containers
Drill
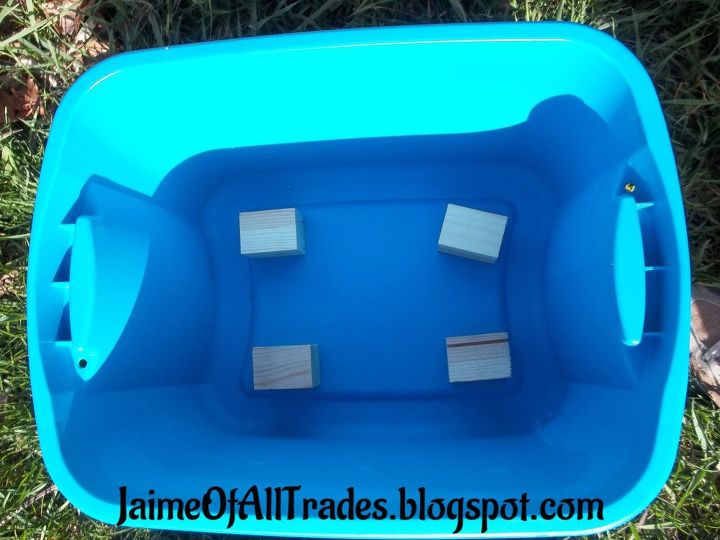
Small Blocks of wood or rocks
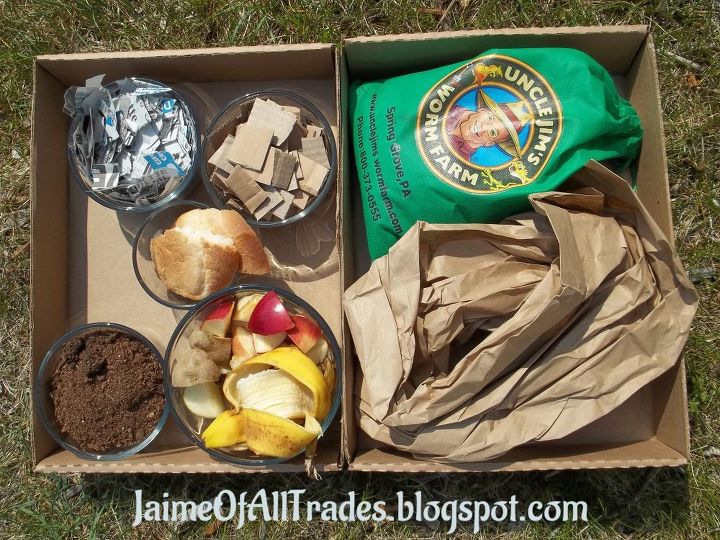
Newspaper
Cardboard
Food Scraps
Dirt
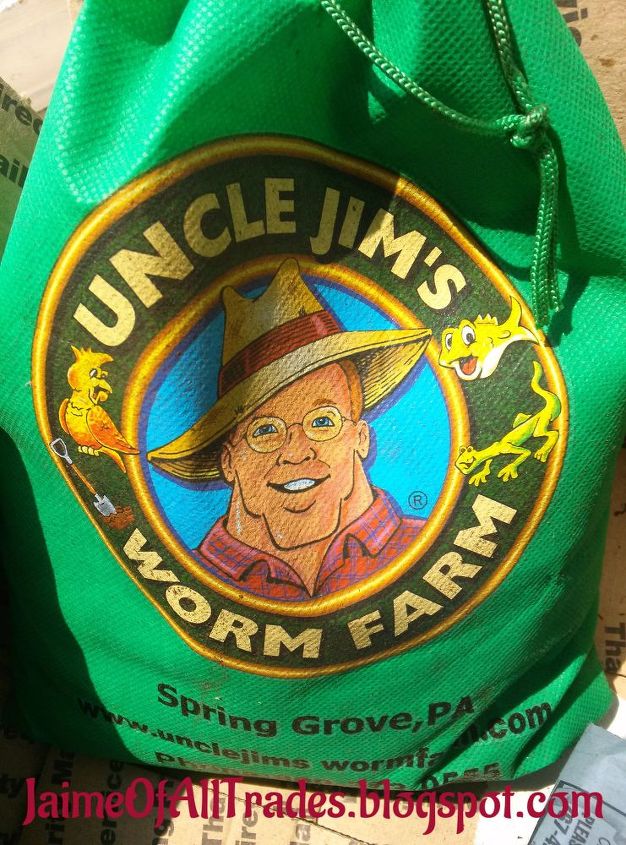
Red Wriggler Worms
You can buy fancy bins at your local hardware store or from multiple places on-line. Or you can save a bunch of money and make your own!
Needed Materials:
2 Rubbermaid-type containers
Drill
Small Blocks of wood or rocks
Newspaper
Cardboard
Food Scraps
Dirt
Red Wriggler Worms
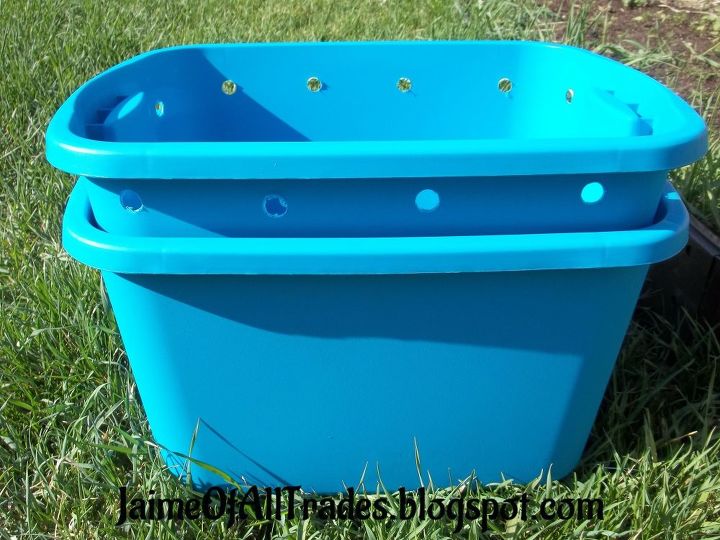
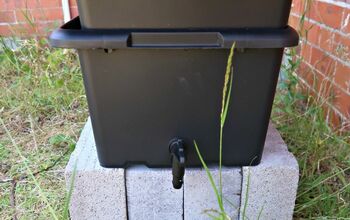
Step 1: Drill the Drainage holes.
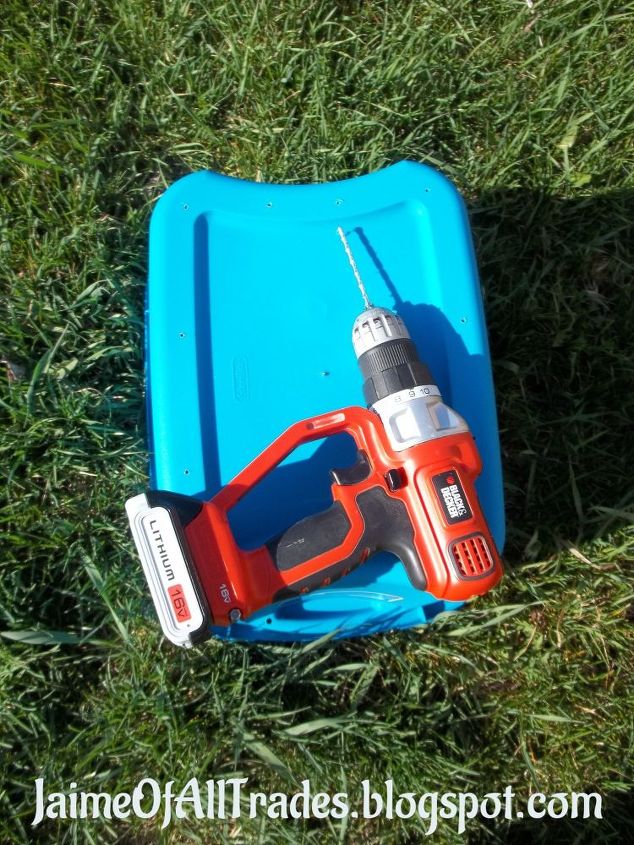
Step 2: Drill the ventilation holes.
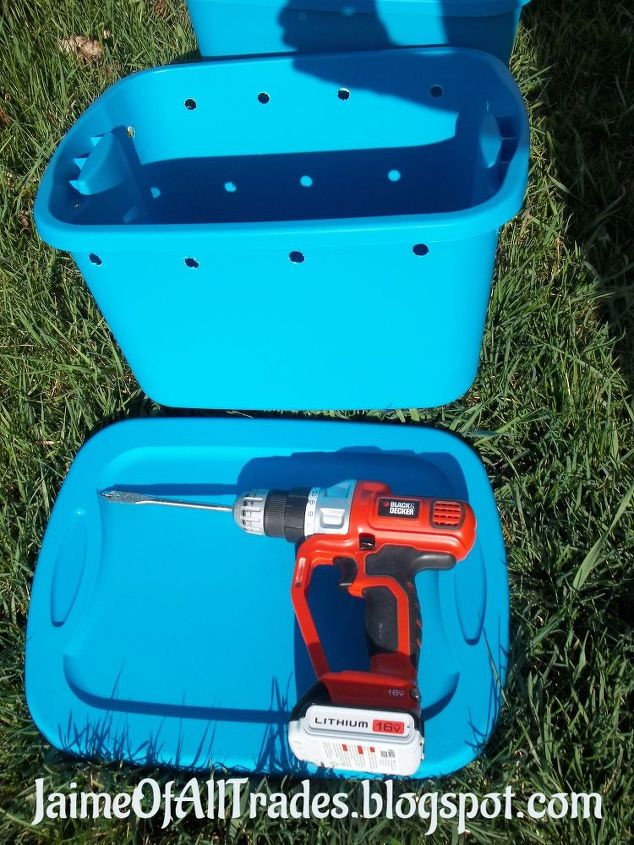
Step 3: Place your spacers.
Step 4: Insert your inner bin into the outer bin.
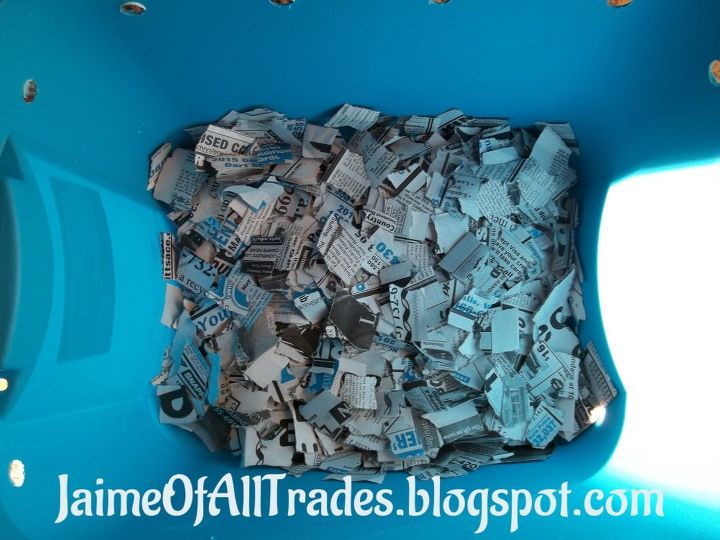
Step 5: Rip up some newspaper and lay it on the bottom.
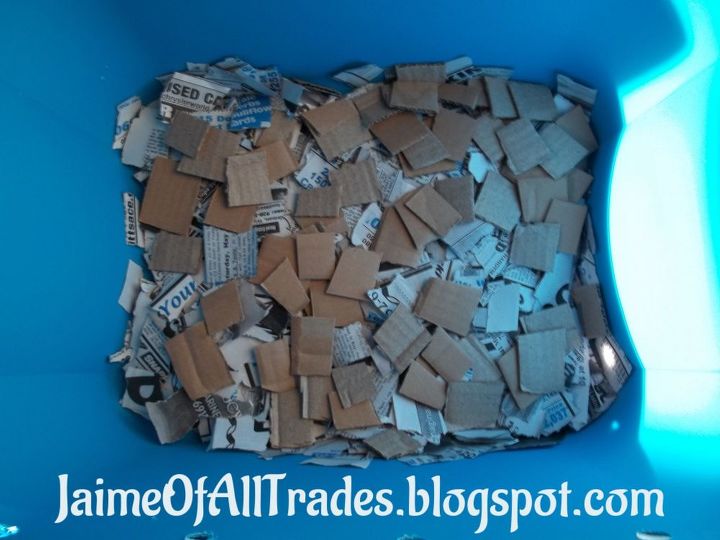
Step 6: Cut up some cardboard and add it to the bedding.
Step 7: Moisten the bedding.
Step 9: Add your food scraps, dirt, and worms.
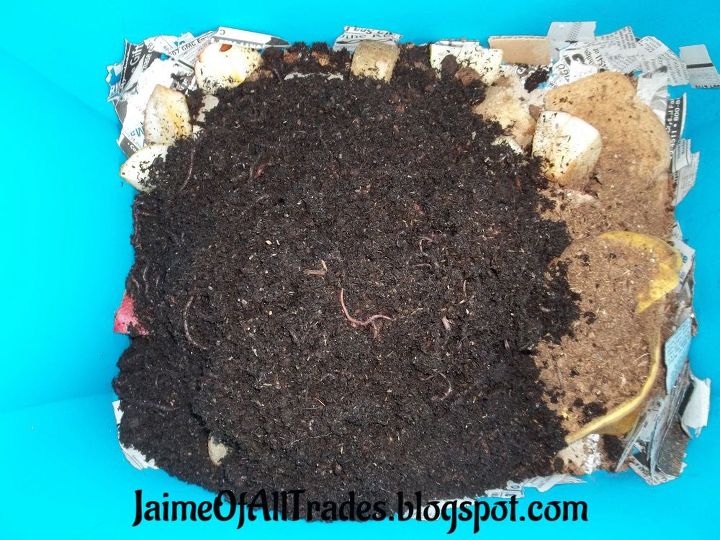
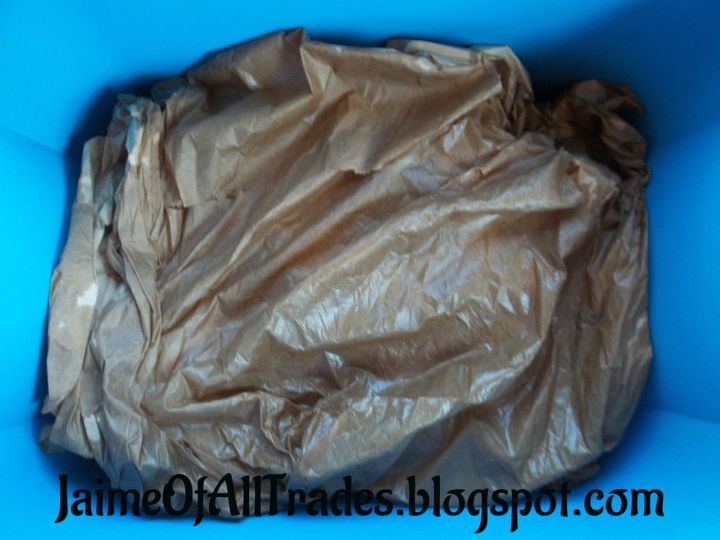
Step 10: Cover the entire pile with wet newspaper, packing paper, or cardboard.
Step 11: Continue to feed your worms, as you have food scraps to feed them.
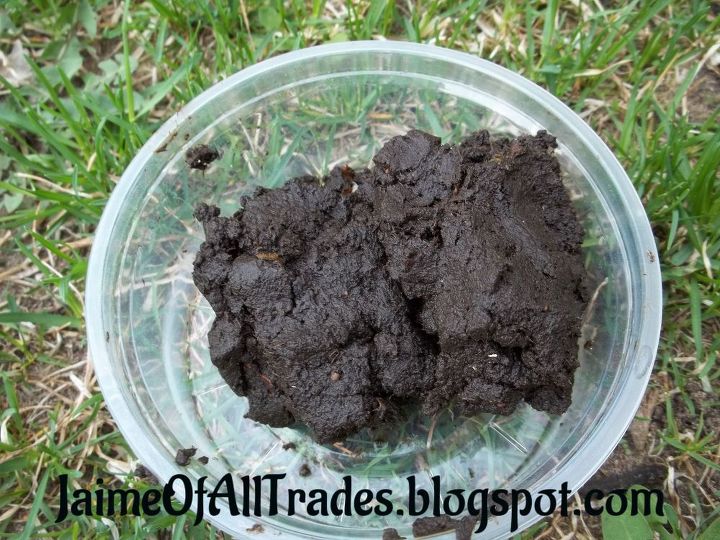
Step 13: Add your vermicompost to your garden, yard, or even mix it with water to make worm tea and use it to water your houseplants. You will have amazing results!

Want more details about this and other DIY projects? Check out my blog post!
Comments
Join the conversation
3 comments
-
I have a worm farm, and have read a lot of articles about them online. Yours is excellent - thanks for sharing!
-
Thank you so much for the awesome tutorial!


Frequently asked questions
Have a question about this project?
I’ve been interested in getting worms for my compost bin. Are there composting worms that can take the cold? Obviously, worms live in the ground year-round, but if Red Wigglers need warmer temps, they wouldn’t be ideal for my outside compost bin in Zone 7B. Any suggestions? Thank you!