


DIY Wall-Mounted Padded Headboard
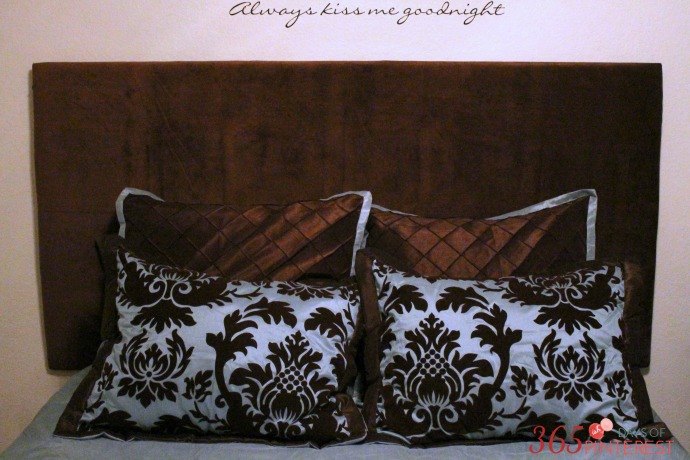
Get ready, folks. It’s about to get REAL in here. Back in the “olden days” before Pinterest, I read an article in a magazine about making your own padded headboard. The fancy magazine version was more than I could handle or even want, but I figured out a way to make it cheap, easy and fit my style. It was lovely and perfect. But after a five years, it looked like this:
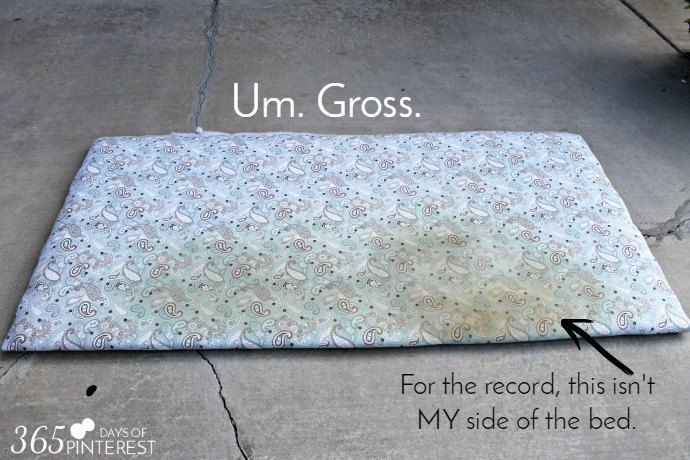
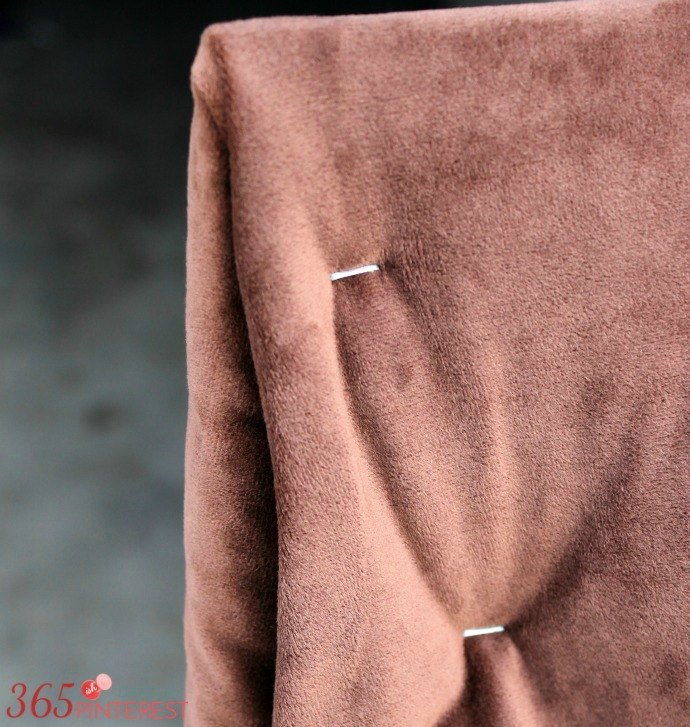
So, obviously you can see where our heads and arms rub up against the bottom of the headboard. Ick. I tried cleaning it with many different concoctions, but I just couldn’t get rid of those dark stains. So, I headed to the store for some new fabric and figured I would share the SUPER easy steps to making this DIY padded headboard!
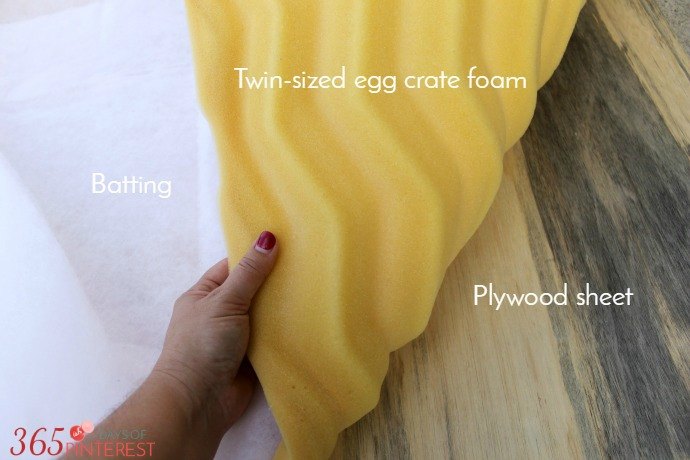
What you’ll need:
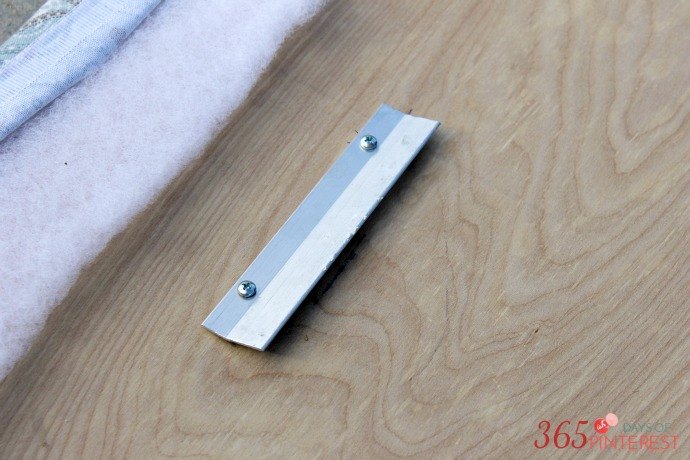
Once you're done, the only thing left to do is hang it on the wall! It’s surprisingly light, so you don’t need major hardware to hang it. My husband found these in the hardware section at the store and they are perfect. We used one set on each end of the board.
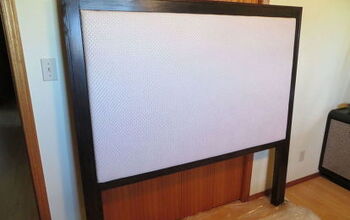
Here’s what the mate looks like hung on the wall. It comes with a handy leveling bubble so you know it will be hanging straight when you’re done.
Our weather has been less than cooperative and the designer of our floor plan apparently was a vampire, so the lighting isn’t the best but you get the idea. :) I’ll do my best to get a better shot someday when we have some good morning light in the room. For now, you can use your imagination.

Want more details about this and other DIY projects? Check out my blog post!
Comments
Join the conversation
5 of 34 comments
-
When we made our headboard, I actually used sheet material (a twin flat sheet worked for a queen size headboard) over the padding (I used the same method you did), thinking I would make a slipcover or recover it when I got tired of it. However, I still love it, years later and it has held up beautifully. We didn't mount ours on the wall, however, but, made a frame with legs and attached it to our bed frame.
-
Nicole, I had found some beautiful material but was concerned about "how do I clean it?" I found some faux leather on sale and grabbed it. I figured I could wipe it clean and I love how it turned out. My only problem is that I can't update it like you can. The wood around the perimeter actually covers the faux leather. Like your idea better of being able to change it.


Frequently asked questions
Have a question about this project?