


How to Create a Simple, Inexpensive DIY Table

by
ForRent.com
A table is almost always the centerpiece of a room - a gathering place for work and play. Create a simple, easy-to-complete DIY table project in a weekend.
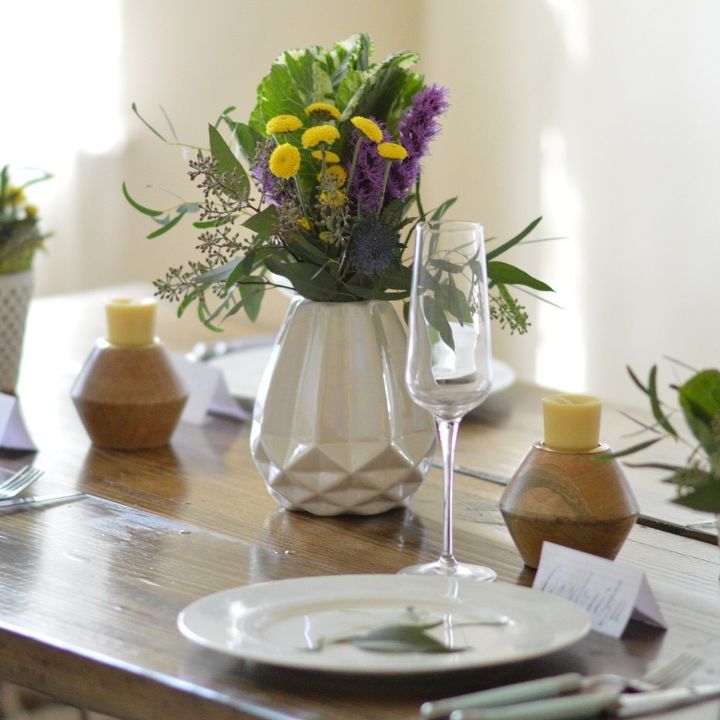
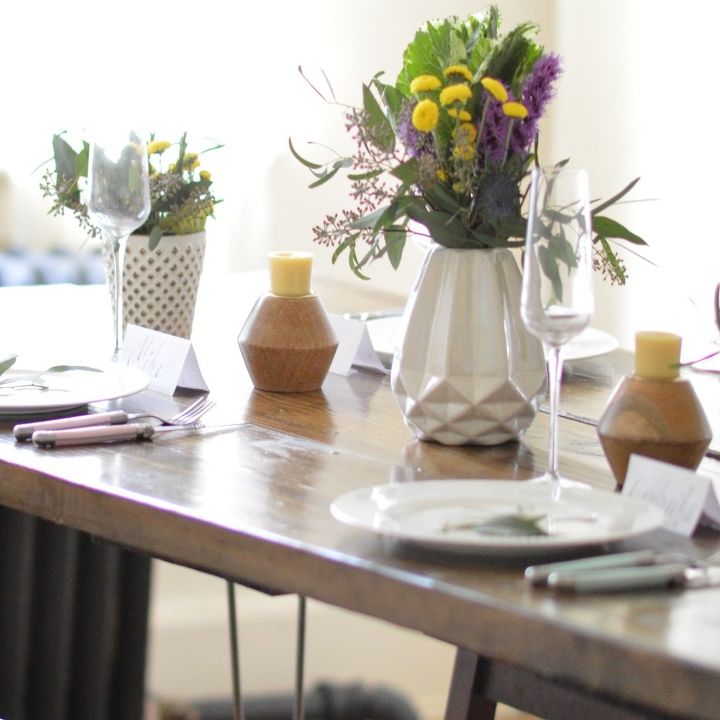
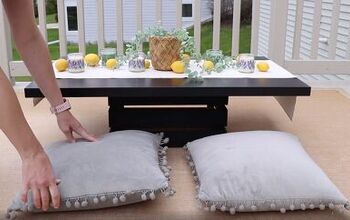
Decorated Final Table
The table is often the centerpiece of a room, creating a space around which people can gather for both work and play. But finding the right table for a space at the right price can be a challenge, so we've created a simple step-by-step guide for a fantastic DIY piece that will look great in any room.
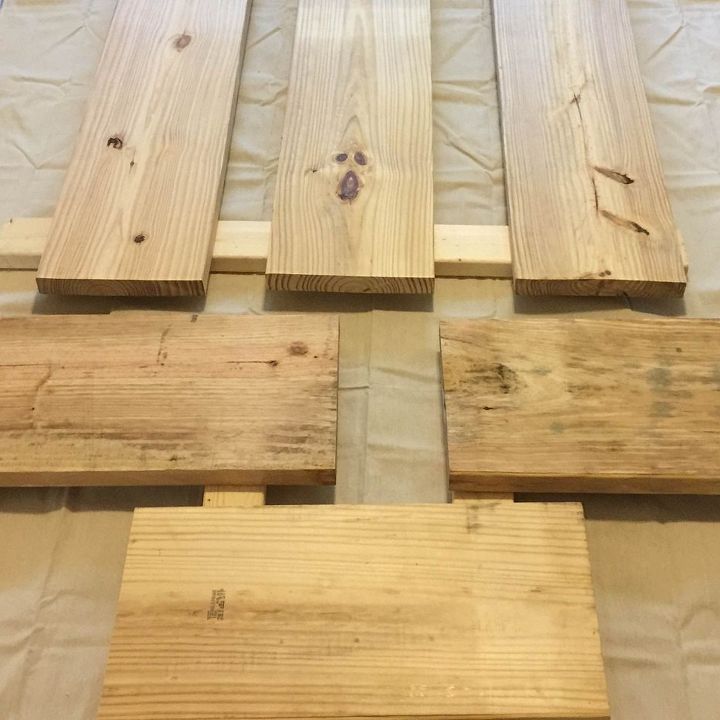
Unfinished Wood Boards for Table
For this project, you'll need four lengths of wood tailored to however large you want the final table to be. You'll be using three uncut to make the top of the table, while the fourth will be cut into three pieces to make the underlying supports.
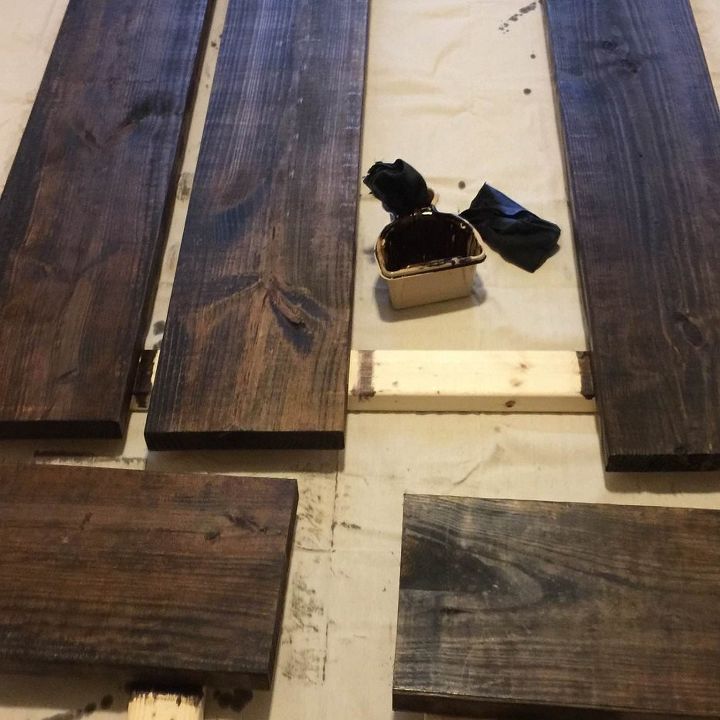
Stained Wood for Table
Once you have the wood cut (most hardware stores will do this on the spot for you), it's time to stain the wood. A few coats of any household stain will do; it's simply a matter of color preference.
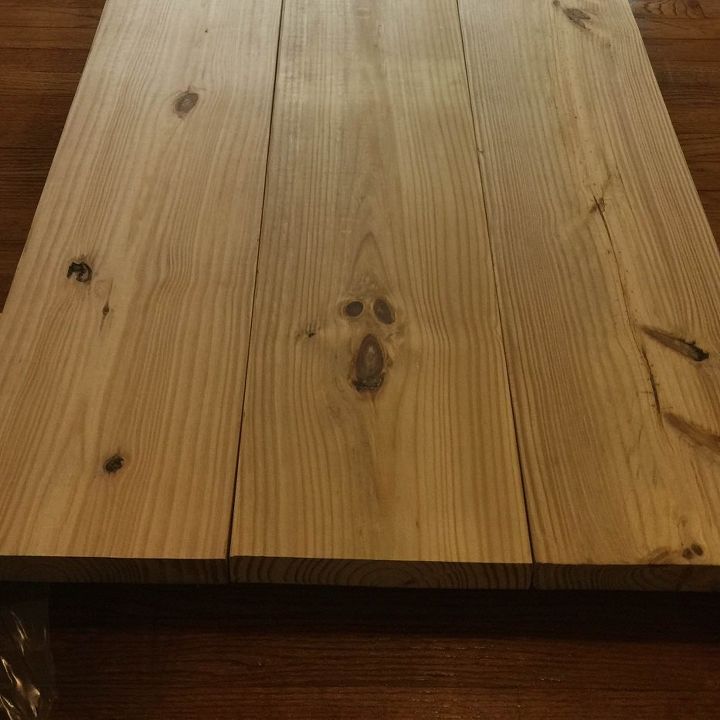
Wood Screwed Together for Table Top
Next, screw the table together using screws that penetrate roughly halfway into the table surface. For an extra-sturdy surface, place a little wood glue in between the top pieces and the underneath supports.
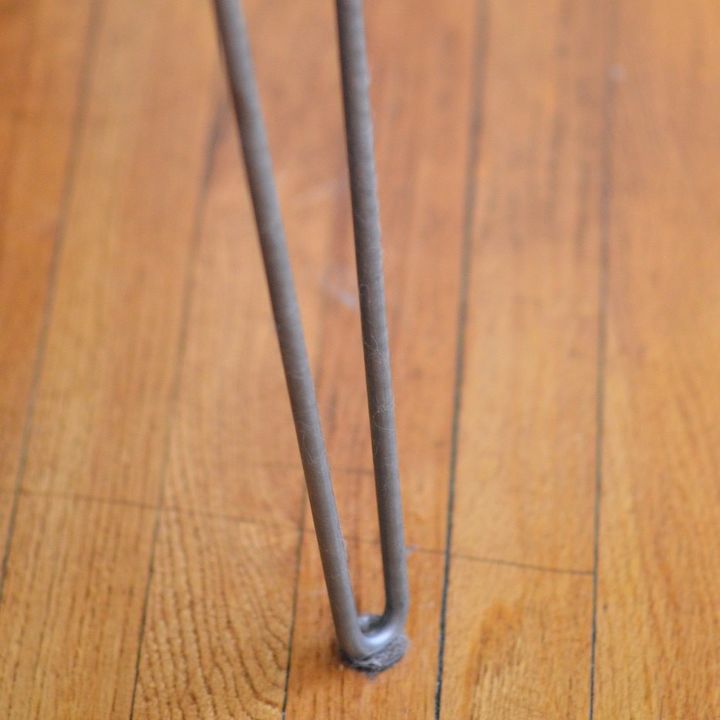
Choose Your Table Leg Style
Once the tabletop is assembled, it's time to select your legs. For this project, we used some great vintage-style metal legs, but the beauty of this project is you can use whatever suits your personal design style!
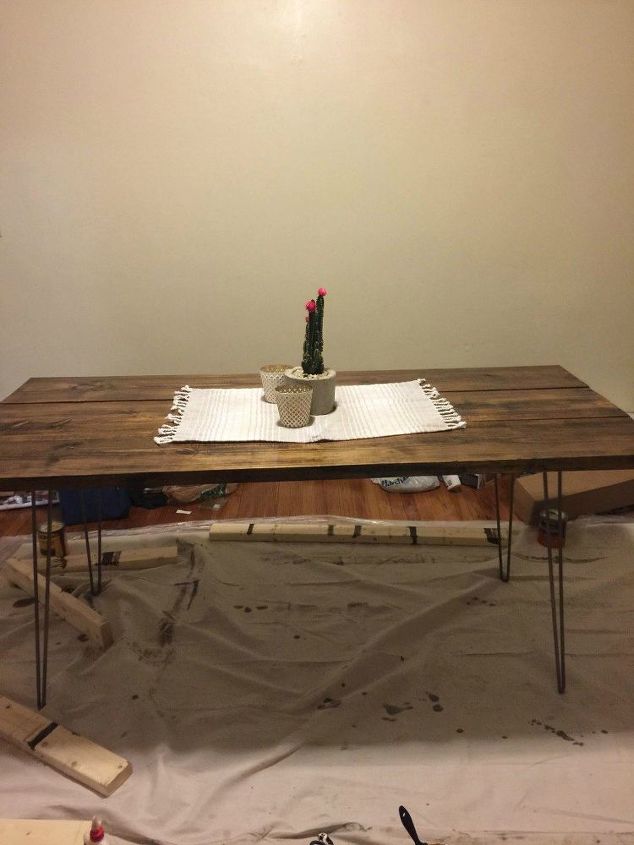
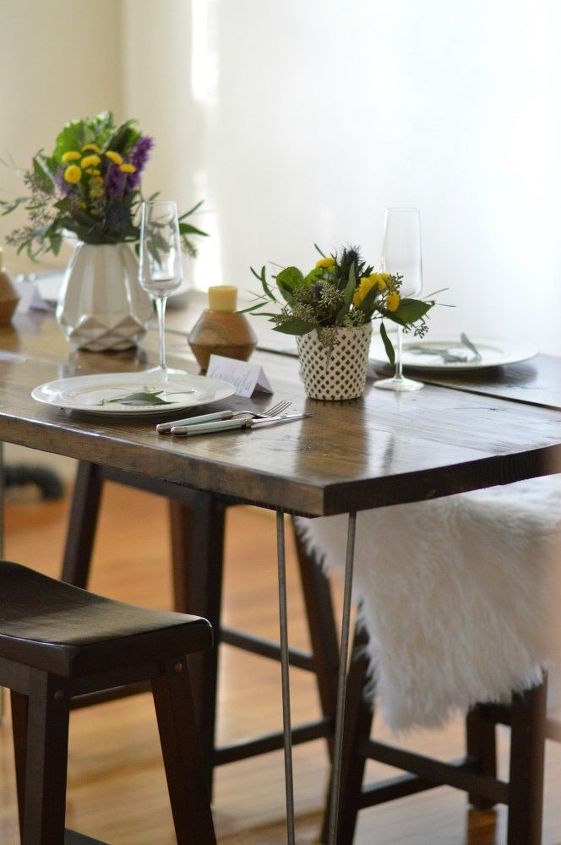
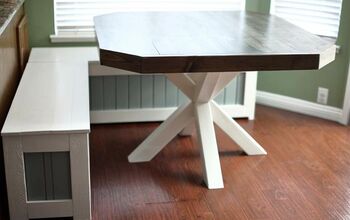
Here's another view of the finished piece.
Finished DIY Kitchen Table
In the end, this is a great project you can finish easily over a weekend. By tailoring the stain and legs to your choosing, you can create a truly custom option that will look great in your own space, no matter what your personal style.
Great for indoors or outdoors! These legs are made of steel, so they are strong enough to hold up the top. Our table top is very heavy, but a lighter wood may be more convenient.
Comments
Join the conversation
2 of 14 comments
-
Thank you for the response. Looking forward to making a table soon!
-
Quick & simple. Pretty too. Great job!


Frequently asked questions
Have a question about this project?