


XXL Advent Calendar

by
Ronja Lotte
Medium
I know! A tutorial for an Advent calendar today is a little late but unfortunately I could not show it to you earlier but I decided to show it to you anyway...you might want to save this idea for next year.
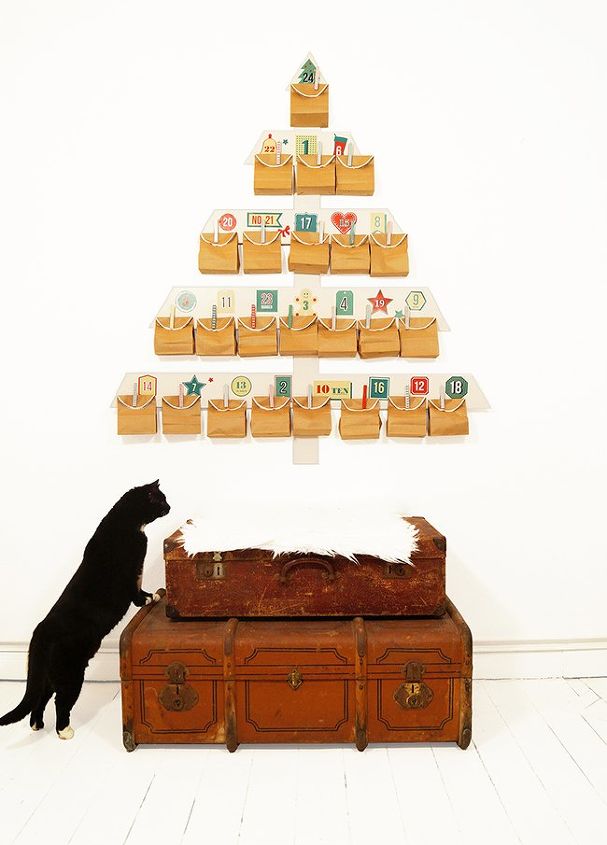
...and its cat approved!
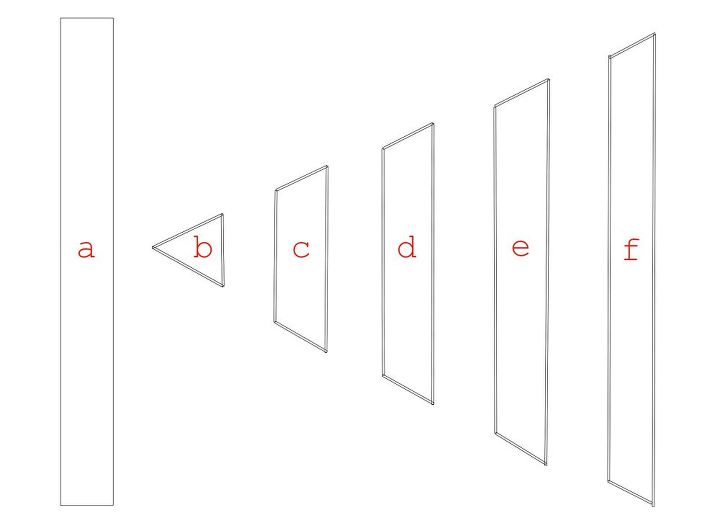
First you need wood for the Advent calendar. I used some compressed wood, which I still had and sawed it to the following measurements: a) 1.25m X 8cm b) 14cm x 12.5cm c) 39cm X 11cm d) 67cm X 11cm e) 14cm x 95cm f) 12cm x 1,20m. Next I sawed the sides of the wood in an angle of 60 degrees. After sawing the wood, dont forget to sand the wood smooth.
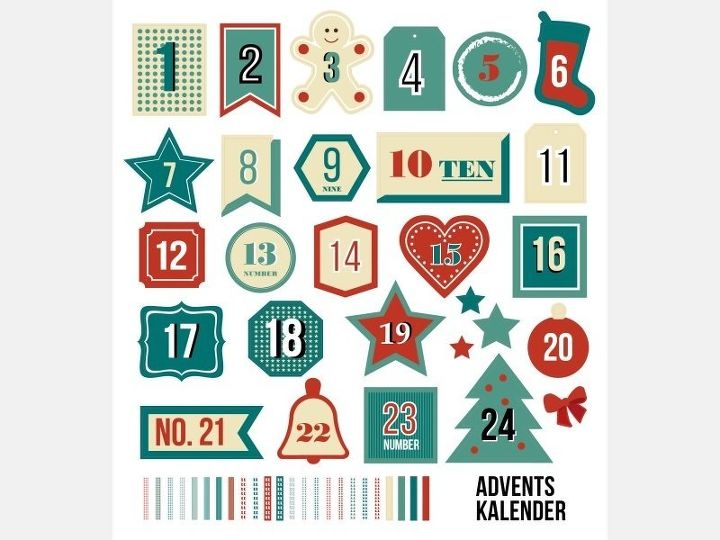
The stickers for the Advent calendar can be bought at the internetshop of Creatisto but I was lucky enough to win them at Dekotopia.net. Yeah!
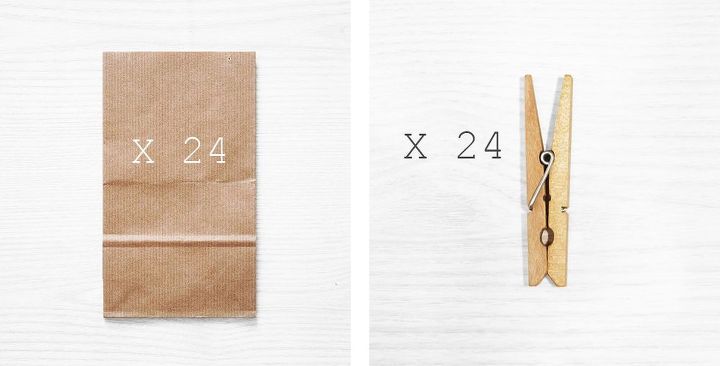
Finally you need 24 small brown bags and 24 wooden clothespins.
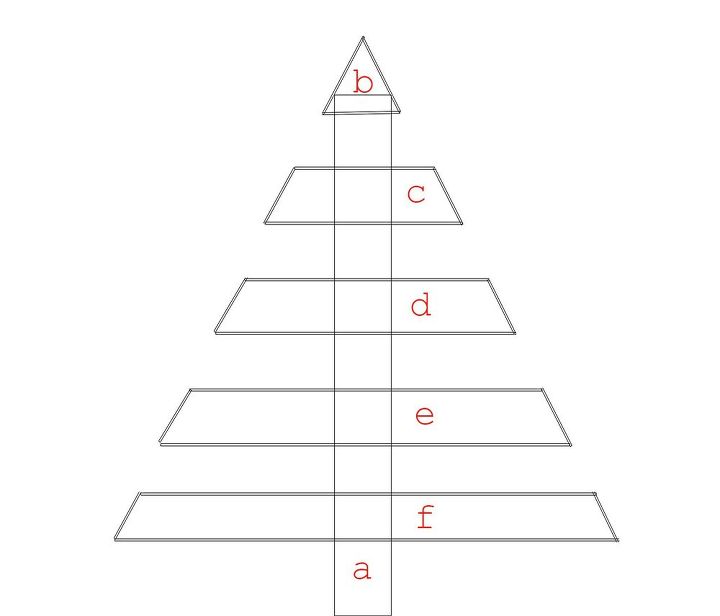
1. In order for you to know how you need to glue the wooden parts together, I have created this graphic. The principle is very simple: Glue the wooden parts with wood glue so that they look like a Christmas tree.
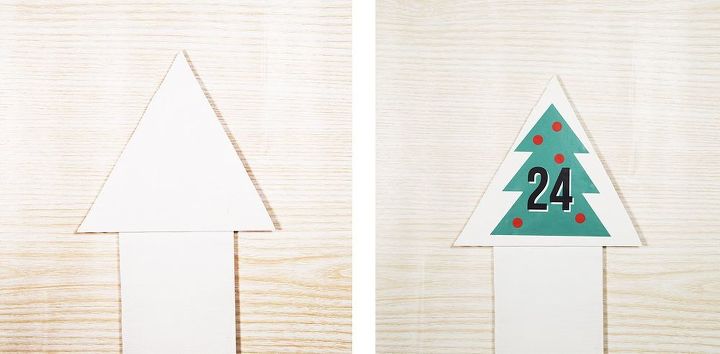
2. Next I painted the Christmas tree white.
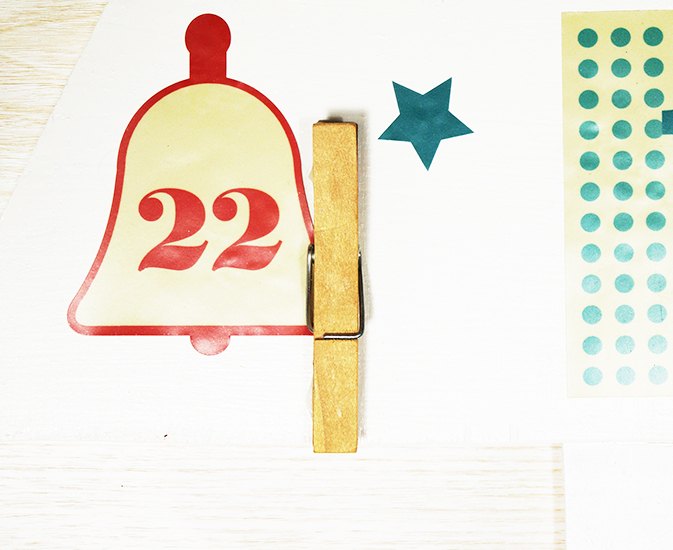
4. You must now glue a clothespin next to every number. I used wood glue.
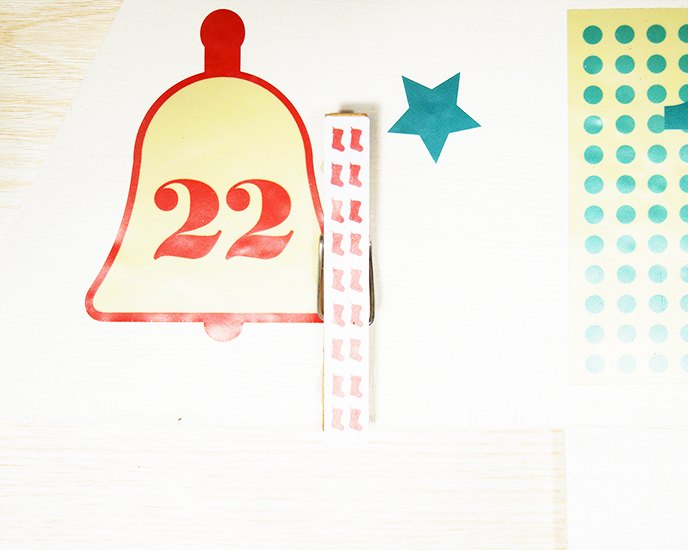
5. The sticker-set I got from Creatisto had also stickers for the clothespins.
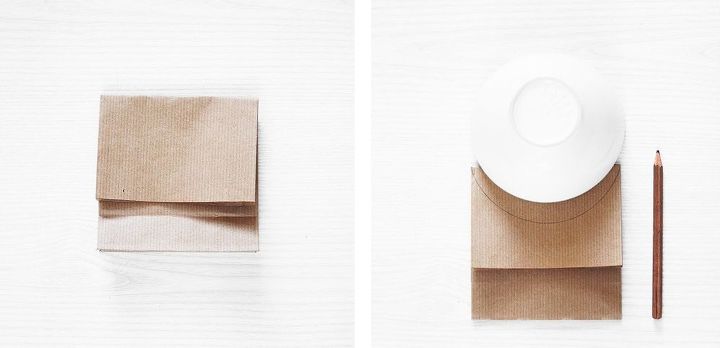
6. For the gift bags I first folded all bags like in the picture...
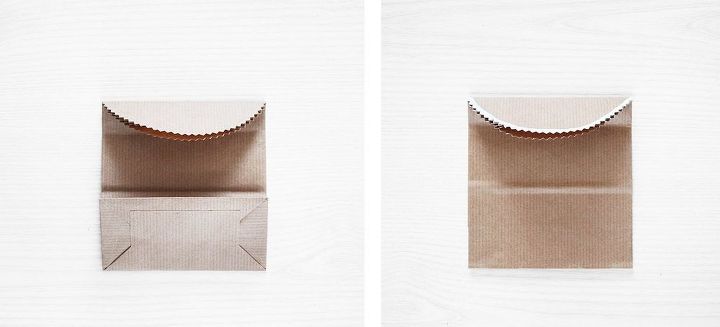
8. Next I cut this half circle with some zigzag scissors ...

If you like to see more of my projects, just visit my blog :-)
Want more details about this and other DIY projects? Check out my blog post!
Comments
Join the conversation
3 comments
-
I love it and the kitty cameo! :)
-
love this project, will have to try to make one this year! thanks for posting great idea!


Frequently asked questions
Have a question about this project?