


How to Make a Tulip Wreath
$20
1 Hour
Easy
Tulip wreaths are very popular for Spring and make great gifts, especially for Mother's Day! When I went into my local craft store and found tulip bushes on sale, I knew I had to make something spectacular with them. This is what I came up with, a simple yet elegant Spring Tulip Wreath. Let me show you how I made it. NOTE FOR A FULL VIDEO, PLEASE CLICK ON MY BLOG LINK BELOW

FOR A LIST OF SUPPLIES & WHERE I PURCHASED THEM, PLEASE REFER TO MY BLOG LINK BELOW
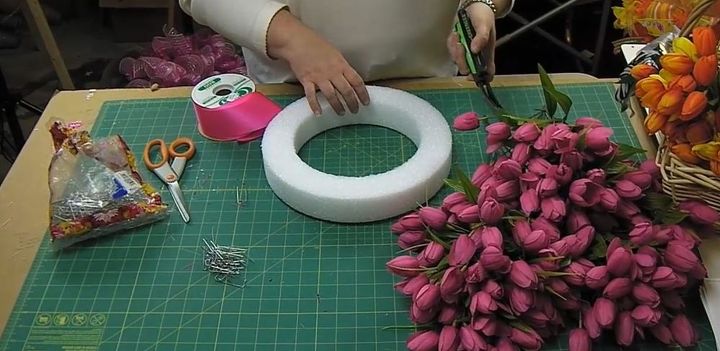
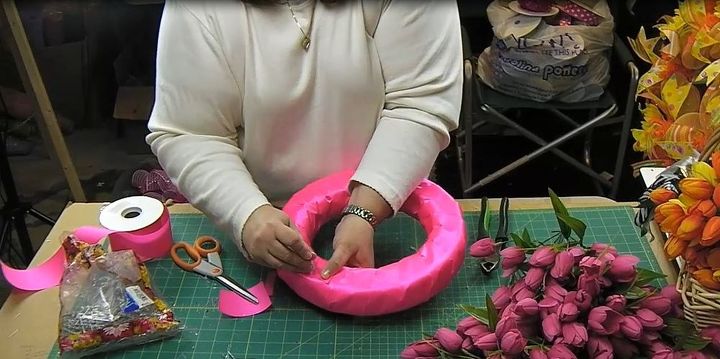
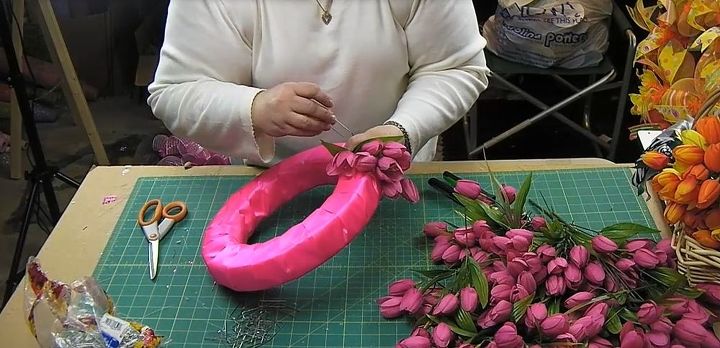
Step 1 - Wrap Wreath Wrap the satin ribbon around the wreath frame so that the wreath does not show through. Use a floral pin to secure the end of the ribbon to the wreath. Wrap the ribbon around the wreath keeping the ribbon snug and overlapping it.
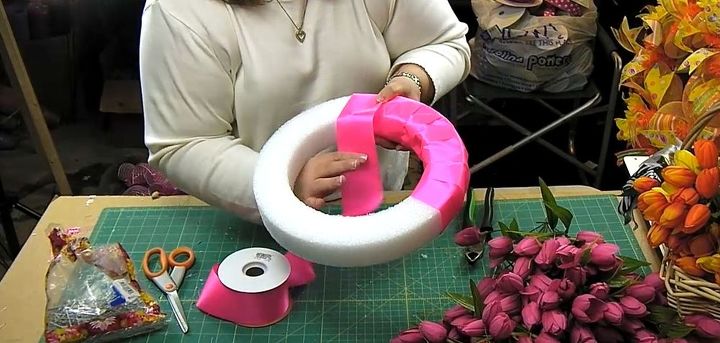
Once you have finished, use another floral pin to secure the end. NOTE: If you make the ribbon the same color as the tulips, it helps to camouflage any holes you may have where the tulips don't touch. (See Video Below)
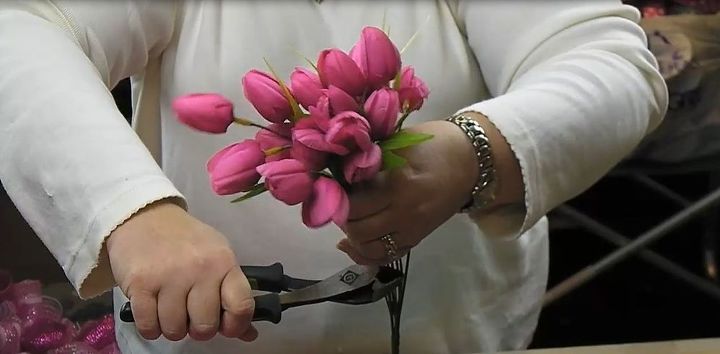
Step 2 - Cut Stems from Bush Push the leaves and the grass blades up close to the tulip blossom. Then use wire cutters to separate the floral stems from the bush keeping the stems long.
Step 3 - Attach Flowers Use floral pins to secure the floral stems to the wreath form making sure to overlap the previous stems. First I make a single layer or row going from the outer side of the wreath, over the front of the wreath, and then inside the inner part of the wreath.
Then add another layer just under the first layer making sure the second layer tulips are touching the first layer tulips. Continue adding more tulips in this fashion, row after row, securing with floral pins.
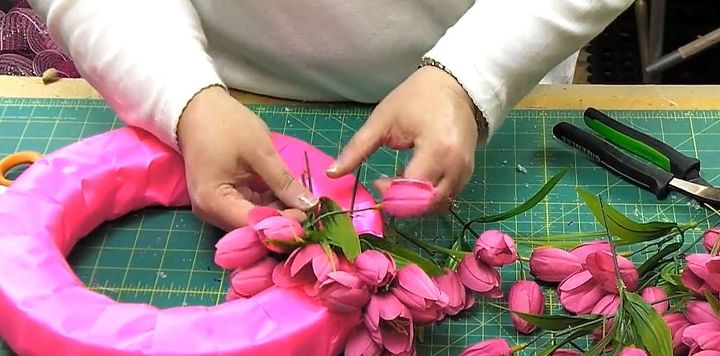
You may need to add floral pins to the ends of the flower stems as you go since you kept the stems long (see video below). Make sure to place the flower stems going in the same direction working around the entire wreath.
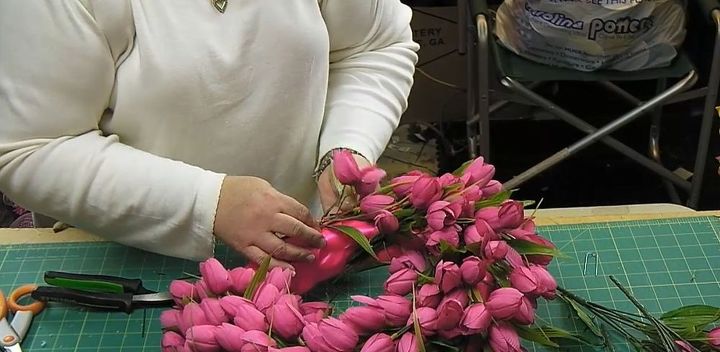
Step 4 - Fill in Holes Use leftover flower stems to go back and fill in any holes you may have. Place the stems of the filler flowers down and underneath flowers that are already pinned and secure the filler flowers with flower pins.

Step 5 - Hot Glue Loose Buds Hot glue any loose tulip buds that have fallen off into any holes you have or to make the wreath fuller. You can also hot glue the greenery too if needed,

Step 6 - Add a Hanger Cut a piece of 1.5" ribbon to the length you desire for a hanger. Tie a knot on the end. Place the hanger on the back and use floral pins both above and below the knot to hold it in place. (See video)
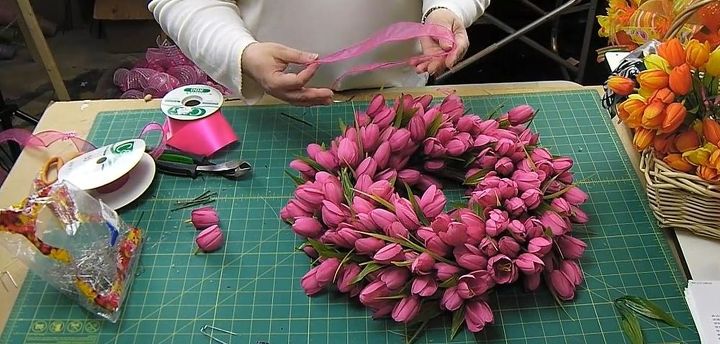
There you have it, a beautiful tulip wreath for your home or to give as a gift. Where would you hang this wreath in your home? What is your favorite spring flower if not a tulip? You can use other flowers too besides tulips, use whatever your local craft store has on sale.

This wreath would be great for a little girls room, hostess gift, powder room or anywhere you want to add a bit of springtime to your living space. Please feel free to share, Pin and let me know how your tulip wreath turns out. Happy Wreathing, Julie

Want more details about this and other DIY projects? Check out my blog post!
Comments
Join the conversation
2 of 45 comments
-
Love it ..happy wreath
-
That’s such a darling wreath! I will be making one for sure!


Frequently asked questions
Have a question about this project?
I wonder if you could use a pool noodle in pink instead of wrapping in ribbon?
Where do u buy all tulips for this wreath for $20.00