


See What Happens to This Table With a Little Paint and Wax

by
Diva of DIY
Check out my latest thrift store find! I found this cute little octagon side table a couple months ago and fell in love. It has so much detail and octagon is such a unique shape I had to have it. Oh, and the fact that is was $10 might have helped my urge to have to have it a bit. I love the look of chalk style paints but here is my dilemma, who wants to spend $40 on paint for a $10 table? Not me! That is why I am now offering an alternative to those expensive paints. I now use my Diva of DIY Chalk Mix.
Let me introduce you to my lovely octagon table...
Let me introduce you to my lovely octagon table...
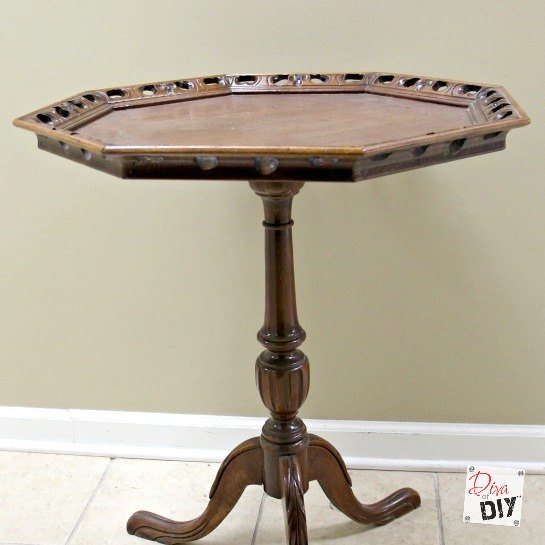
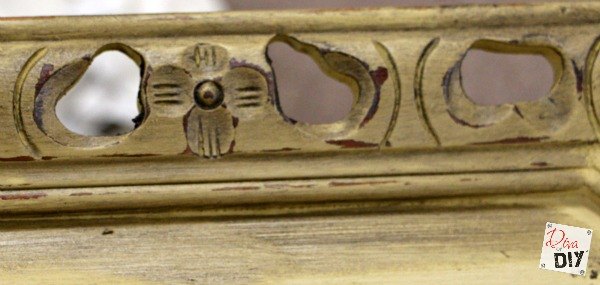
Now how cute is that? Look at all the woodwork detail.
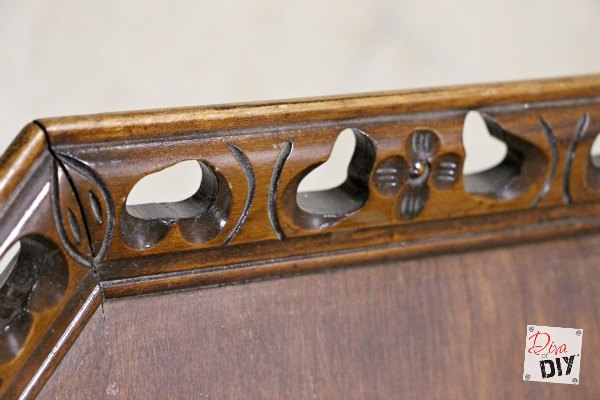
The table was heavily lacquered and had pieces chipping off but all the wood was in perfect shape it just needed an facelift. So I grabbed some supplies and got to work.
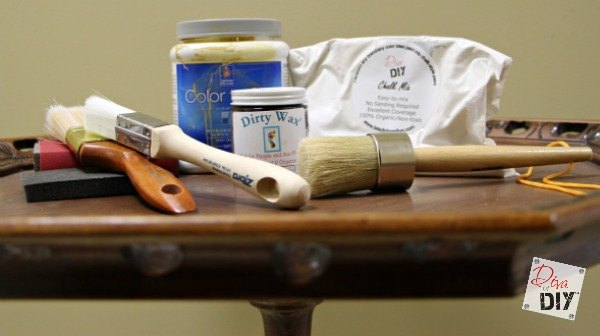
See Supply List on the blog post listed below
Instructions for Paint and Wax Makeover:
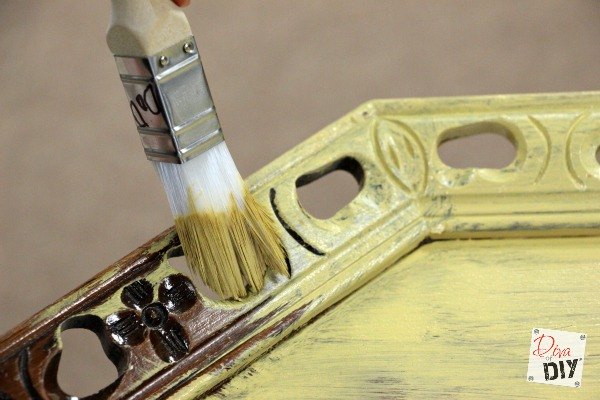
Step 2) Wipe table off with Krud Kutter to remove dust.
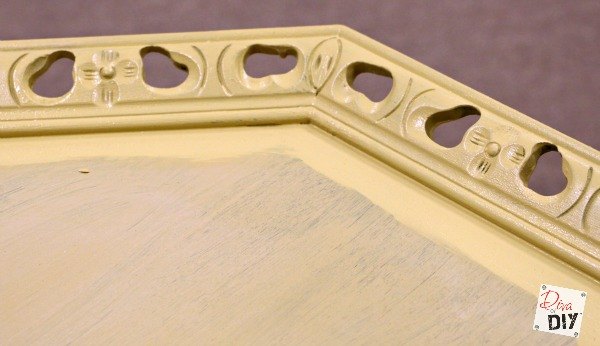
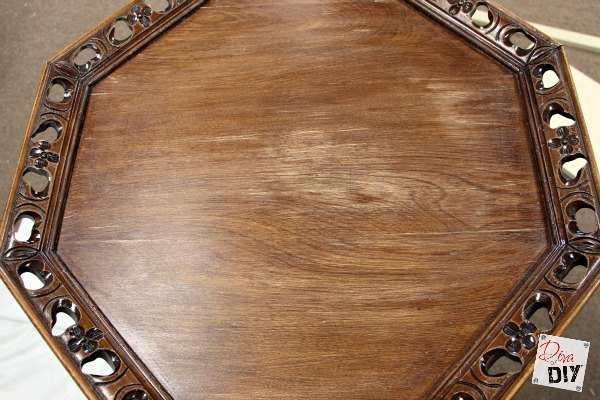
Step 4) Using buffing pad, lightly scuff the first coat. Wipe off dust with cloth.
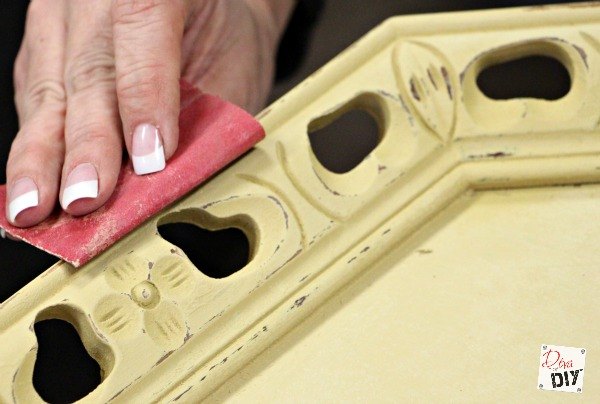
Step 6) Using a combination of the buffing pad and sandpaper begin to distress you piece by sanding off paint in places the wood would normally show wear and tear. If not distressing, use buffing pad to smooth surface, making sure it is as smooth as you want the finished project to be before you apply wax.
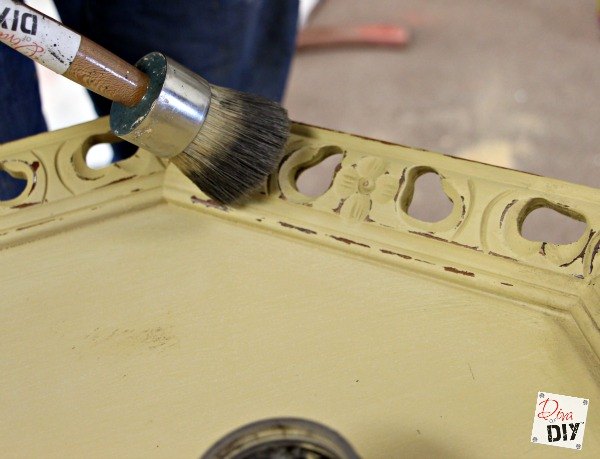
Step 8) Using a wax brush, lightly dip brush into wax and begin to spread the wax. Use Dirty Wax sparingly.
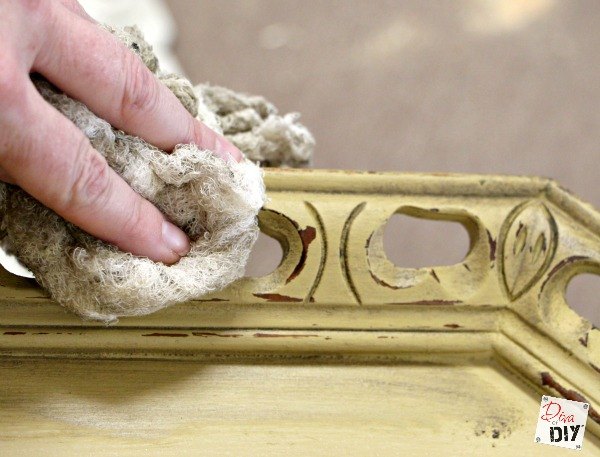
Step 9) Work in small sections at a time putting the wax on and then buffing off with cheese cloth.
Want more details about this and other DIY projects? Check out my blog post!


Frequently asked questions
Have a question about this project?
What colour paint was used for the tanle