


No Sew Faux Roman Sade
by
Bharati S
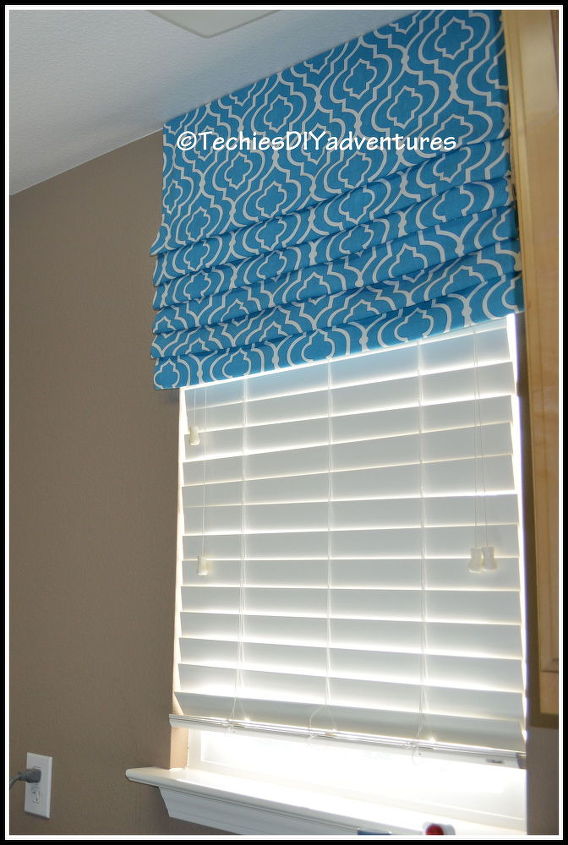
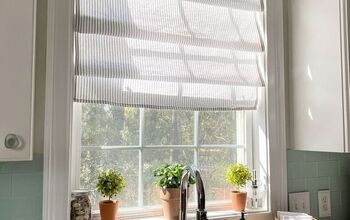
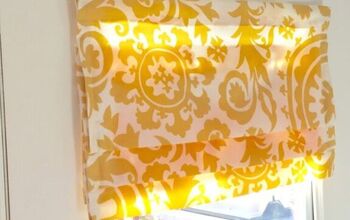
Our Laundry room has one tiny window as the source of light. Since this window is tiny, decided to go for faux roman shade to achieve the look of original with least effort. Faux roman shade can not be adjusted, pleats are fixed.
Here is how the window looks all dressed up.
Here is how the window looks all dressed up.
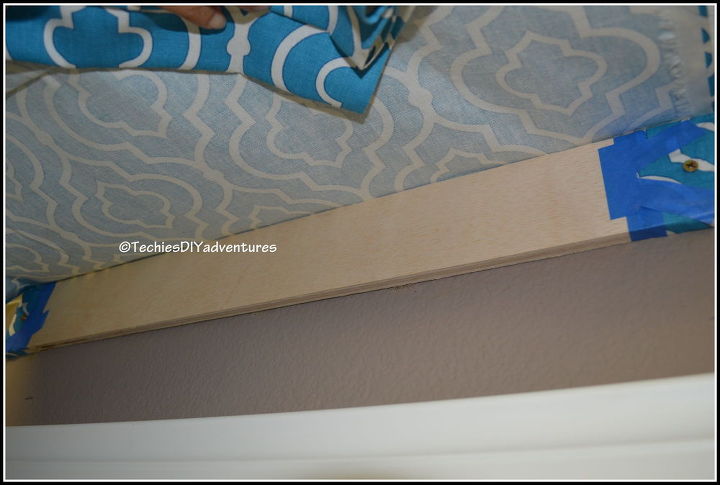
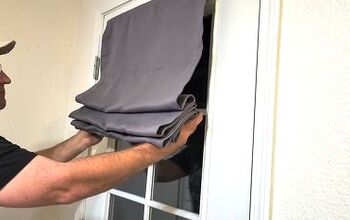
1. Check the width of the window (assume a), add 4" to it. That's the width of the Wood for the top of the roman shade. I used scrap wood (leftover from our Master closet project)
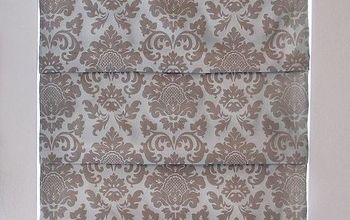
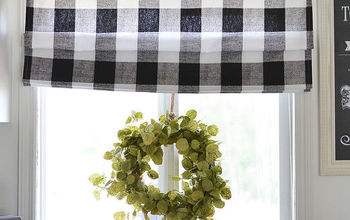
One more with the painter wall paper.
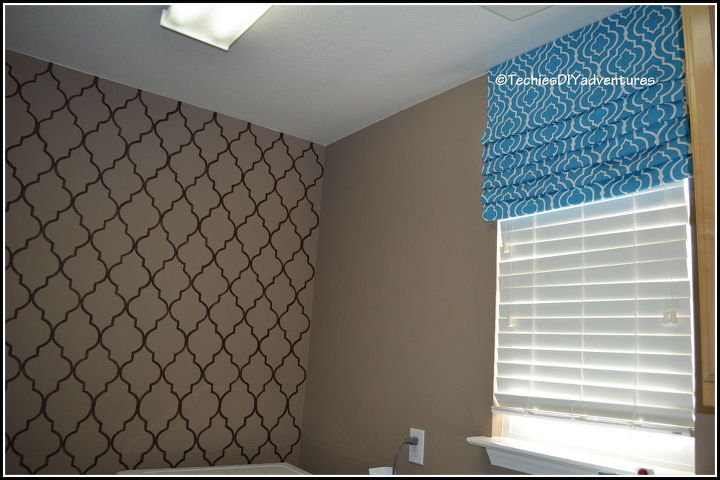
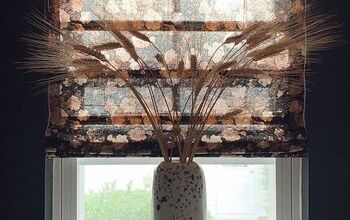
One more :)

Want more details about this and other DIY projects? Check out my blog post!


Frequently asked questions
Have a question about this project?