


Easy to Make Decoupage Photo Plates - Beautiful Wall Decor!

by
Susan Myers
5 Materials
Easy
This past week, I came up with a project that I wanted to try for my mother's upcoming birthday. How about a wall of photo plates? Great idea and the plates make beautiful decorations!
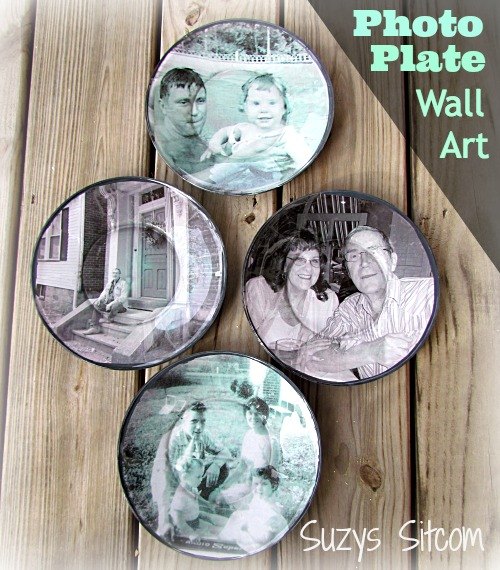
This is a great way to save memories in a unique way as home decor! And the cost? Just pennies. Use dollar store plates and paper copies from your printer. How easy is that?
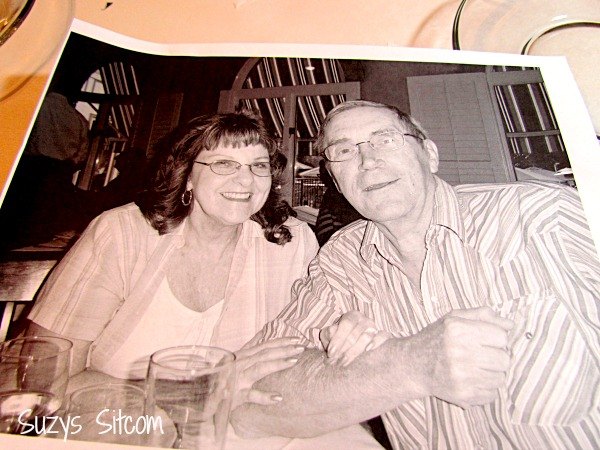
I started out with some black and white photos, printed out on my laser jet printer. (Be sure to use a laser jet printer or copier when making copies of your photos for this project). Ink jet printers will cause the ink to bleed when the Mod Podge is painted on.
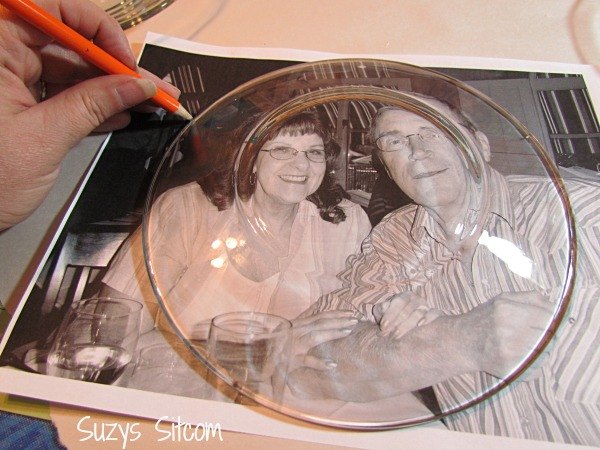
I used saucer sized clear plates for this project that I found at Walmart for just $1.00 a piece. Lay the plate over the photograph and trace around the plate.
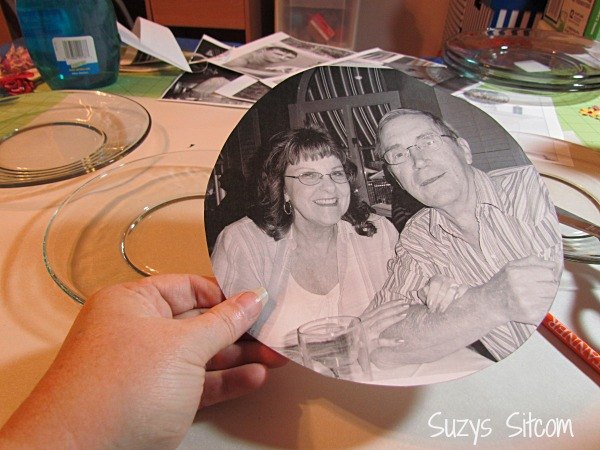
Cut out the image...
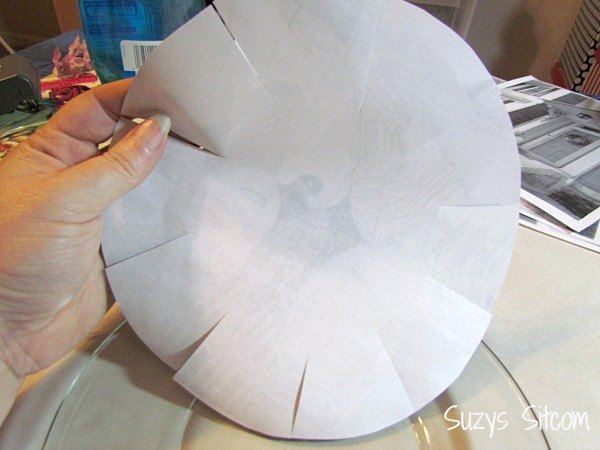
To allow for the bend of the plate, trim around as shown. Try not to add trim lines across any faces. Turns out I really didn't have to cut them as deep as shown above- maybe about an inch in.
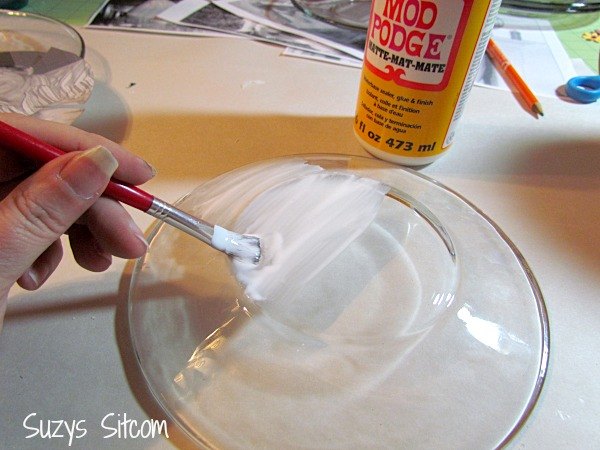
Paint the back of the plate with Matte Mod Podge...
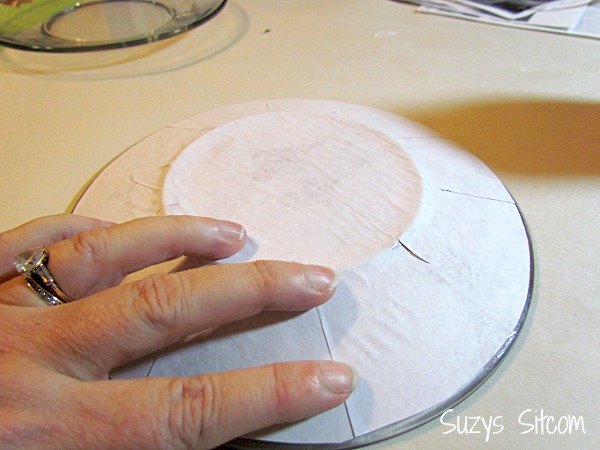
Press the photo face down onto the back of the plate, smoothing out the edges and any wrinkles.
It should dry in about an hour. Flip the plate over and you should be able to see your handiwork! Once dry, add a layer of Mod Podge to the back. (I found that if I added the Mod Podge to the back when the other side was still wet, that it turned the photo a cool looking green- so I did this on two of the plates for a bit of variety).
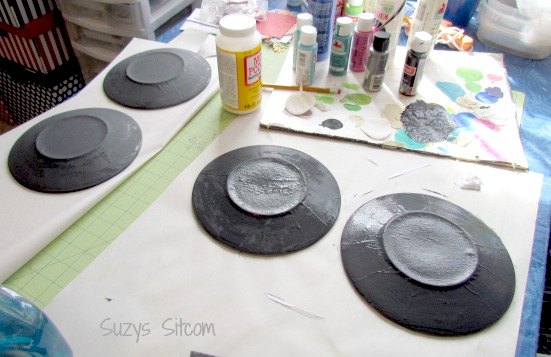
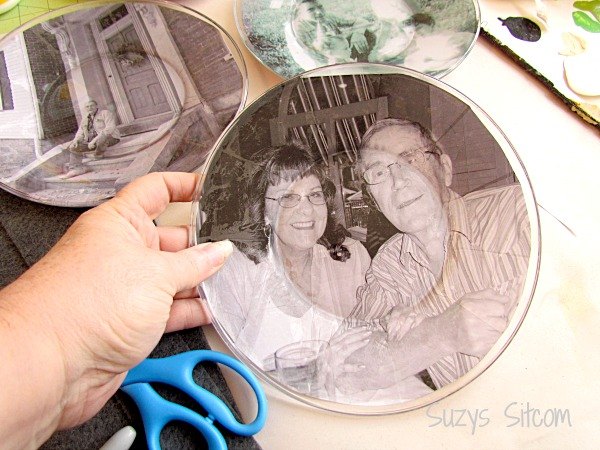
Finally, since the photos didn't quite meet the edges of the plates, I painted the backs a dark gray with acrylic paint and then added a final coating of Mod Podge for protection.
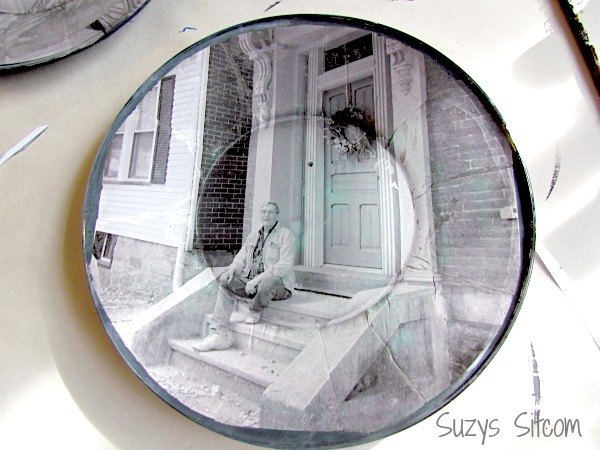
Some of the plates turned out better than others. But I'm sure my mother is going to love them. The photo above is of my dad sitting on the steps of the house he grew up in. This photo worked well with the plate.
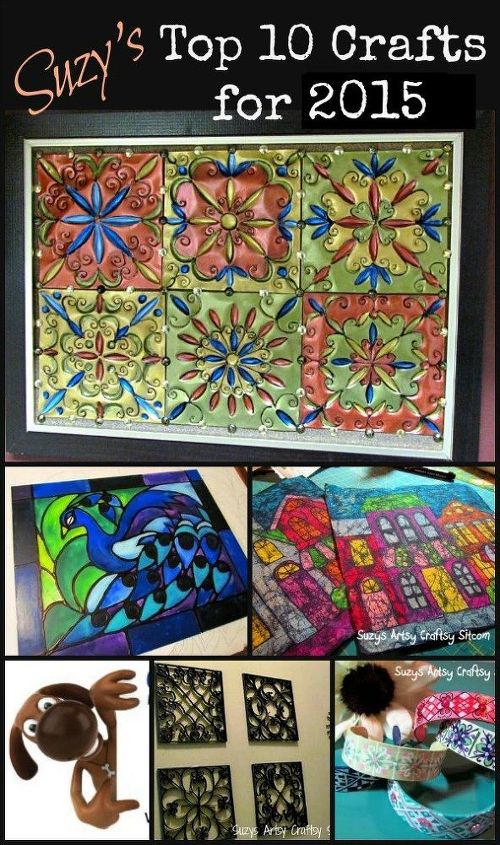
Want more fun and unique decor ideas? Be sure to check out my top tutorials for 2015 on the link below!
Want more details about this and other DIY projects? Check out my blog post!
Comments
Join the conversation
2 of 101 comments
-
Such a cute idea.
-
Needed an easy/fast idea for my preschoolers to give their parents for Christmas....saw your post, took pictures of the students each wearing a "Christmas headband," and mod-podged away. SO CUTE & EASY. Thank you so much for the idea.


Frequently asked questions
Have a question about this project?
There is no mod podge anywhere near me. Any suggestion on another kind of glue that does the same or a diy mod podge?
In order to compensate for the un-even edges of the photo graph -- how about applying a decorative braid, ribbon or trim first - let it thoroughly dry and then
apply the photograph and trim the edges of the photo against the trim -I would stll paint the back of the plate for an even finish. Also how about using square plates?
Love the photo idea! Did you prepare the plate in any way? I'm asking because I tried using fabric on dollar store plates and the Mod Podge left streaks. Looked awful! Any ideas why this happened? Thanks!