


DIY Camera Strap

I recently bought myself something I've been wanting for a long time, a good digital camera (Nikon D3300, in case you're wondering).
I bought it from a reputable Canadian store, but through their eBay listing, so I didn't personally inspect the camera and accessories. To my surprise, it didn't come with a shoulder strap. When I went back and looked at the eBay listing I realized that it did not in fact include a shoulder strap, I had just assumed that one would be included.
My sister lent me something that she had around the house, but it wasn't very strong and was definitely not a long-term solution. I had a lot of photographing to do yesterday and I wanted a new strap quickly.
My choices, I thought, were either to buy a shoulder strap from a store in the area or to order one online. Since I don't live in the United States ordering online is less convenient and would take a while to get to me, and I wanted one as soon as I could get it.
Buying one from a store in my country turned out to be ridiculously expensive, so I didn't want to do that either. Finally I thought of making one myself. I Googled "DIY Camera Strap," read through a few tutorials (mostly here: www.apartmenttherapy.com/make-it-yourself-20-diy-camera-strap-projects-194620) to get the basic idea of what I would need, and went to the closest materials store to pick them up.
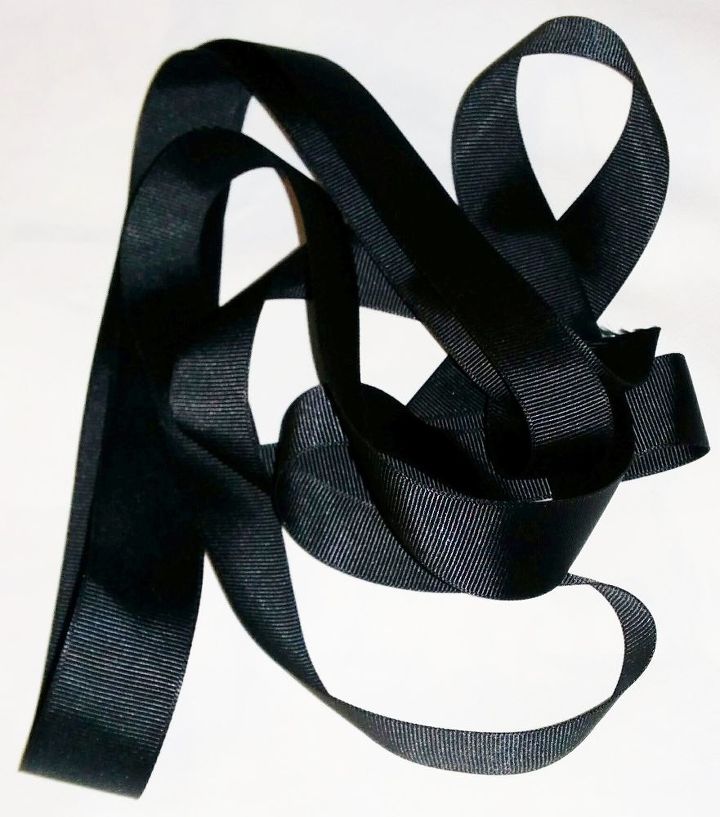
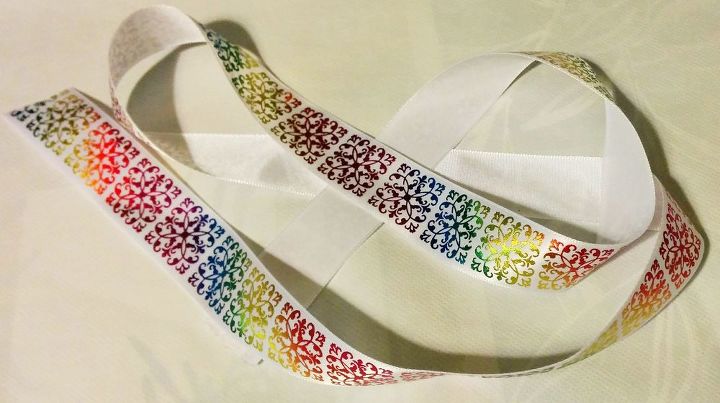
All of the tutorials I read called for a strap based on cotton webbing. I got the closest thing I could find, polyester of some sort. I got plain black for the strap and white with a rainbow decoration for some color.
I bought it from a reputable Canadian store, but through their eBay listing, so I didn't personally inspect the camera and accessories. To my surprise, it didn't come with a shoulder strap. When I went back and looked at the eBay listing I realized that it did not in fact include a shoulder strap, I had just assumed that one would be included.
My sister lent me something that she had around the house, but it wasn't very strong and was definitely not a long-term solution. I had a lot of photographing to do yesterday and I wanted a new strap quickly.
My choices, I thought, were either to buy a shoulder strap from a store in the area or to order one online. Since I don't live in the United States ordering online is less convenient and would take a while to get to me, and I wanted one as soon as I could get it.
Buying one from a store in my country turned out to be ridiculously expensive, so I didn't want to do that either. Finally I thought of making one myself. I Googled "DIY Camera Strap," read through a few tutorials (mostly here: www.apartmenttherapy.com/make-it-yourself-20-diy-camera-strap-projects-194620) to get the basic idea of what I would need, and went to the closest materials store to pick them up.
All of the tutorials I read called for a strap based on cotton webbing. I got the closest thing I could find, polyester of some sort. I got plain black for the strap and white with a rainbow decoration for some color.
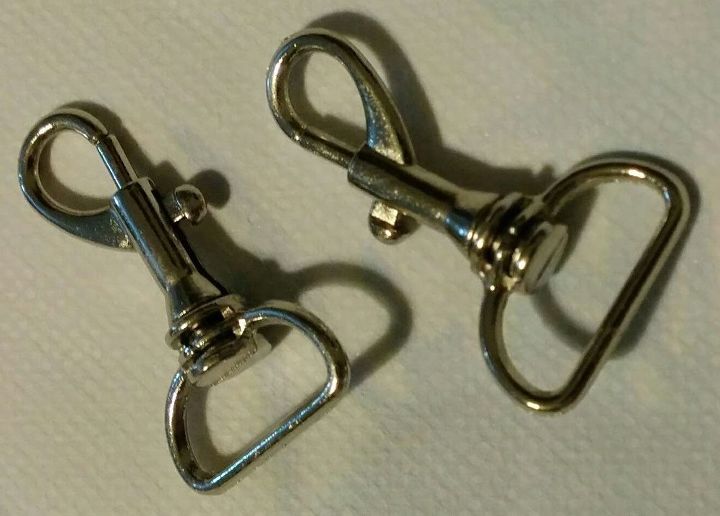
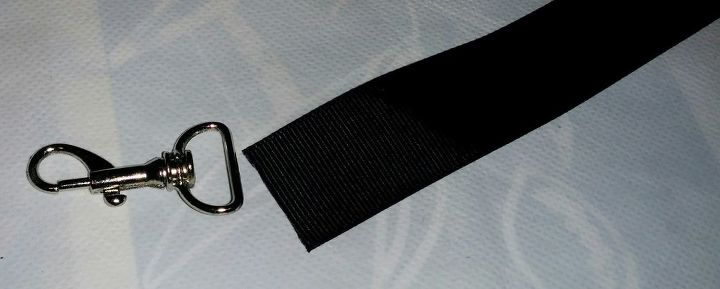
Another thing that I realized by reading these tutorials was that I would want some kind of clip that could swivel as it was attached to the camera. I found these, which seemed perfect.
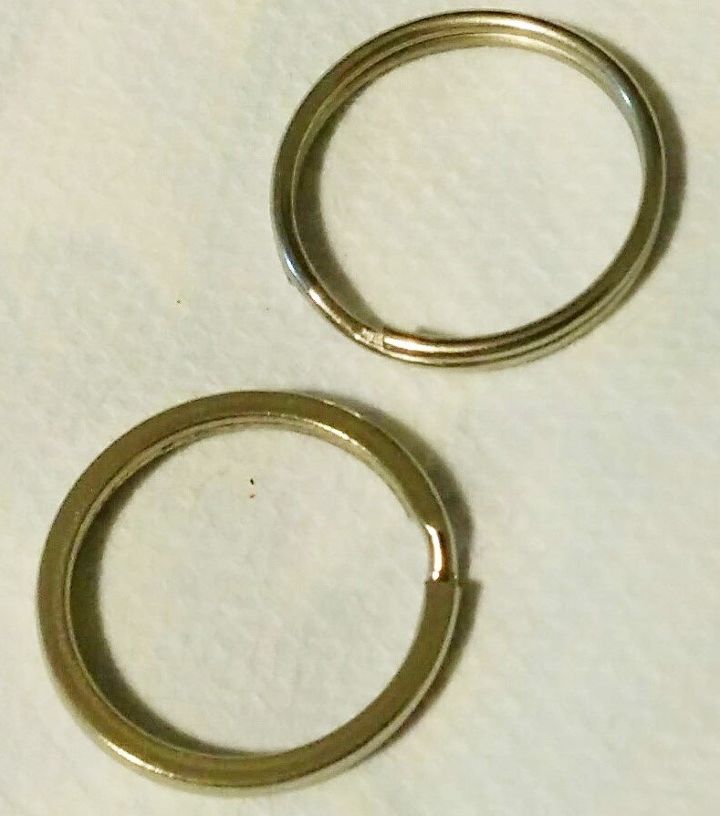
In trying to temporarily use a different strap that my sister had around, I had discovered that the part of the camera meant to hold the strap was fairly small and I didn't think I could get the new clips I had picked up to enter in to the spot allocated. So I got these rings also, which would fit in the spots on the camera where the strap had been supposed to go and then I could attach the clips on to them.
There was one, problem, the webbing was wider than the ring on the clips.
I measured the webbing around my neck to the approximate length I wanted, and then added a few inches on either end. I doubled it over and sewed the last few inches doubled over.
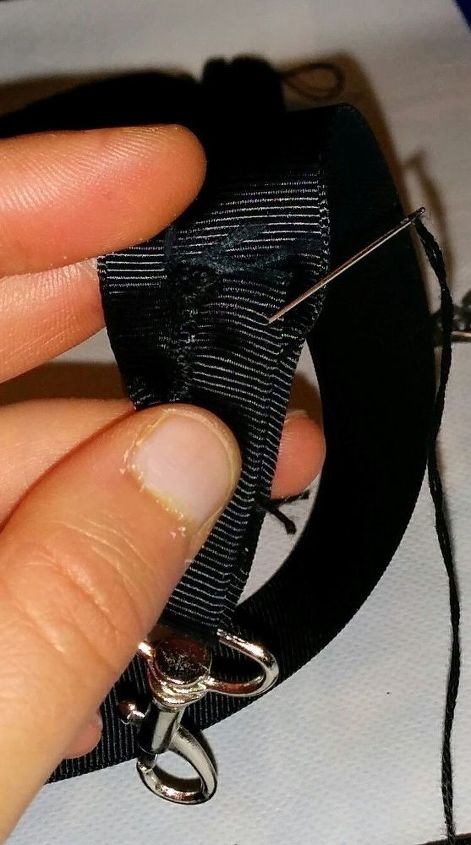
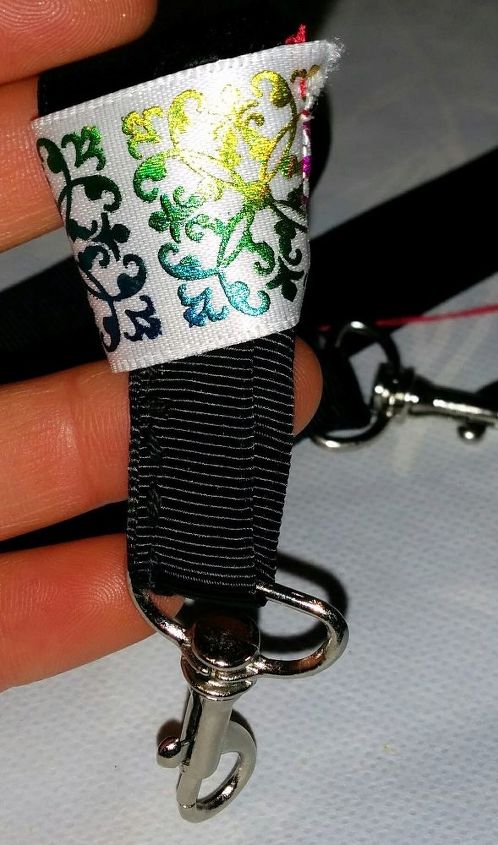
Afterwards I threaded the doubled-over ends through the loops on the clips and sewed them very strongly to the rest of the webbing. It's ugly, but it's very strong and that was what I needed.
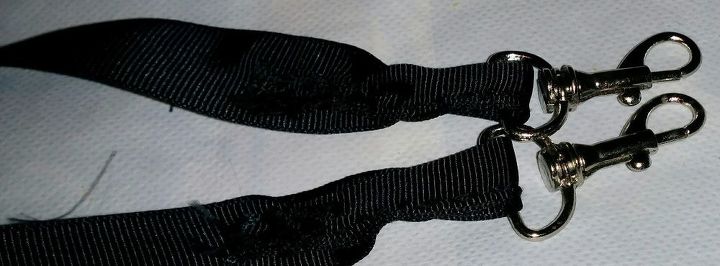
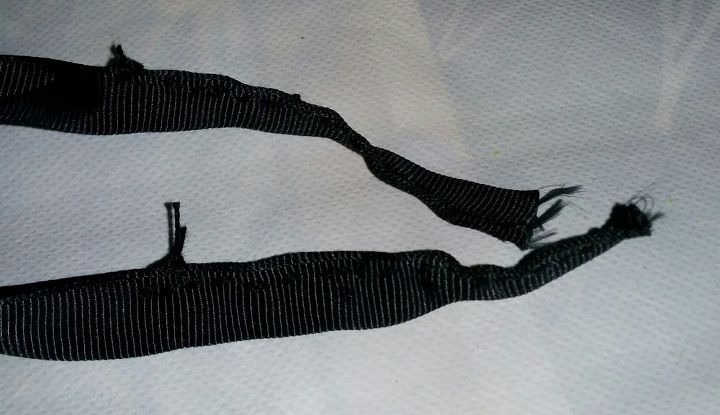
I took the a small piece of the other, decorated webbing and folded it over, sewing it into a loop. I inverted it and threaded it on to the strap to cover the point near the end where I had sewn the strap to itself to attach the clips.
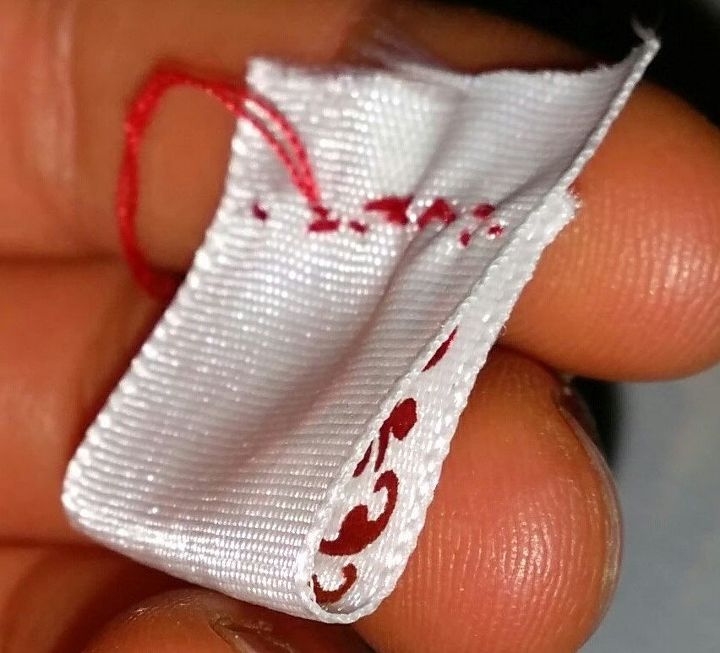
I did one on each end, of course. These were a little tricky and it took several tries to get two that worked for me.
Then I sewed them in place with a couple more stitches.

That was it! All done. Now I needed to attach it to the camera.
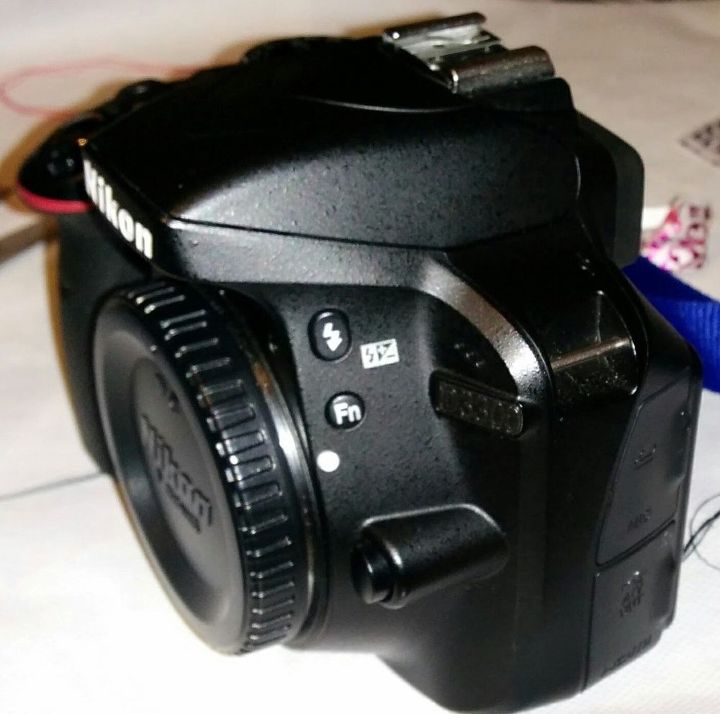
See that little bar there? That was where the original strap was supposed to attach.
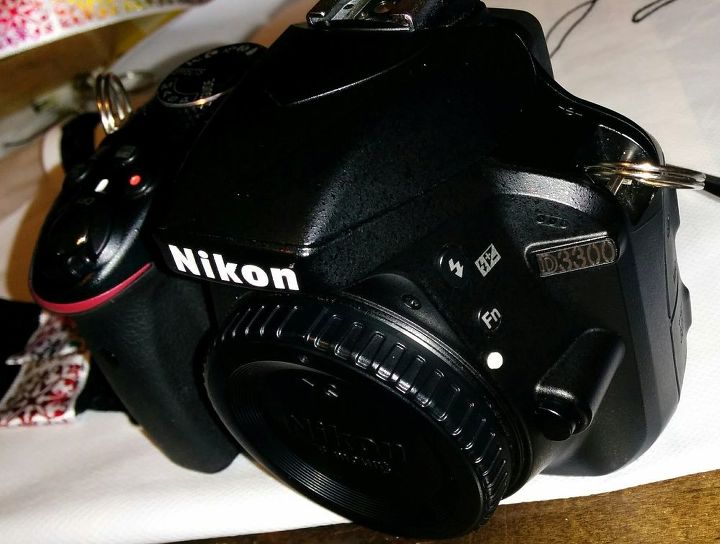
I attached the rings to the bars on either side.
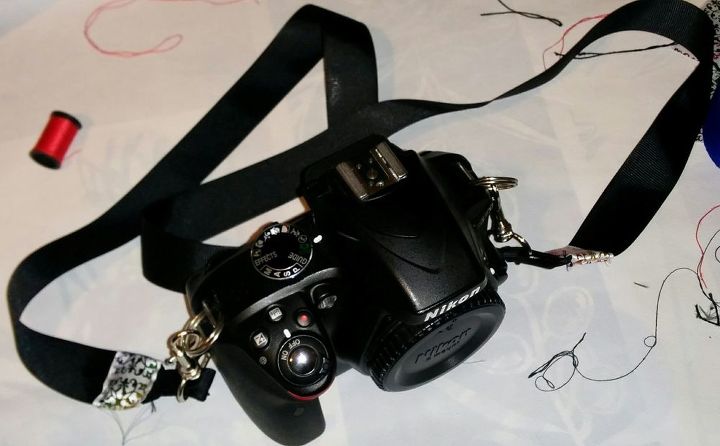
Then I clipped the strap to the rings. All done!
Comments
Join the conversation
1 comment
-
Way to go! You did a great job of assembling and explaining your process - thank you! Inspiring creativity and ingenuity!


Frequently asked questions
Have a question about this project?