


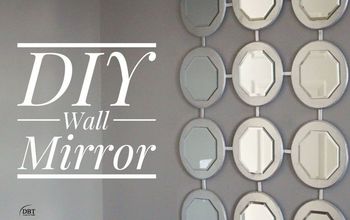
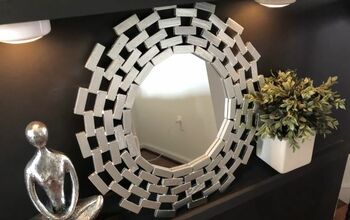
Stencil a DIY Wall Mirror
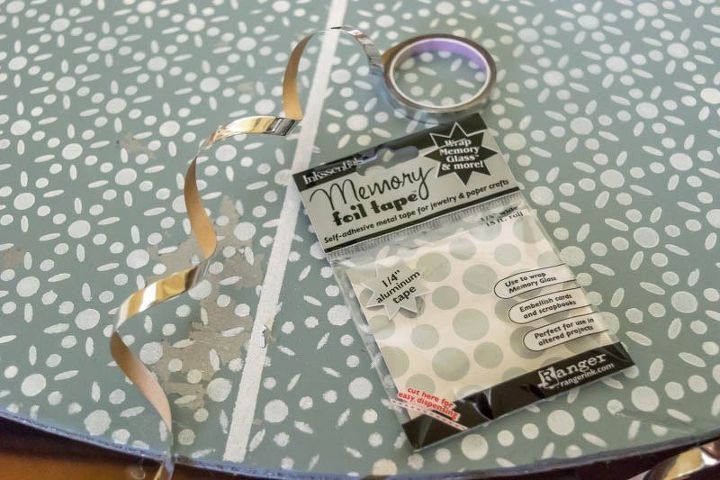
5 Materials
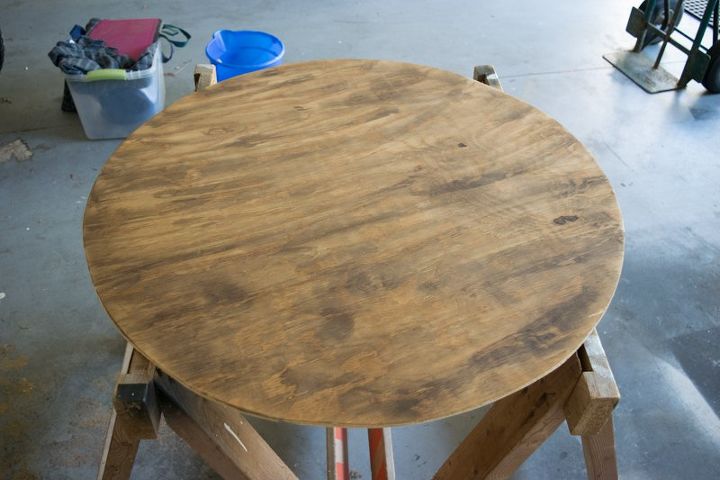
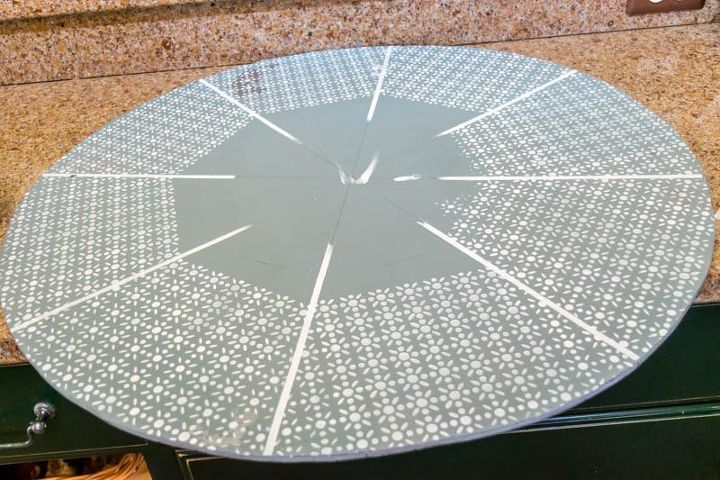
During one of my recent de-clutters, I came across a good size (32" diameter) round piece of wood that was originally used as a top for a round table. I was in full declutter mode when I was in the attic this winter, but had the good sense to see possibility in this round piece of wood. Fast forward several months when I was prompted to make a circular wall mirror to hang over our master bed.
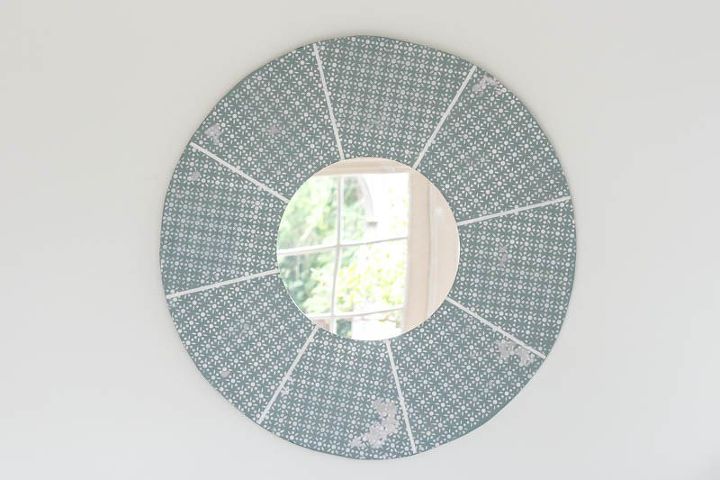
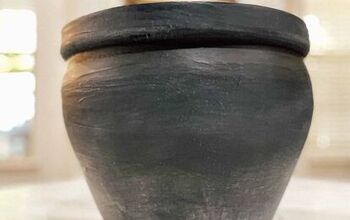
Since the frame of our bed is silver, I thought I’d like to have some silver in the mirror. Once I had painted the whole piece of wood silver, I realized that there wouldn’t be enough contrast between the white that I was going to stencil and the silver. So, (and this is where the whole ‘third time’s a charm’ thing comes in) I repainted the wood again in a darker, almost steel gray. I mixed the color so there isn’t a ‘name’, but ‘steel gray’ is pretty darn close. Once the last coat was dry, I scuffed it in a few places to let the metallic silver peak through.
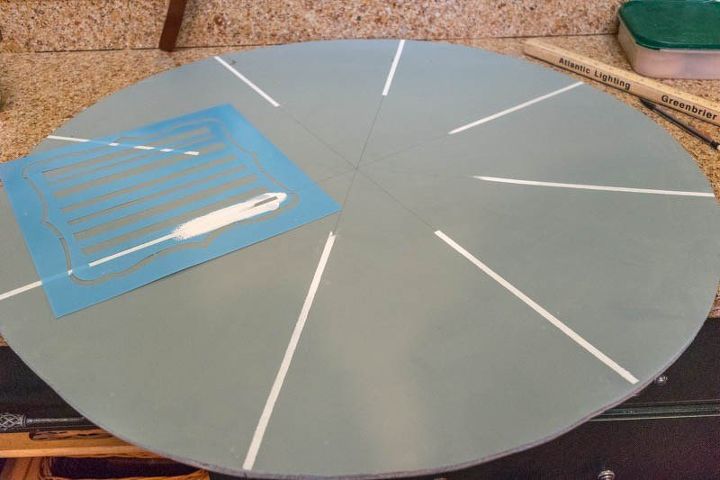
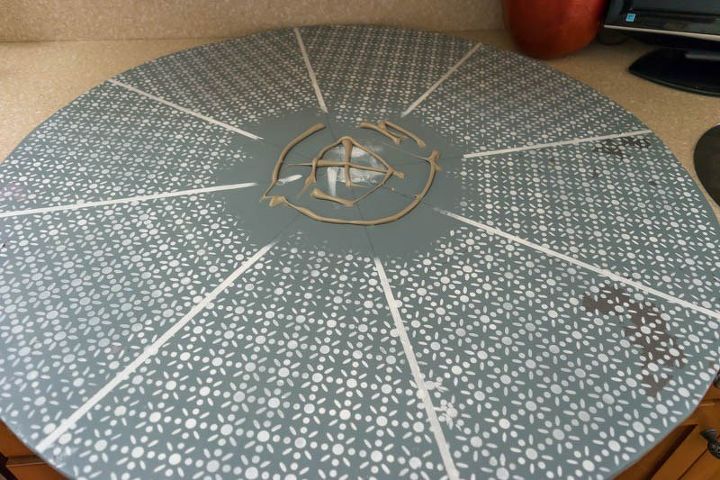
The next step was to define the 8 sections. I found a line stencil to make sure I did it neatly and precisely and proceeded to outline my sections. The very BIGGEST HINT when stenciling is to make your brush or roller or dauber as dry as possible. That makes all the difference in the world!
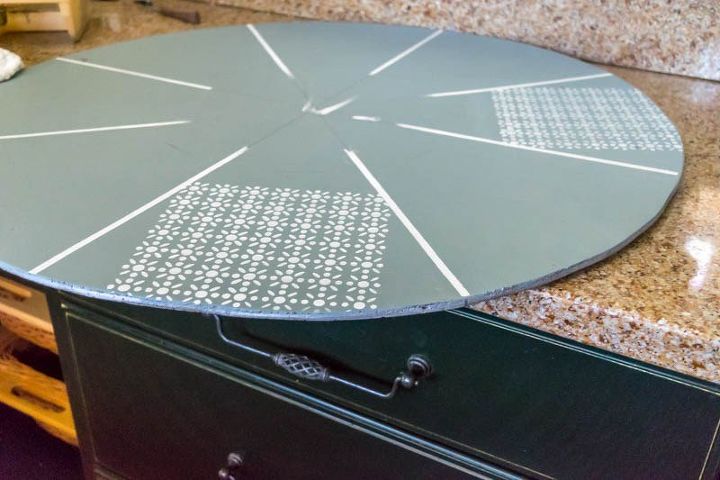
Before I began to stencil, I figured out the placement of my stencil so that each section would be similar to the one next to it. The best way to do it was to center the stencil on the widest part of the section and then fill in the remaining areas. When the wet area dried I was able to lay the stencil on the dried portion and line up the pattern to make sure I kept it consistent.
Stenciling is not hard, just a little time consuming as you wait for coats of paint to dry.
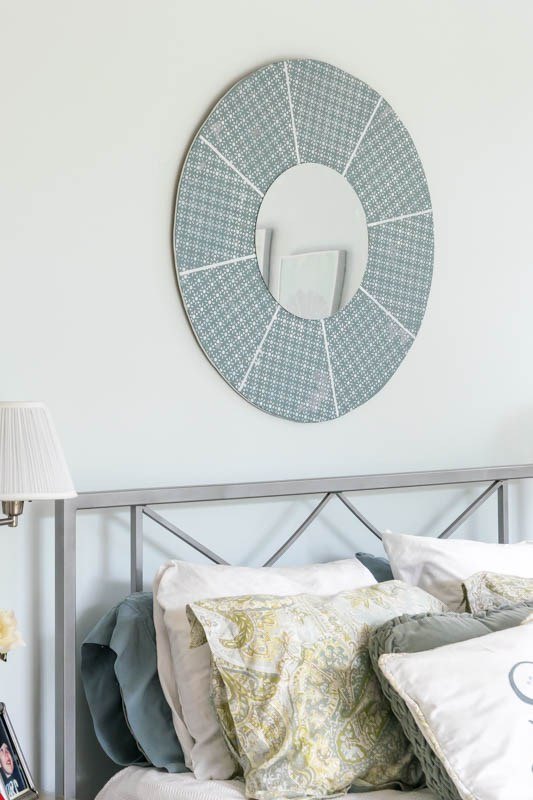
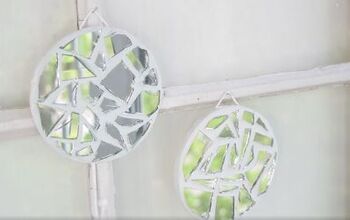
I placed a stack of books on top of the glued on mirror and let it set for a good 24 hours…don’t want that falling off in the middle of the night!
Terry’s not sure he likes that I pulled some of the paint up to show the silver underneath, but I do. Certainly, that’s a personal choice and I if that silver wasn’t underneath I think I would’ve been fine without it. But it was kinda calling to me since I knew it was right below the surface.

Want more details about this and other DIY projects? Check out my blog post!
Comments
Join the conversation
2 of 7 comments
-
how did u hang on wall
-
Nice!


Frequently asked questions
Have a question about this project?