


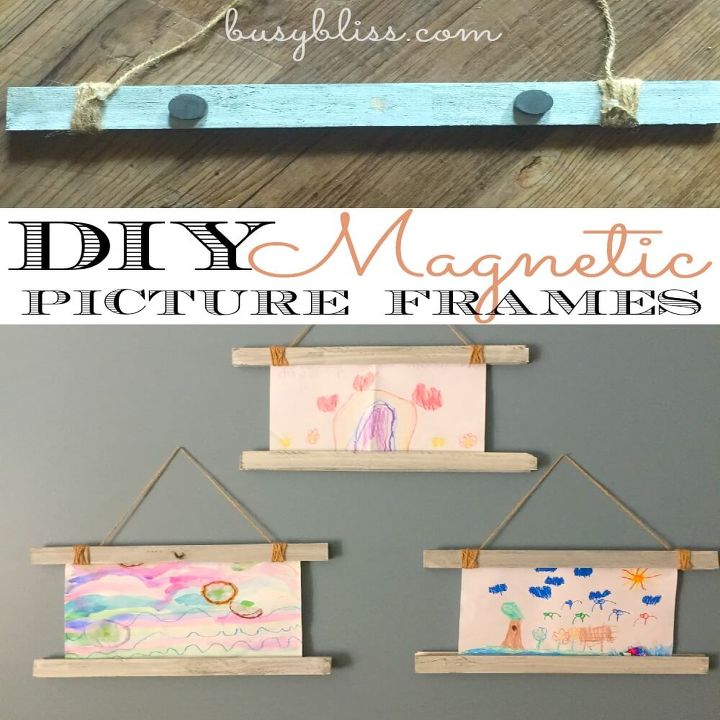
DIY Magnetic Picture Frame

by
Amie
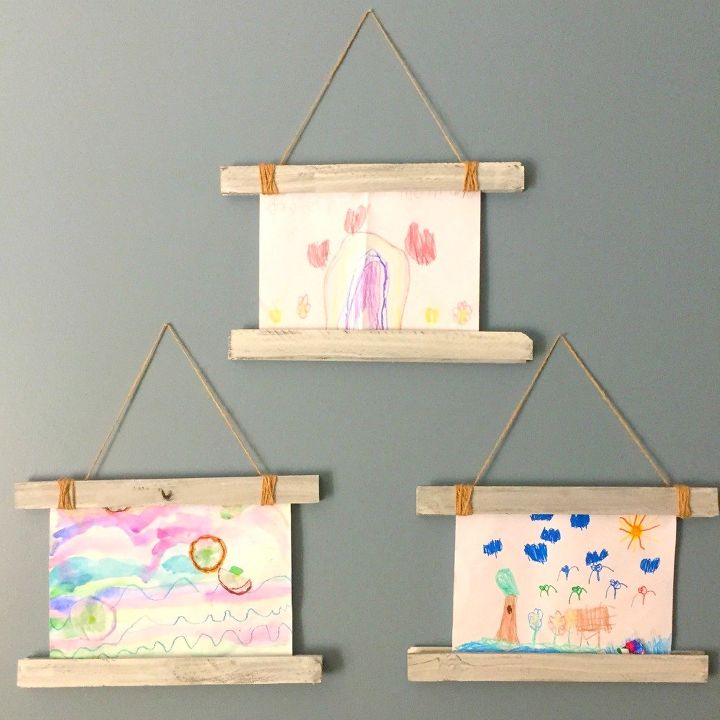
School has started for us again. That means school supplies, new school clothes, and back to our normal routine. For anyone with young kids, that also means a new drawing, painting, or other masterpiece every day. What do you do when every square inch of real estate on your fridge is already covered with your tiny Picasso’s latest and greatest? That’s where these DIY Magnetic Picture Frames come in handy.
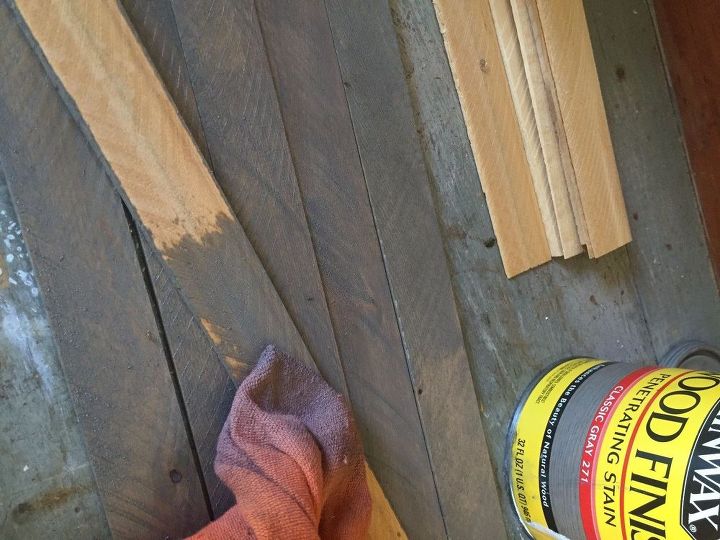
Painting/staining is the first step in the process. Paint both sides and all edges for these frames so you won’t see unfinished wood peeking out. I used a gray wood stain by Minwax.
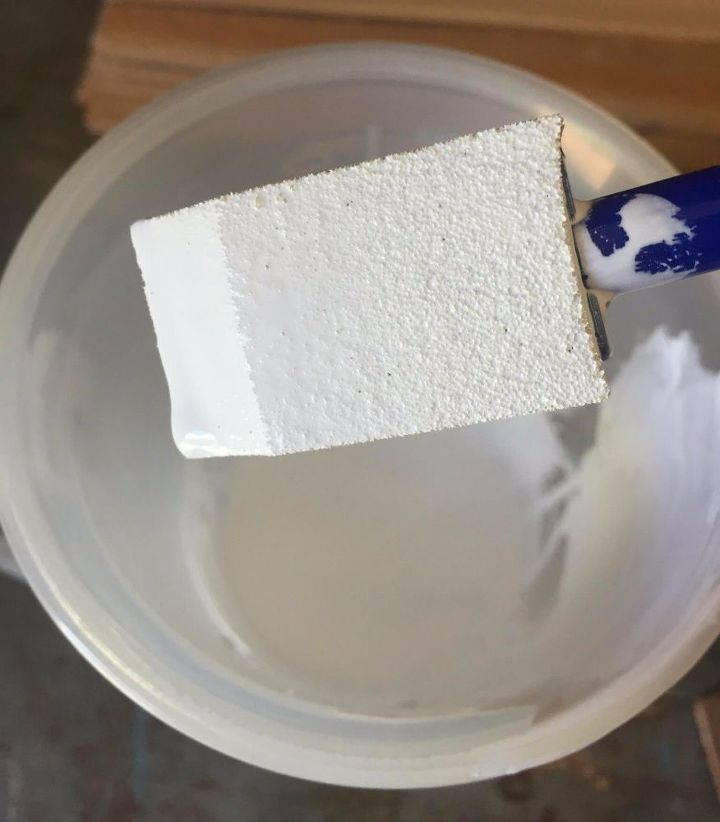
Then I did a coat of white wash using equal parts white paint and water.
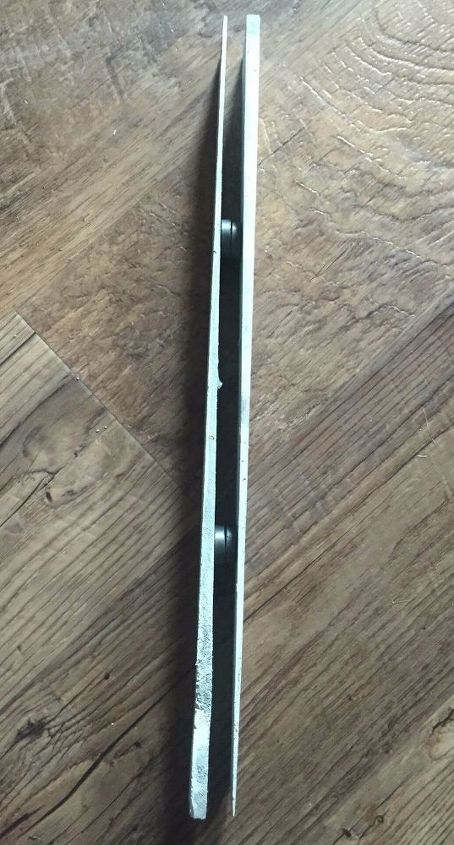
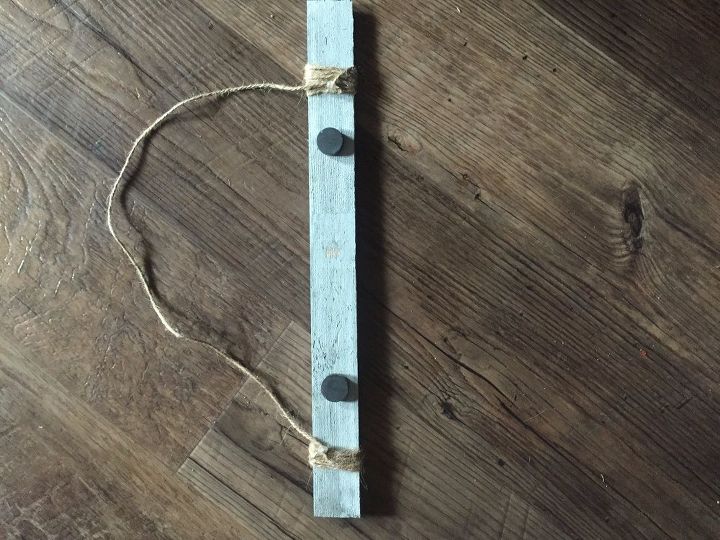
Use the hot glue gun to glue 2 magnets to each shim. Shims are thicker on one side, so alternate the thick side when gluing the magnets. When matched, the thicker side doesn’t end up on the same side for both the front and back shims.
Cut the twine to the length of your preference and tie it to each side of one shim. This will be how you hang your new frame. I wrapped the twine around multiple times because I liked the look. For extra security I put a small dot of hot glue on the knot just to make sure it doesn’t come loose.
Match the pairs of shims together and you are ready to insert your picture and hang. Switching out pictures in these frames is a snap, making them great for holding your child’s artwork, family photos, or posters.
Check out my blog for additional pictures and info!
Want more details about this and other DIY projects? Check out my blog post!
Comments
Join the conversation
2 of 17 comments
-
My adult children are 31yrs. old, and 35 yrs. old. I still have all of their drawings in a large art folder. I have heard that you can take photos of all of their art and put them in a photo album instead of keeping a big pile of the original art.
-
love this...great idea. I'm going to use it in some way. Hope you don't mind?


Frequently asked questions
Have a question about this project?