


DIY Fireplace Mantel Reveal!

by
Leslie H
Hello friends. Today I'm checking off one of the time-consuming projects I've been working on this summer and I'm pretty happy with the end result.
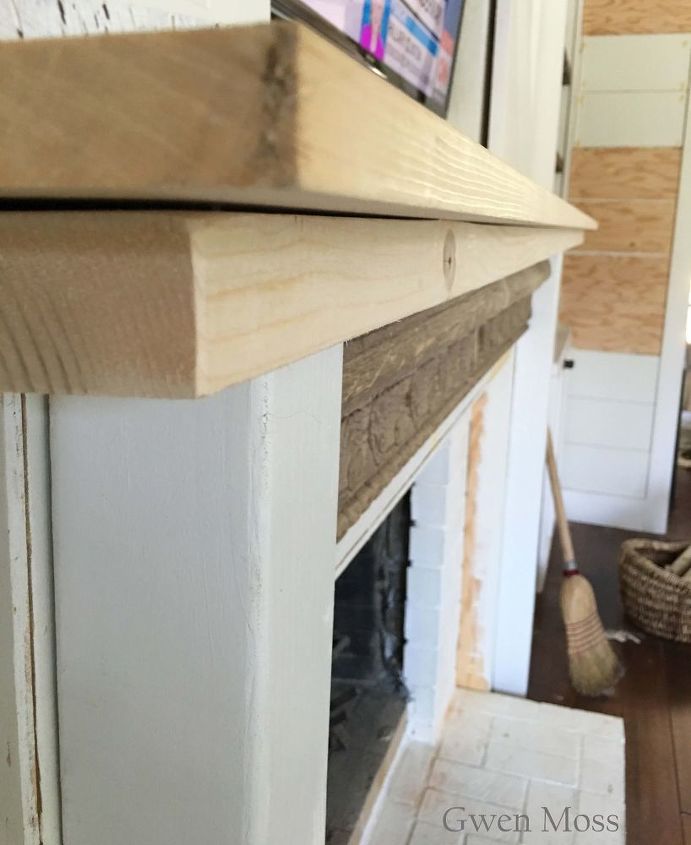
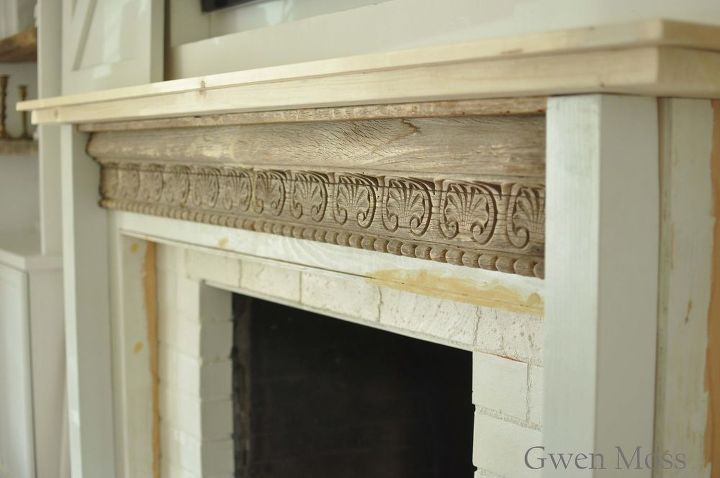
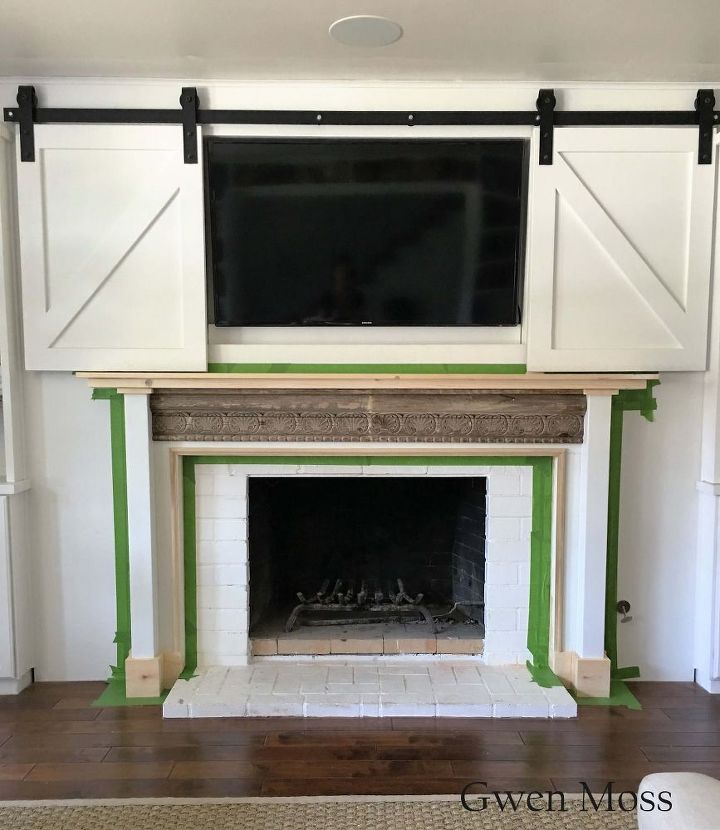
Hooray! Our DIY fireplace mantel that we built around an old wood remnant-- with its beautifully carved seashells---...is finally done!
And I think it's perfect for our cottage style home.
Hooray! Our DIY fireplace mantel that we built around an old wood remnant-- with its beautifully carved seashells---...is finally done!
And I think it's perfect for our cottage style home.
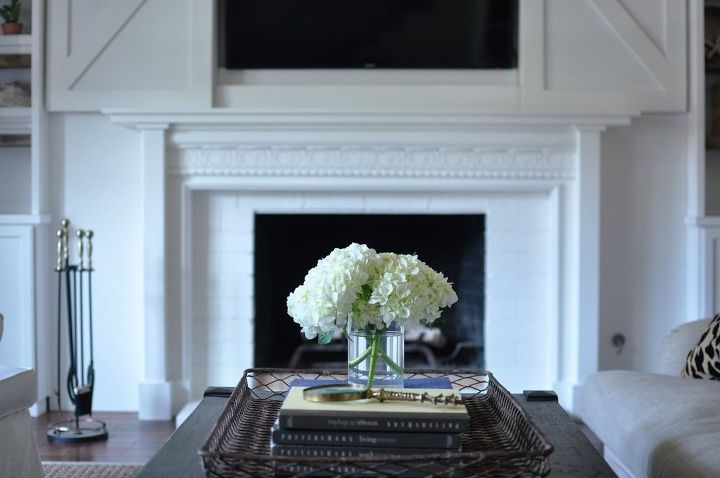
My newly built mantel finally brings an end to the fireplace transformation in this house.
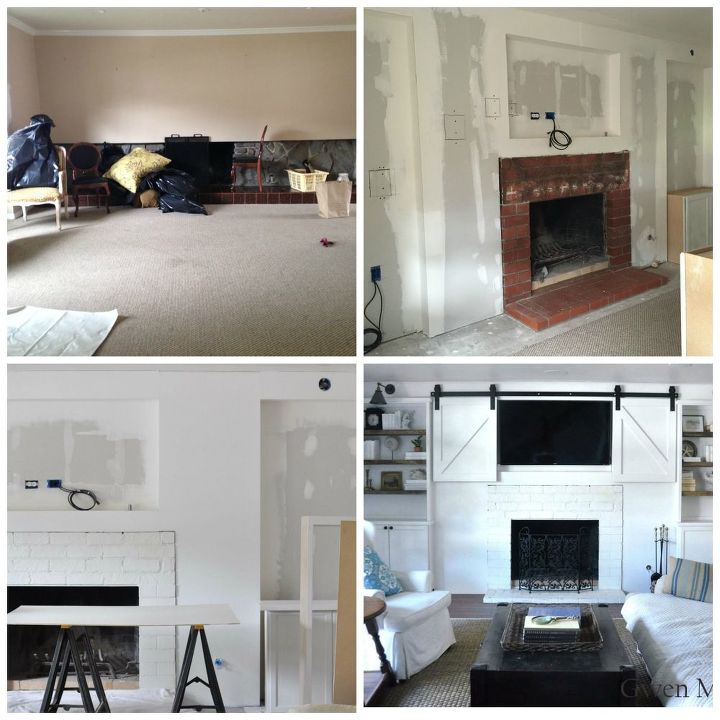
These photos give you a glimpse of the 20 month process, showing you the original-1965-wall, the red brick we uncovered beneath the drywall and added to, and the subsequent paint and design of the entire 15-plus foot wall.
If you want to see Part One of this DIY mantel along with some how-we-did-it pictures you'll want to go here: http://gwenmossblog.blogspot.com/2016/08/my-biggest-diy-project-yet.html .
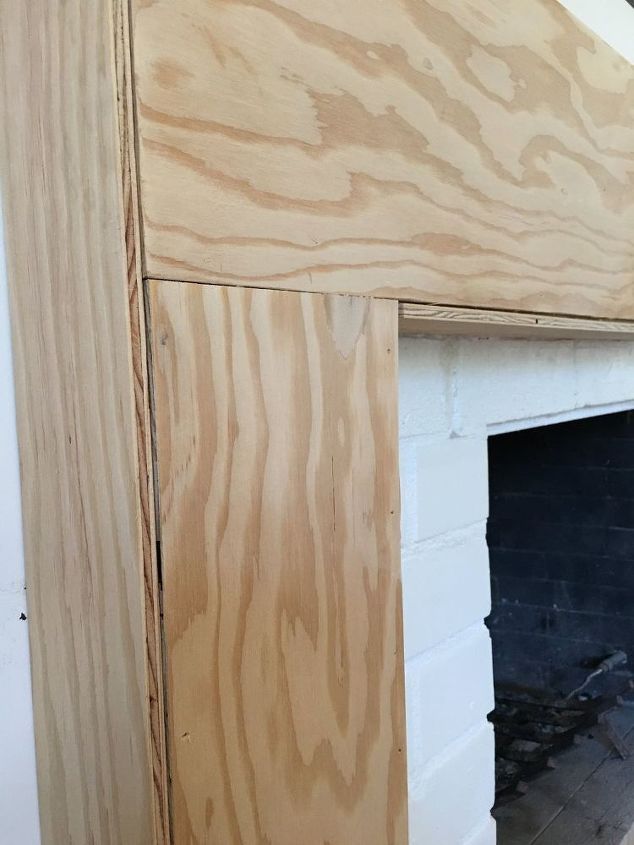
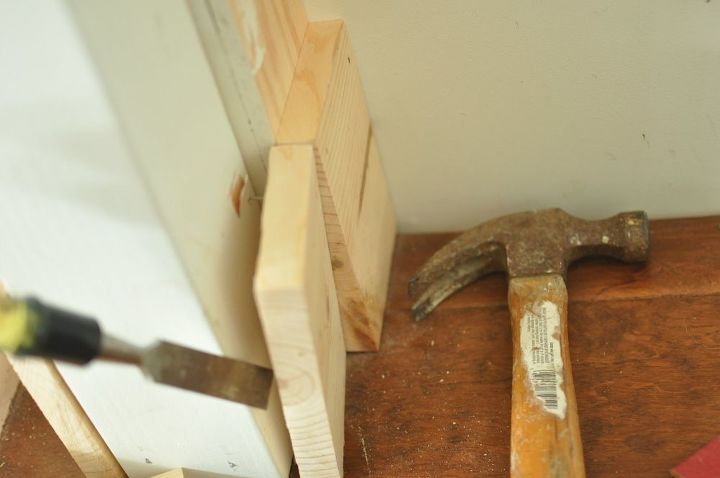
Before we nailed the 4x4s I gave the plywood base and each of the 4x4s a quick coat of primer paint.
A quick word about the wood we used.
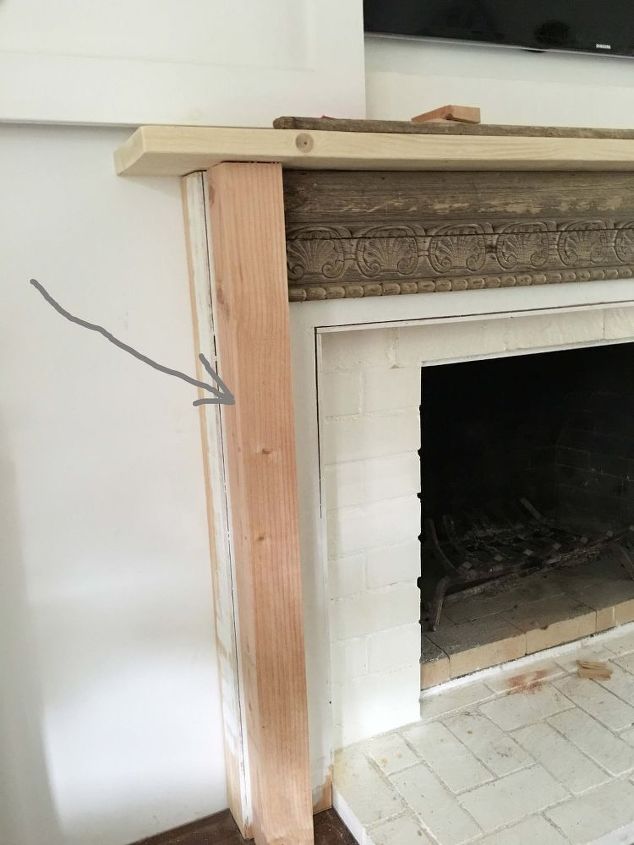
Once my Dad helped me with the basic structure, and rebuilt and attached the wood remnant (part one) our work together was done. At this point I was on my own and it was time for me to decide on the final look of this mantel.
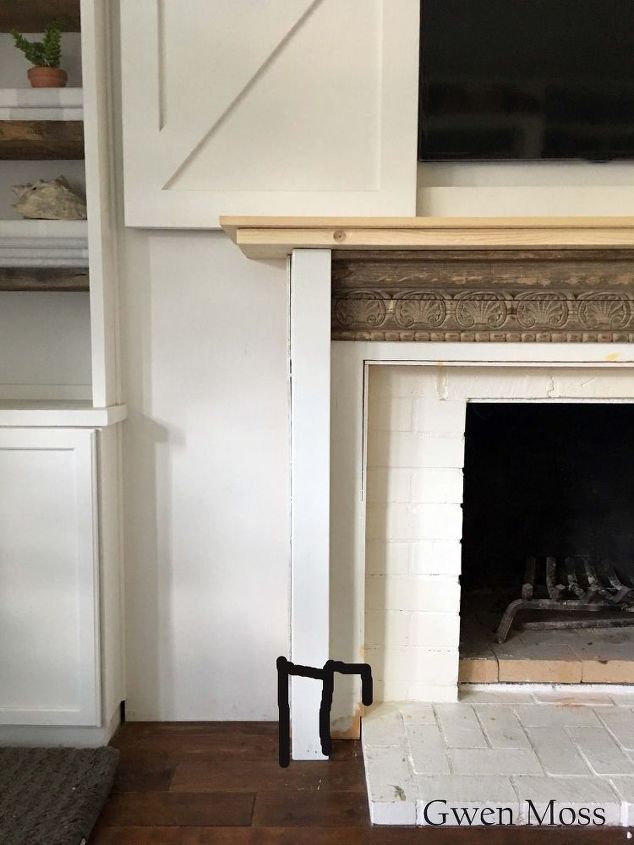
I started at the bottom because I knew I wanted six inch trim there. So I bought an eight inch board and ripped it into a full six inch.
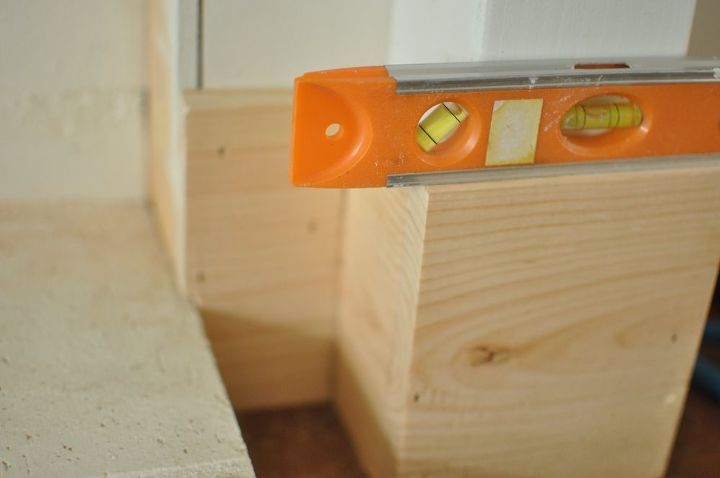
I forgot to double check these first pieces with my level (until after they were nailed) and even though they were barely off center I could hear my Dad's voice saying, "If you're gonna do it, do it right. You better pull that off."
BEFORE
Ugh. I learned my lesson. No more forgetting to use my level.
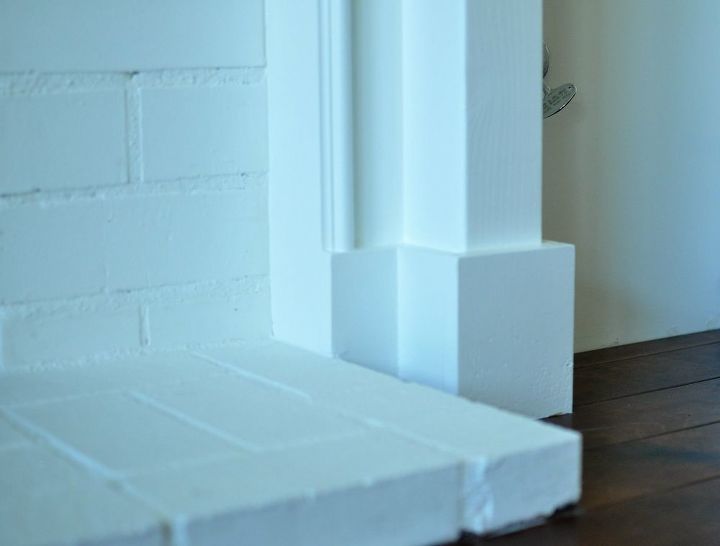
AFTER
After a few trips to the molding section of Ganahl lumbler and Home Depot, and bringing home a few pieces of fancy molding, I realized that what this mantel needed was simplicity.
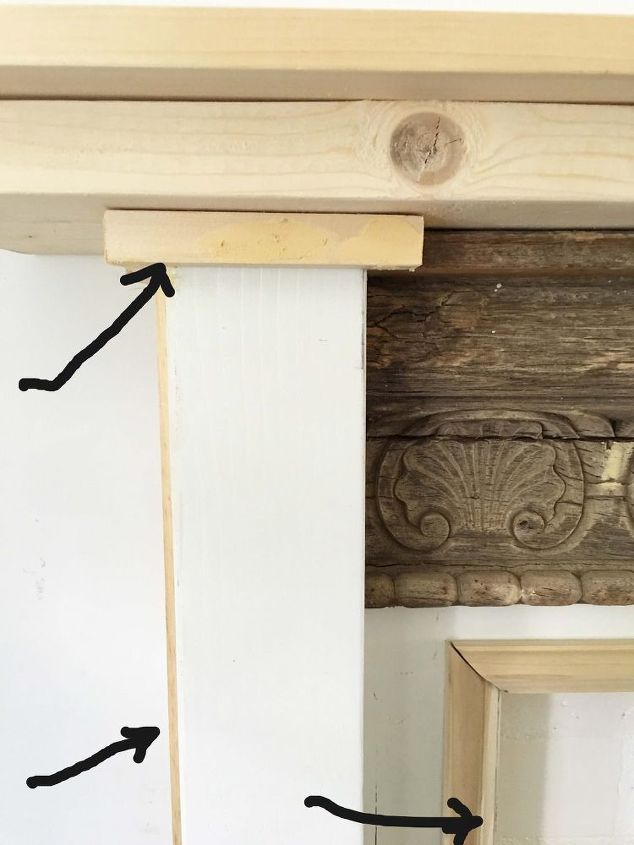
There was so much going on with the intricately carved sea shells, that every elaborate piece of molding I held up to it seemed to clash. I decided to keep it clean and simple looking.
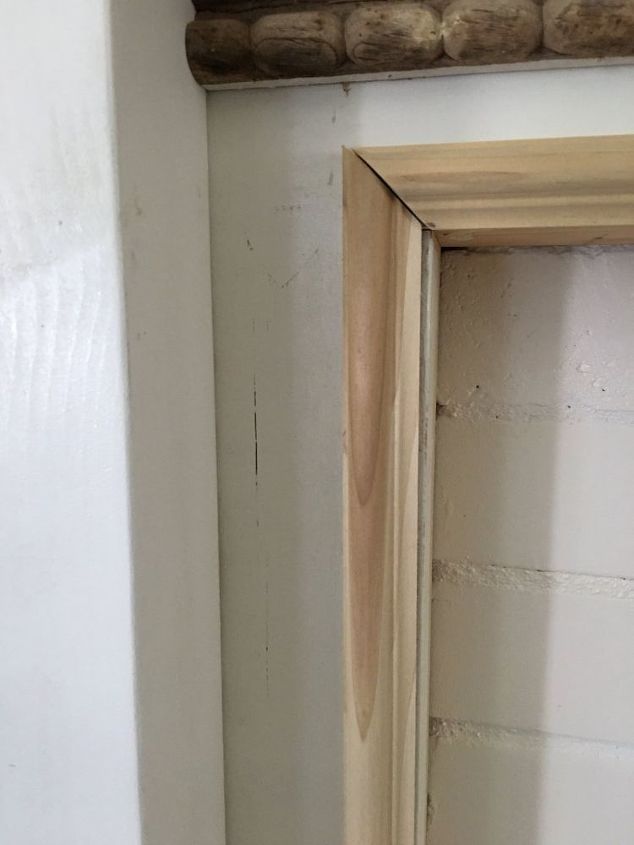
My first ever 45 angle cut on my miter saw!
All done and ready to paint!!
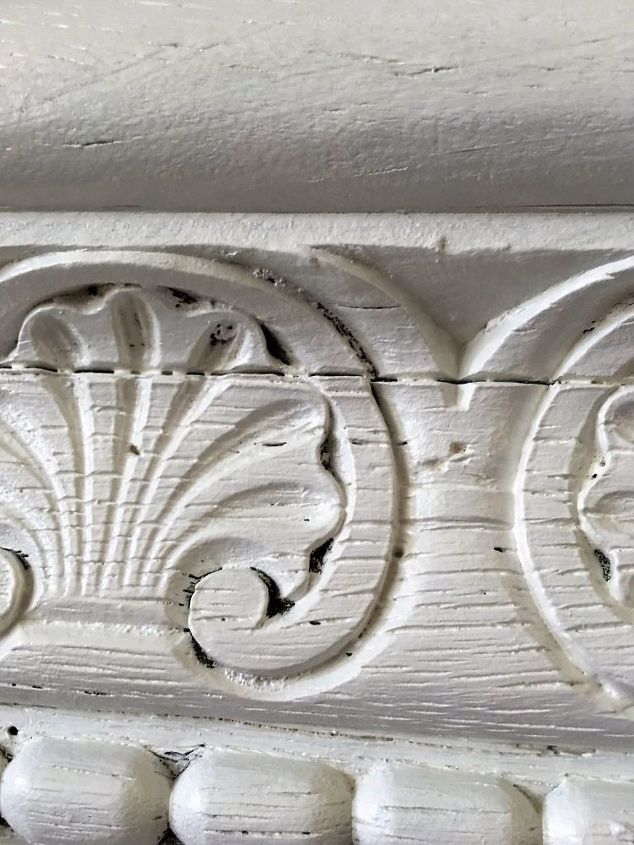
Goodbye old wood, hello painted wood---I'm not sure I like you.
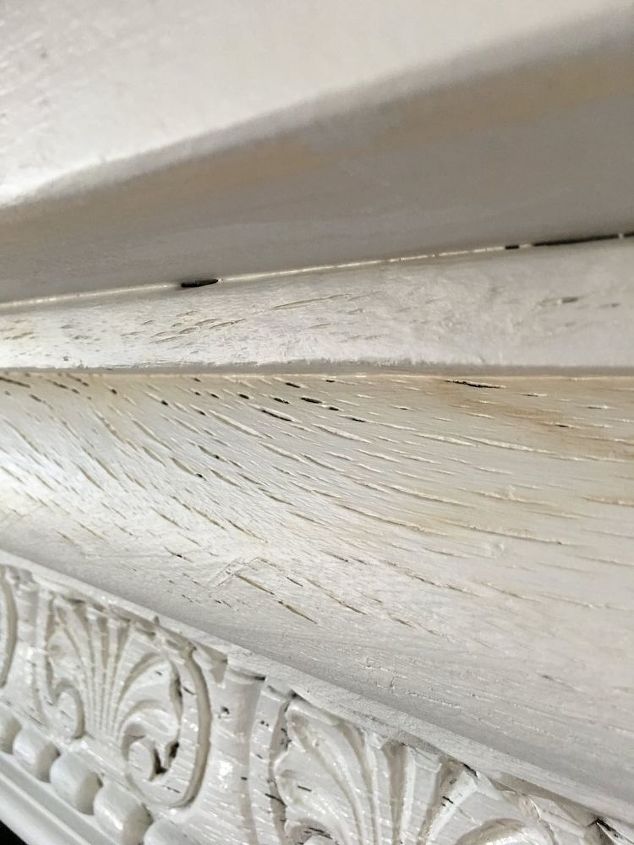
Ok. Just so you know, it ended well. It just took a few good coats to penetrate the cracks.
Want more details about this and other DIY projects? Check out my blog post!
Comments
Join the conversation
2 of 32 comments
-
I love it - what a great job you did and I know it was worth the wait and work - perfect!
-
thank you so much for your sweet words!


Frequently asked questions
Have a question about this project?